admin
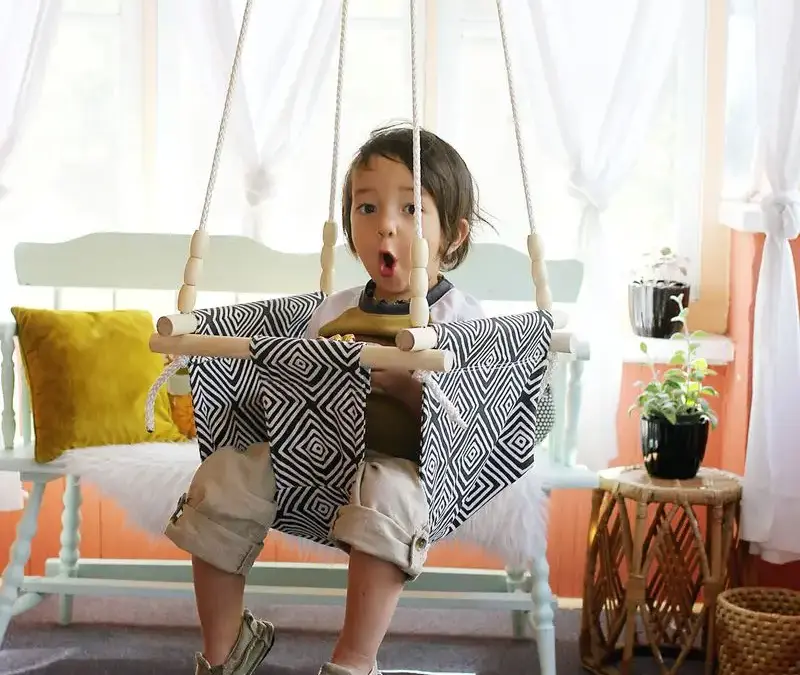
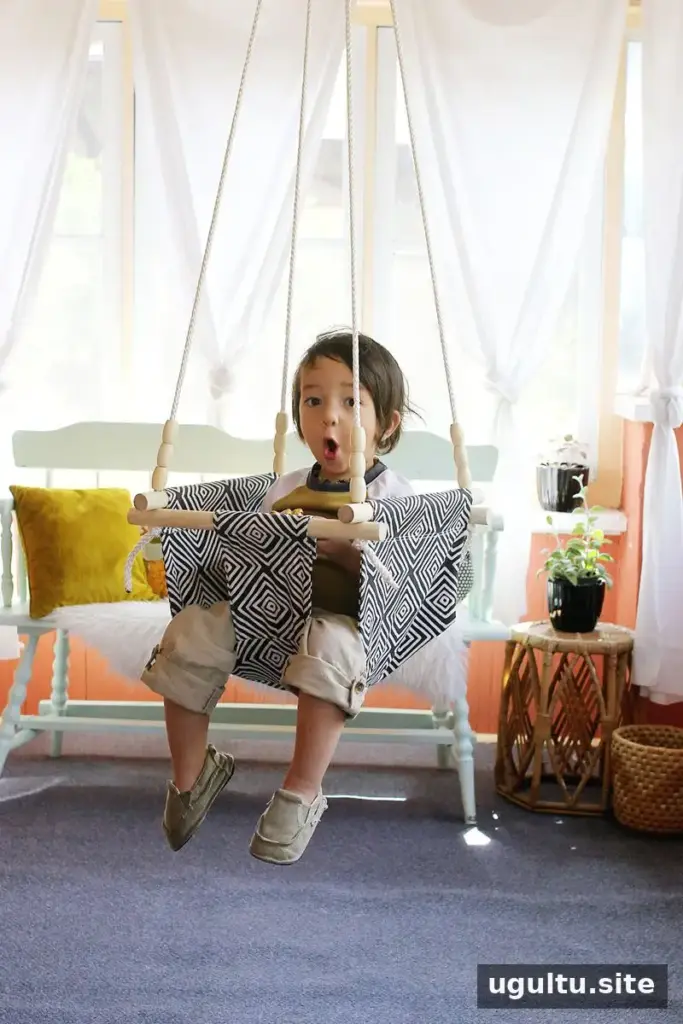
This DIY baby and toddler swing uses canvas or sturdy upholstery fabric, wooden dowels, rope, and metal hardware to create a simple seat for a child who can sit up independently. The listed materials have individual weight ratings, but those ratings do not guarantee the safety or capacity of the completed swing. Careful construction, a secure mounting point, and close adult supervision are essential.
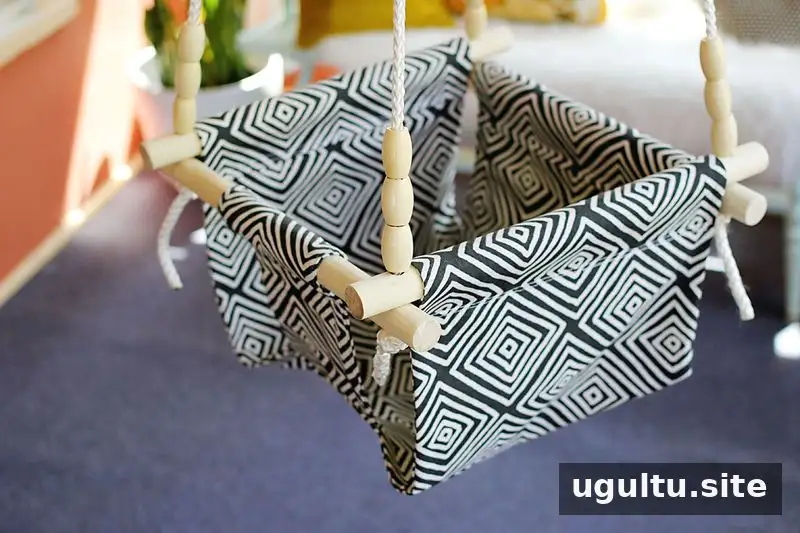
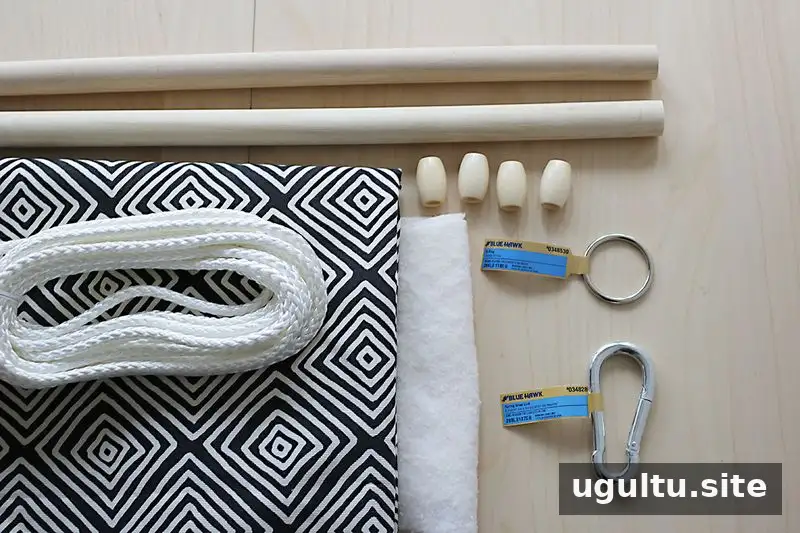
DIY Baby and Toddler Swing: Materials and Tools
Gather everything before sewing and assembly. Check the condition and manufacturer ratings of the rope and hardware, and do not use damaged or unsuitable components.
Materials
- Two 1″ x 48″ oak or poplar dowel rods
- At least 22 ft. of braided 3/16″ rope rated to hold up to 192 lbs.
- One 2″ welded steel ring rated to hold up to 200 lbs.
- One 80mm steel carabiner rated to hold up to 280 lbs.
- 2 yards of duck cloth, upholstery-weight fabric, or canvas; a directional print may require more
- ½ yard of batting
- Decorative wooden beads, if desired
- A heavy-duty ceiling hook, optional
Tools
- Sewing machine and coordinating thread
- Power drill with a 3/8″ drill bit
- Hand saw or circular saw
- Canvas-weight sewing needle
- Scissors, straight pins, iron, and ironing board
- 150- and 100-grit sandpaper
- Lighter for sealing rope ends, only if suitable for the rope material and its manufacturer’s instructions
How to Make the Fabric Swing Seat
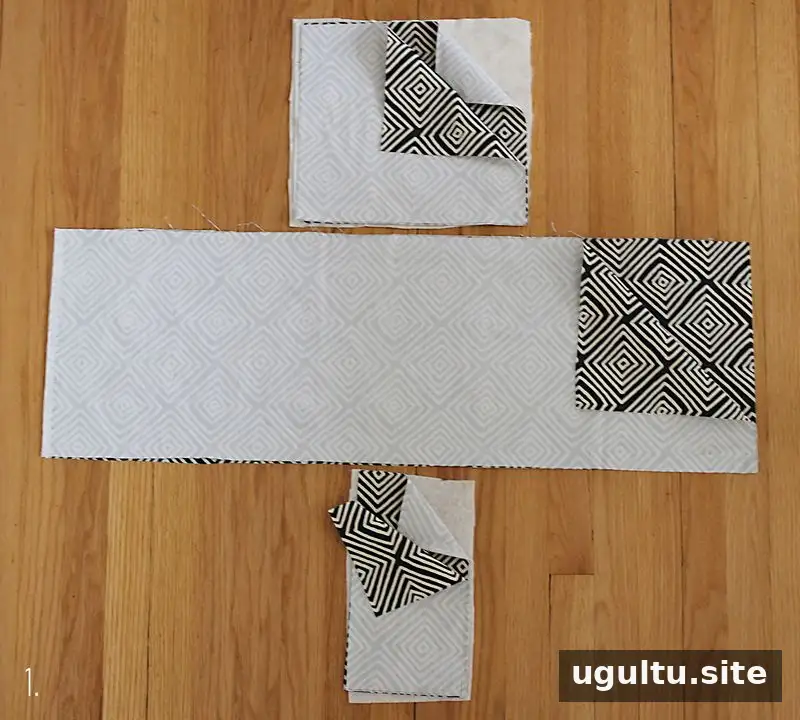
- Cut and layer the fabric. Cut two 36″ x 12″ seat pieces, two 12″ x 11″ back pieces, and two 6 1/2″ x 11″ front pieces from the canvas. Cut one 12″ x 11″ batting piece for the back and one 6 1/2″ x 11″ piece for the front. For each front and back panel, layer batting first, then one fabric piece right side up, followed by the other piece right side down. Pin the layers. Batting can also be added to the seat if desired.
-
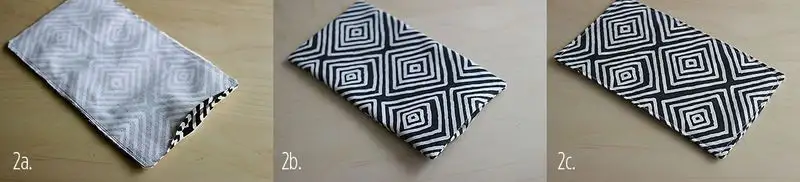
Sew the front and back panels. Starting about 1″ from a corner, sew around the front panel, leaving an opening of about 4″. Turn it right side out, gently push out the corners with a pencil, press flat, and stitch around the edge. Repeat for the back panel; leave the seat pieces unturned at this stage.
-
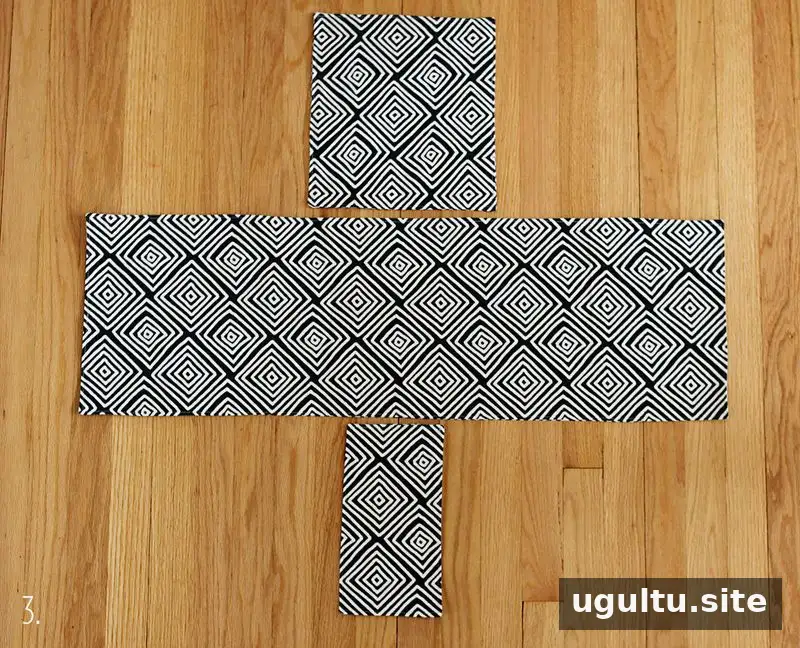
Position the panels. Set one seat piece aside. Center the prepared front and back panels on the other seat piece as shown.
-

Pin the front and back in place. Fold the back panel onto the seat so the edges meet and pin it. Position the front panel with one short edge aligned to the seat edge. The front and back panels overlap, and should be pinned to the seat only along their meeting edges.
-
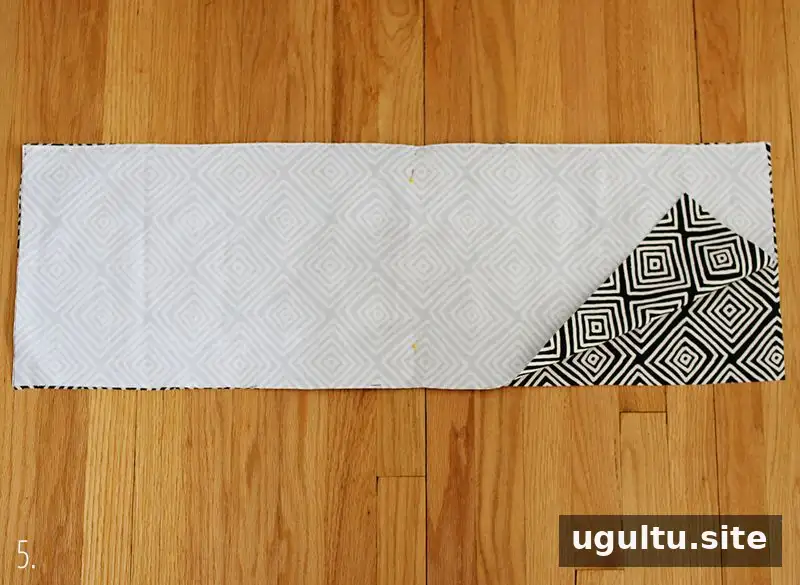
Join the seat layers. Place the second seat piece on top, align the edges, and pin around the perimeter. Begin sewing about 3″ from a corner on a short end and leave an opening about a hand’s width from the starting point. Remove the pins, turn the seat right side out, shape the corners, and remove the pins holding the front and back panels.
-
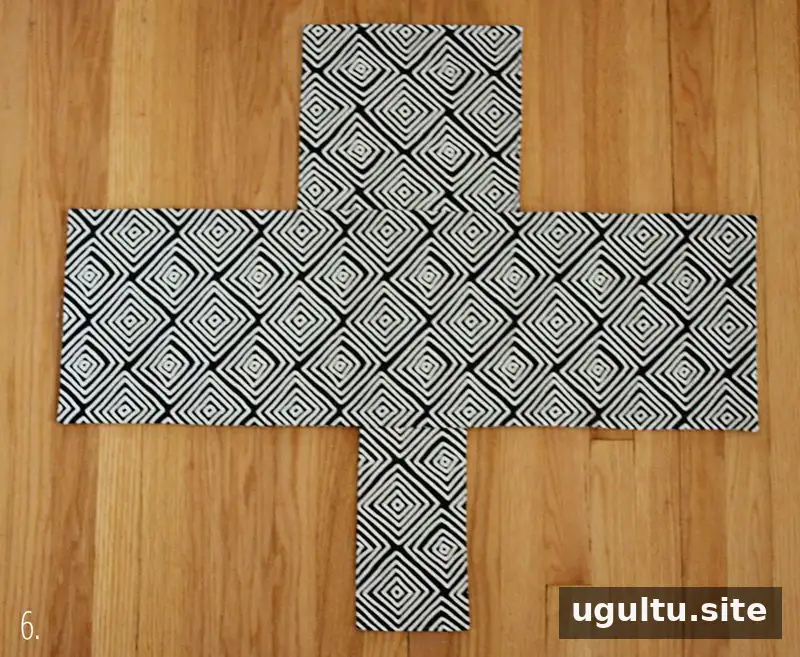
Finish the seat seam. Press the assembled seat flat and sew around the edge of the large panel to reinforce the seam and close the opening.
Fit the Dowels and Attach the Rope
-

Cut and prepare the dowels. Cut the oak or poplar rods into four 15″ lengths. Mark 1 1/2″ from each end and drill a hole at each mark. Sand with 150-grit and then 100-grit sandpaper, and wipe the rods with a damp cloth.
- Sew the rod pockets. Fold the ends of each fabric panel inward so a rod fits snugly. Hold the fold in place, remove the rod, and pin the fabric. Sew two lines across each fold to make the pockets, then remove the pins.
-
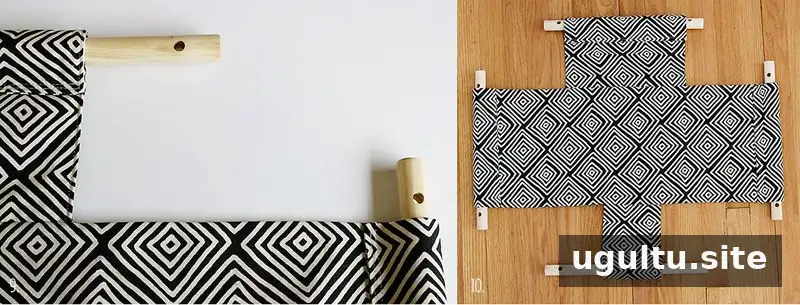
Insert the rods. Slide the rods into all four completed pockets and check that they sit securely.
- Prepare the rope. Cut two lengths of rope, each about 11′ long. Seal the ends only if the rope material allows it and the manufacturer’s guidance permits this; otherwise, use an appropriate method to prevent fraying.
-
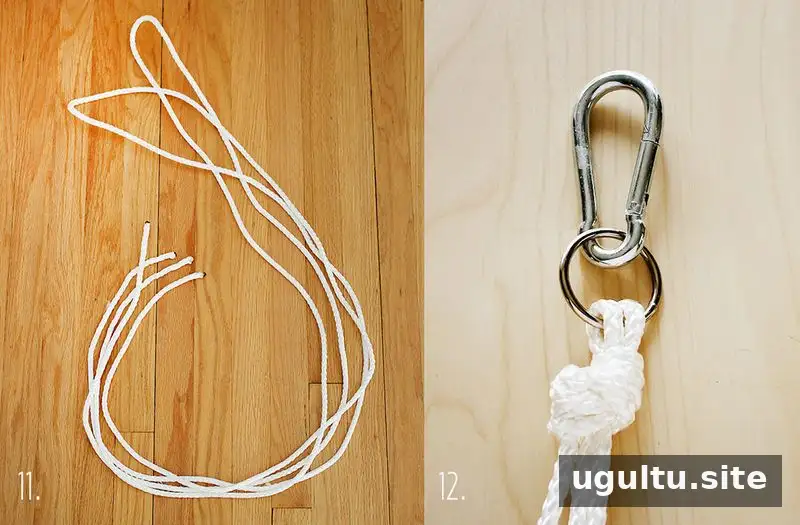
Connect the ring and carabiner. Pass both rope lengths through the welded steel ring and find their midpoint. Tie a knot, then connect the ring to the carabiner.
-
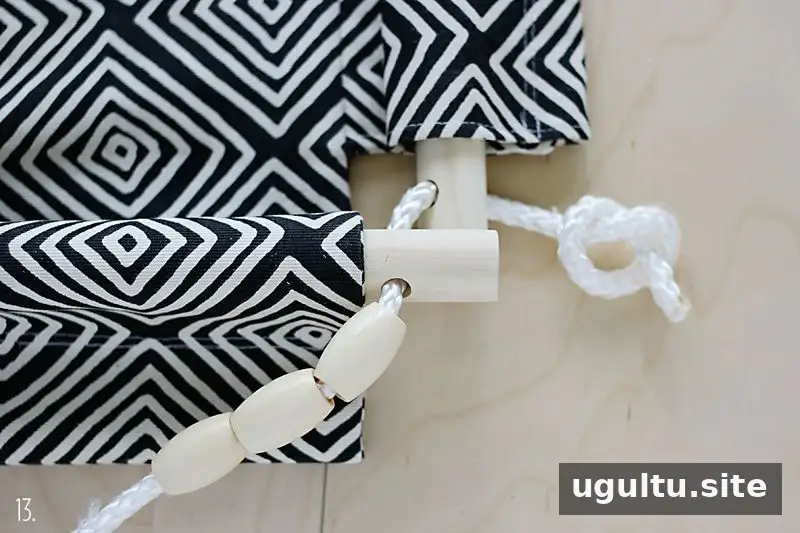
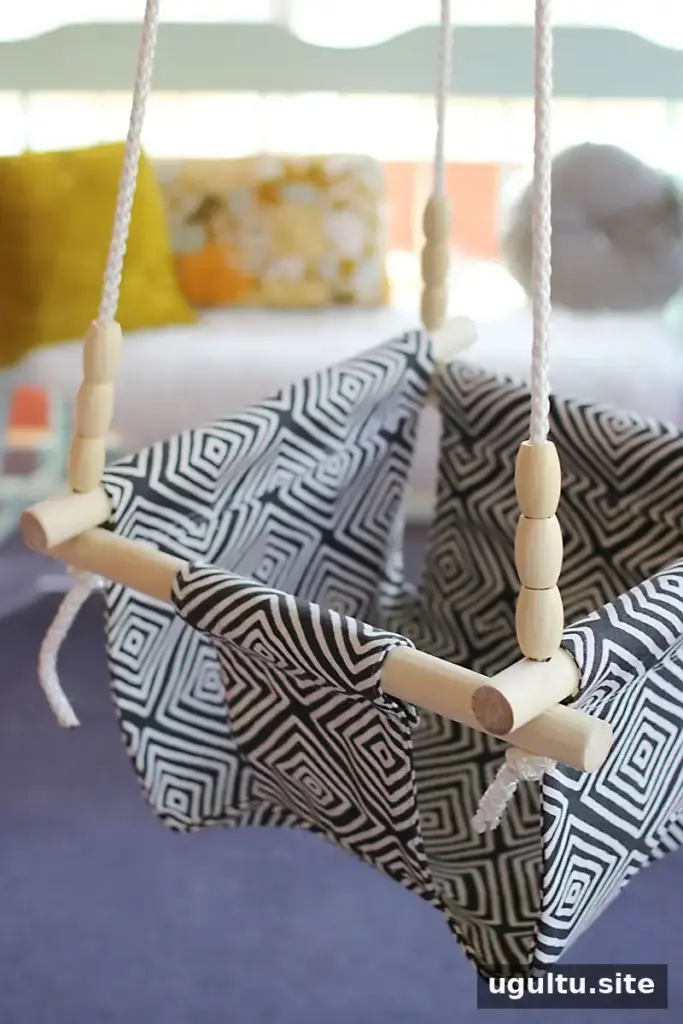
Thread and level the swing. The two dowels passing through the seat rest on top of the dowels at the front and back. If using beads, thread them onto the rope ends before passing the ropes through the dowels. Guide each rope through the seat-panel dowel and then the front or back panel dowel, and tie a loose knot at each corner. Adjust until the seat is level, tighten the knots, and trim uneven ends while leaving a short tail at each knot.
Mounting and Safety Checks
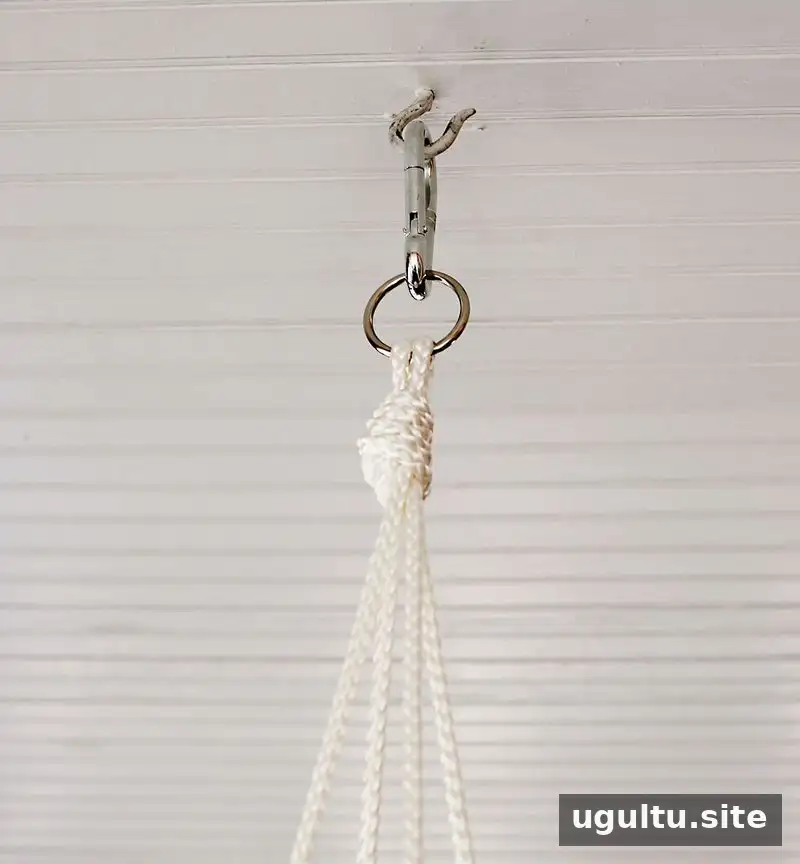
Mount the swing only from a securely installed heavy-duty hook in a suitable beam, or from a sturdy rope properly secured around a tree trunk. Before a child uses it, inspect every seam, knot, dowel, ring, carabiner, and mounting point. Test the assembled swing with firm pulls and a suitable load, and stop using it if any part shifts, stretches, frays, or loosens.
This design is intended for gentle swinging, not vigorous playground swinging. Use it only for a child who can sit up independently, and keep an attentive adult within reach throughout use. Never leave a child unattended in the swing. The component ratings listed above are not a certified rating for the finished assembly.
Care and Practical Tips
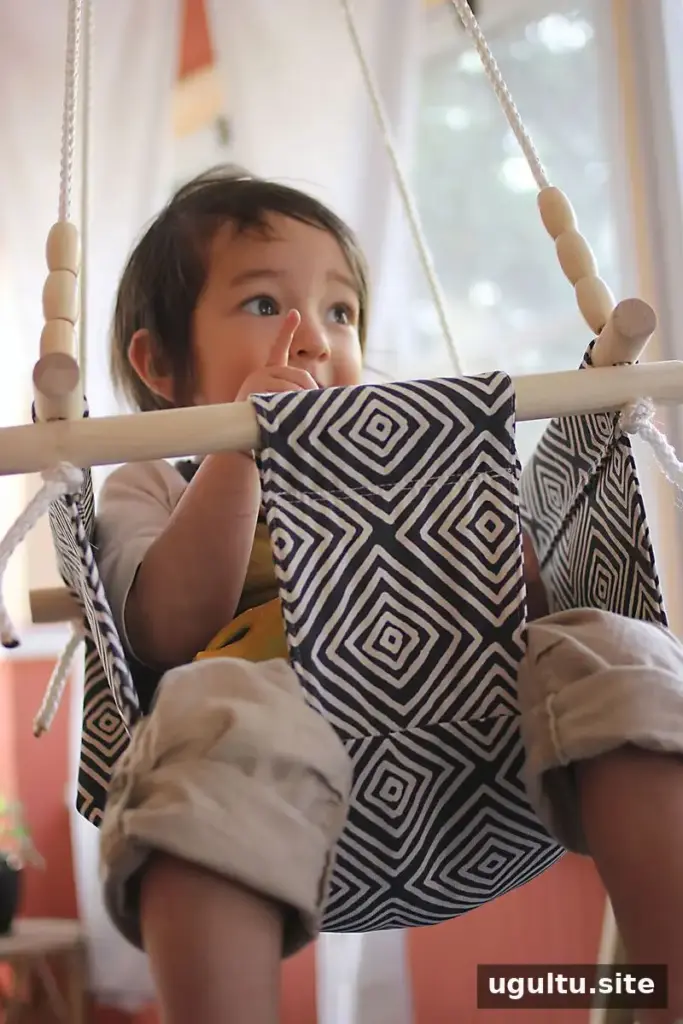
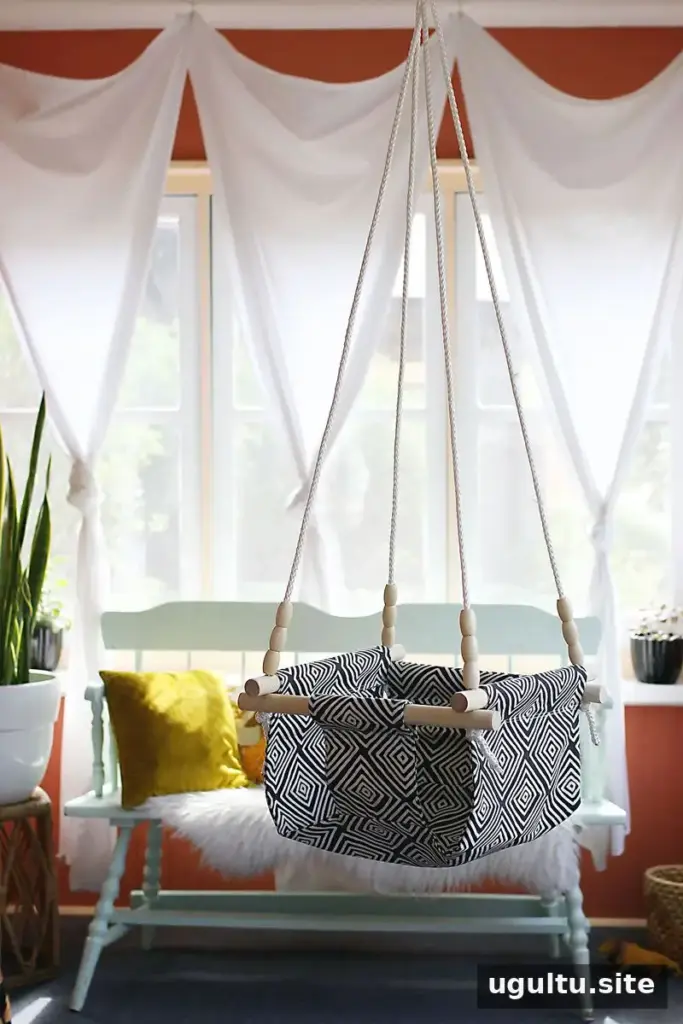
Avoid leaving the swing outdoors during extended periods of bad weather. Spot-clean the fabric with a damp cloth, and check the fabric and hardware regularly for wear. The dowels are untreated; beeswax is suggested as a non-toxic wood finish. If extra support is needed to help a child sit comfortably, the original instructions suggest a folded blanket or small pillow behind the child. Keep any added padding secure and ensure it does not interfere with the child’s posture or supervision.
For a personal finish, the canvas can be decorated with hand-stamped shapes, and the dowel ends can be painted with non-toxic paint. Allow any finish to dry fully before assembly or use. —Rachel Denbow
Conclusion
A DIY baby and toddler swing can be assembled from fabric panels, four dowels, rope, and rated hardware by following the measurements and sewing sequence above. Prioritize secure mounting, careful inspection, and continuous adult supervision; do not rely on individual component ratings as proof that the completed swing is safe.