
 admin
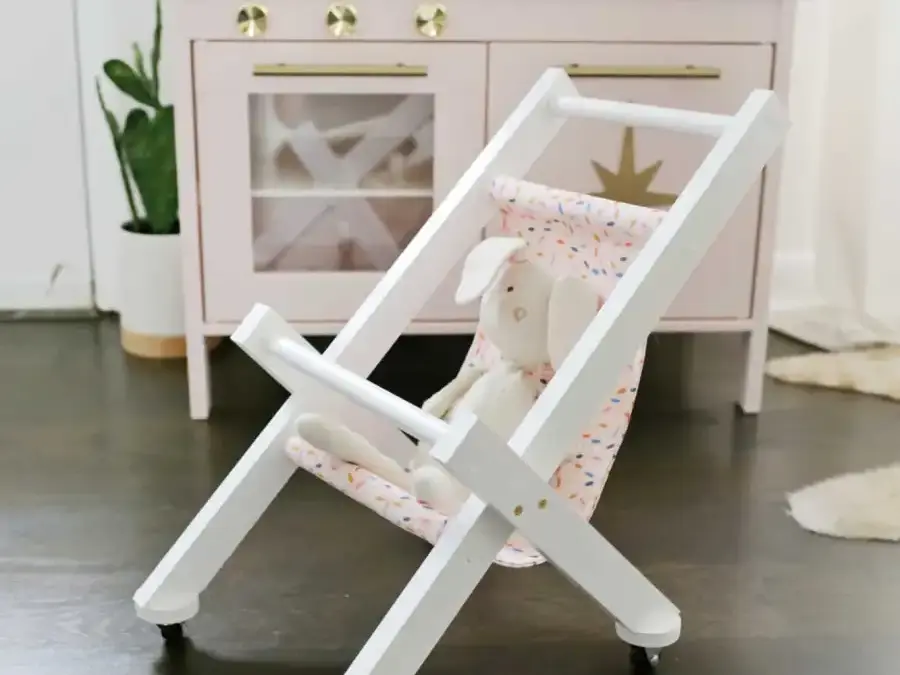
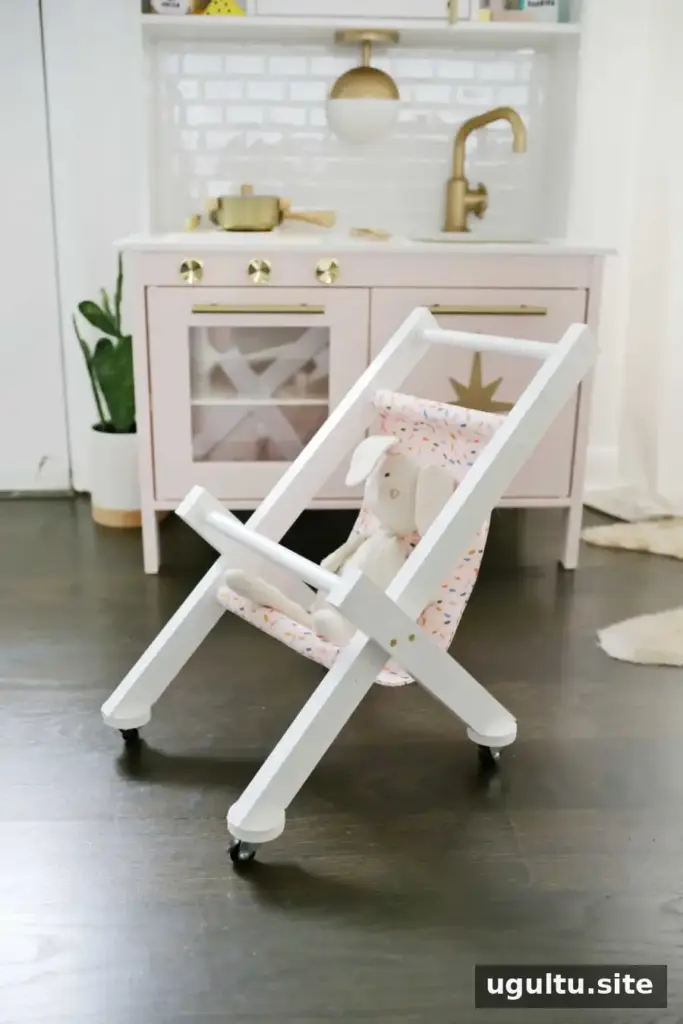
A homemade stroller gives dolls and stuffed toys a place to ride while toddlers practice pushing, steering, and imaginative play. This Baby Doll Stroller DIY project uses a lightweight wooden frame, a sewn fabric sling, and caster wheels so the finished stroller is easier to maneuver than a heavier toy cart. The steps below cover cutting, sewing, assembly, and a few important checks to make before a child plays with it.
Materials and tools for the Baby Doll Stroller DIY
Gather the supplies before starting. Refer to the project diagram for the exact lengths of the boards and dowels, as those measurements are not listed in the text.
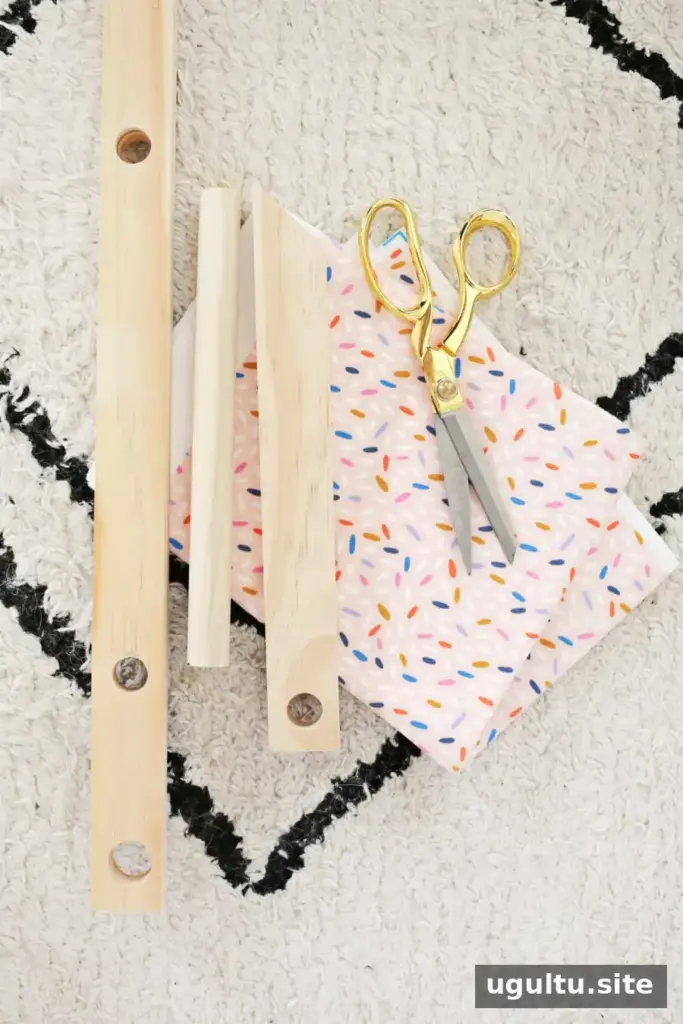
- Wooden boards, 3/4 inch thick and 1.5 inches wide
- A set of small caster wheels: two swivel and two fixed
- Paint and fabric for the sling
- Straight pins and a sewing machine
- 3/4-inch dowel rod
- Drill and 3/4-inch hole-saw bit
- Wood glue
- Chop saw, jigsaw, or hand saw; use a protractor to mark 45-degree cuts if needed
- 2-inch-wide wooden discs to build four mounting bases about 3/4 inch thick
- 1 1/4-inch screws and 1/2-inch screws
Work on a stable surface and wear suitable eye protection when cutting or drilling. Check that the selected wheels and screws fit the wooden parts before assembly.
Cut and prepare the wooden frame
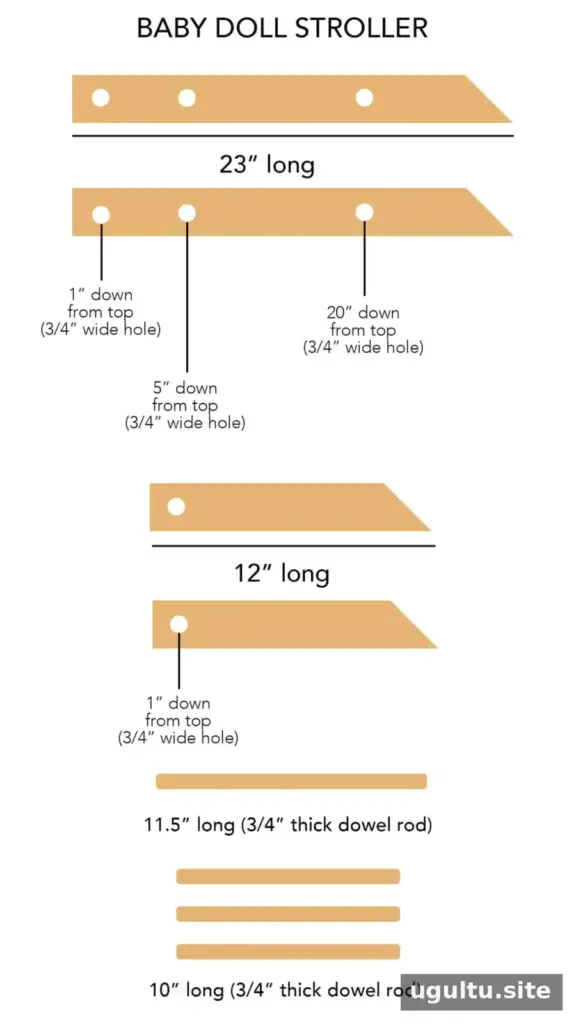
Cut a 45-degree angle on each of the four main stroller boards. Use the saw’s angle guide, or mark the angle with a protractor before cutting. Measure the board lengths from the longest point of each angled end using the diagram, then make the straight cuts. The result should be two longer and two shorter frame pieces.
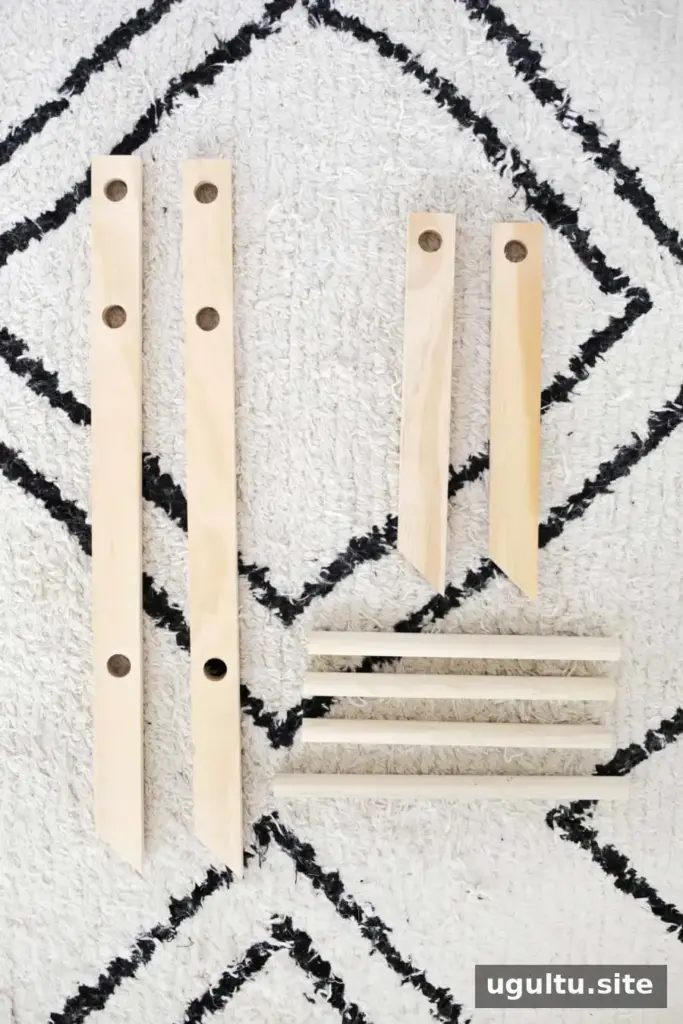
Cut the dowels to the lengths shown in the diagram. Drill 3/4-inch holes at the marked positions, centering each hole as carefully as possible and keeping the drill straight. Crooked holes can make the rungs sit at an angle and leave the frame uneven. Paint the wood and let it dry before moving on.
Sew the fabric sling
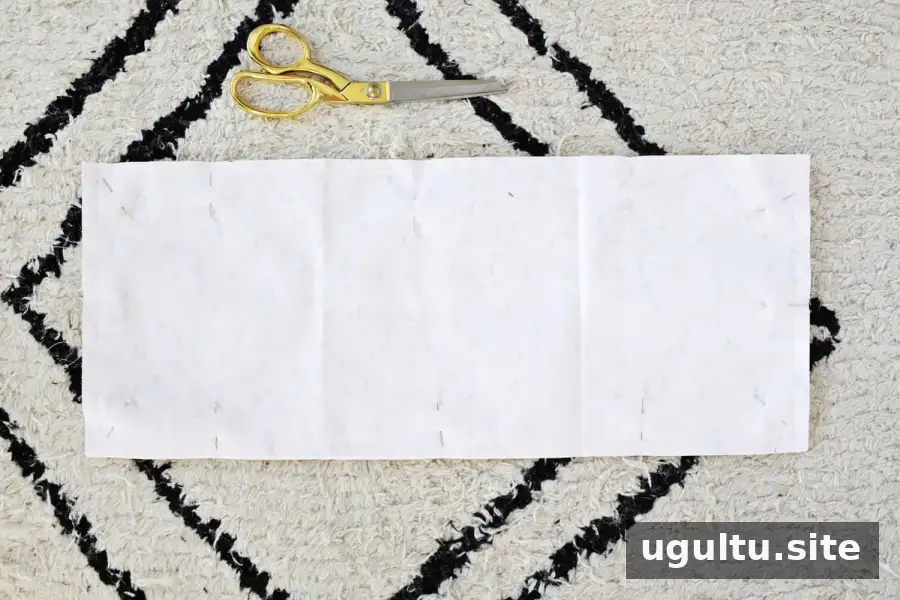
Fold the fabric with the printed sides facing each other and cut a 9-by-23-inch rectangle. Sew around the edge with a 1/2-inch seam allowance, leaving a 4-inch opening for turning the fabric. Trim the corners without cutting through the stitching, then turn the sling right side out and press the seams flat.
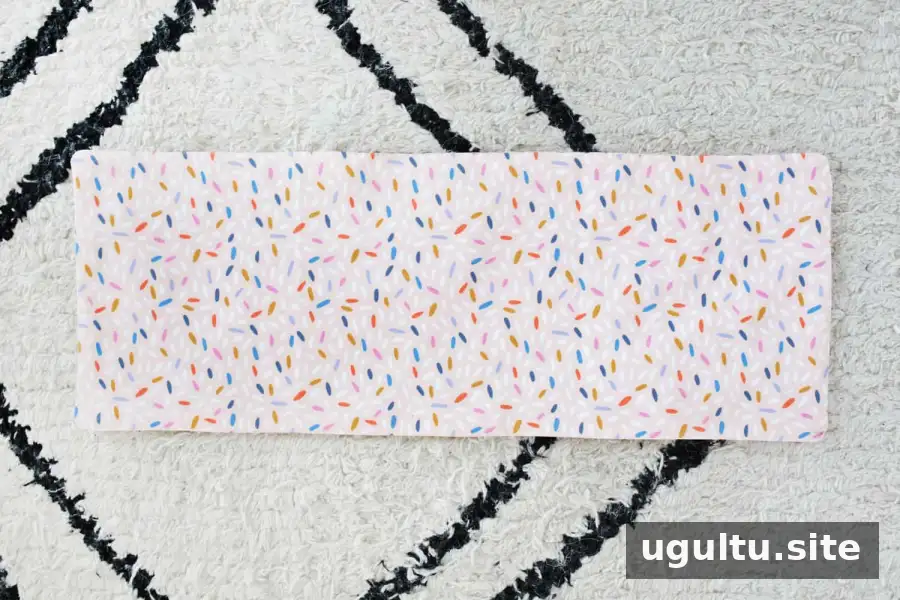
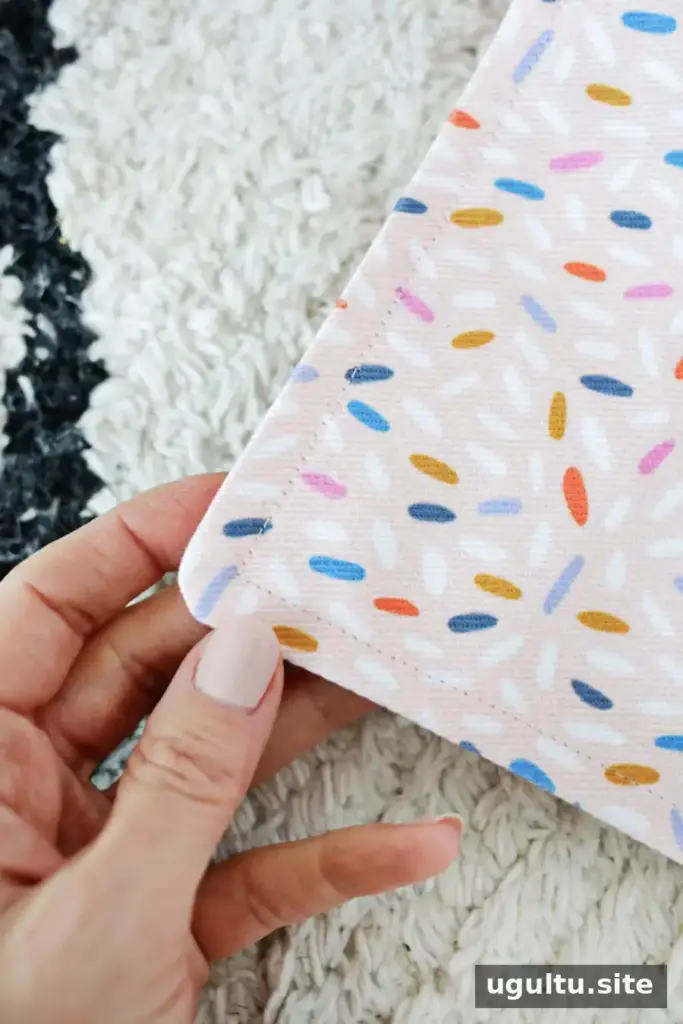
Topstitch around the rectangle with a 1/4-inch seam allowance. This helps the sling lie flat and closes the turning gap.
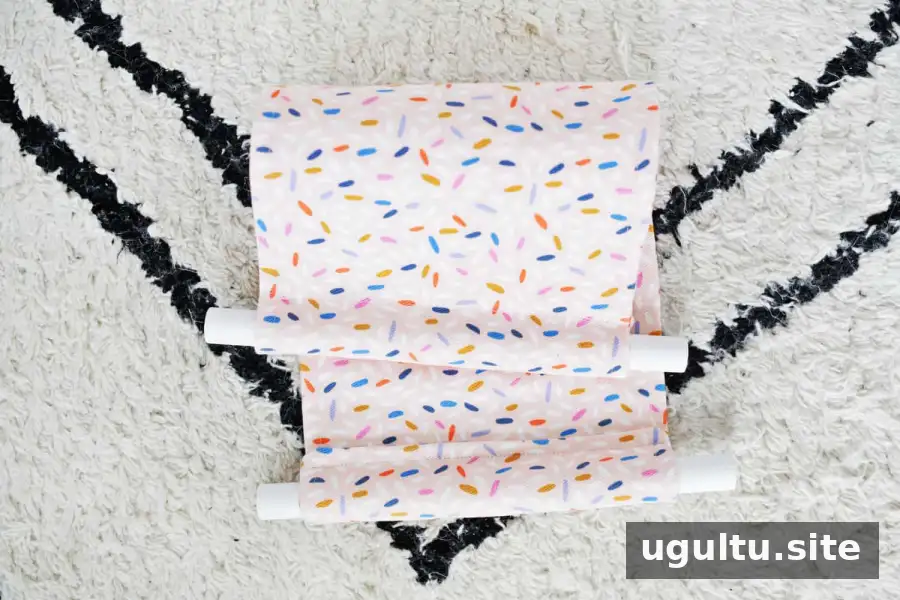
Fold the top and bottom edges under and sew a channel along each edge. Make each channel wide enough for the rod specified for the sling; test the fit before completing the seams.
Assemble the frame and attach the wheels
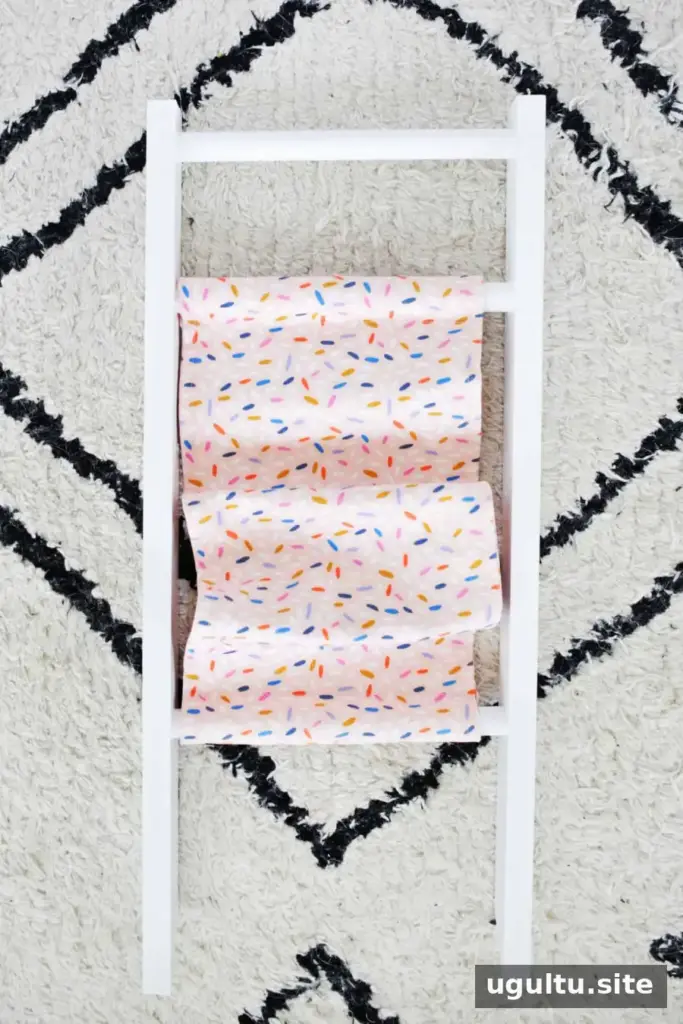
Fit the three 10-inch rods into the holes in the 23-inch boards to form the handle and inner frame. Position the fabric on the lower and middle rungs as shown. If the painted parts fit tightly, add a small amount of wood glue inside each hole and gently tap the rods into place. Keep them straight while assembling.
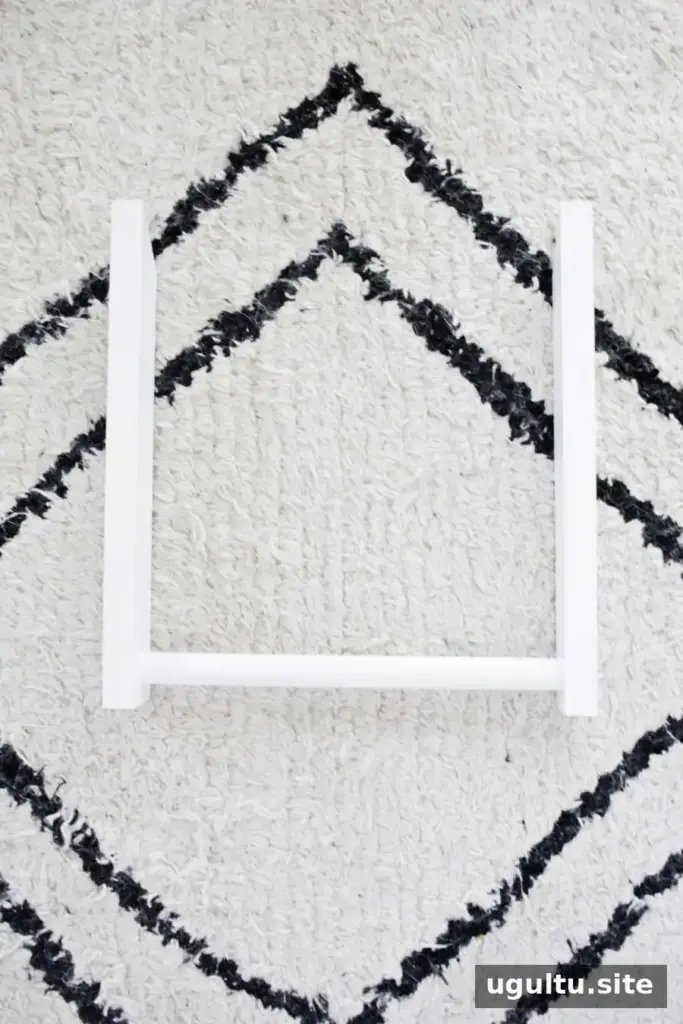
Repeat the process for the shorter outer frame, using the 11.5-inch dowel and the 12-inch side pieces. Allow the glue a few minutes to set before joining the frames.
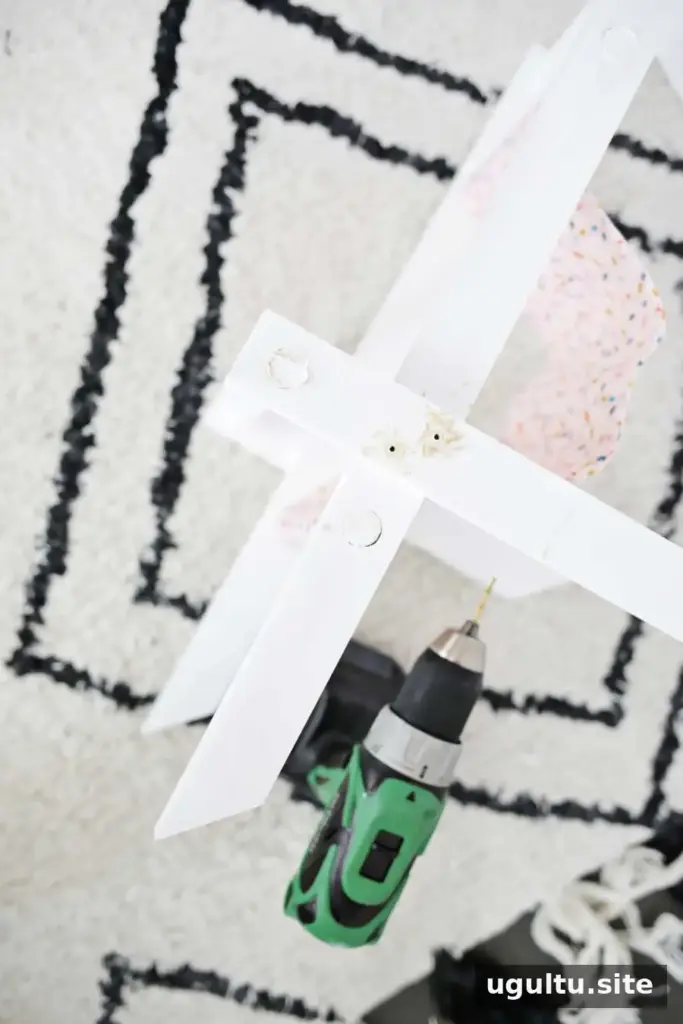
Slide the outer frame over the inner frame, a few inches above the inner frame’s bottom rung. Adjust the position until all four angled feet rest evenly on the floor. Mark the overlap, check that both sides match, and predrill before fastening the frame with 1 1/4-inch screws. A piece of tape placed 1 1/4 inches from the drill-bit tip can help limit drilling depth. Repeat on the other side.
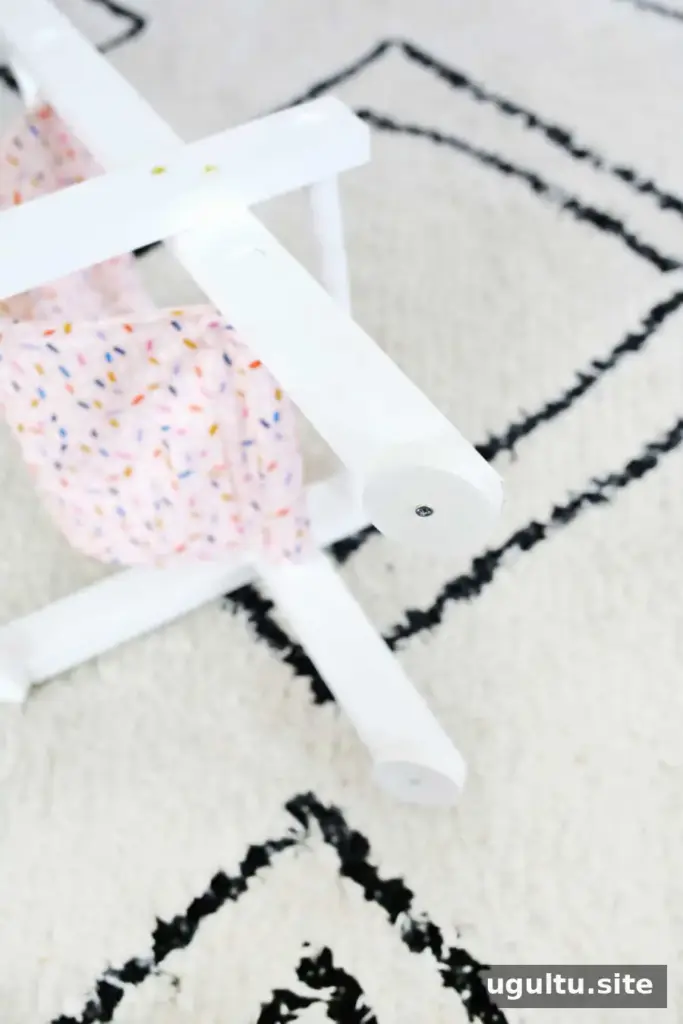
The caster mounting plates may be wider than the wooden legs. To create a broader base, glue together the 2-inch wooden discs in four stacks, each about 3/4 inch thick, and paint them. Attach one base to the bottom of each leg with a 1 1/4-inch screw, then use 1/2-inch screws to mount the wheels. Put the swivel casters at the front and the fixed casters at the back.
Final checks before play
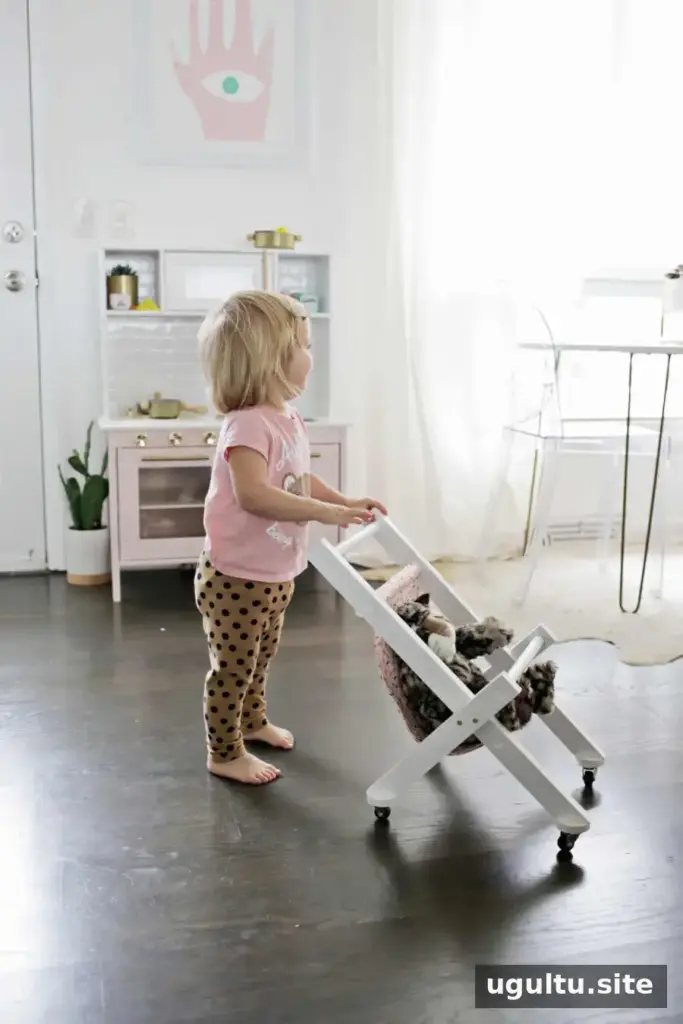
Let paint and glue dry fully, then check that every screw is secure, the wheels turn as intended, and the frame sits level. Inspect the stroller regularly for loose parts, splinters, or damaged fabric. This is a toy project for supervised play; an adult should confirm it is suitable for the child and the toys being carried.
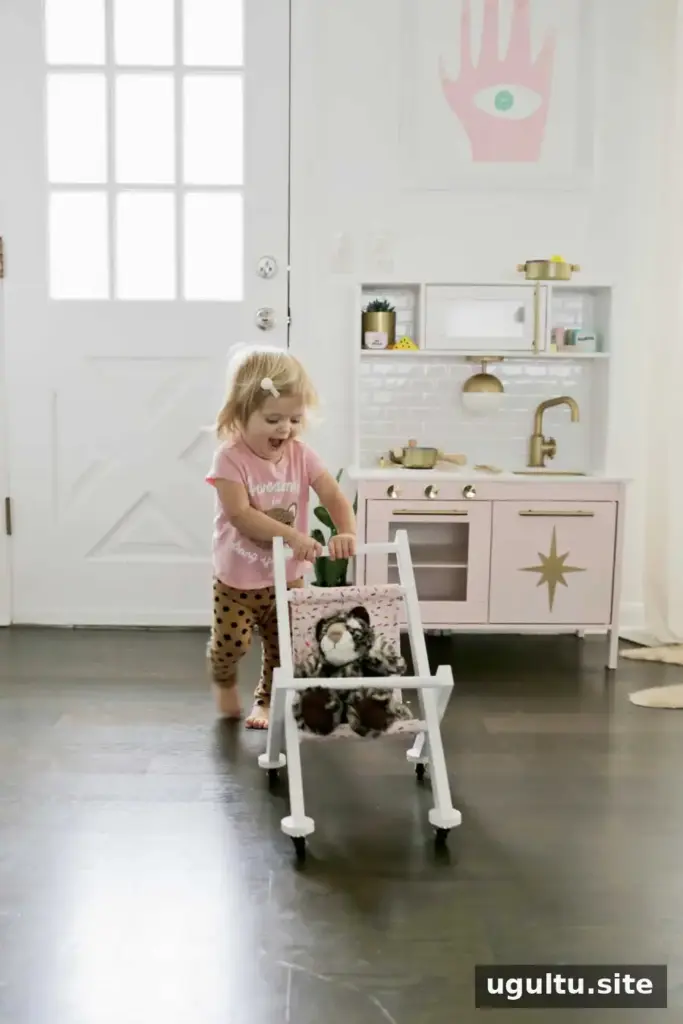
A fabric sling with some texture and a front bar can help keep stuffed toys in place while the stroller is pushed. The finished design is intended to be light and maneuverable, with room for several small plush friends. With the measurements checked against the diagram and the frame assembled securely, this Baby Doll Stroller DIY can become a simple addition to pretend play.
Project by Laura.


