admin
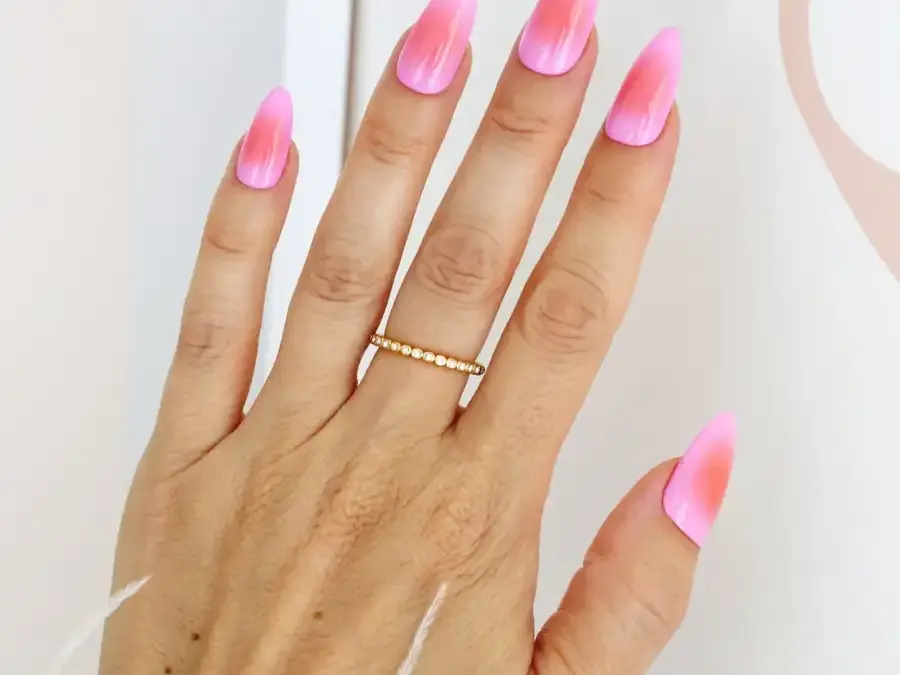
Gel polish offers a glossy manicure that can resist chips and wear for longer than traditional nail polish. Whether you are considering a salon appointment or want to try a gel manicure at home, it helps to understand how gel is cured, how to care for your nails, and how to remove the coating without damaging the natural nail.
Gel polish basics
What are gel nails?
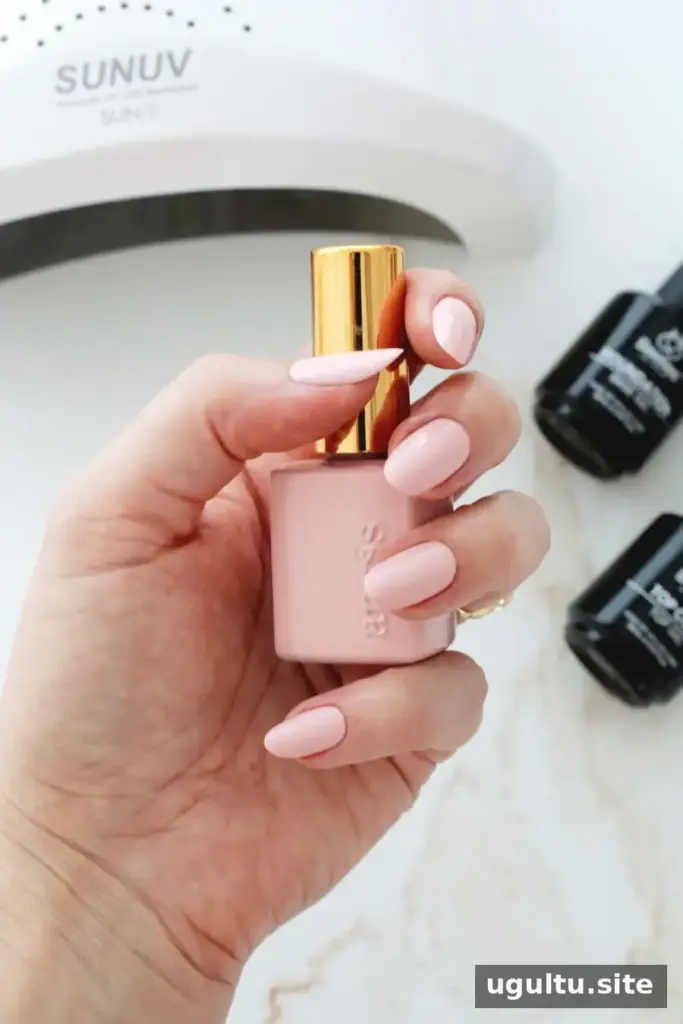
Gel polish contains ingredients that harden when exposed to a compatible UV or LED lamp. Once cured, the polish forms a durable, shiny coating over the nail. It is applied in layers, usually including a base coat, color coats, and a top coat. Thin, even layers help the product cure properly and create a smoother finish.
How long does gel polish last?
A well-applied gel manicure can last around 2–4 weeks, although many people refresh it after 2–3 weeks. As the natural nail grows, a gap becomes visible near the cuticle. Avoid leaving lifted product in place: moisture can collect underneath, and picking or pulling at the polish may damage the nail.
Benefits and drawbacks
Gel can be a practical choice if you want a long-lasting manicure, but application and removal require care.
- Benefits: It can stay chip-resistant for weeks, has a glossy finish, and comes in many colors and textures. Gel is also suitable for nail art and can be applied at home with the right tools.
- Drawbacks: It generally costs more than regular polish, takes practice to apply neatly, and requires a lamp for curing. Incorrect removal can weaken or damage natural nails.
Practical tip: Keep gel off the skin and cuticles, and follow the lamp and polish instructions. These steps support a cleaner application and reduce avoidable irritation.
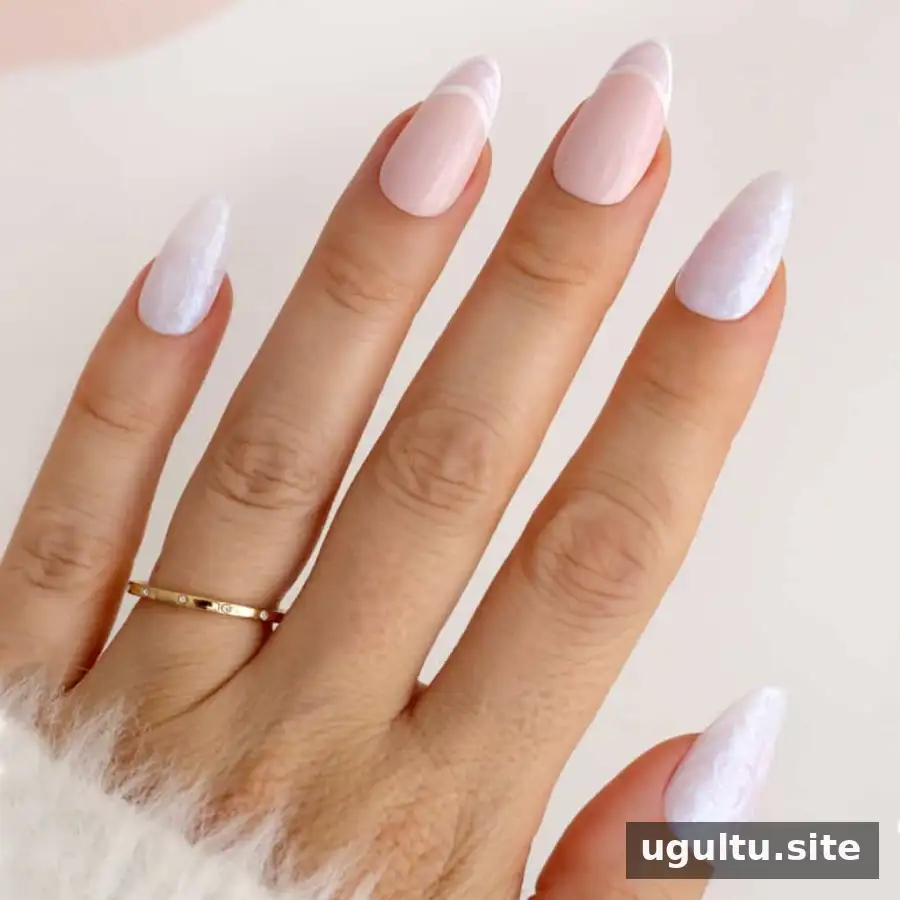
Gel polish compared with other manicures
Gel vs. powder dip
Gel is brushed onto the nail and cured under a lamp. Dip manicures use layers of colored powder and activator; they do not require a UV or LED curing lamp. Both can last about 2–4 weeks when applied and removed correctly. Dip nails may look thicker because of the layered powder, while those layers can also make the coating feel stronger. Either type can cause nail damage if it is forcibly removed.
Gel vs. acrylics
Gel polish is applied over the natural nail as a color coating. Acrylics are made by combining liquid and powder to build or extend the nail; gel polish may then be used to add color. Acrylics are typically thicker and are useful for adding length, but application and removal are more involved. Acrylic removal often requires professional filing, while soft gel polish can usually be soaked off with acetone when the product instructions allow it.
Gel vs. regular nail polish
Regular polish dries without a curing lamp and is generally quicker and easier to remove. It is a convenient option for beginners, but it often chips sooner and may need refreshing within days. Gel takes more steps to apply and remove, but can maintain its finish for longer.
Gel vs. Shellac
Shellac is a hybrid polish system that is cured under a UV or LED lamp. Like gel, it is applied in layers, but it is generally designed to be easier to remove. It may last about 1–2 weeks, and available shades depend on the product range. Follow the removal directions for the specific system rather than assuming all gel-like polishes are removed the same way.

Soft gel vs. hard gel
Soft gel can typically be soaked off with acetone, while hard gel usually needs to be filed away. Hard gel is often used to add length and structure; soft gel is more flexible and can be more suitable for at-home use. Check the product instructions before removal, since filing or soaking a product incorrectly can harm the natural nail.
Cost, timing, and nail health
How much does a gel manicure cost?
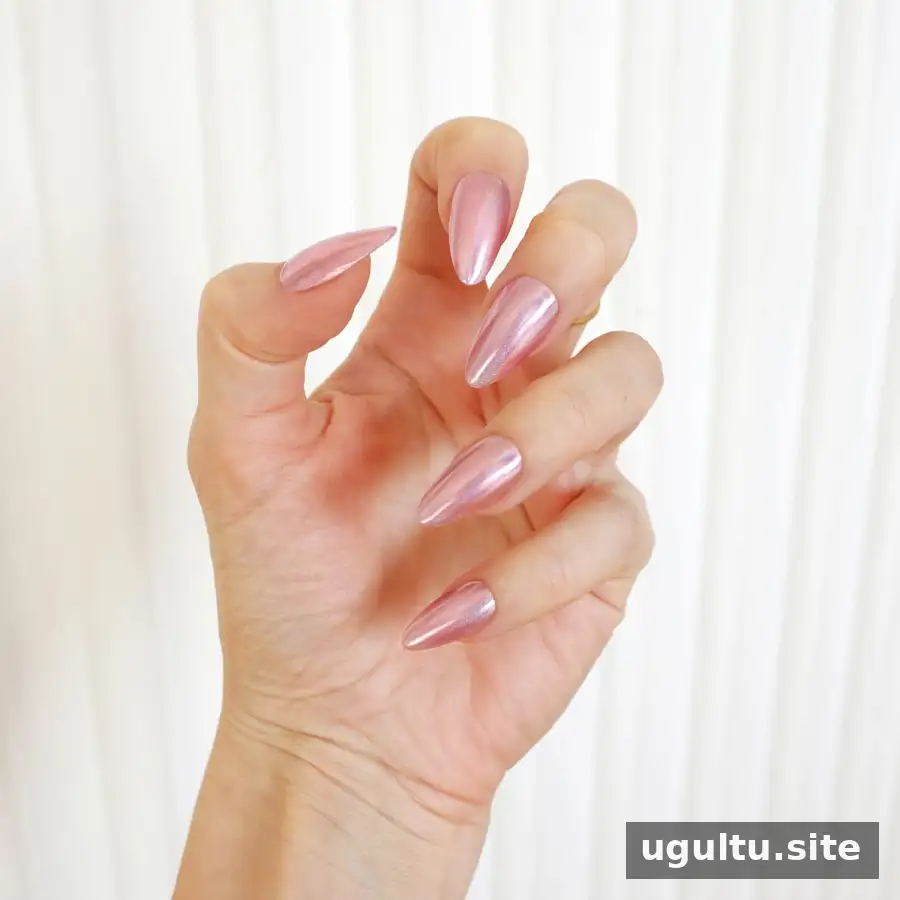
A salon gel manicure generally costs $35–$60. Designs, French tips, or chrome finishes may increase the price. Gel removal commonly costs $10–$20, though some salons include removal when you book a new manicure. Prices vary by location and service, so ask what the appointment includes before booking.
How often can you get gel manicures?
Allowing roughly 2–3 weeks between manicures gives you time to check the condition of your nails and avoid repeatedly applying and removing product without a break. Consider pausing gel if you notice white marks, unusual weakness or breakage, significant dryness, or changes in nail color. If changes persist or cause concern, seek advice from a qualified health professional.
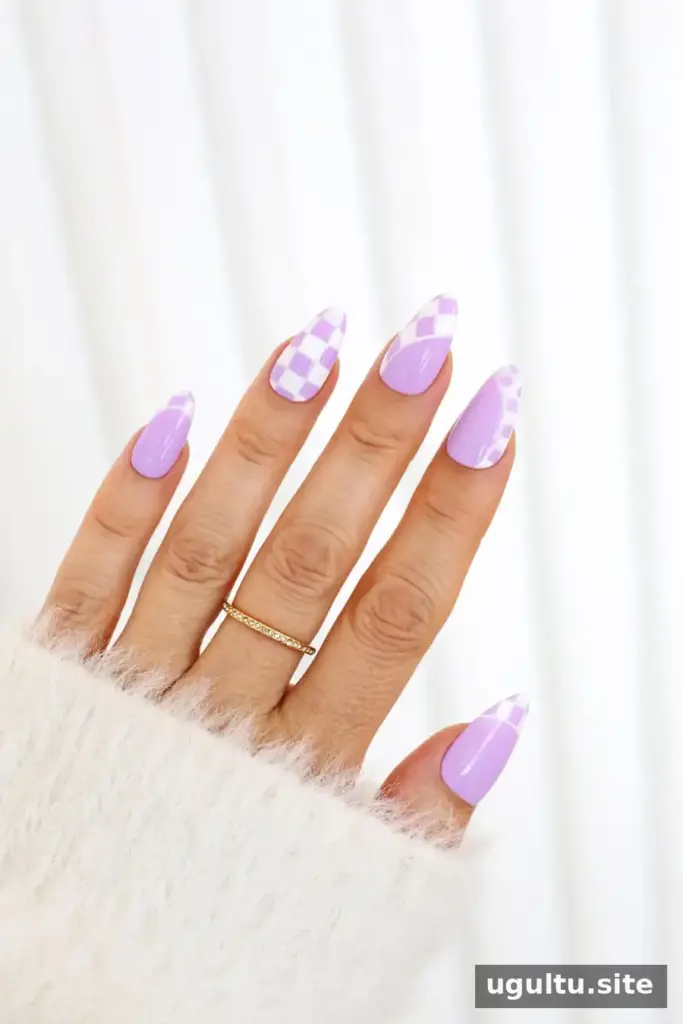
Are gel manicures safe?
Gel manicures require careful application and complete curing. Product that touches the surrounding skin may cause irritation or an allergic reaction, particularly with repeated exposure. Wipe away any uncured gel on the skin before placing your hand under the lamp, following the product’s safety directions. Do not cure gel that has remained on the skin.
UV and some LED curing lamps emit ultraviolet light. To reduce hand exposure, you can wear UV-protective fingerless gloves or apply broad-spectrum sunscreen to the backs of your hands before a manicure, keeping it off the nail plates. Use a lamp compatible with the gel system and follow its stated curing times; an under-cured layer may not harden as intended.
How to apply gel polish at home
Before starting, gather the tools you need and read the instructions for your gel products and lamp. A typical setup includes:
- A compatible LED or UV lamp
- Nail clippers, a nail file, and a buffer
- Cuticle oil and a wooden manicure stick or cuticle pusher
- Isopropyl alcohol and a small brush for cleaning up uncured product
- Lint-free cotton rounds
- UV-protective gloves, if desired
- Gel base coat, gel color, and gel top coat
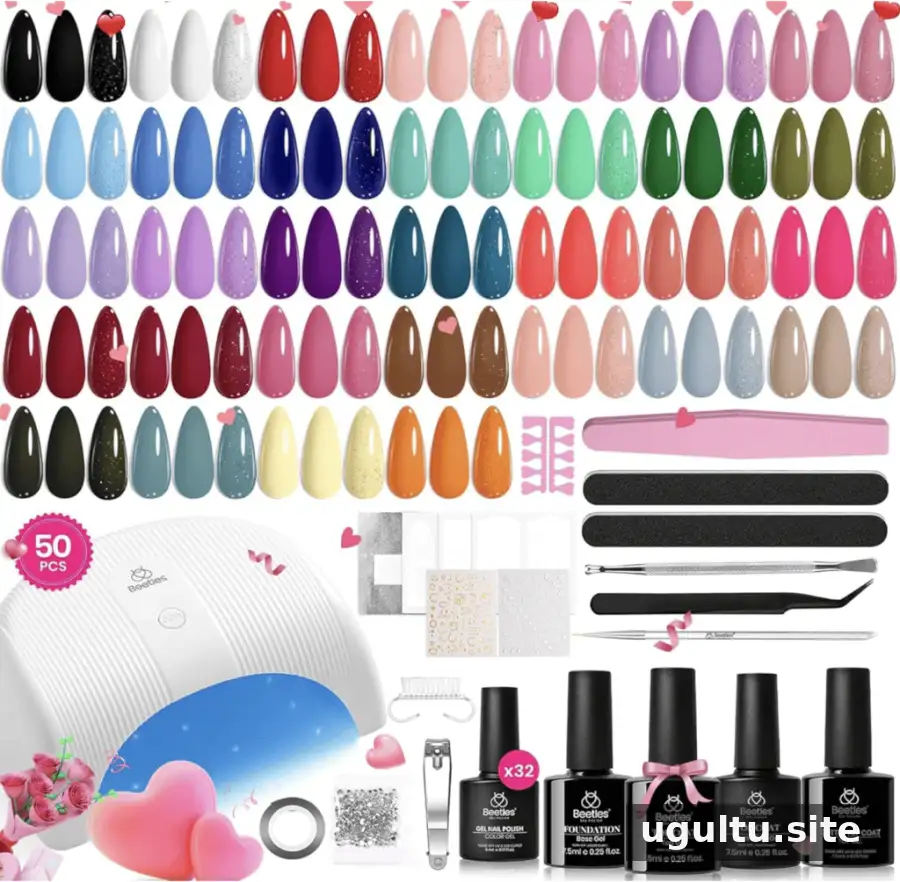
A kit may combine several of these supplies. Check that its lamp is suitable for the gel products included and that the instructions explain the required curing time.
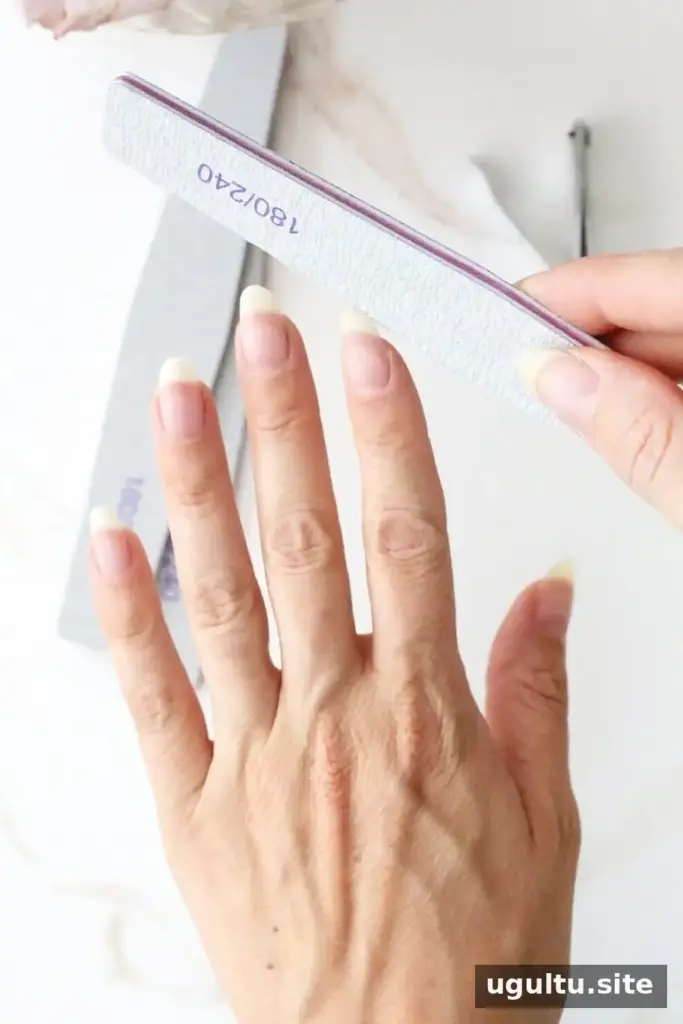
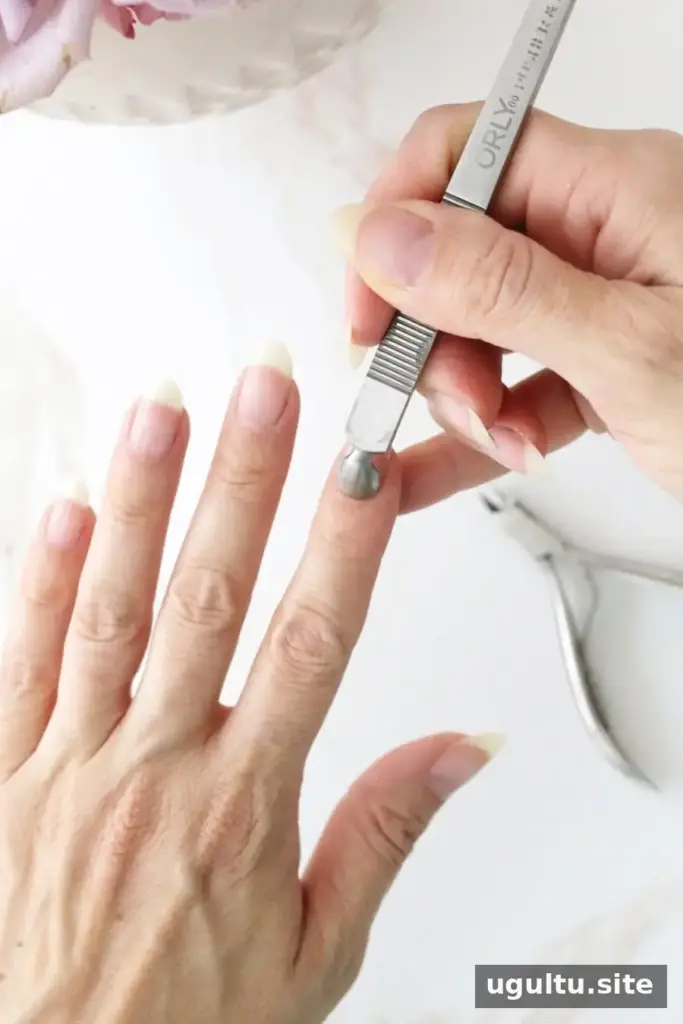
- Shape your nails. Clip and file clean, bare nails to the length and shape you prefer.
- Gently push back cuticles. Use a clean manicure stick or cuticle pusher. Avoid cutting living cuticle skin, which helps protect the area around the nail.
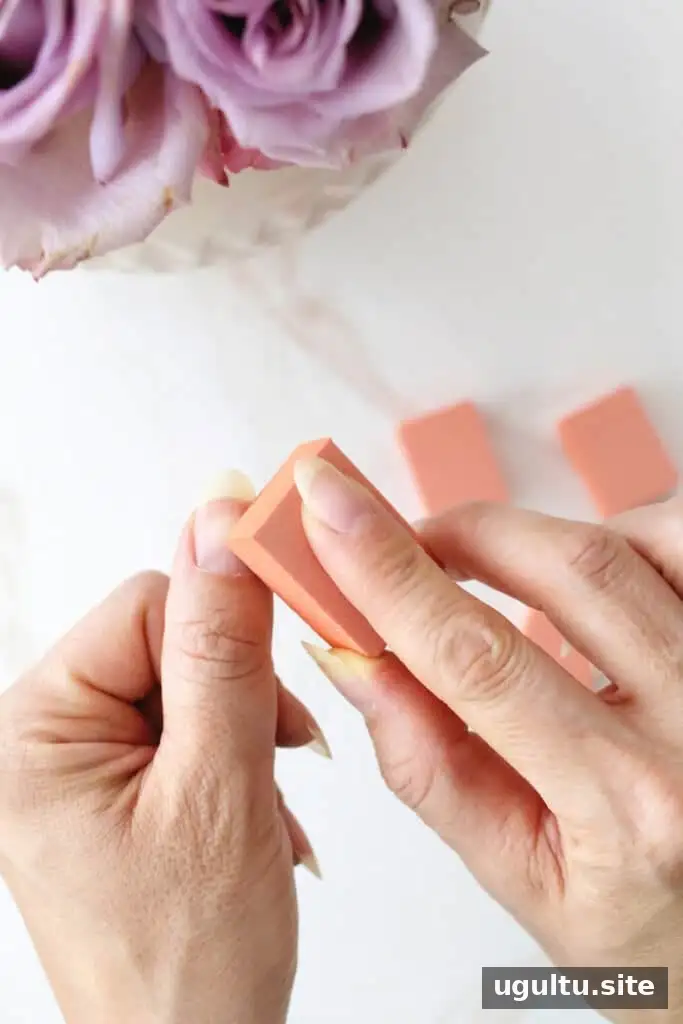
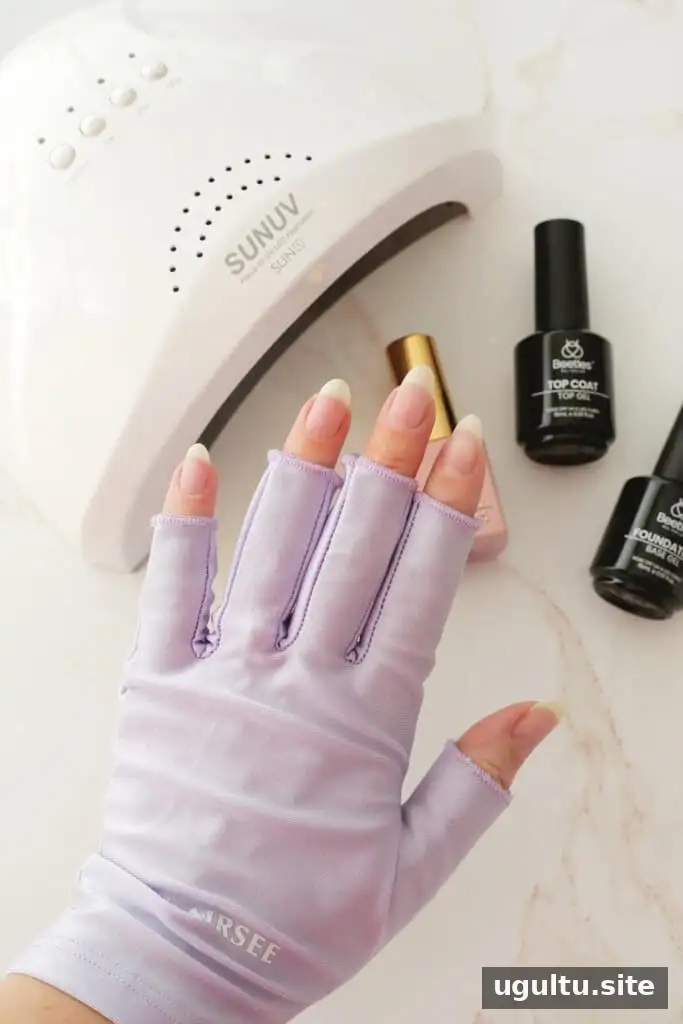
- Prepare the nail surface. Lightly buff only as needed to smooth the surface, taking care not to over-file. Remove dust around the nail.
- Clean the nail plate. Wipe each nail with at least 70% alcohol on a lint-free pad and let it dry.
- Apply base coat. Brush on a thin, even layer, keeping it away from skin and cuticles. If product touches the skin, remove it before curing. Cure according to the lamp and product instructions.
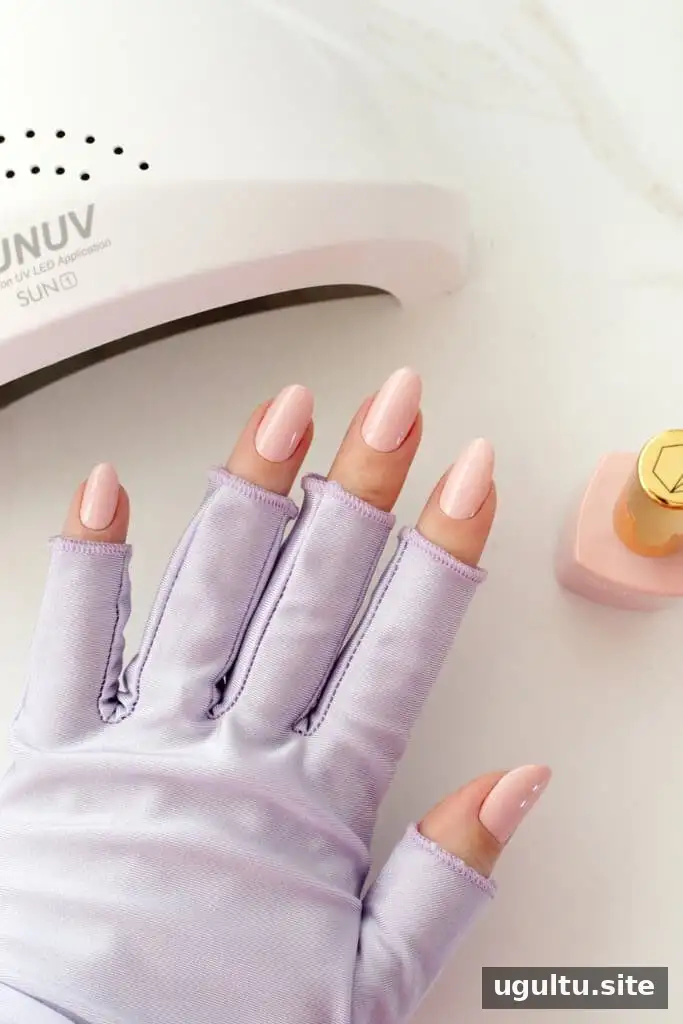
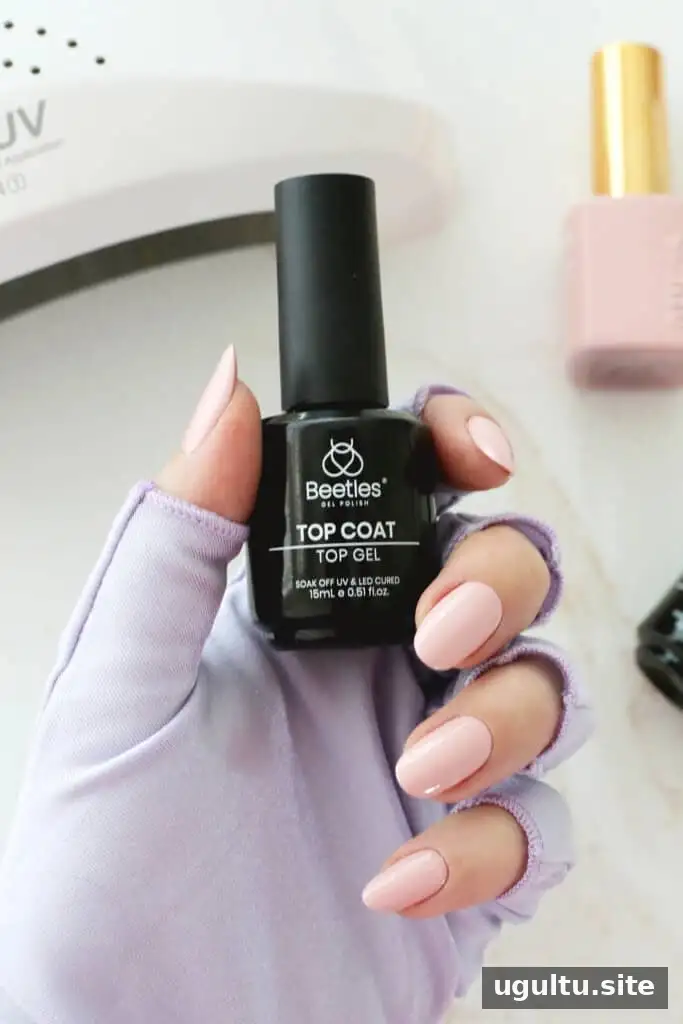
- Add color. Apply thin, even coats and keep the polish off the surrounding skin. Cure each coat for the time specified by the product instructions; apply additional coats as needed for the desired coverage.
- Apply top coat. Add a thin, even layer, including a light pass over the free edge of the nail. Cure as directed. A matte top coat is an option, though a glossy finish may show fewer scuffs over time.
- Finish with cuticle oil. Massage oil into the cuticles and surrounding skin after curing.
Wearing gloves for dishwashing and limiting prolonged contact with hot water may help reduce lifting. If you make a mistake before curing, wipe away the uncured layer with a lint-free pad and alcohol, then reapply it neatly.
Tip: Follow the curing time specified for your exact lamp and gel system. Curing times can differ between products and devices.
How to remove gel polish at home
For soak-off gel polish, gather pure acetone, a nail file and buffer, cotton pads, aluminum foil or nail clips, and cuticle oil or petroleum jelly. Use this method only if the product is designed to soak off; hard gel generally needs professional filing.
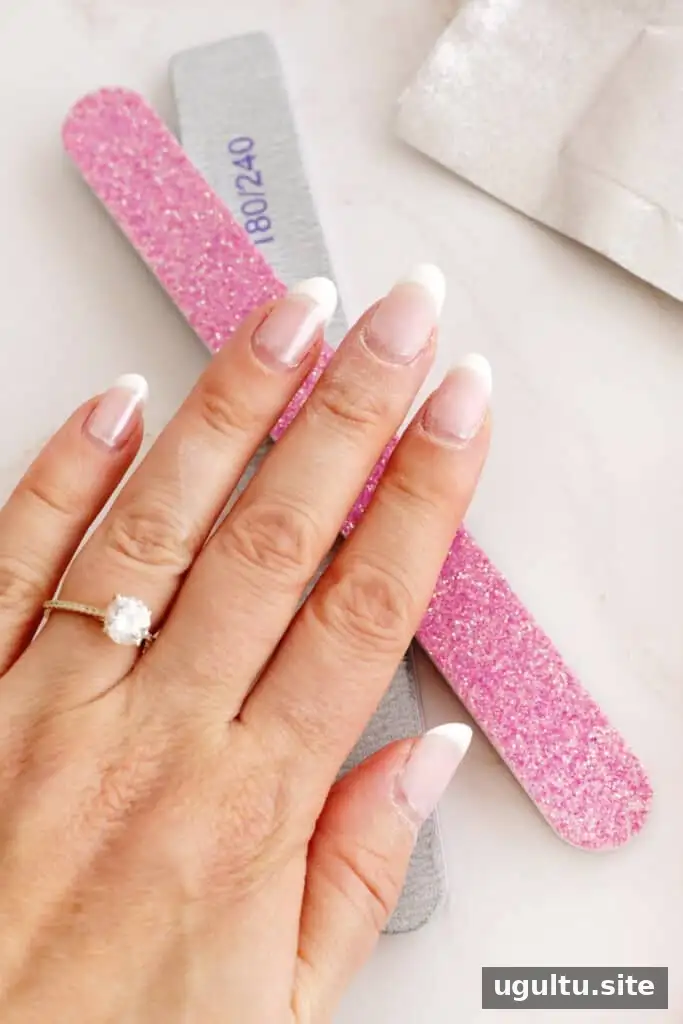
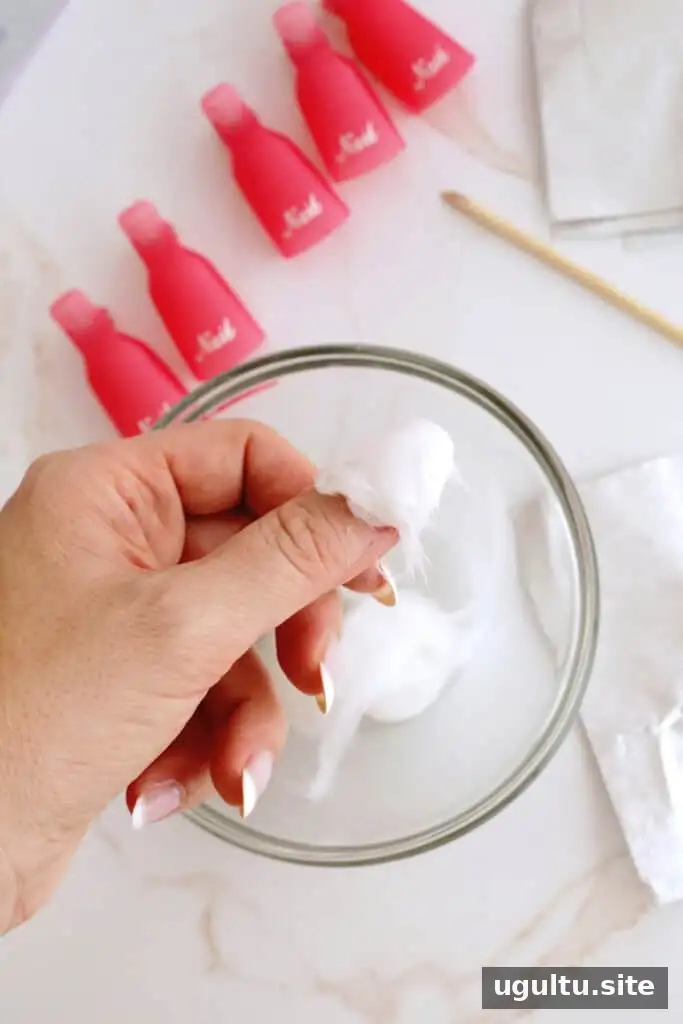
- File the shiny top layer. Gently remove the top coat’s shine so acetone can reach the layers beneath. Avoid filing into the natural nail.
- Wrap the nails. Place acetone-soaked cotton on each nail and secure it with foil or nail clips. To limit skin contact, apply cuticle oil or petroleum jelly around the nails first, keeping it off the nail surface.
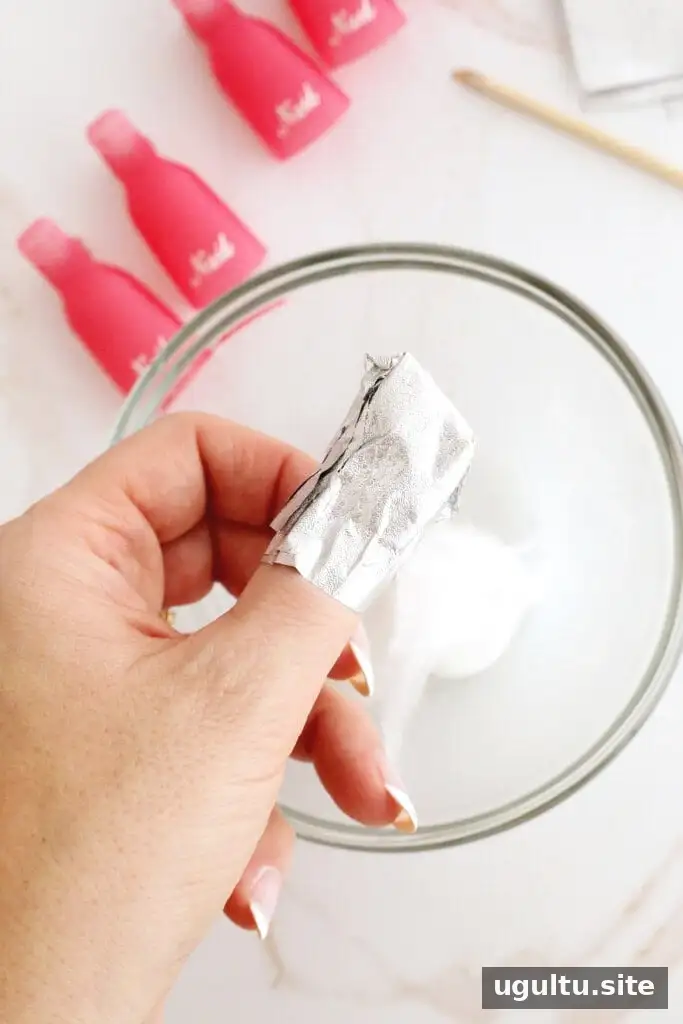
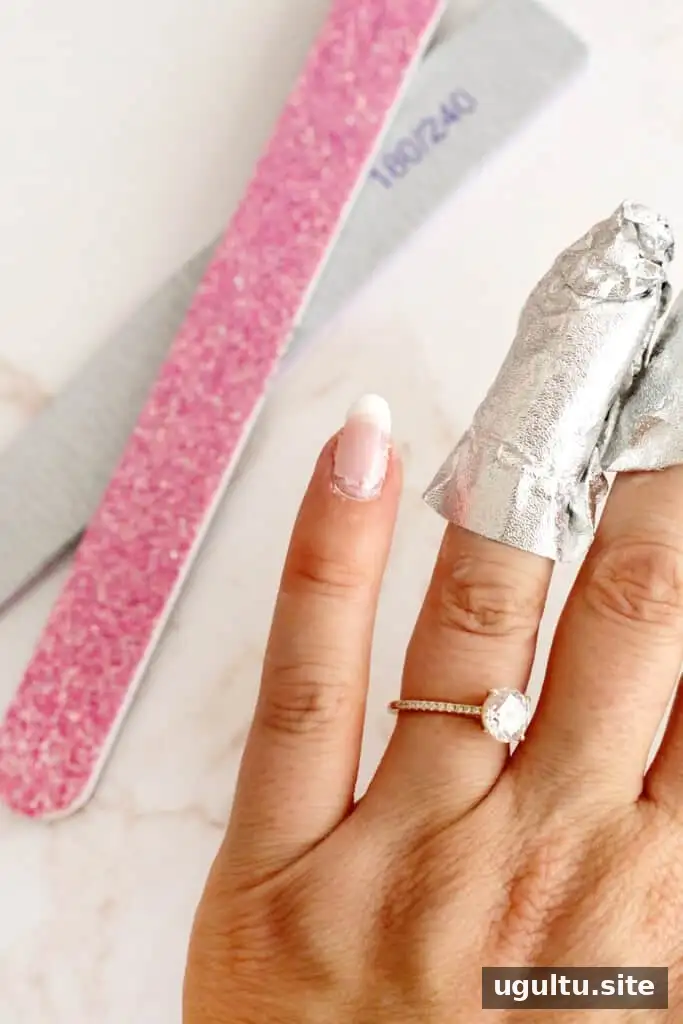
- Wait 15–20 minutes. Check one nail first. Several layers may need more time to soften.
- Gently remove softened polish. The gel should look loose or wrinkled. Ease it away with a wooden stick or suitable scraper without digging into the nail.
- Soak again if needed. If the polish resists, rewrap the nail for another 5–10 minutes instead of forcing it off.
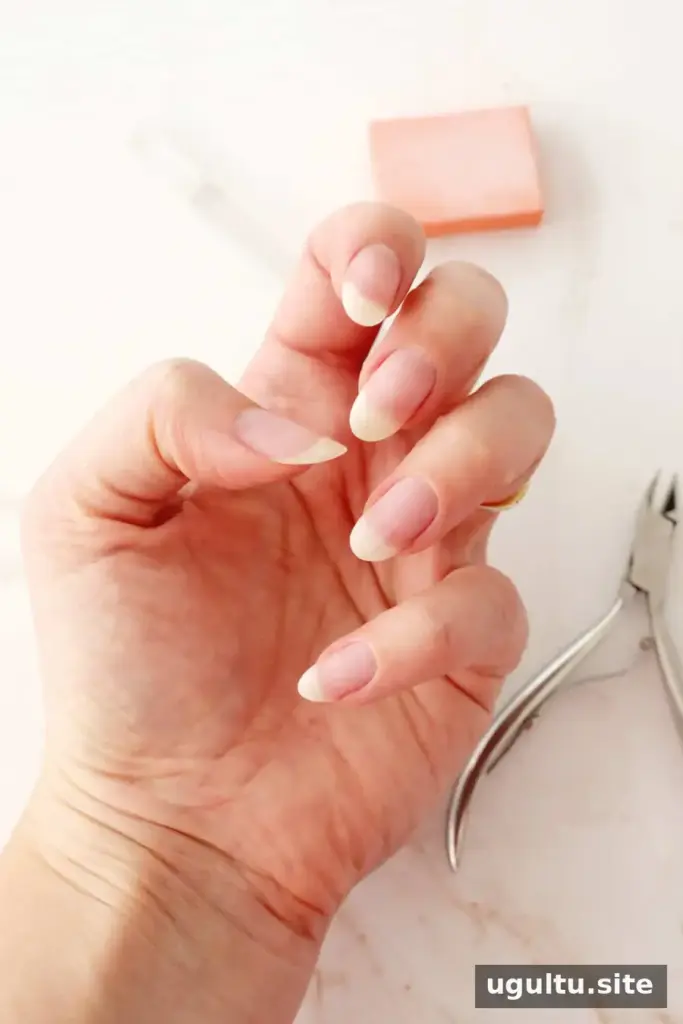
- Finish with care. Lightly smooth any remaining roughness and apply cuticle oil to the nails, cuticles, and hands.
Acetone can dry the skin, so work carefully and moisturize afterward. Never peel or pick off attached gel polish: pulling it away can remove layers of the natural nail.
Tip: If gel begins to lift, do not pull at it. File down a loose edge carefully or remove the polish using the correct method for that product.
UV vs. LED nail lamps
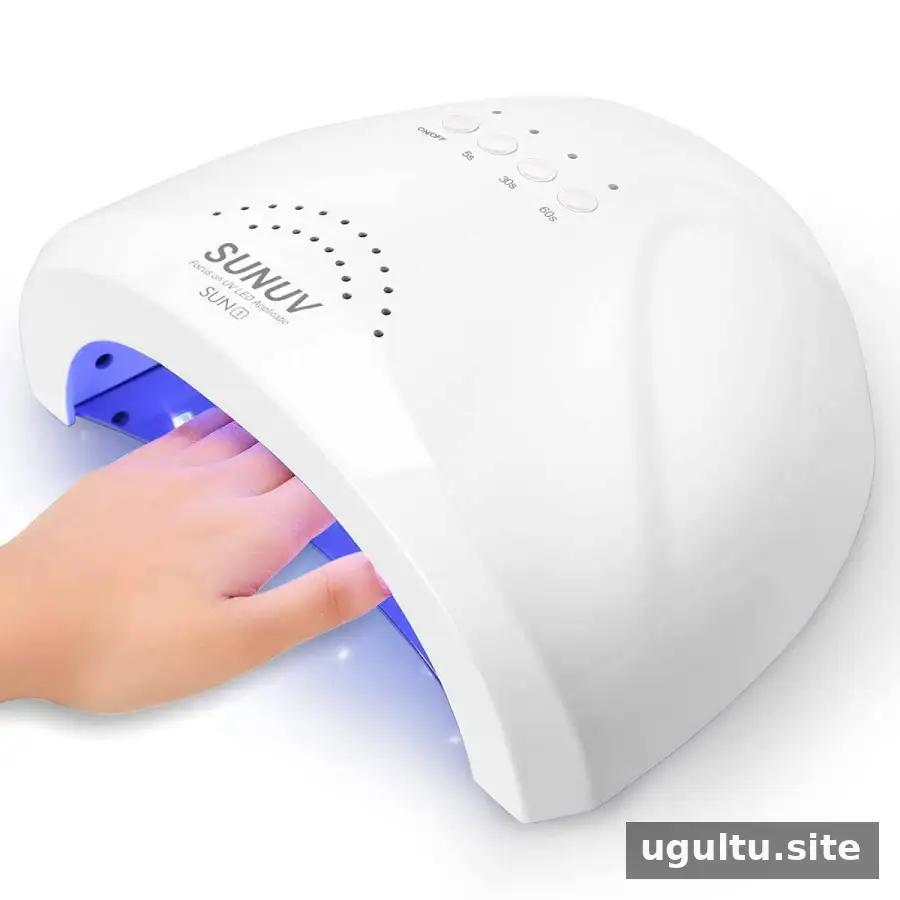
UV lamps emit ultraviolet radiation, and the lamp’s output needs to suit the gel system being used. LED lamps use light-emitting diodes and often cure compatible gel more quickly. Some curing devices are described as both UV and LED because their emitted light can include wavelengths in the UV spectrum.
Typical curing times vary: UV lamps may take 2–3 minutes per coat, while LED lamps may take 30–60 seconds. Always use the timing specified by the gel and lamp manufacturers rather than relying on a general estimate. UV lamp bulbs may need more frequent replacement; LED lamps generally last longer.
Final thoughts on gel polish
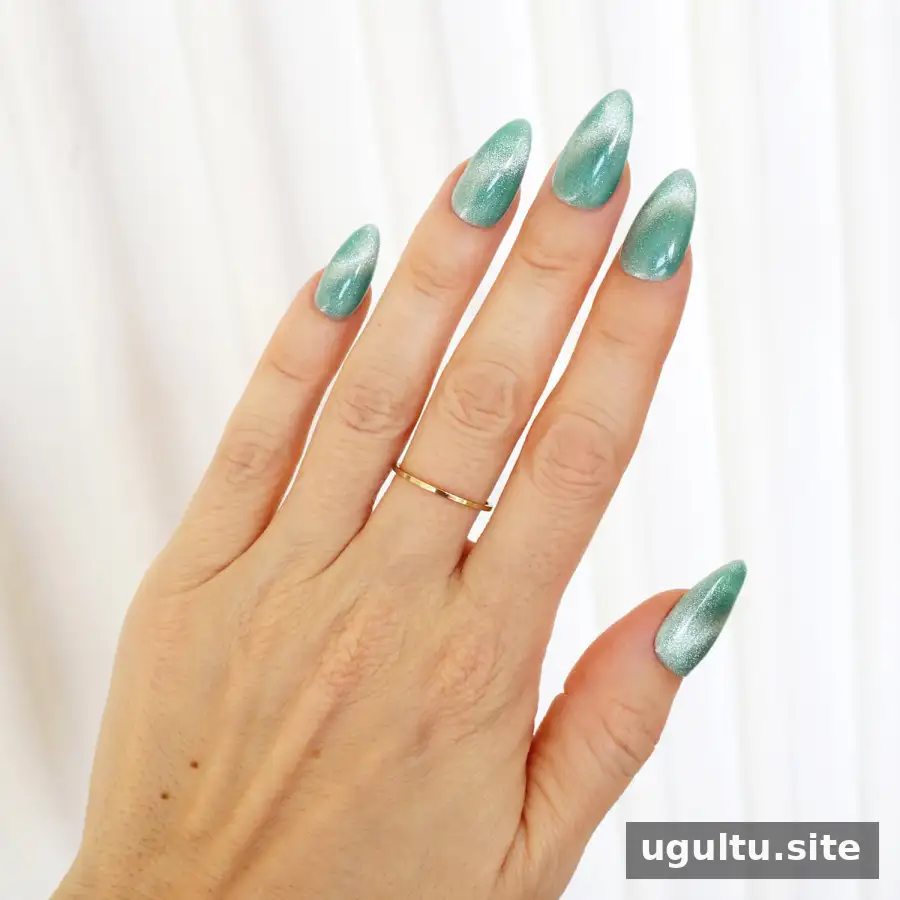
Gel polish can provide a glossy manicure that lasts around 2–4 weeks, but good results depend on compatible products, careful application, and patient removal. Keep uncured gel off your skin, use the lamp according to its instructions, and never peel the coating away. Taking breaks when your nails show signs of stress can help you make gel polish part of a more careful nail-care routine.