
 admin
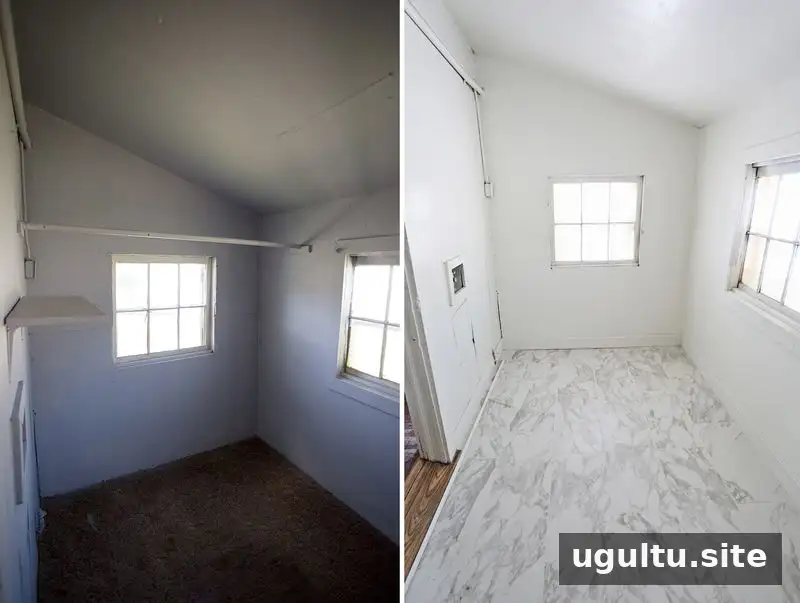
Laying tile can seem like a daunting project, but a small, straightforward floor is a useful place to learn the process. This beginner’s guide to how to lay tile covers preparation, backerboard, layout, setting tiles, and grouting. The example project was a laundry room of about 75 square feet, finished with 12″ x 25″ ceramic tiles.
The installation was completed by Josh, with tile selected locally by Emma. The project cost about $350 for tile, supplies, tools, and tile saw rental; installing it without a contractor saved at least $400 on this particular job. Costs and savings will vary with room size, materials, and local labor rates.
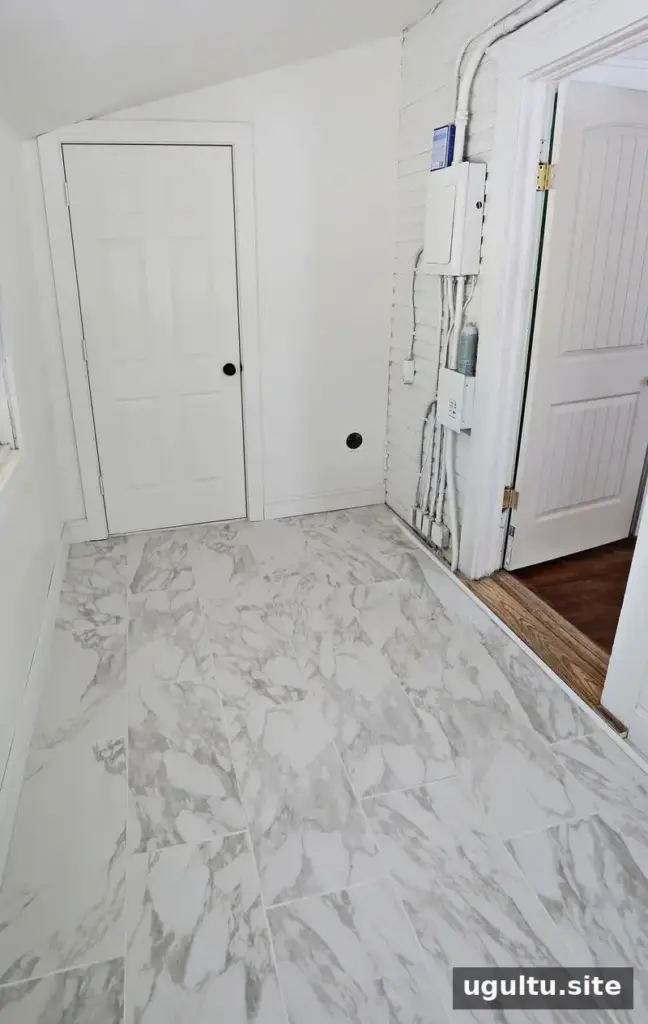
How to Lay Tile: Tools and Supplies
Gather materials before mixing mortar, and check the tile maker’s instructions for suitable products and installation requirements. The project used:
- Tile and backerboard
- Mortar, grout, and a mixing paddle
- Notched trowels and tile spacers
- Drill, screws, and tile markers
- Measuring tape, straight edge, and level
- Tile saw (rented), bucket, sponges, and utility knife
- Knee pads
The tile used was a 12″ x 25″ ceramic Calacatta tile. Review the product information in advance; specifications such as slip resistance and installation requirements can affect whether a tile is appropriate for a particular space.
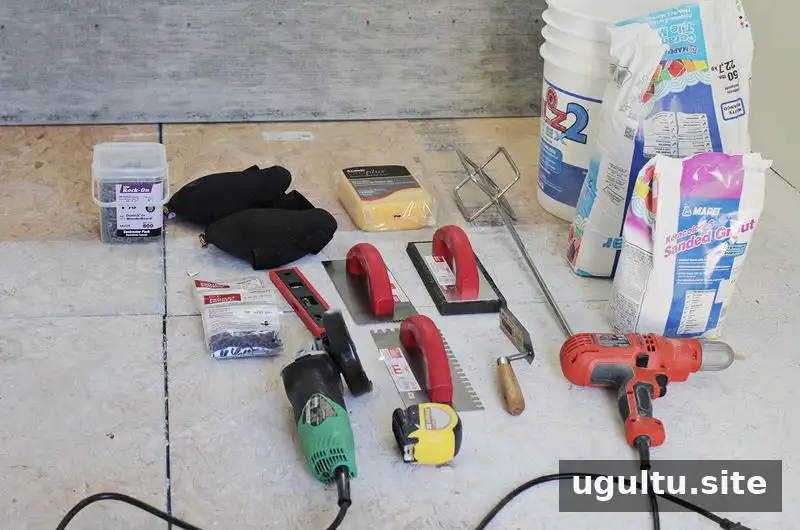
Step 1: Prepare the Floor and Install Backerboard
Begin with a clean, stable surface. Vacuum dust and debris, then check for loose plywood, protruding nails, or signs of damage. A floor with rot or movement needs repair before tile installation; tile and grout should not be used to cover up a structural problem.
Backerboard creates a suitable base for tile when installed according to its manufacturer’s directions. In this project, the boards were cut by scoring and snapping them, laid with staggered joints, and set over a thin layer of mortar. The sheets were spaced 1/8″ apart and secured with backerboard screws. Follow the instructions for your chosen board, including its required fasteners and joint treatment.
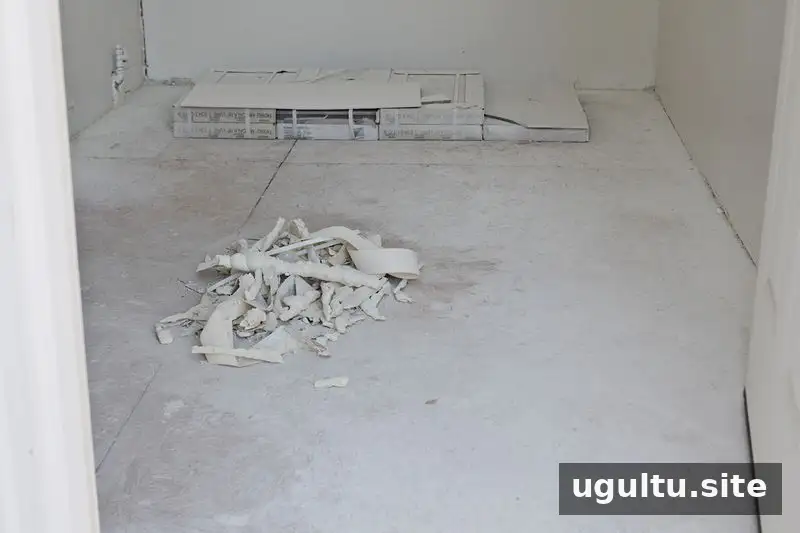
The laundry room had gaps where the floor met the walls, so they were filled with spray foam and the dried excess was trimmed flush. This was a condition specific to that room, not a substitute for repairing a weak floor or providing any waterproofing the space may require. Check the floor and perimeter carefully before proceeding.
Step 2: Plan the Tile Layout
Decide where the first tile and final row will sit before spreading mortar. For this small rectangular room, installation began at the back wall and continued toward the kitchen. The final cuts were placed where the washer and dryer would hide them. Dry-laying tiles or marking reference lines can help reveal narrow cuts and alignment issues before the mortar is down.
Step 3: Set and Cut the Tiles
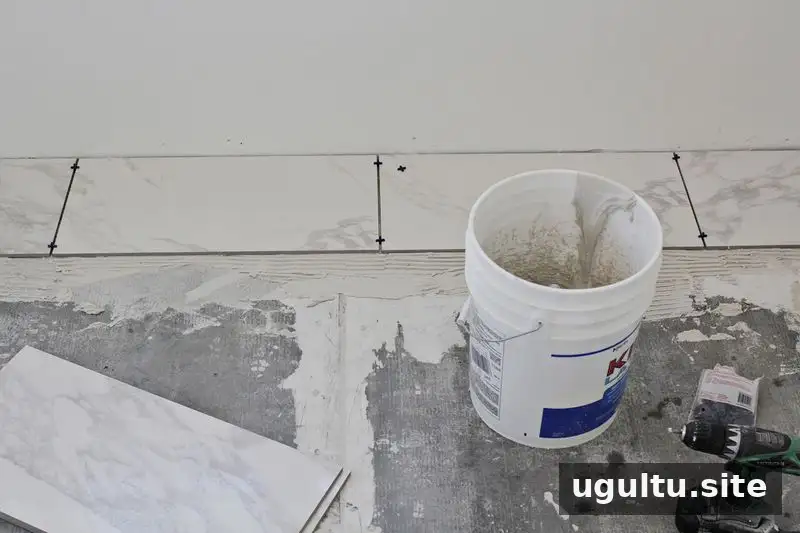
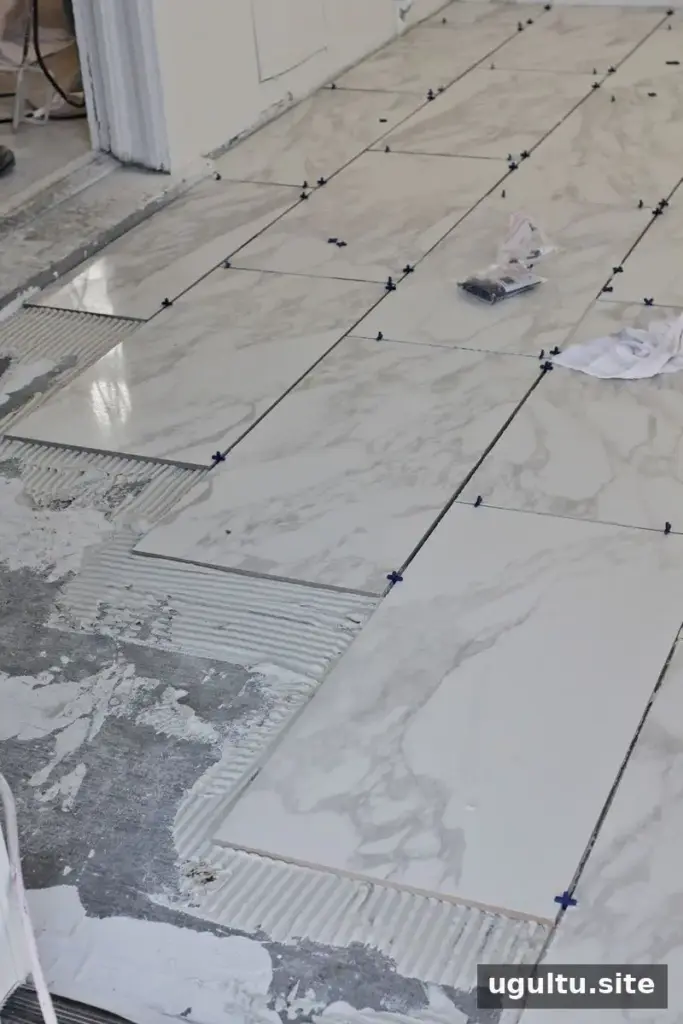
Mix the mortar as directed on its packaging. Spread only enough for a few tiles at a time, using a notched trowel suited to the tile and installation instructions. Place each tile, press it into position, and check that it is level and aligned with neighboring tiles. Spacers help keep the joints consistent.
Work in manageable rows and use a tile saw for edge pieces. Measure each cut carefully, and keep an exit route available so you do not have to step across freshly laid tile. The project’s layout allowed work to continue toward an exit.
Step 4: Grout and Clean
Allow the mortar to set for the period stated in its instructions before removing spacers and applying grout. In this project, grouting took place after a weekend. Press grout into the joints as directed, and clean residue from the tile promptly with a damp sponge. Once grout hardens, removing haze and excess can become much more difficult.
Beginner Tips for a Better Tile Job
- Spend time removing dust and debris before beginning; a clean base helps the installation go smoothly.
- For a one-time project, basic tools may be sufficient, but choose tools compatible with the tile and follow product instructions.
- Rinse mortar and grout from tools before they set.
- Plan the order of work and keep a clear path out of the room.
- Use a level and spacers throughout rather than waiting until the end to check alignment.
Installation notes by Josh.
Conclusion
Learning how to lay tile starts with a sound, clean floor and careful planning. Follow the product instructions, work in small sections, check each tile as you go, and clean grout promptly. A modest, uncomplicated room can be a manageable first project, while damaged or unstable flooring should be repaired before tiling begins.


