
 admin
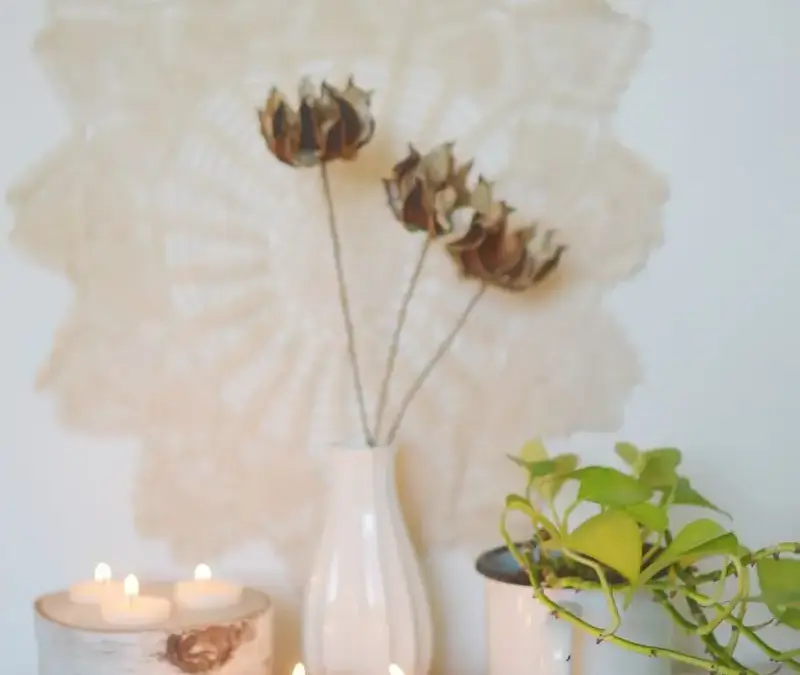
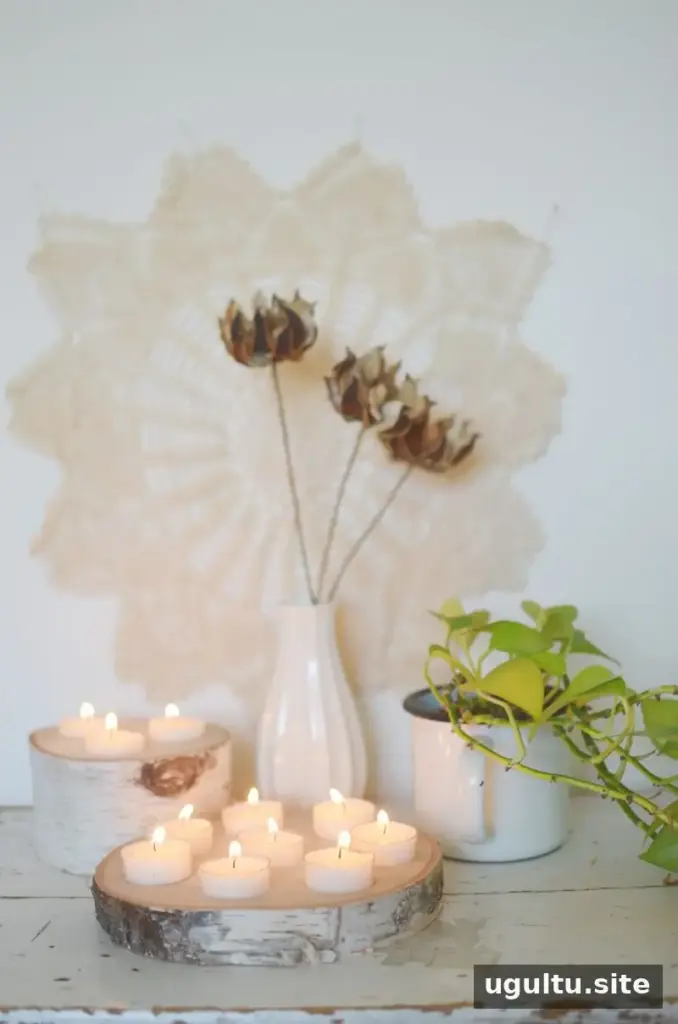
A birch wood tealight holder is a simple way to add a warm, natural accent to a table or mantel. Birch rounds bring their own texture and shape to a display, while tealights create a soft glow for dinners or craft evenings. This project uses a few basic supplies and a drill, with hole depth adjusted to suit the height of each wood round.
Before you begin, choose stable, dry birch rounds and work on a secure surface. Since the holder is made of wood, take care with open flames: keep lit tealights attended and away from other flammable decorations.
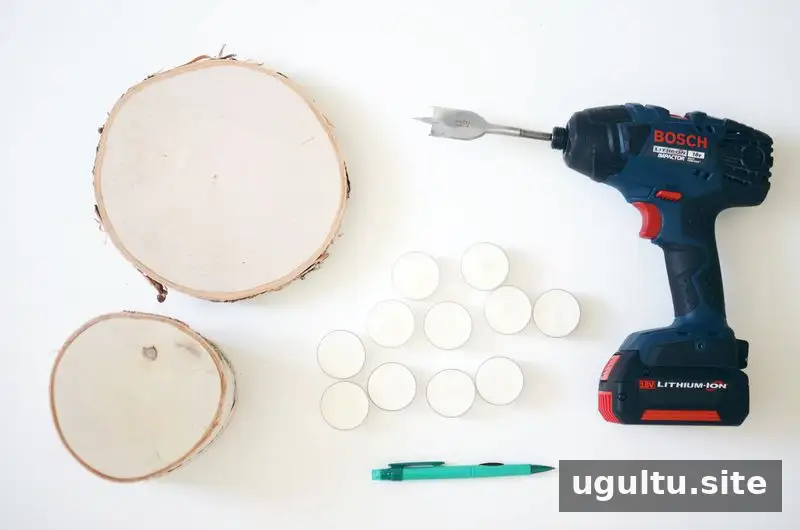
Supplies and tools for a birch wood tealight holder
Supplies:
- Birch wood rounds in 3-inch and 6-inch sizes
- Tealights
- Pencil
Tools:
- Drill
- 1 1/2-inch drill bit
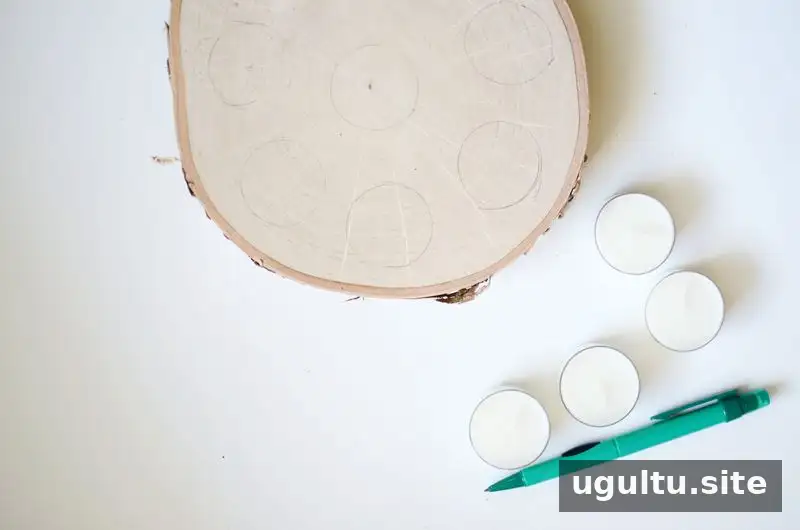
Check that each tealight fits the drilled opening before lighting it. Marking the base of the tealight helps you position the holes to match the candles you plan to use.
How to make the birch wood tealight holder
1. Mark the tealight positions
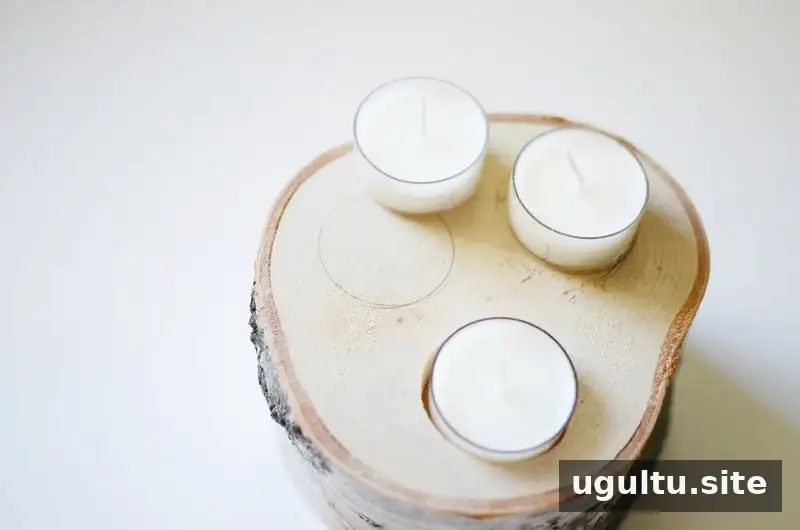
Set each tealight where you want it on the wood round. Use a pencil to trace around its base, creating a guide for drilling. Leave enough space between positions so the candles sit securely and do not crowd one another.
2. Drill the openings
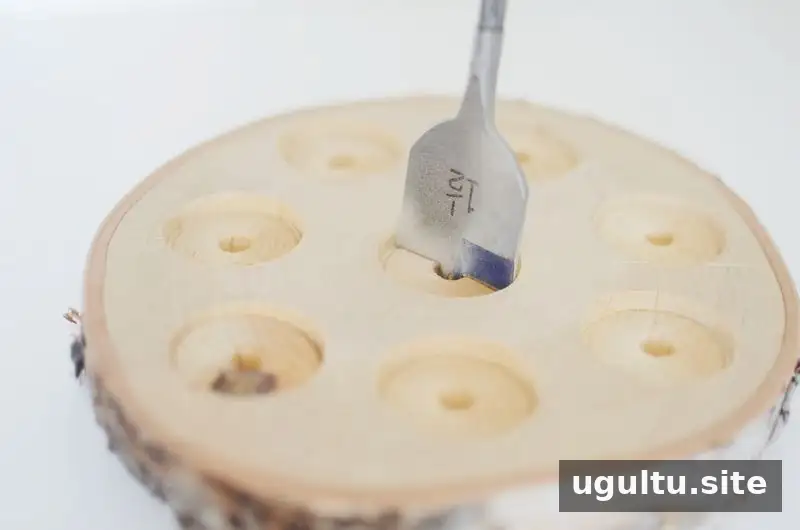
Drill into the marked areas to the depth you want the tealights to sit. For the taller birch round, the holes were drilled 3/4 inch deep; for the shorter round, they were drilled 1/4 inch deep. Drill carefully and check the fit as you work. If you are not comfortable using a drill, ask someone experienced to help.
3. Add the tealights
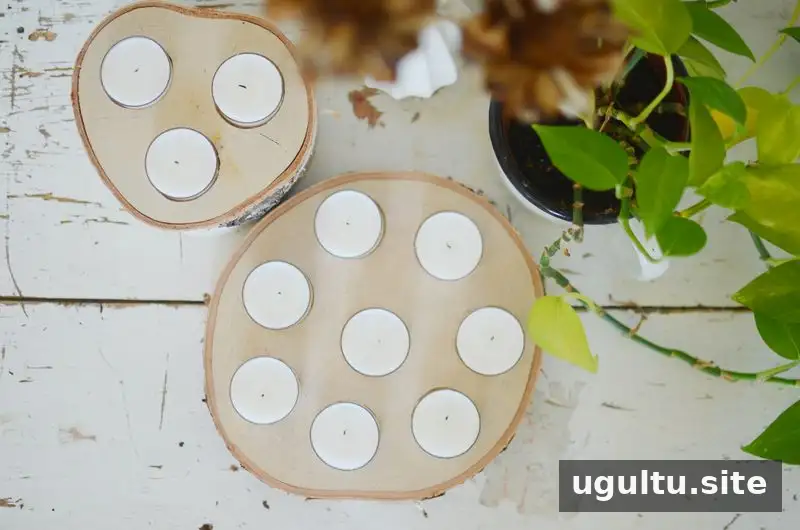
Place a tealight in each opening and make sure it sits level and securely before lighting it. Keep the holder on a stable, heat-resistant surface, and never leave a burning candle unattended. Allow the wood to cool before handling the holder after use.
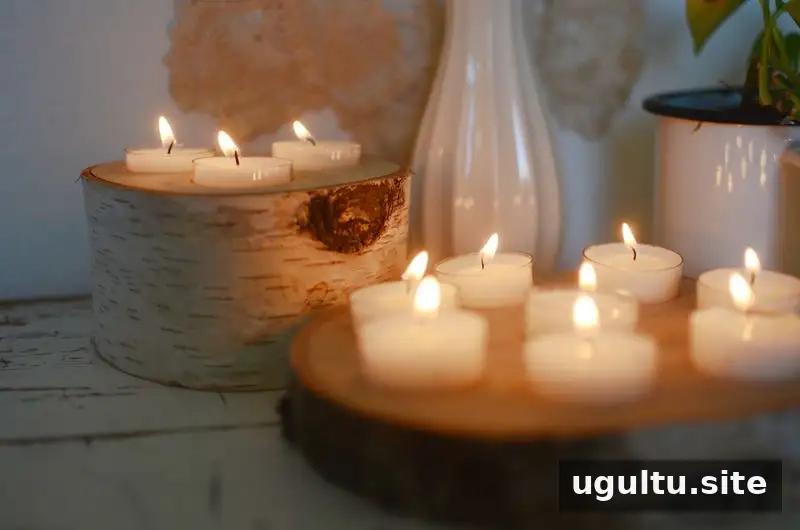
Display ideas and practical tips
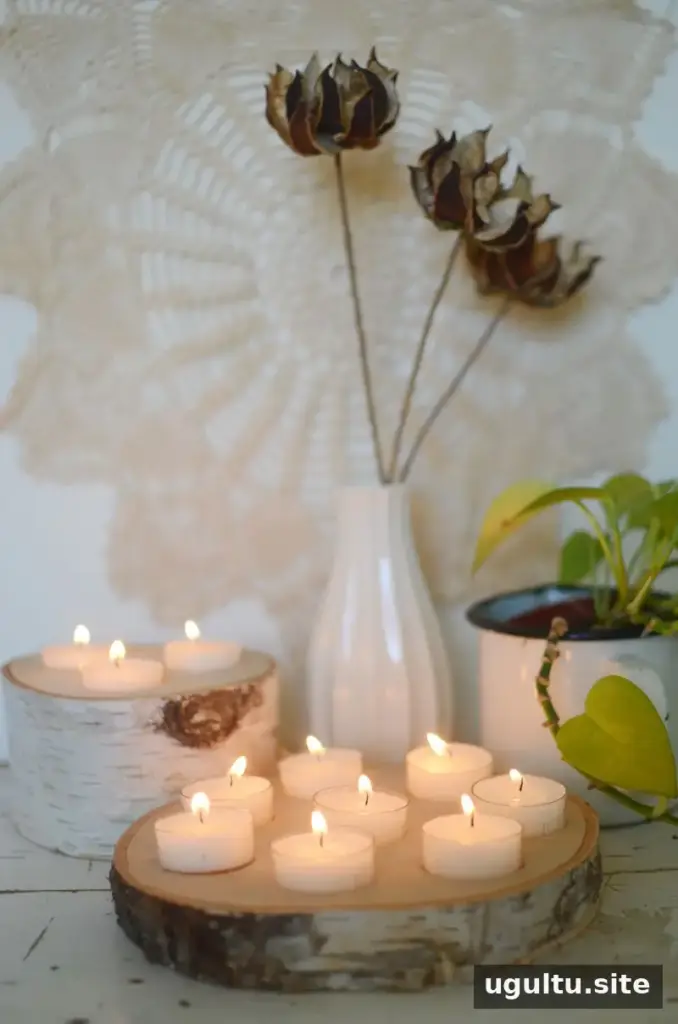
The finished holder can bring a cozy touch to an evening meal, a craft gathering, or an outdoor dinner. For a longer centerpiece, arrange birch rounds of different heights along the middle of the table. Leave plenty of clear space around every flame, especially if adding napkins, greenery, or other seasonal decorations.
You can also use the wood rounds as a decorative display without lighting the tealights. If open flames are unsuitable for your setting, consider using battery-operated tealights instead, while checking that they fit the openings.
With a few supplies and careful drilling, a birch wood tealight holder makes a straightforward seasonal DIY. Choose a stable arrangement, check that each candle fits properly, and keep fire safety in mind whenever you light it.
By Rubyellen


