
 admin
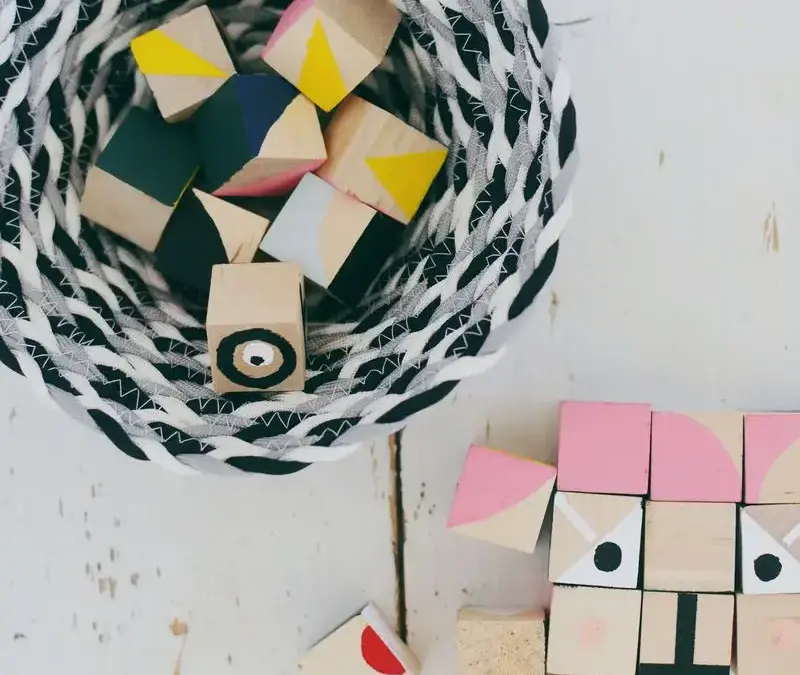
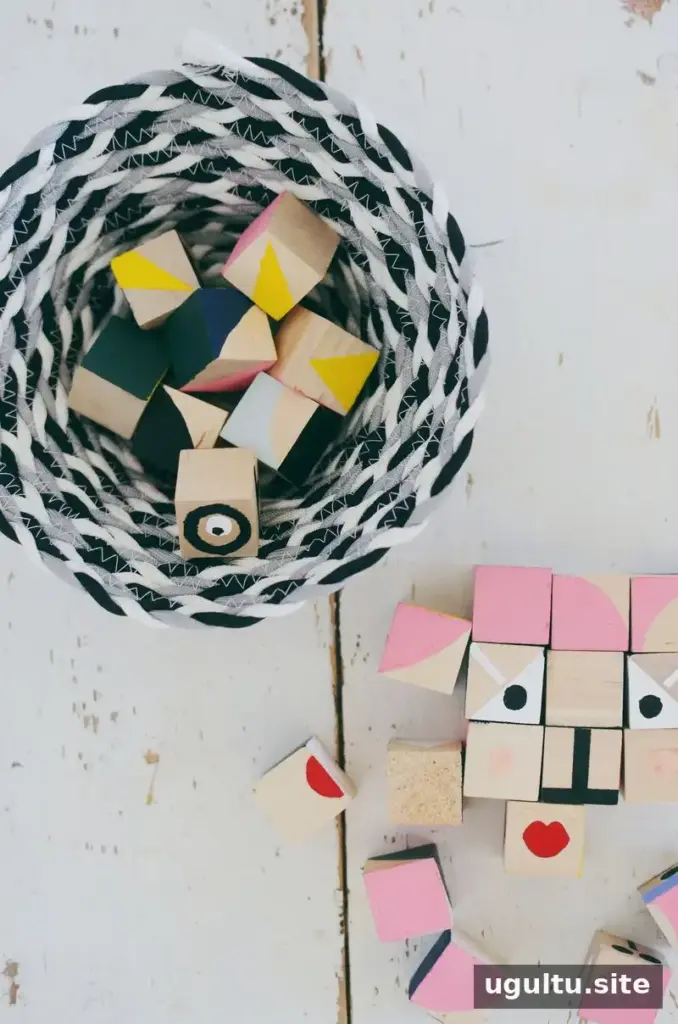
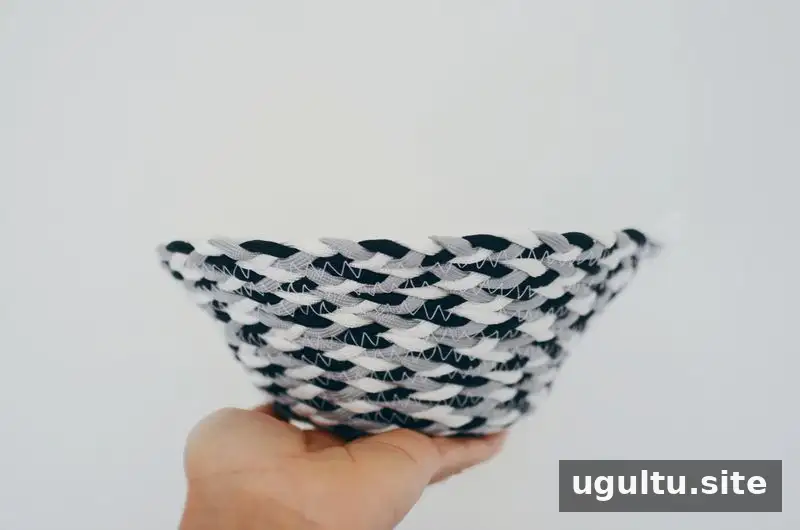
A braided rope basket is a practical sewing project that turns cord into a useful container for everyday items. With 16 feet of 5/32-inch cord, a sewing machine, and a few basic supplies, you can make a small basket in about an hour. Choose cords in three colors for a striped effect, or use one color for a simpler look.
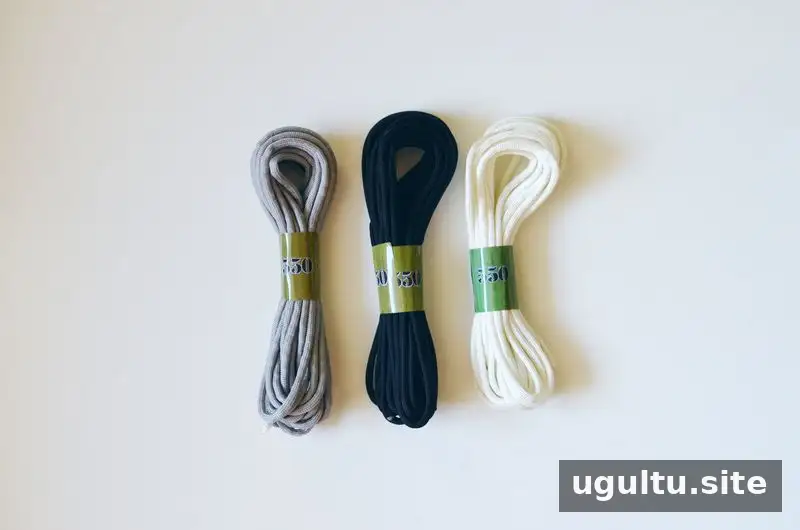
Supplies
- 16 feet of 5/32-inch parachute cord in three different colors; cotton cord can also be used
- Scissors
- Coordinating thread
Tools
- Sewing machine with a zigzag stitch
Before starting, check that your sewing machine can feed the cord smoothly. If you are unsure, test the zigzag stitch on a small piece first. Keep the cord flat and avoid pulling it through the machine, which can affect the shape of the basket.
How to Make a Braided Rope Basket
Step 1: Braid the cord
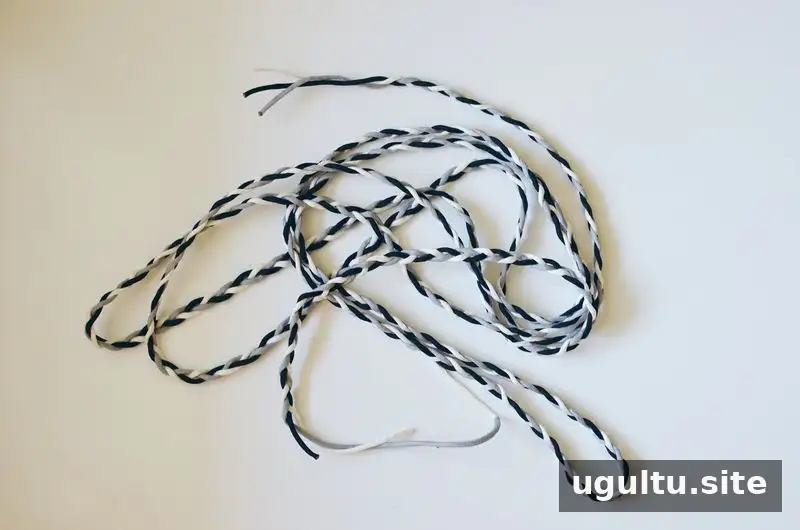
Braid the full length of the cord. To keep it steady while working, secure one end in a closed drawer or another stable place. The loose strands may tangle at first; pause to separate them as needed, and the braid will become easier to handle as it lengthens.
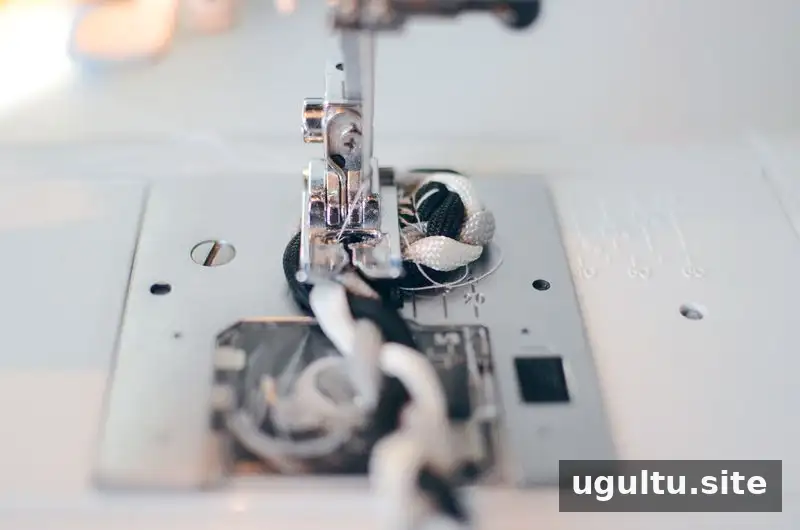
When the braid is complete, join its ends with a straight stitch, sewing about 3/4 inch from the cord end. This creates a continuous length for shaping the basket.
Step 2: Sew the base
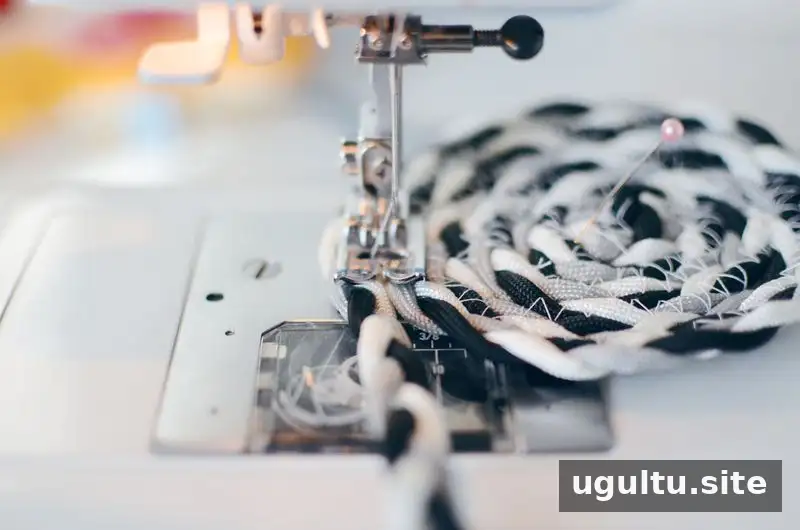
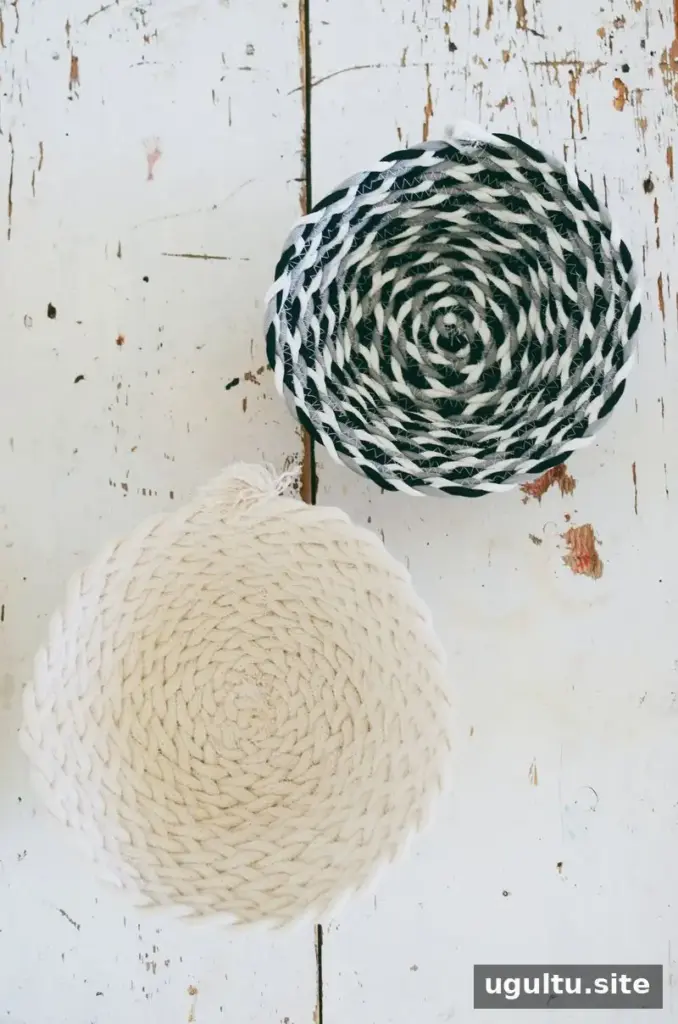
Set the sewing machine to a zigzag stitch. Coil one end of the braid into a small center and begin sewing. Position the zigzag so it catches the adjoining sections of braid, joining them together as you work. Wind the braid clockwise around the center, sewing approximately five rounds to form the base.
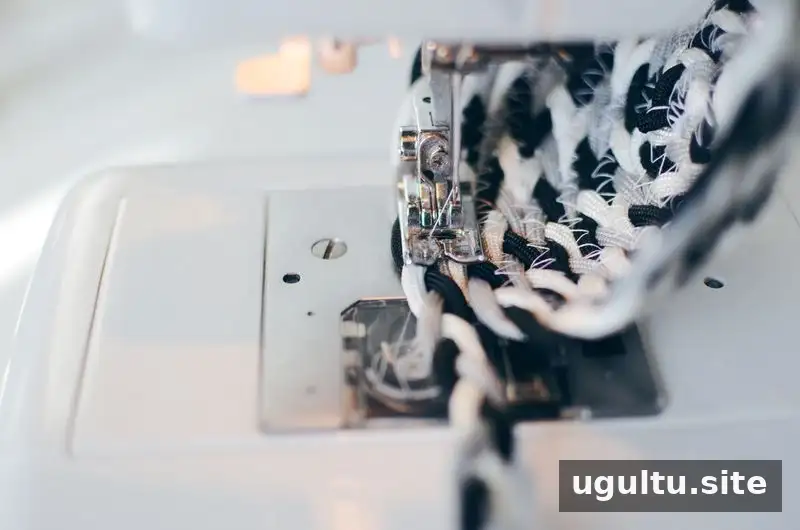
Keep the base flat while stitching. If it starts to cup or ripple, pause and adjust the coil before continuing; a level base helps the finished basket sit evenly.
Step 3: Shape the sides
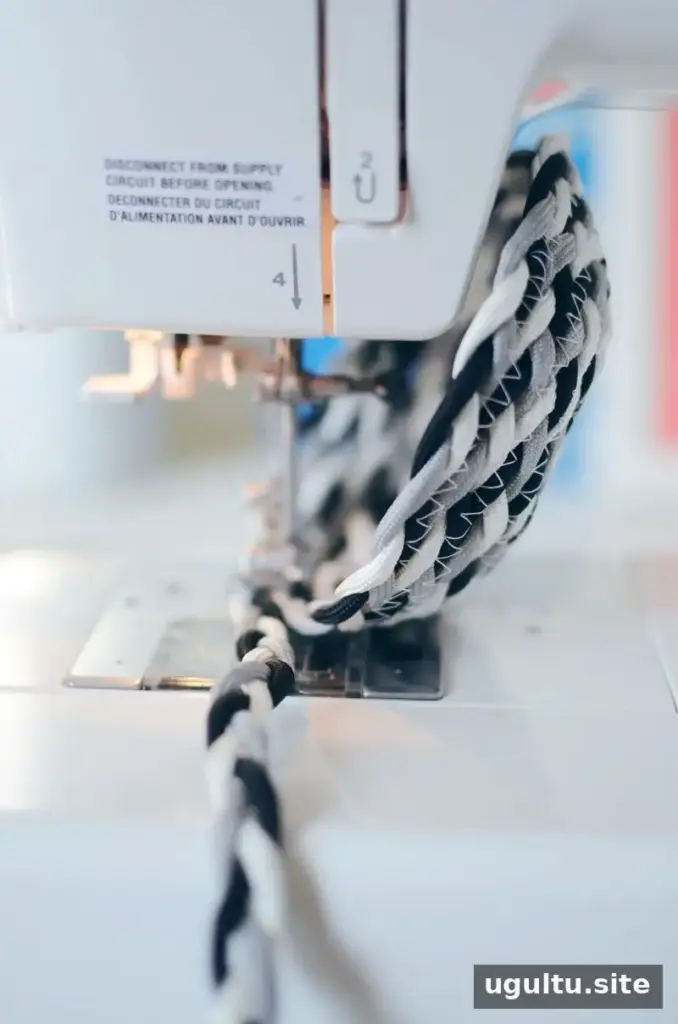
After sewing about five rounds, tilt the base to roughly a 45-degree angle. Gradually increase the angle toward 90 degrees as you continue sewing the braid around the edge. This change in direction forms the basket walls. Keep the braid aligned with the previous row so the sides remain even.
Continue until you reach the end of the braid. Backstitch about 3/4 inch from the cord end to secure it. The cord end can be lightly frayed with small scissors for a softer finish; trim carefully and keep the cut strands away from the stitches.
Ways to Use and Customize Your Basket
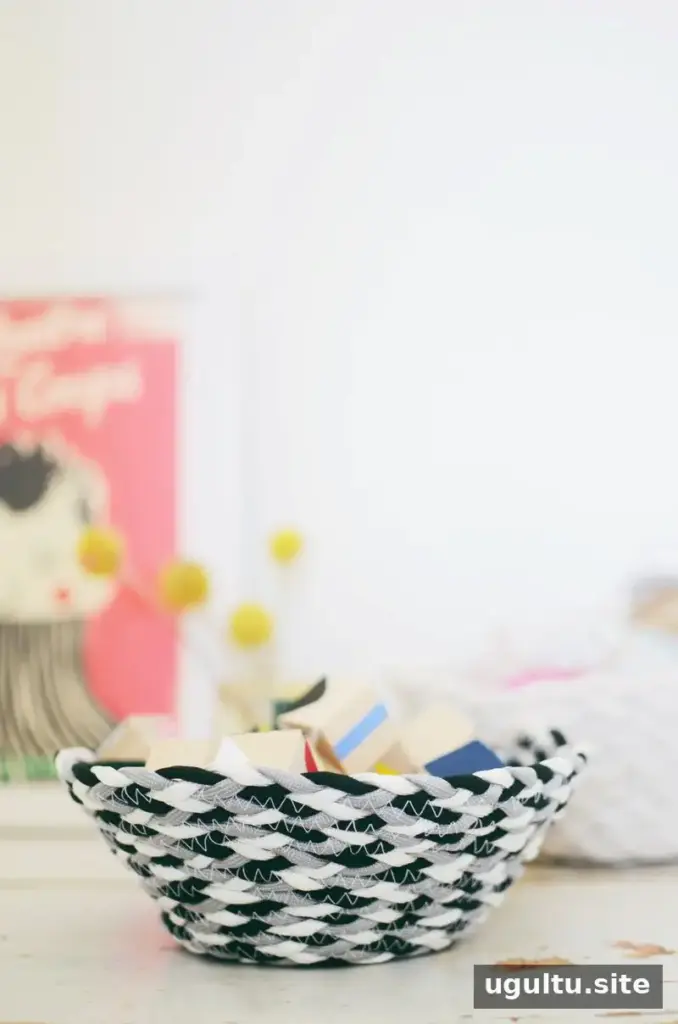
Adjust the size by changing the amount of cord and the number of rounds in the base and sides. Different cord colors can create a bold pattern, while a single color gives the basket a more understated appearance. If you plan to paint the finished basket, check that the paint is suitable for the cord material and allow it to dry fully before use.
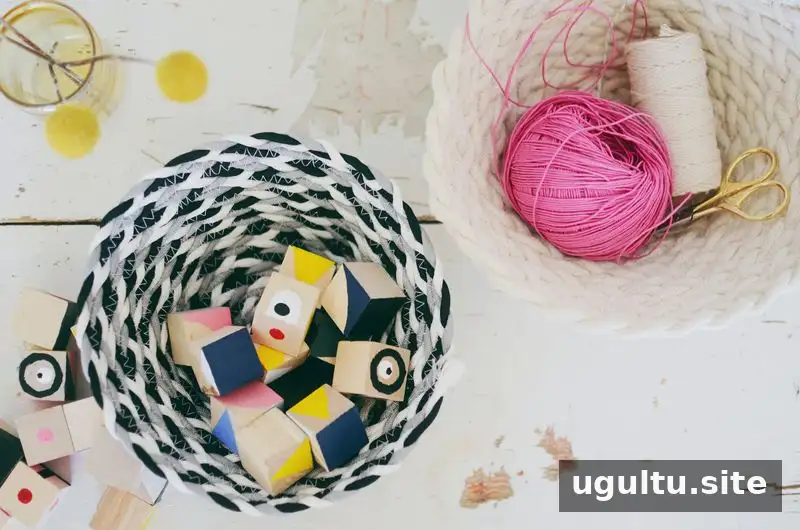
Small baskets work well for keys and other small items, while larger versions can hold yarn or books. Choose a size and shape that suits the items you intend to store, and place heavier objects near the base for better stability. This handmade container can also keep toys or craft supplies gathered in one place.
Finished Braided Rope Basket
A braided rope basket is an adaptable project that can be made in different colors and sizes for a range of household uses. Take care to keep the base flat, guide the cord steadily, and secure the ends with backstitching. These simple details help create a neat, useful basket from braided cord.
Author and photography: Rubyellen Bratcher.


