
 admin
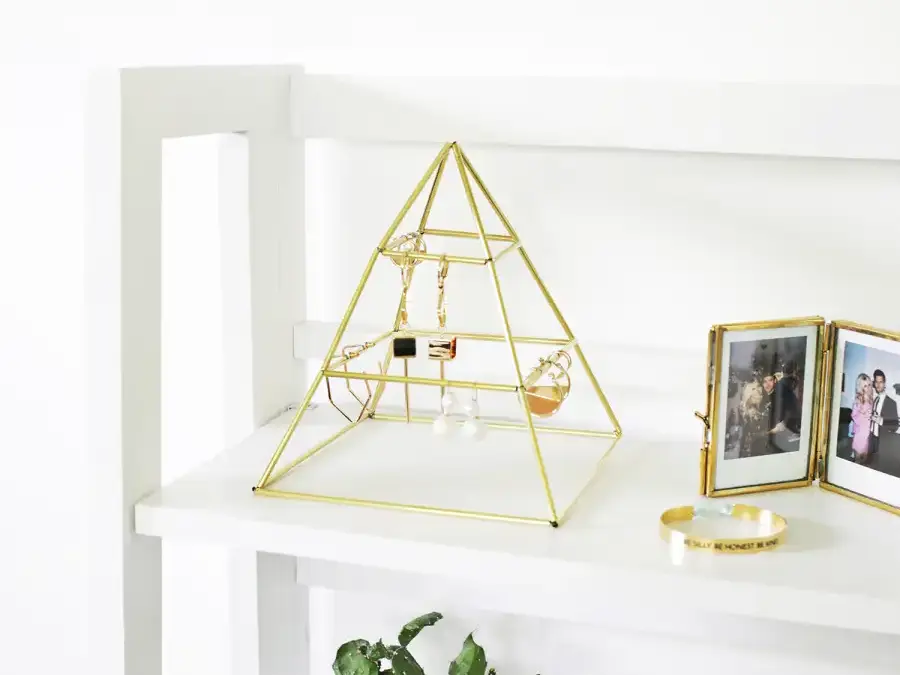

A brass earring pyramid is a simple way to keep earrings visible, organized, and easy to reach. Made from brass tubes and wire, this freestanding jewelry stand sits on a dresser and gives small accessories a dedicated place. The project involves cutting tubing to several lengths and joining the pieces with wire, so measuring carefully before assembly helps keep the finished frame balanced.
Materials for a Brass Earring Pyramid
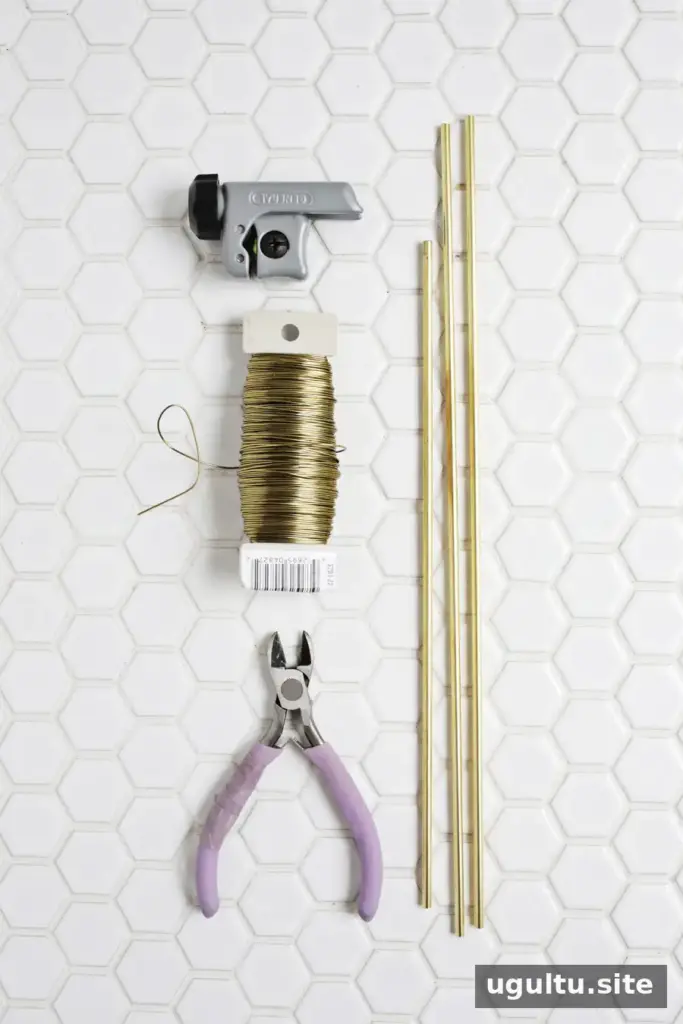
Gather these supplies before starting:
- A mini pipe cutter
- Brass tubes (the original project used 9 of these)
- 22-gauge gold floral wire
- Wire cutters
- A ruler and marker
Work on a stable surface and follow the pipe cutter’s instructions. Cut brass edges may be sharp, so handle the tubes carefully and keep the cut ends pointed away from your hands.
Cut the Brass Tubes to Size
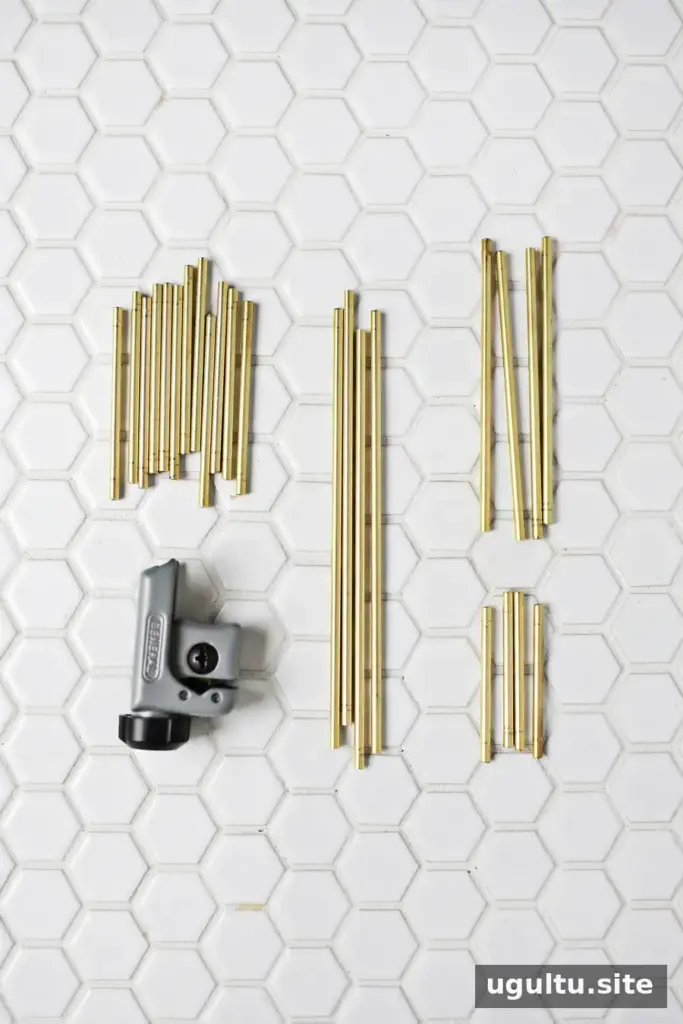
Measure and mark each tube before cutting. The project requires these lengths and quantities:
- 6.5 cm: 12 pieces
- 15 cm: 4 pieces
- 10 cm: 4 pieces
- 5.5 cm: 4 pieces
Check the measurements against your marks before cutting each piece. Keeping the matching tubes the same length helps the pyramid sit evenly and makes the wire connections easier to position.
Assemble the Pyramid Frame
Make the square base
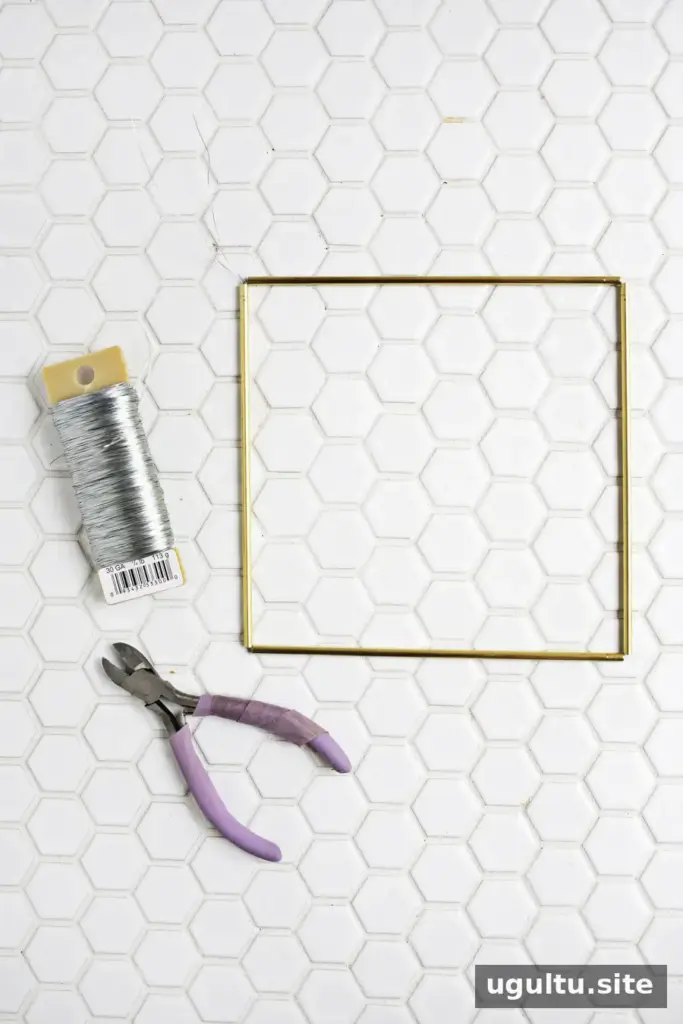
Thread a long piece of wire through all four 15 cm tubes. Bring the ends together and twist them to form a square. Leave roughly 1 inch of wire beyond the twist, trim the excess, then tuck the ends inside one of the tubes so they are less visible. This square forms the base of the stand.
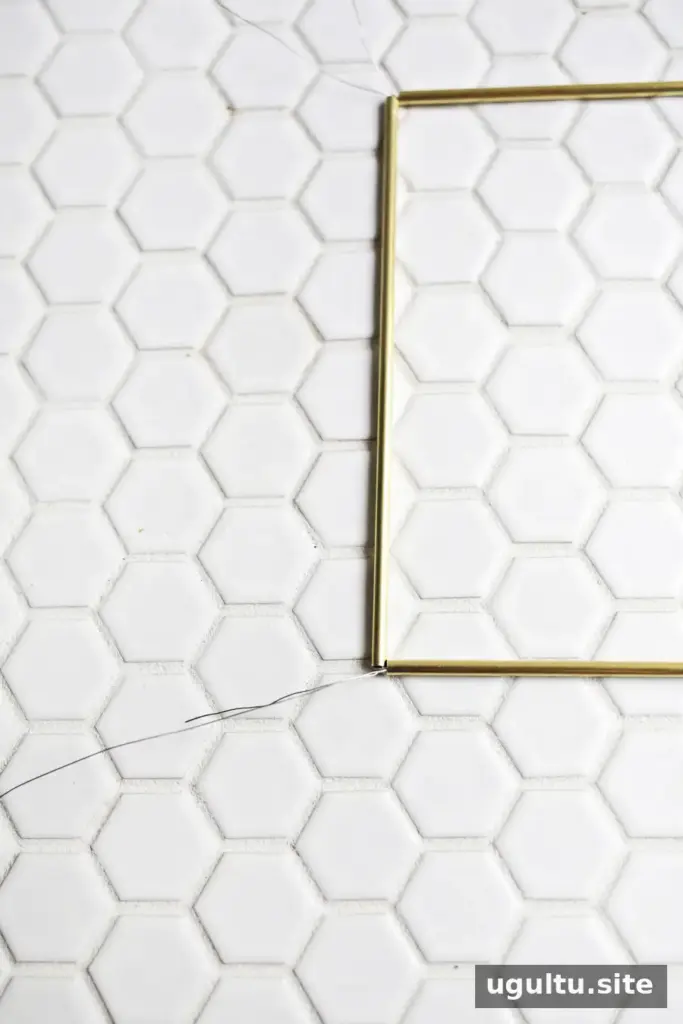
Build the vertical sections
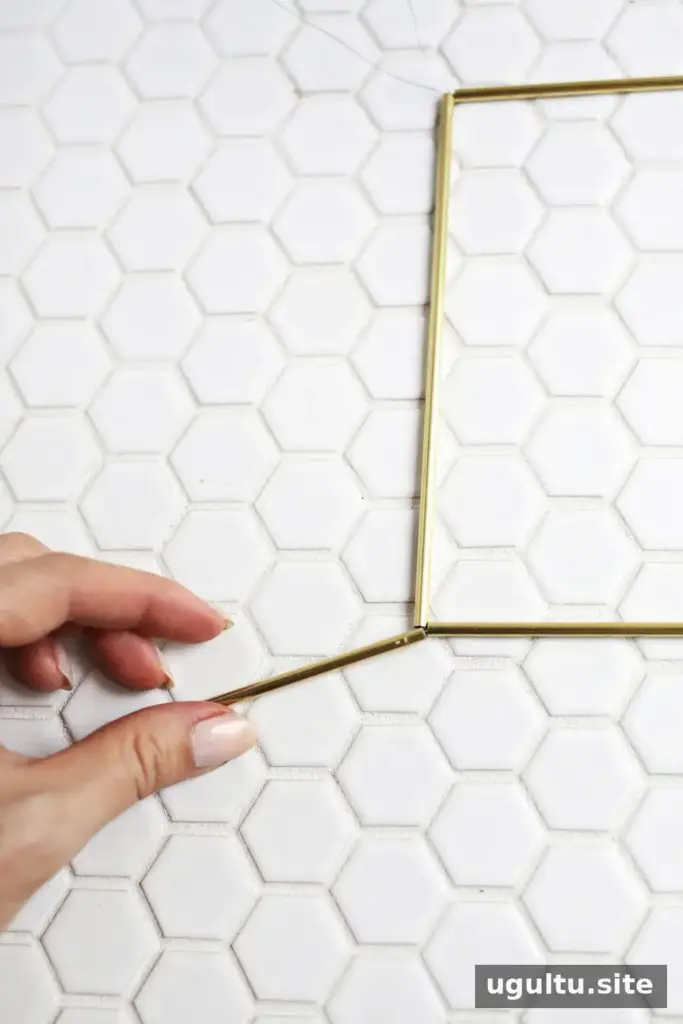
Wrap a new piece of wire around a base corner, leaving about 1 inch of wire at the end. Thread six of the 6.5 cm tubes onto the wire, then guide the wire end back into a tube to conceal it. Connect the free end of the wire to the opposite corner of the base. Twist it securely, trim it to about 1 inch, and tuck the end into a tube. This creates one pair of rising lines.
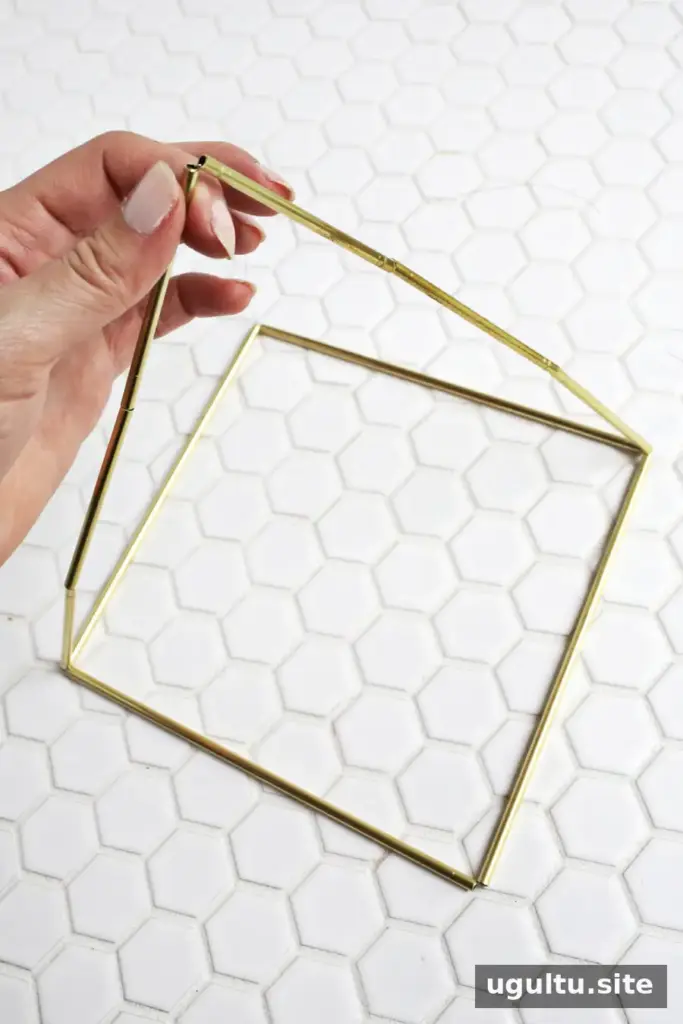
Repeat the process between the other two base corners using the remaining six 6.5 cm tubes. For this second section, thread on three tubes first. Wrap the wire around the midpoint of the first vertical section, then add the last three tubes. This creates the pyramid’s upper peak.
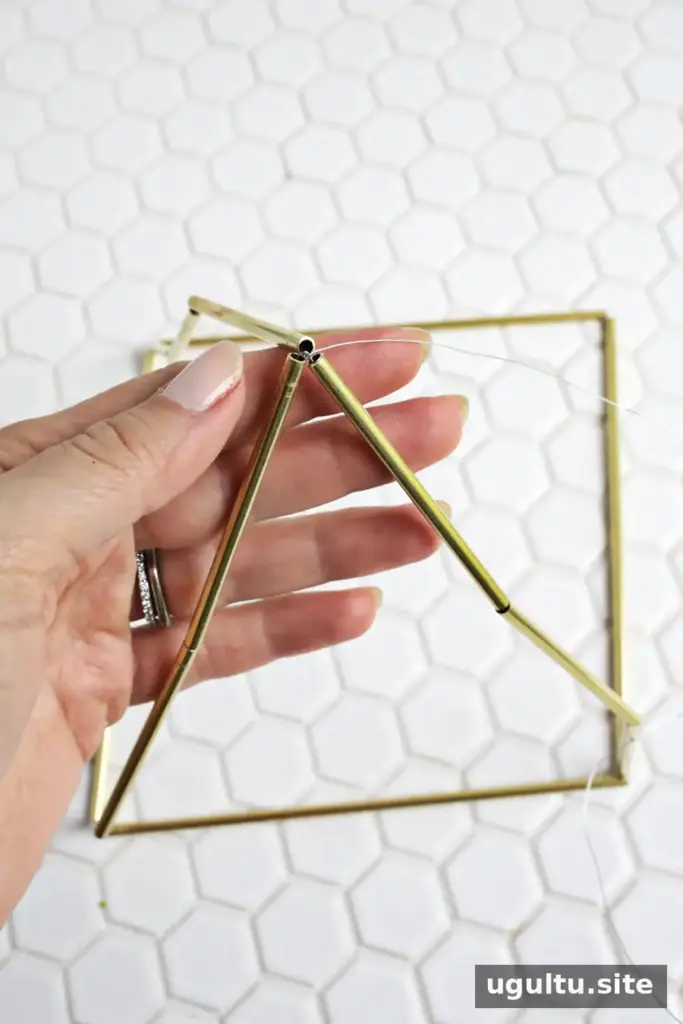
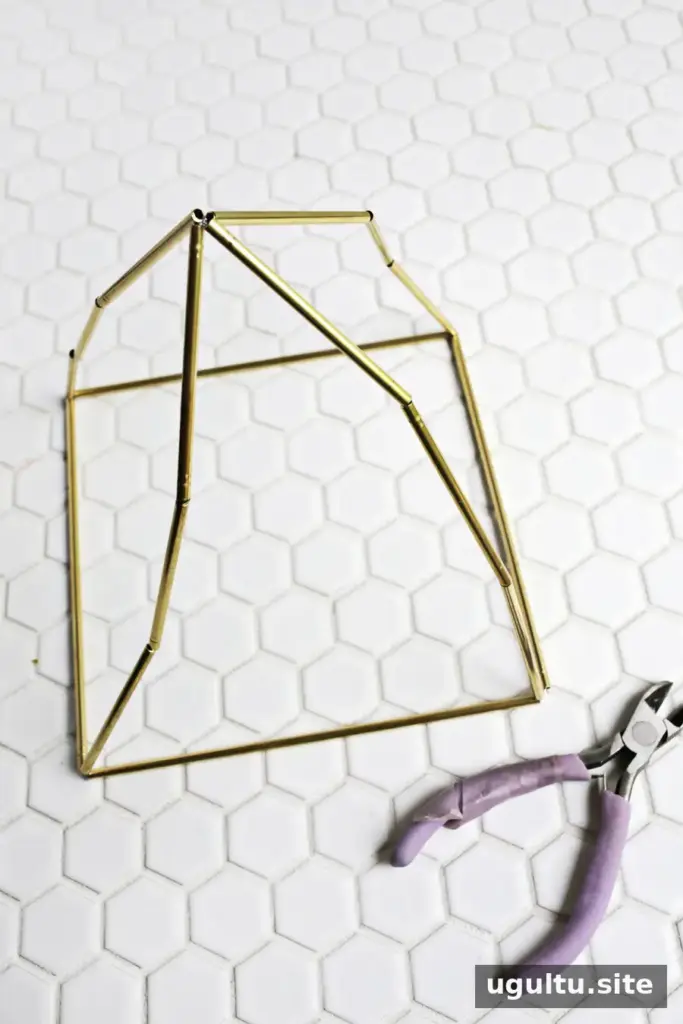
Before adding the crosspieces, check that the vertical sections meet neatly at the top and that the base remains square. Small adjustments now can help the finished stand look more even.
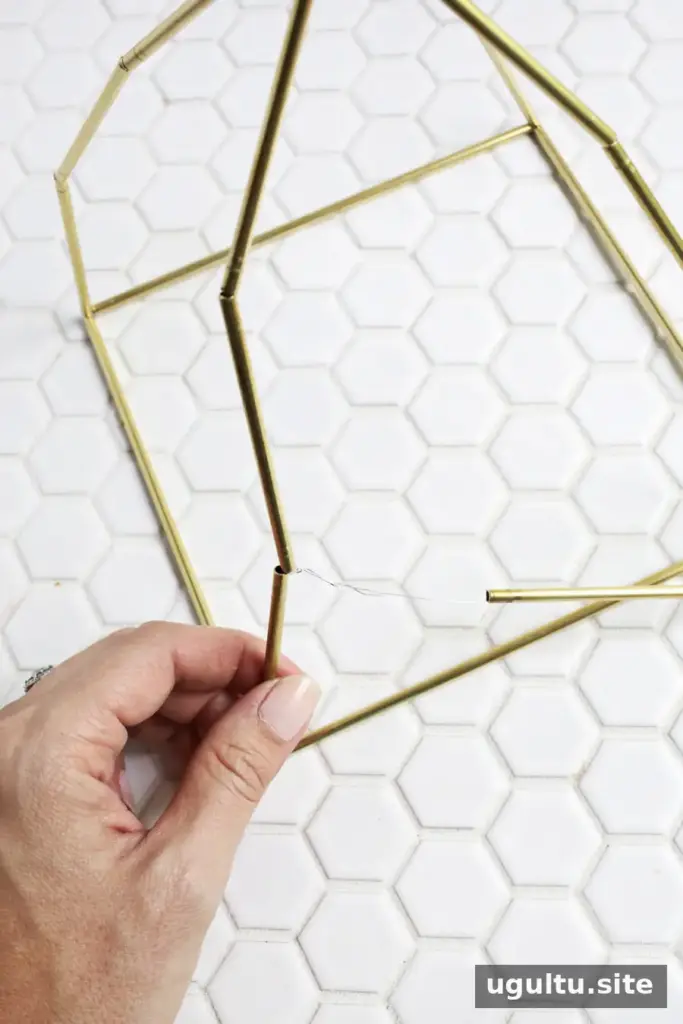
Add the side supports
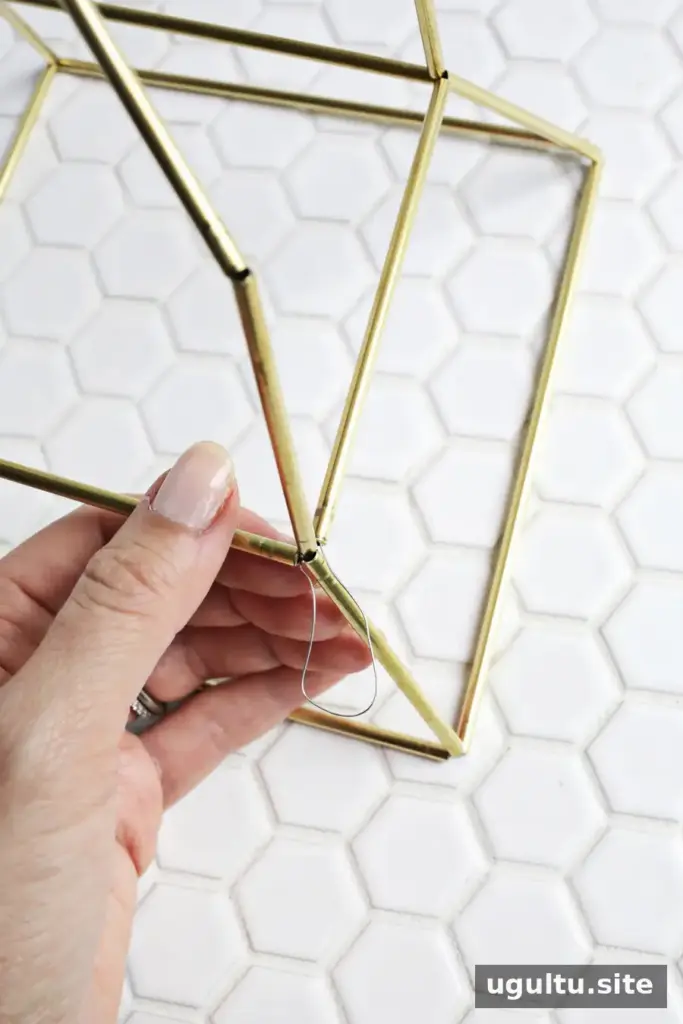
Secure a fresh wire end around one of the lower joints in the vertical tubes. Add a 10 cm tube, then wrap the wire around the neighboring lower joint. Continue until all four 10 cm tubes connect the lower sides. Twist, trim, and tuck the wire end into a tube once the pieces are attached.
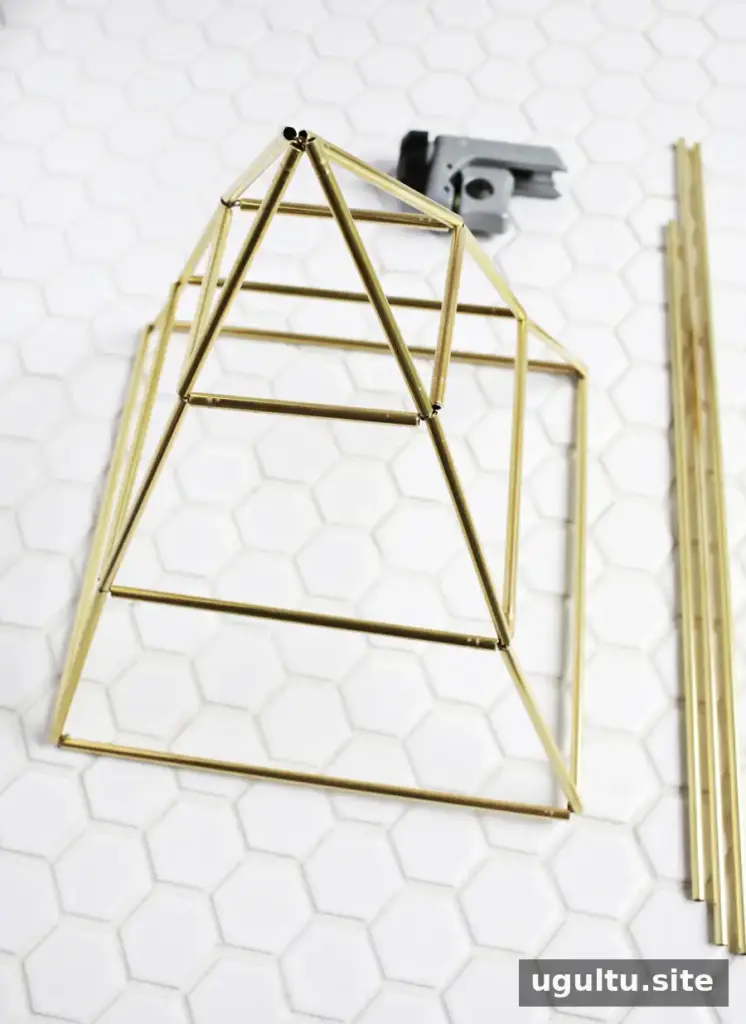
Repeat the same method at the upper joints with the four 5.5 cm tubes. Keep the wire snug enough to hold the frame together without pulling the structure out of shape. Once the connections are secure, the brass earring pyramid is ready to use.
Wire and Finishing Tips
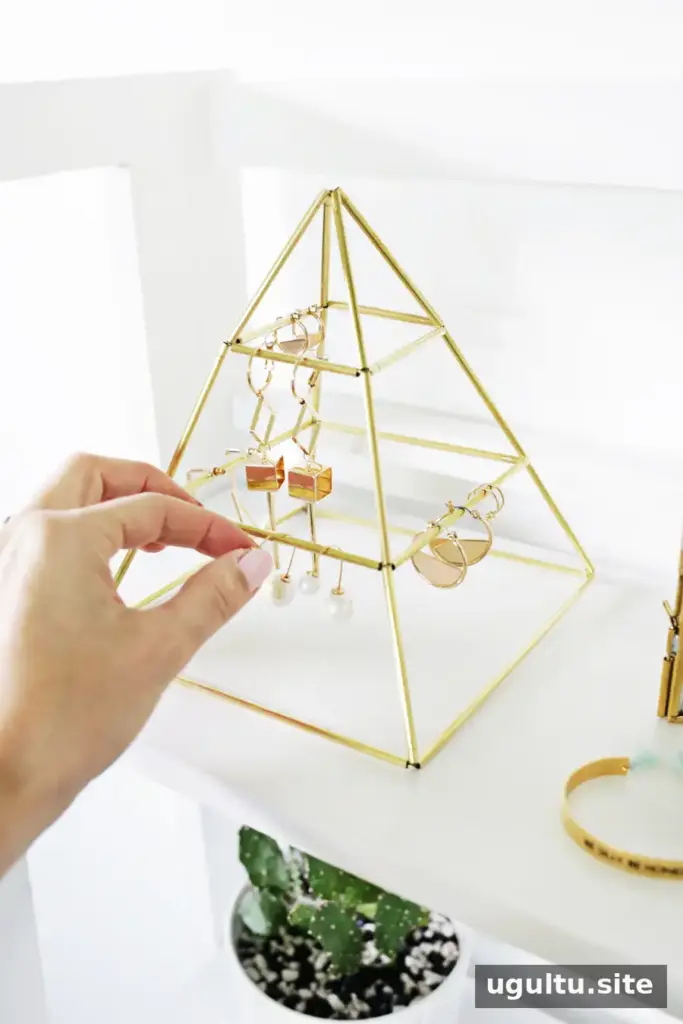
Use 22-gauge gold floral wire for the assembly. A thinner wire may be easier to bend, but it can also be too flexible to support the pyramid’s structure. Twist each connection firmly, trim excess wire, and tuck the ends inside the tubing to reduce visible points and snags.
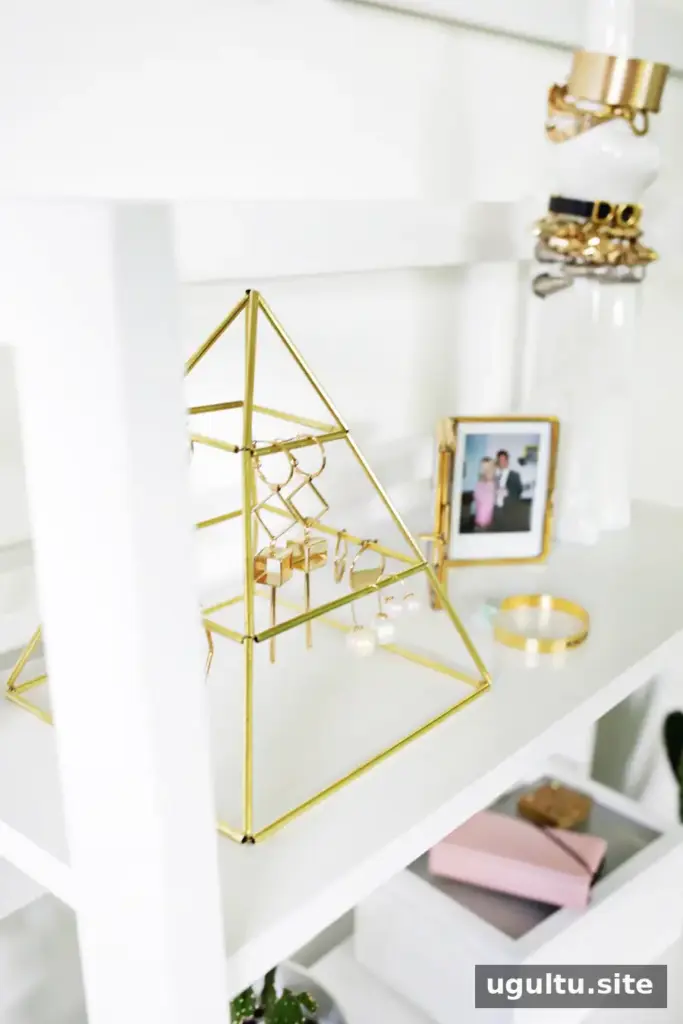
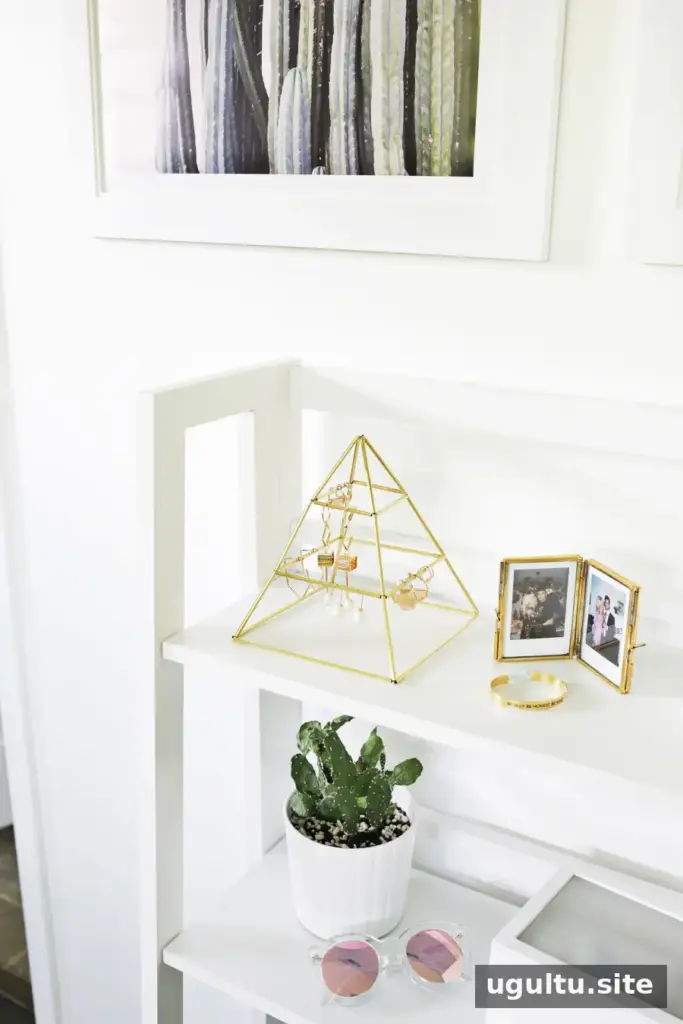
Place the completed stand on a level surface and hang earrings from the open frame. Keeping pairs together and spacing them around the sides can make it easier to see your options and prevent the stand from becoming crowded. The brass finish also makes the organizer a decorative accent when it is not in use.
—Laura


