
 admin
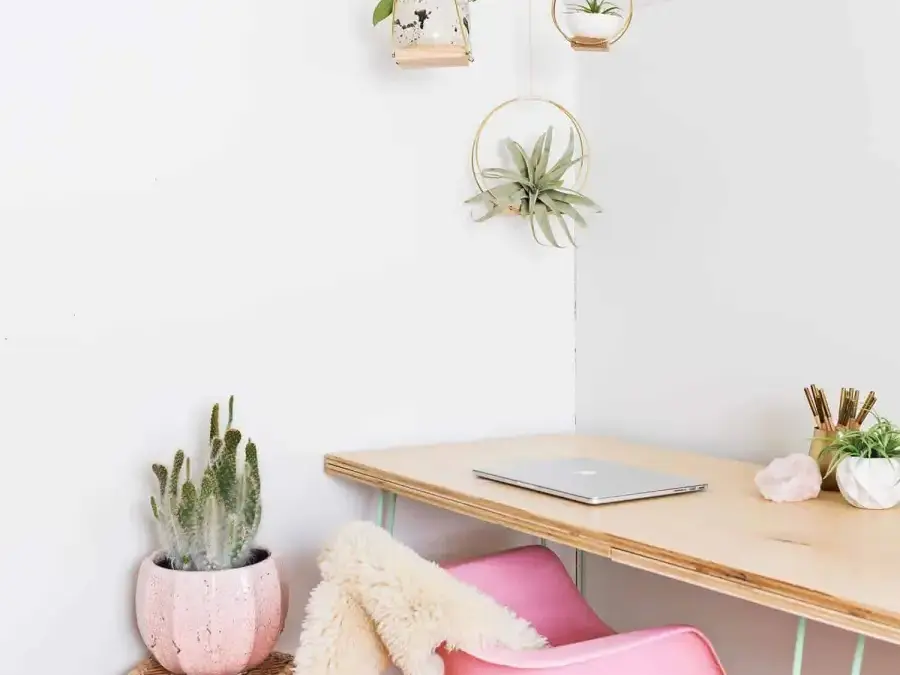
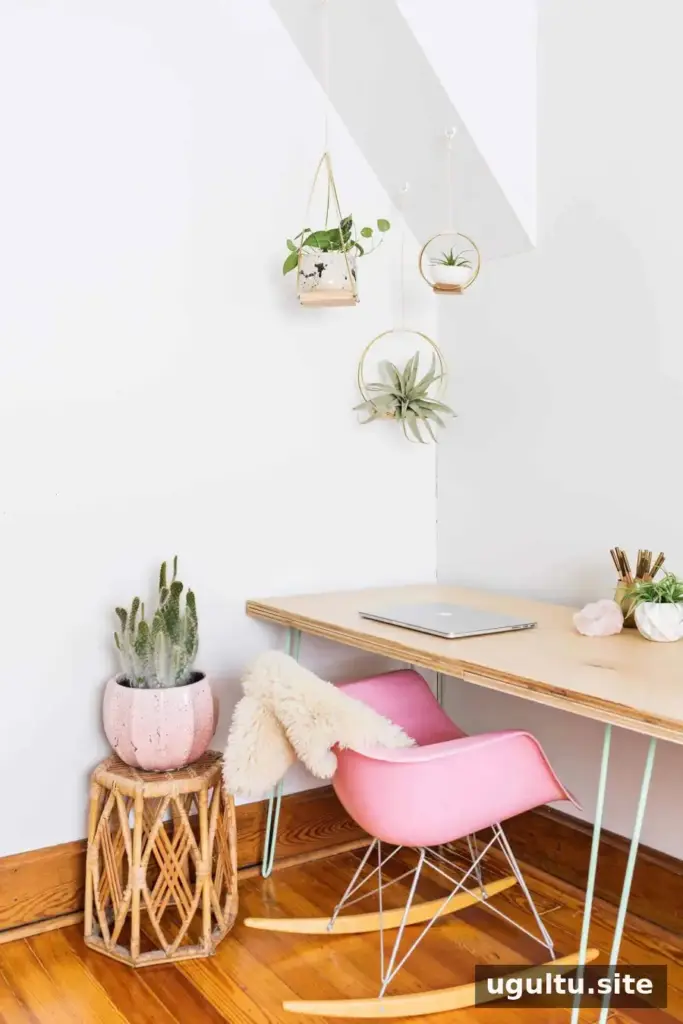
A Brass Ring Hanging Planter DIY project can add greenery while freeing up desk or shelf space. This design pairs two gold-colored hoops with a small wooden block and cotton cord to create a simple, sculptural hanger inspired by mid-century shapes. You can make different sizes to suit a small corner, a window, or a group of planters.
The assembly is quick once the pieces are prepared, and the three hoop sizes let you create a coordinated set. A small or medium planter can also hang from a suitable wall hook. Before starting, choose a location and plant with the finished size and available light in mind.
Brass Ring Hanging Planter DIY: Choosing Plants and a Spot
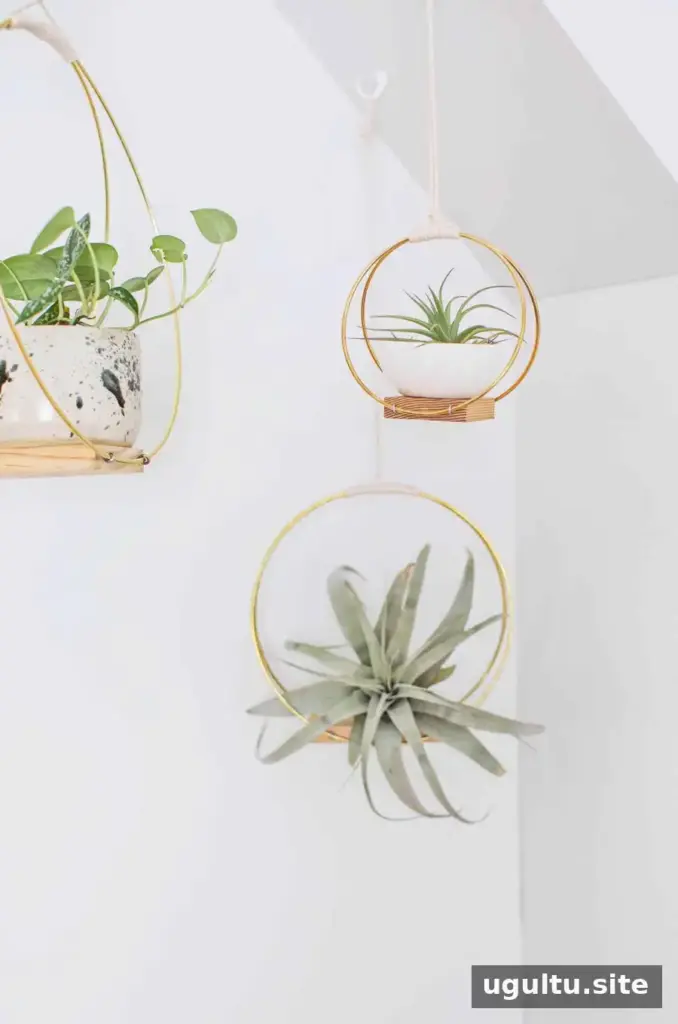
Choose plants that complement the open outline rather than hiding it. Spider plants and jade plants can work well in smaller planters, while larger air plants or trailing succulents can suit the bigger hoops. Dense, cascading foliage may cover the rings, so consider how much of the metal frame you want to remain visible.
These hangers do not include a built-in pot or drainage system, so use a separate small planter suited to your plant. Air plants and some succulents may need less frequent watering than many leafy plants, but care needs vary. Check your plant’s requirements and take it down for watering whenever needed.
Supplies
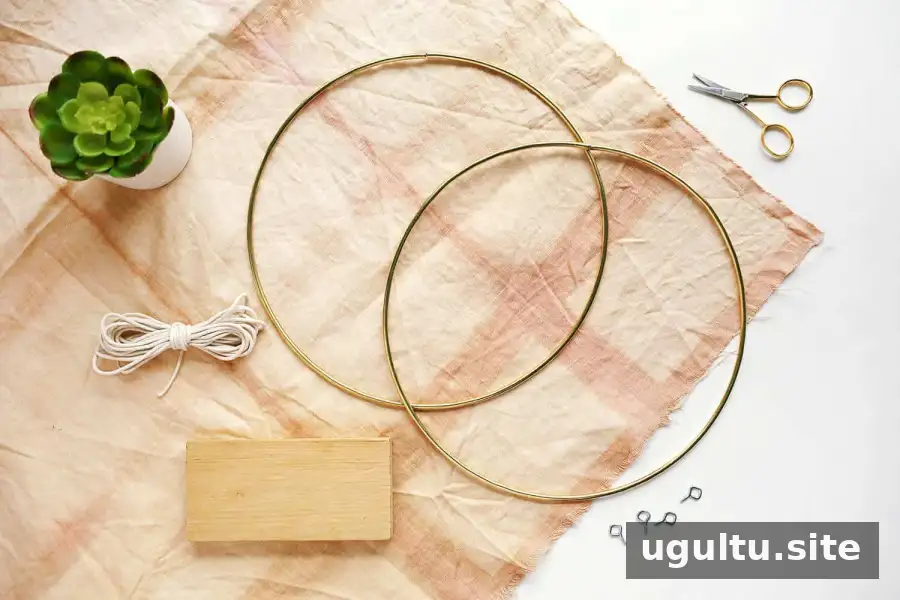
Gather the following materials for the project:
- Two 6-inch gold hoops
- Two 10-inch gold hoops
- Two 14-inch gold hoops
- Pine wood scraps measuring about 1/2 inch × 2 inches × 2 inches, 1/2 inch × 3 inches × 3 inches, and 3/4 inch × 3 inches × 5 inches
- Hand saw, if you need to cut the wood scraps
- Sandpaper
- #212 screw eye hooks, four per planter
- Five yards of 6 mm cotton cord
- Electrical or duct tape
- Canvas or leather gloves (optional)
How to Assemble the Hanging Planter
Prepare the wooden support and hoops
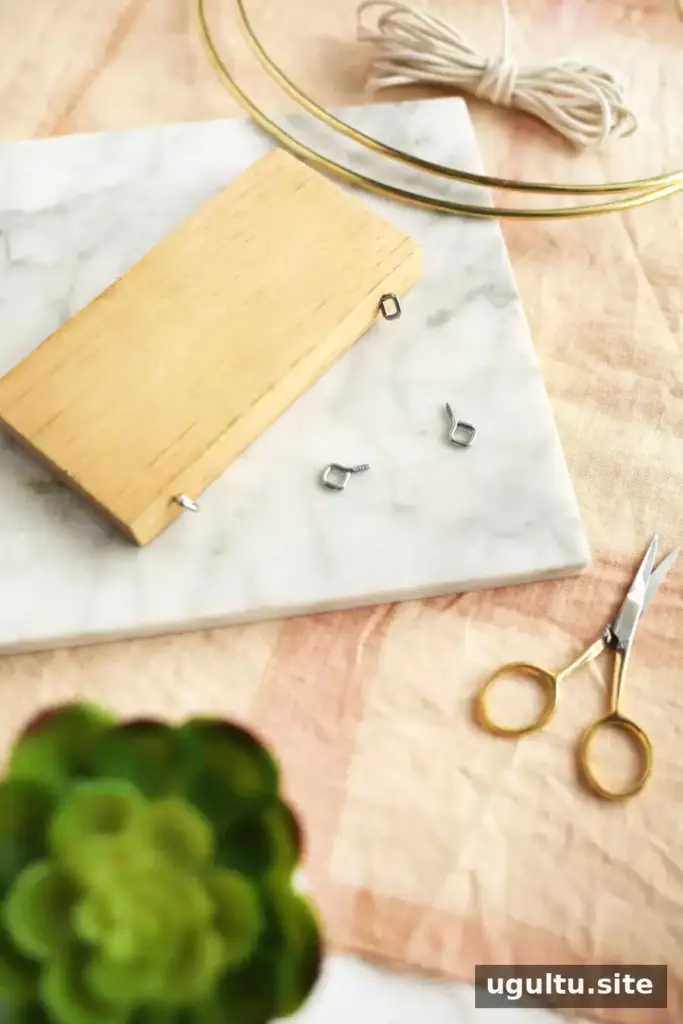
Sand any rough edges on the wood. Install two screw eyes on opposite sides of each block, about 1/2 inch from each end. Angle the eyes so the hoops can pass through them easily. Work carefully with the small hardware, and make sure each screw eye is firmly seated.
Find the seam on each hoop. Gently press the seam against a stable surface until it opens slightly; avoid bending the hoop out of shape. Gloves can help protect your hands from sharp edges. If a hoop does not open with gentle pressure, stop rather than forcing it.
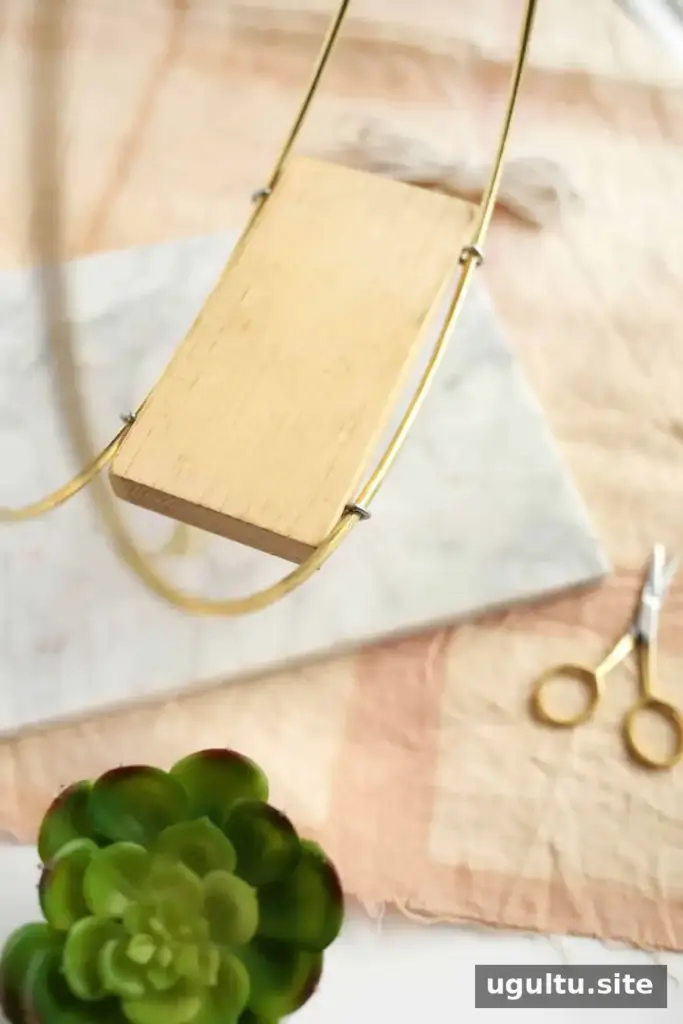
Slide a matching pair of hoops through the screw eyes on one wooden block. Position the hoop seams together at the top.
Secure the seams and add the hanging cord
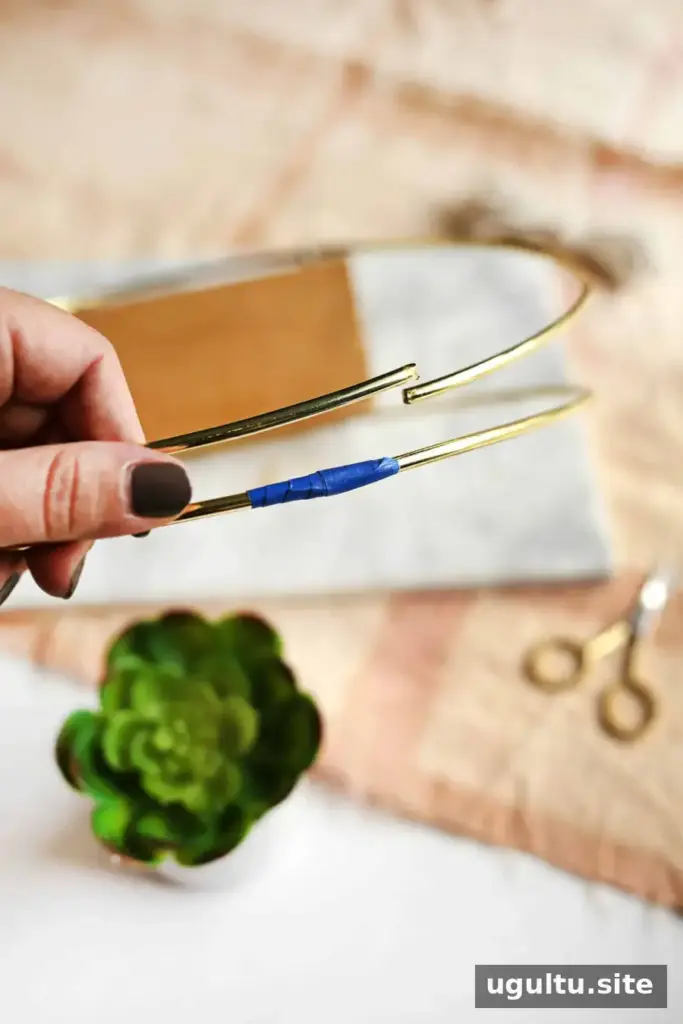
Wrap each seam with electrical or duct tape to hold it together. Use only enough tape to secure the joint without making it so bulky that it interferes with the cord wrap. Repeat for the second hoop.
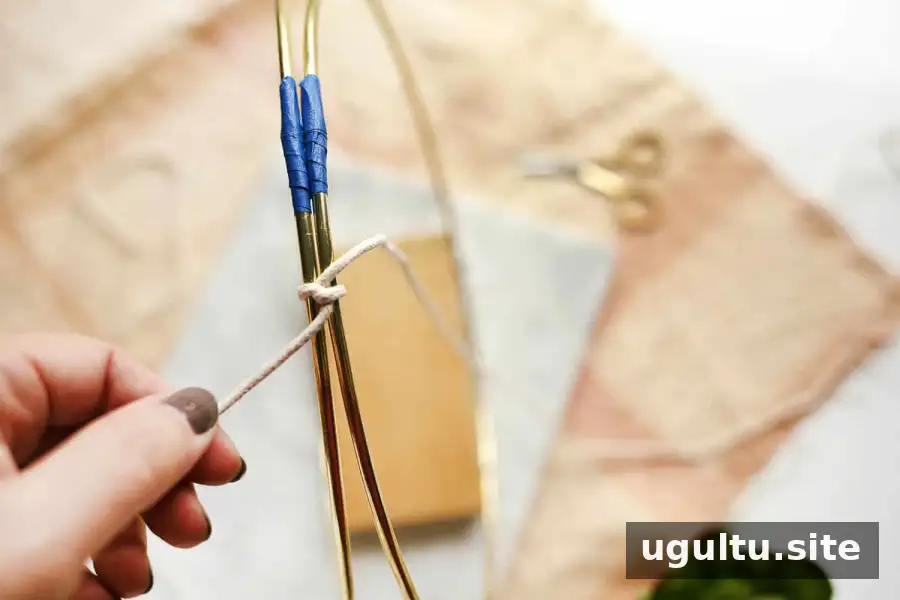
Cut about two yards of cotton cord for each planter, adding length if it will hang especially high. Tie the cord around both hoops about one inch to one side of the taped seam. Leave one end roughly two feet longer than the other.
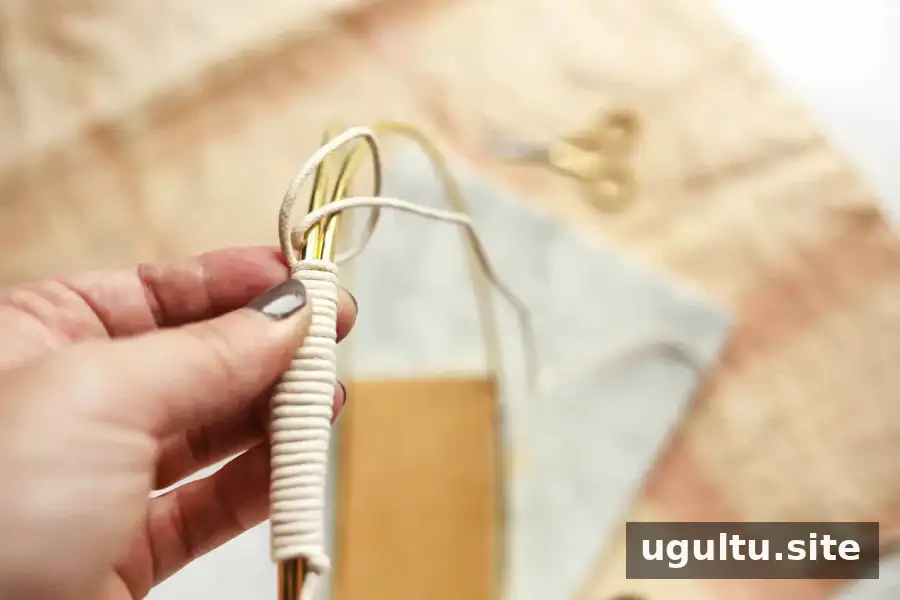
Wrap the longer end tightly around both hoops until it reaches about one inch past the tape on the opposite side, then tie a knot.
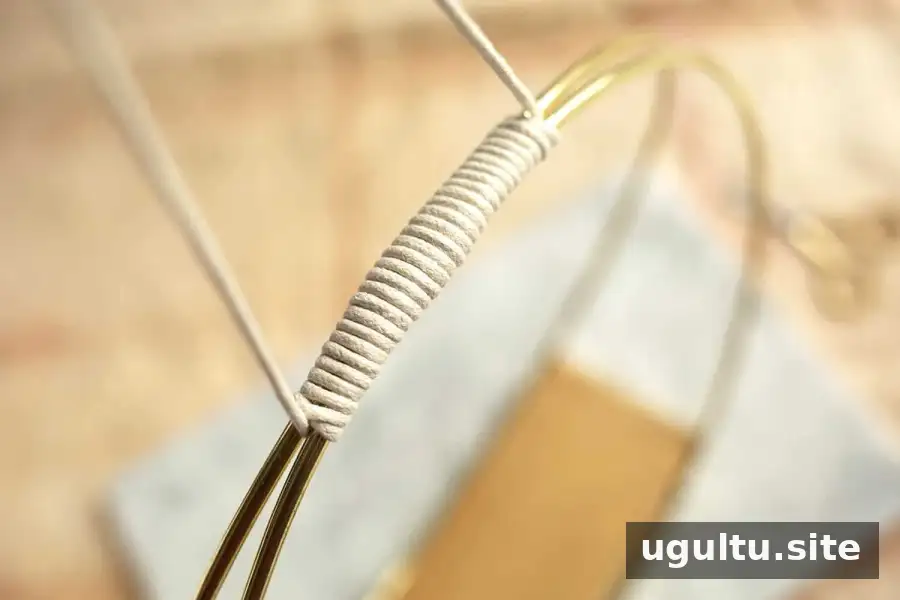
Pass each cord end under and back up through the two hoops, pulling firmly so the wraps stay taut. Keep the cord snug and even as you work.
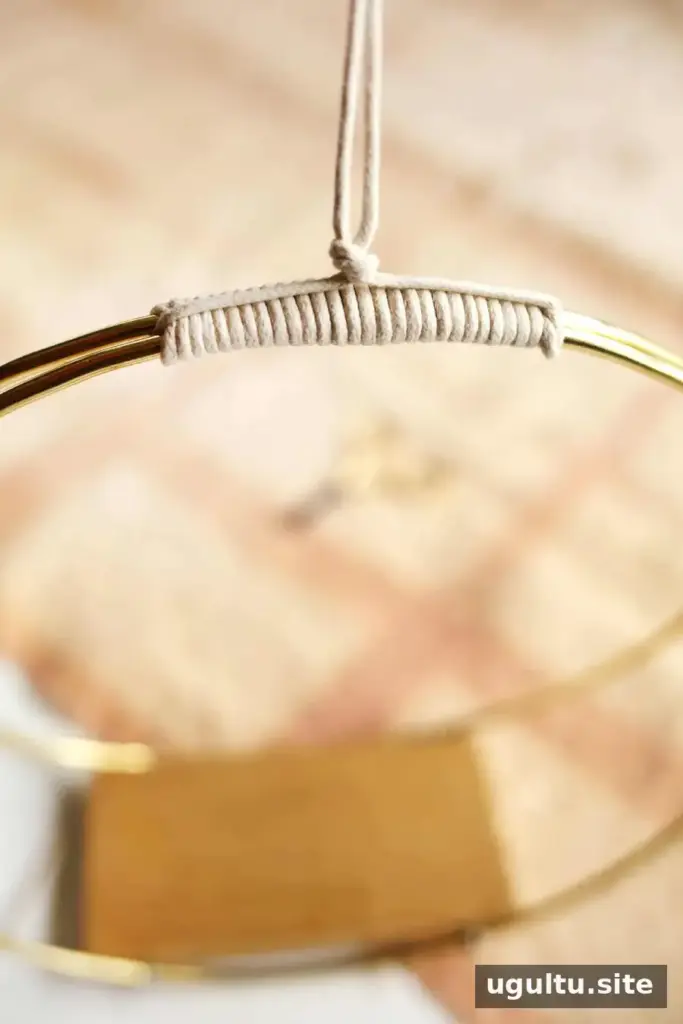
Bring the cord ends together and tie a knot in the center. Decide how high the planter should hang, tie a loop knot at the other end to create a hanger, and trim the excess cord.
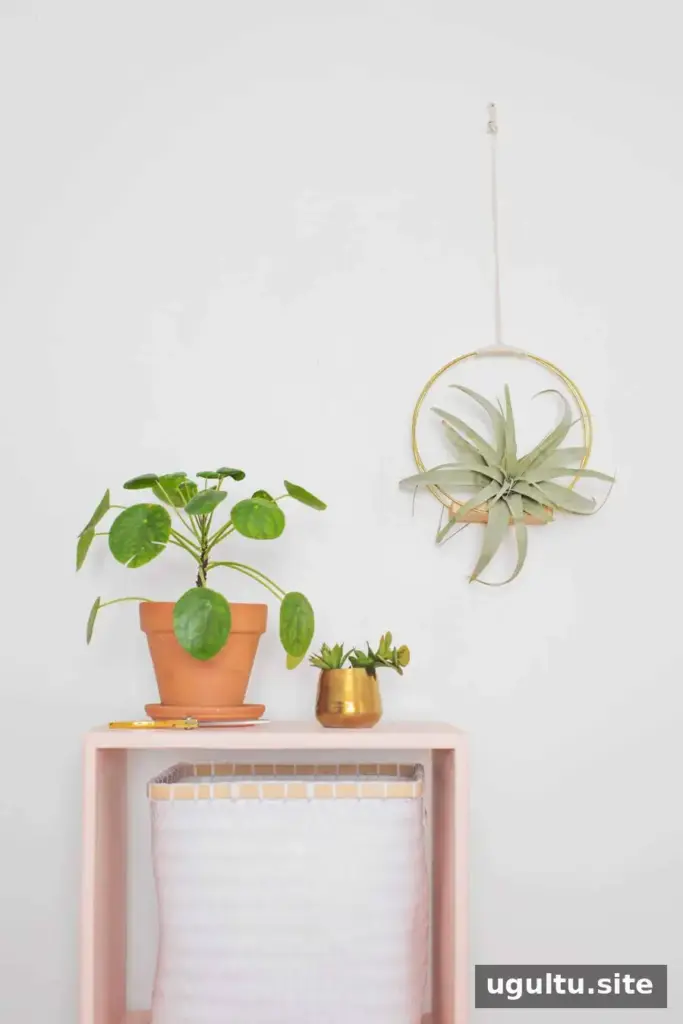
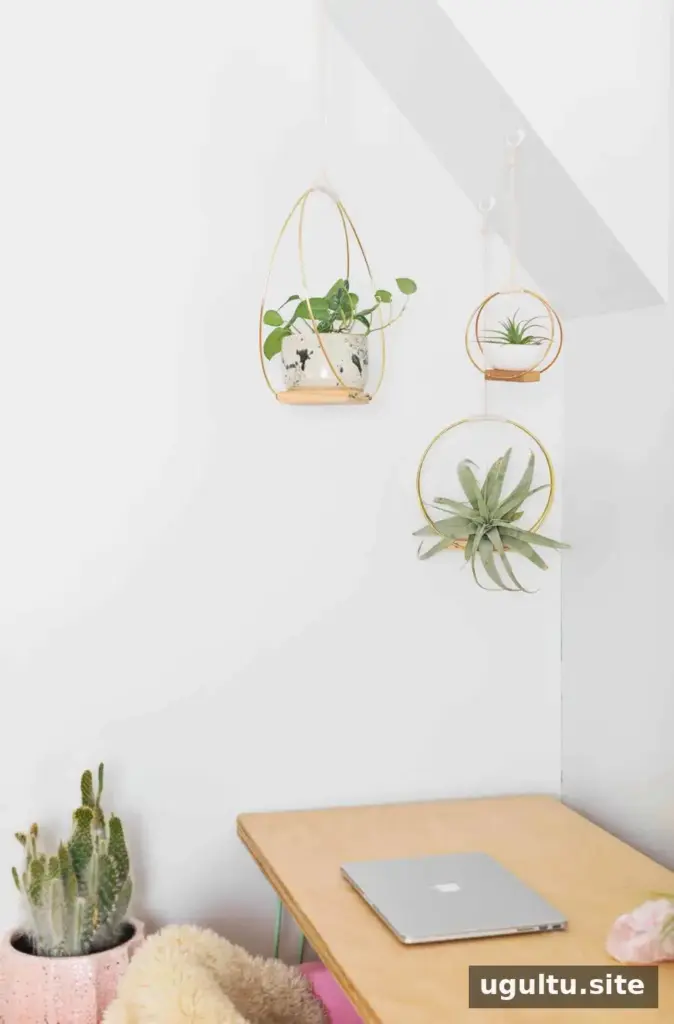
Hang and Style Your Planter
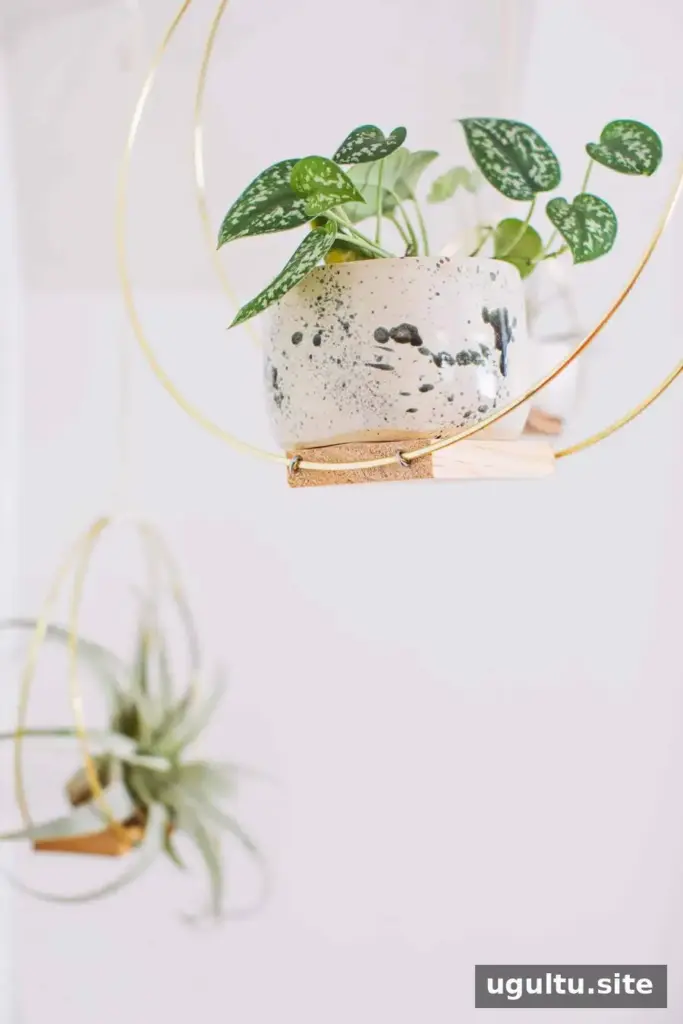
Choose a secure hook or other suitable support, then check that the planter hangs level before adding a plant. Try the planters together as a group or hang them separately. Compare a few small plants to see which one leaves the frame visible and suits the space.
Place the finished pieces in a bright area that matches the plant’s light needs. If the room has limited natural light, faux succulents can provide a similar decorative effect without relying on plant-care conditions. Enjoy this sculptural, mid-century-inspired accent. —Rachel


