
 admin
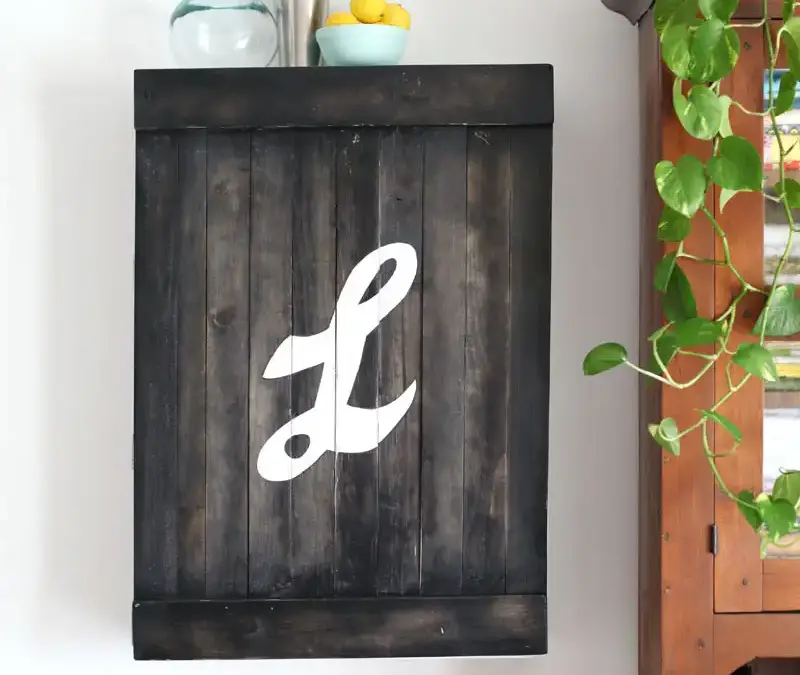
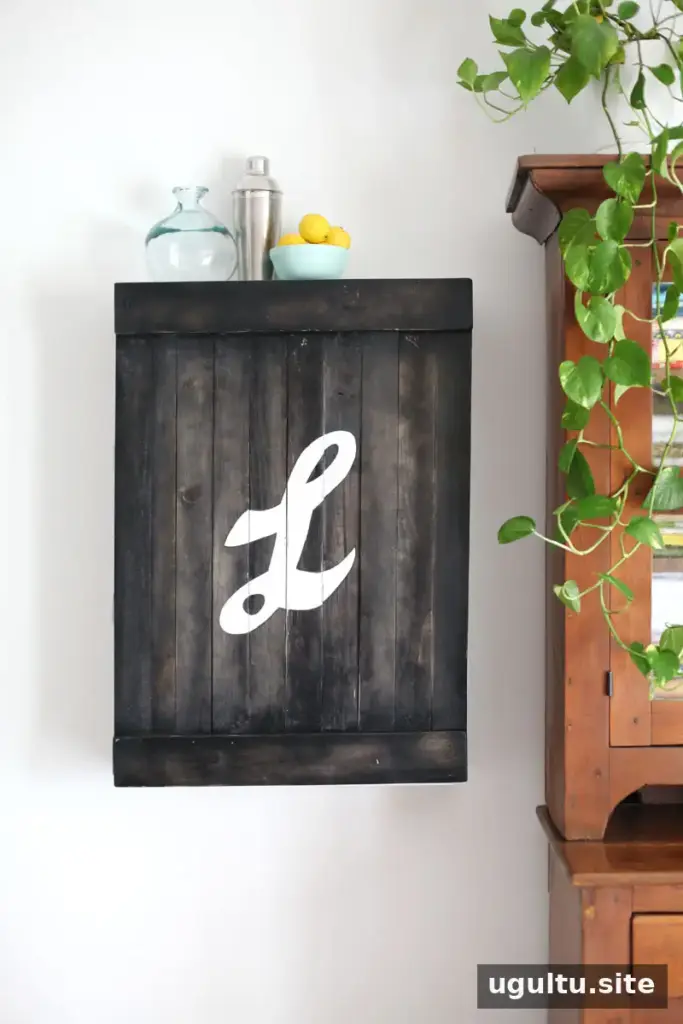
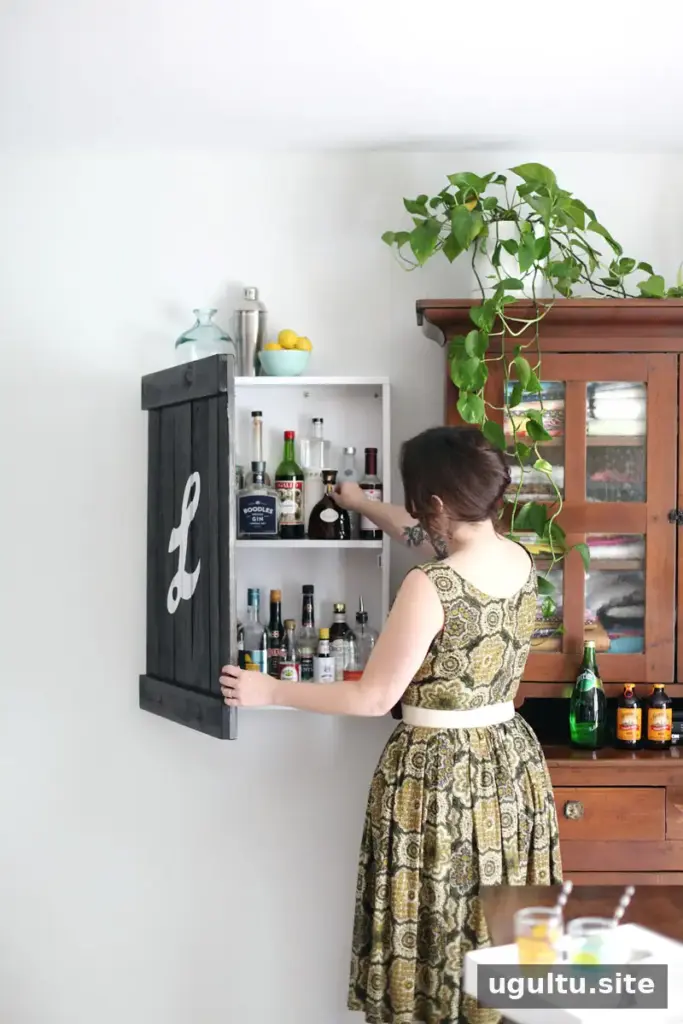
A vintage-inspired liquor cabinet can keep bottles neatly stored while adding character to a dining room. This wall-mounted design resembles an old-fashioned sign, with a plank-style door and painted lettering. Its enclosed storage is also useful when bottles need to be kept out of reach of young children. Plan the cabinet’s location and wall support before you begin, and keep alcohol securely stored after installation.
The project uses basic lumber, plywood, paint, and common hardware. Reclaimed or leftover materials may work, but check that any reused wood is straight, sound, and suitable for the measurements below.
Materials and tools for the vintage-inspired liquor cabinet
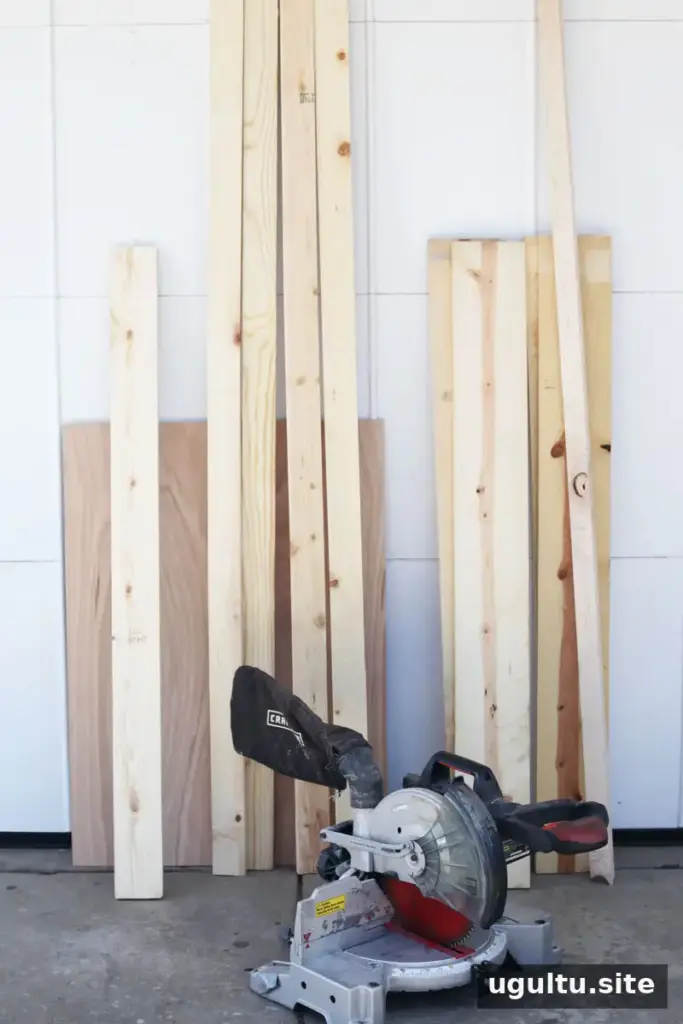
Lumber needed:
- Four 1" x 3" x 6′ pieces of premium pine — $5.86 each; $23.44 total
- One 1" x 3" x 4′ piece of premium pine — $3.82
- One 1" x 2" x 4′ piece — $3.29
- One 1" x 4" x 4′ piece of premium pine — $4.58
- Two 1" x 6" x 6′ pieces of lumber — $12.54 each; $25.08 total
- One 1/4" x 2" x 4′ plywood sheet — $9.55
Total lumber cost: $69.76.
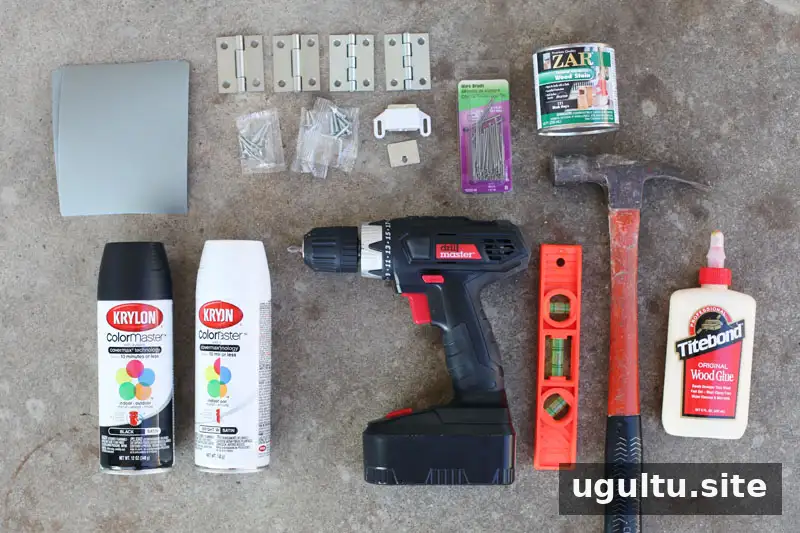
Other materials:
- Four small hinges — listed as $2.64 for a two-hinge pack, with a stated total of $4.80 for two packs
- One magnetic cabinet catch — $1.14
- One can of white primer — $3.77
- One can of white spray enamel — $3.98
- 1/2 pint of wood stain and/or black spray paint/primer combination — $4.50
- 180-grit sandpaper — $3.97
- 1 1/4" wire brads — $1.30
- 8 oz wood glue — $3.97
- Contact paper, masking tape, masking paper (or newspaper), and cabinet mounting hardware
Stated approximate cost of other materials: $27.43. Prices can vary by location and over time, so confirm current costs and hardware quantities before shopping.
Tools: power drill and bits, level, tape measure, hammer, respirator, marker, craft blade and cutting surface. A chop saw and power sander are optional; a lumber yard may be able to make the cuts.
Cut and assemble the cabinet
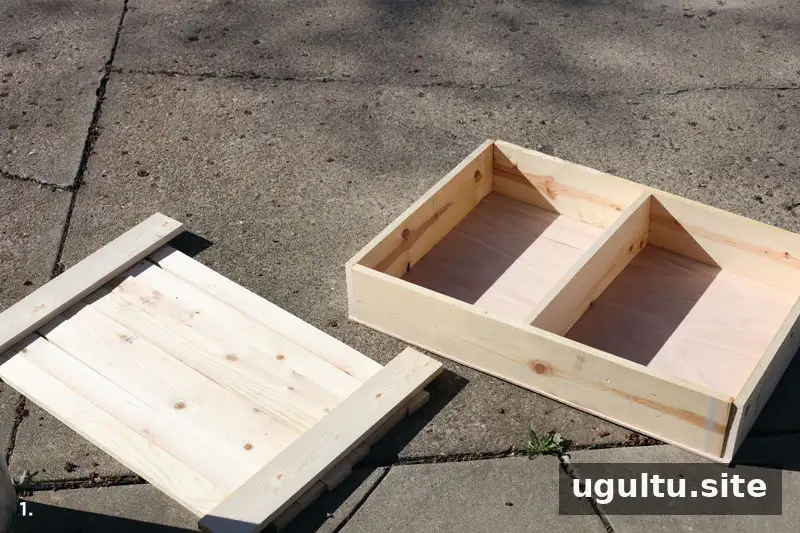
Step 1: Cut the lumber. If you do not have a chop saw, take the measurements to a lumber yard and ask about cutting services. From each of the four 6-foot 1×3 boards, cut two 34-inch pieces. Cut the 4-foot 1×3 and 1×2 into 34-inch pieces. These ten planks form a door about 24 inches wide when placed side by side.
Cut the 4-foot 1×4 into two 2-foot pieces for the door’s top and bottom rails. From one 6-foot 1×6, cut two 2-foot pieces and one 22.5-inch piece. Cut the other 1×6 into two 34-inch pieces. Cut the plywood to 24 x 34 inches for the cabinet back. Lay out and check every piece before assembly.
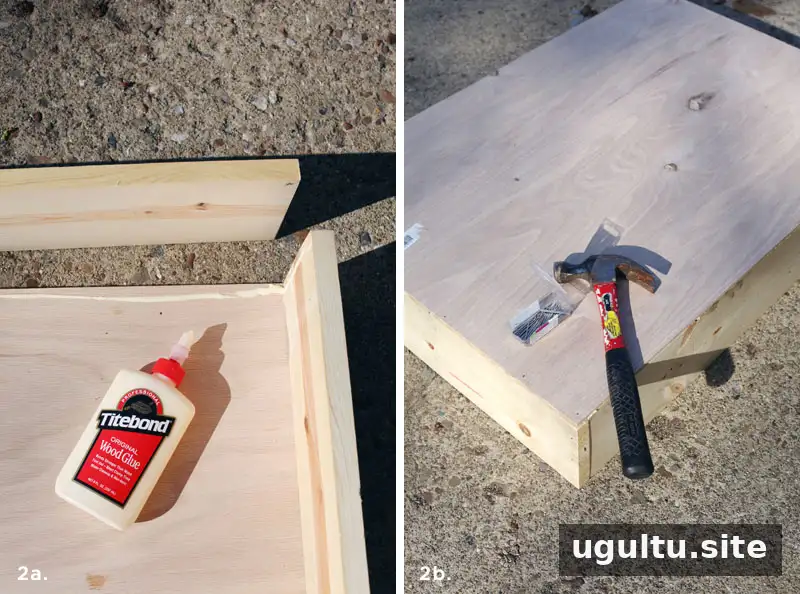
Step 2: Assemble the cabinet frame. Join the cabinet sides and back with wood glue, then secure the joints with wire brads while the glue dries. Ask someone to steady the boards if needed. Keep the pieces aligned as you fasten them.
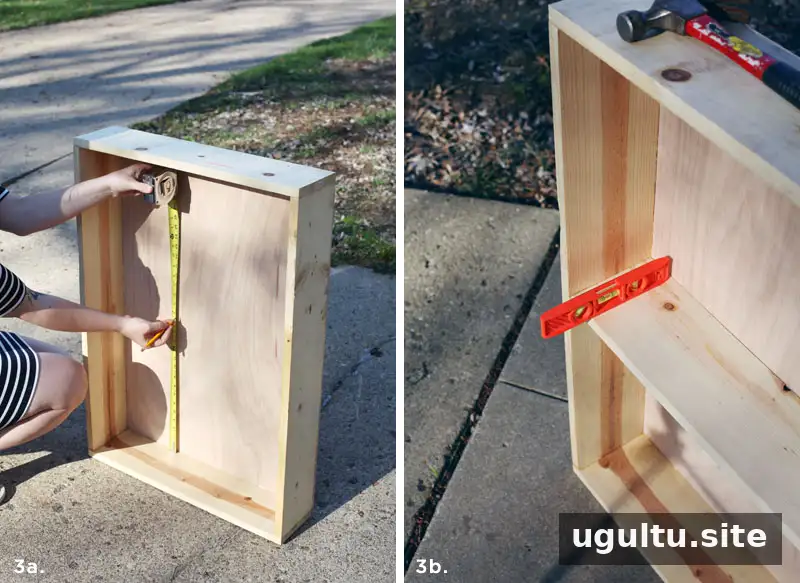
Step 3: Add the shelf. Mark the cabinet’s center and position the middle shelf with glue. Check it with a level before securing it through the sides and back.
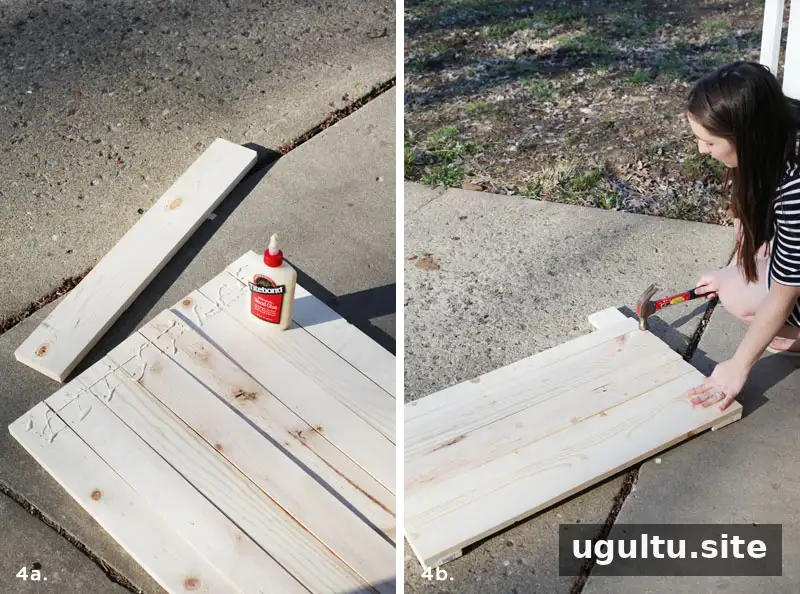
Step 4: Build the door. Arrange the ten planks, glue the two 1×3 rails across their backs at the top and bottom, and hammer the brads into place. Check that the door remains square as you fasten it.
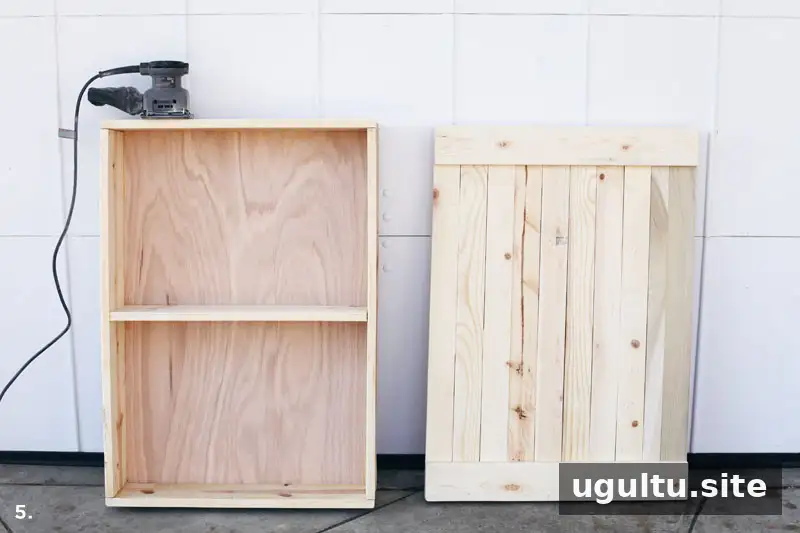
Step 5: Sand the wood. Use 180-grit sandpaper to smooth the cabinet and door before painting. Remove sanding dust so the finish adheres more evenly.
Paint and stencil the vintage-style door
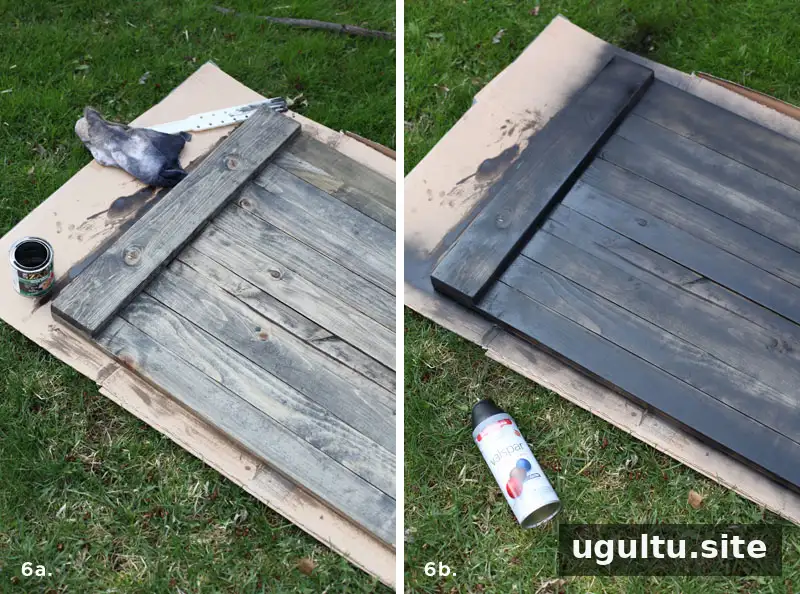
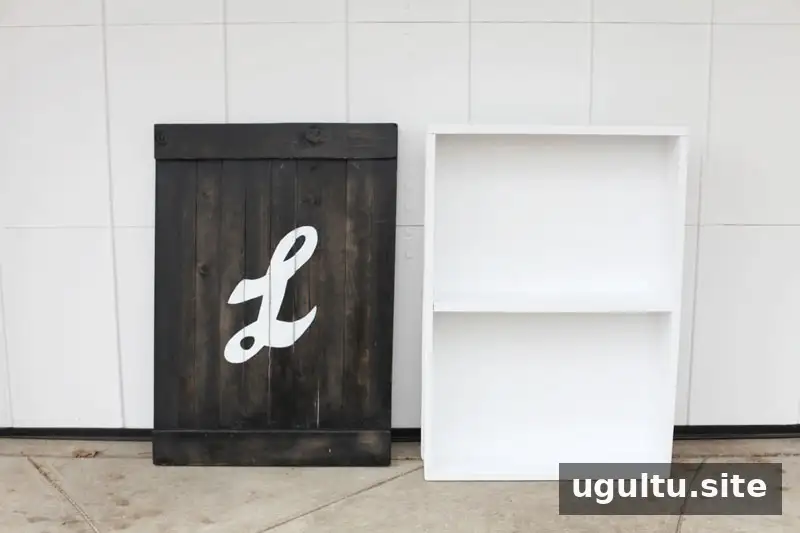
Step 6: Prime and paint. Prime and paint the cabinet, following the product’s drying instructions. For an aged door finish, apply black onyx wood stain, then add a light coat of black spray paint/primer and wipe it with a rag soon after spraying. Alternatively, skip the stain and paint the door. Work in a ventilated area and wear a respirator when sanding or spraying.
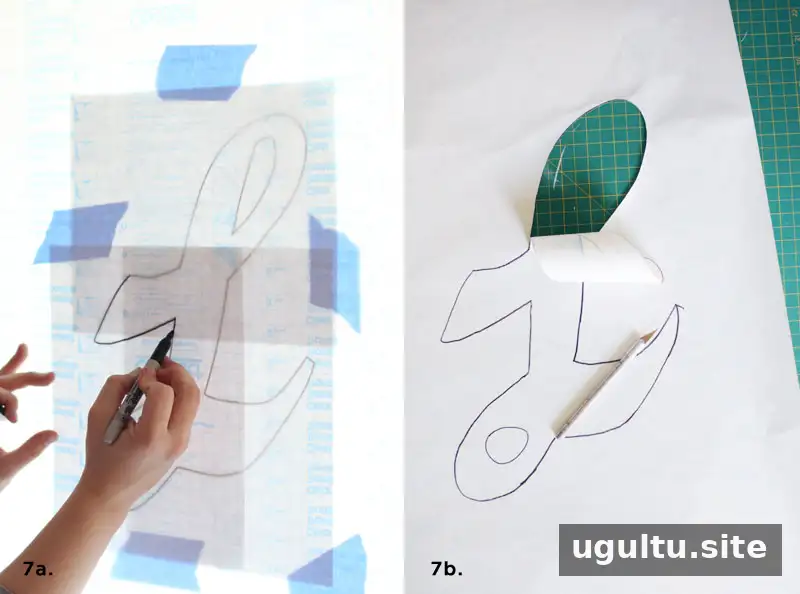
Step 7: Make the stencil. Print the L template in three parts, tape it to a window, cover it with contact paper, and trace the letter. Cut out the shape to create a stencil, keeping the two interior sections, or “islands,” in place.
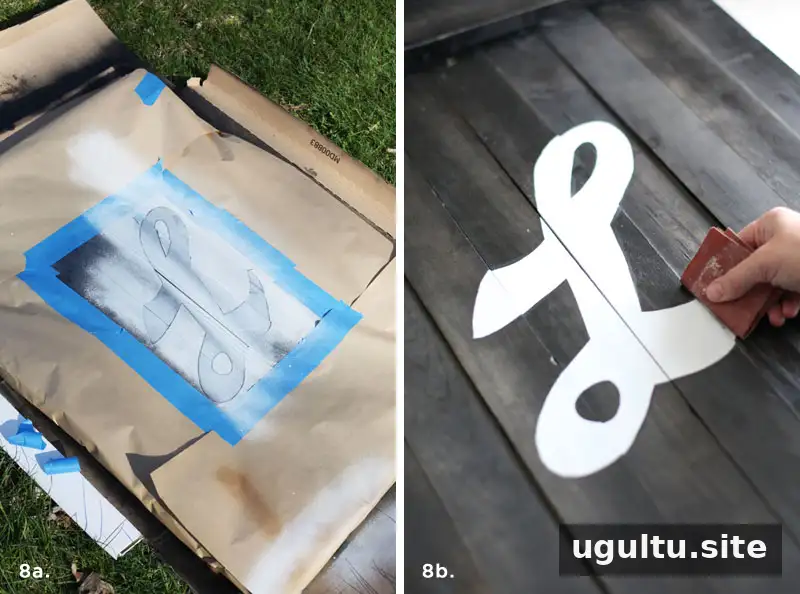
Step 8: Apply the lettering. Center the stencil and islands on the door and press them down firmly. Apply several light coats of paint rather than one heavy coat. Once dry, remove the stencil and touch up soft edges with a small brush and black paint. For a more worn appearance, lightly distress the finish with coarser sandpaper.
Mount and finish the liquor cabinet
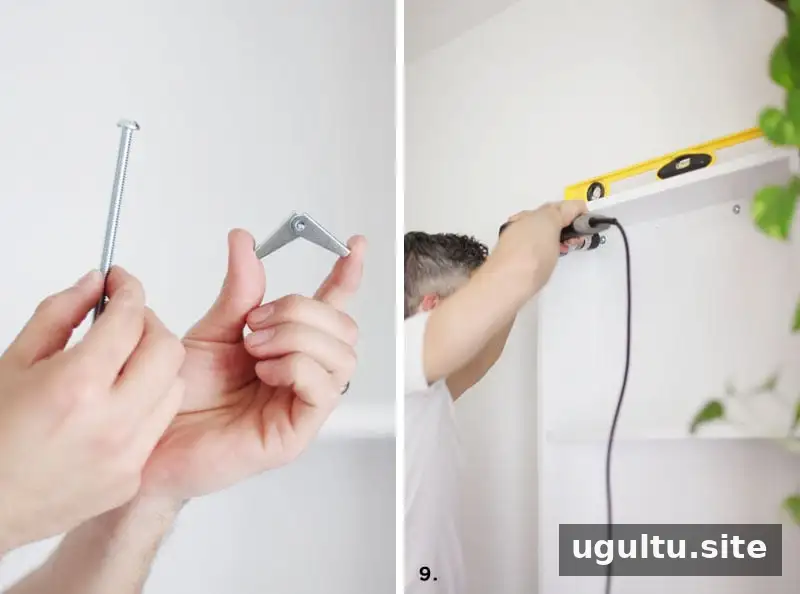
Step 9: Mount the cabinet. Choose mounting hardware appropriate for the wall and cabinet load. The original build used toggle bolts in drywall and also anchored the cabinet into two wall studs. Use a level, follow the hardware instructions, and confirm the cabinet is firmly supported before loading it.
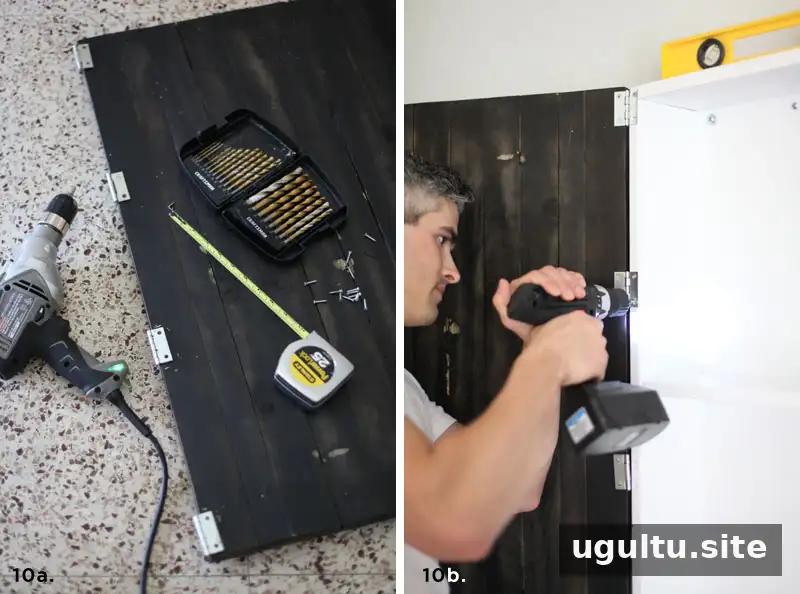
Step 10: Attach the hinges. Space the hinges evenly along the inside of the door. Drill pilot holes and screw the hinges into place. Have a helper hold the door against the cabinet while you mark the matching holes; drill pilot holes there, then fasten the hinges.
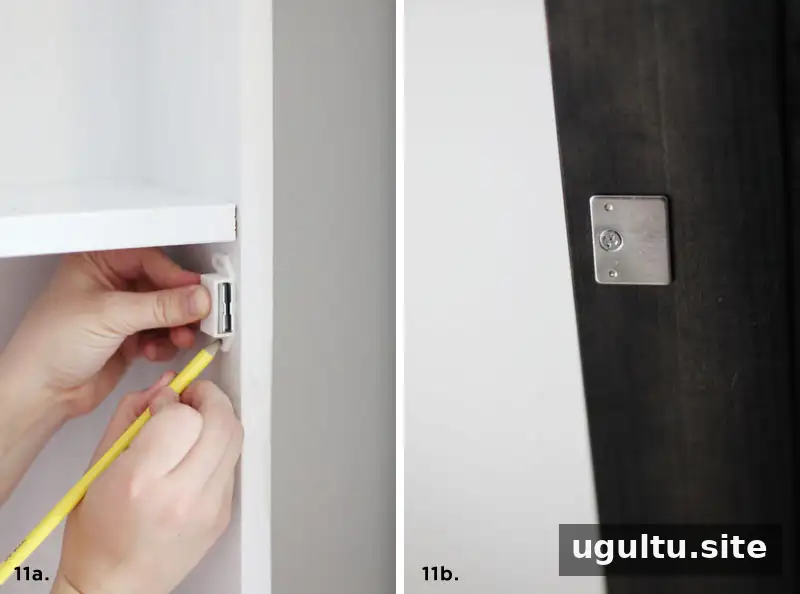
Step 11: Install the magnetic catch. Attach the magnetic closure to the cabinet wall below the middle shelf. Align its matching catch on the door so the door closes securely.
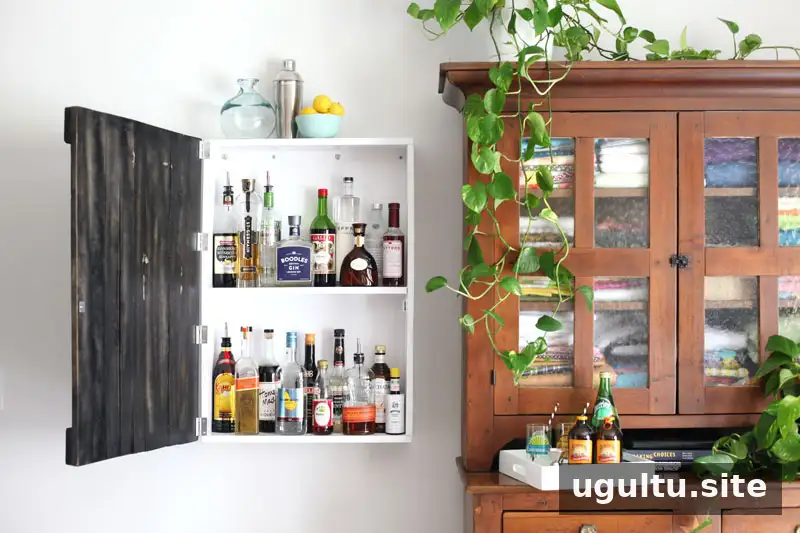
Once the finish is fully dry and the cabinet is securely installed, arrange bottles inside without overloading the shelves. Keep the cabinet locked or otherwise inaccessible to children if needed, and store alcohol responsibly.
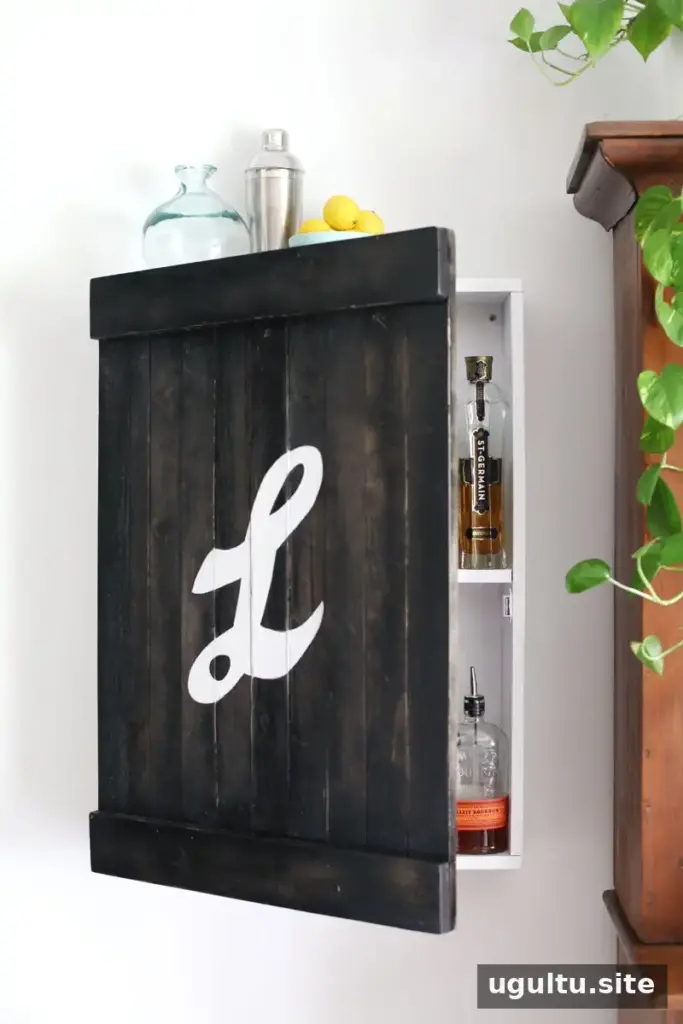
A vintage-inspired liquor cabinet can make use of wall space while keeping bottles organized and concealed. For an additional serving surface, a separate deep shelf can be mounted below the cabinet, provided it is installed with suitable wall support. Project by Mandi.


