
 admin
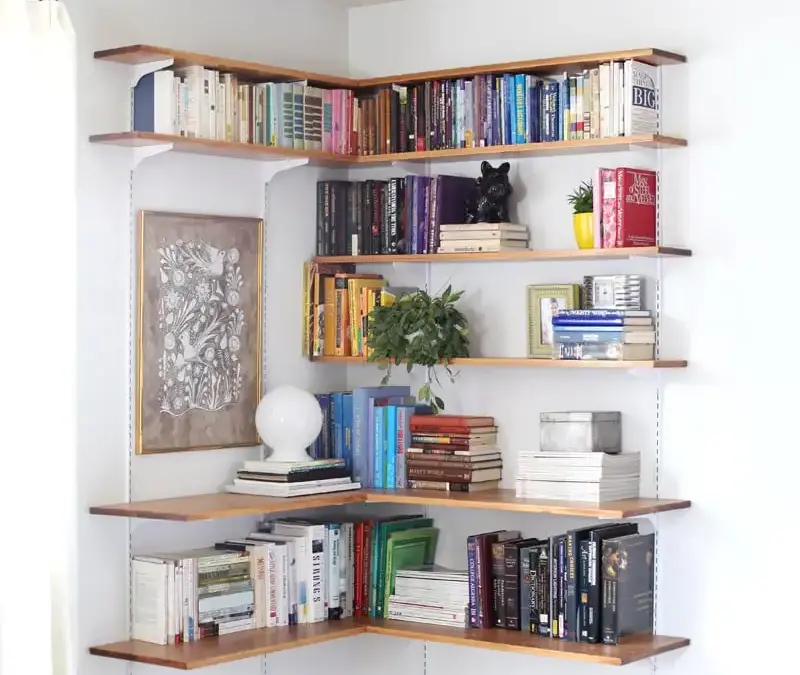
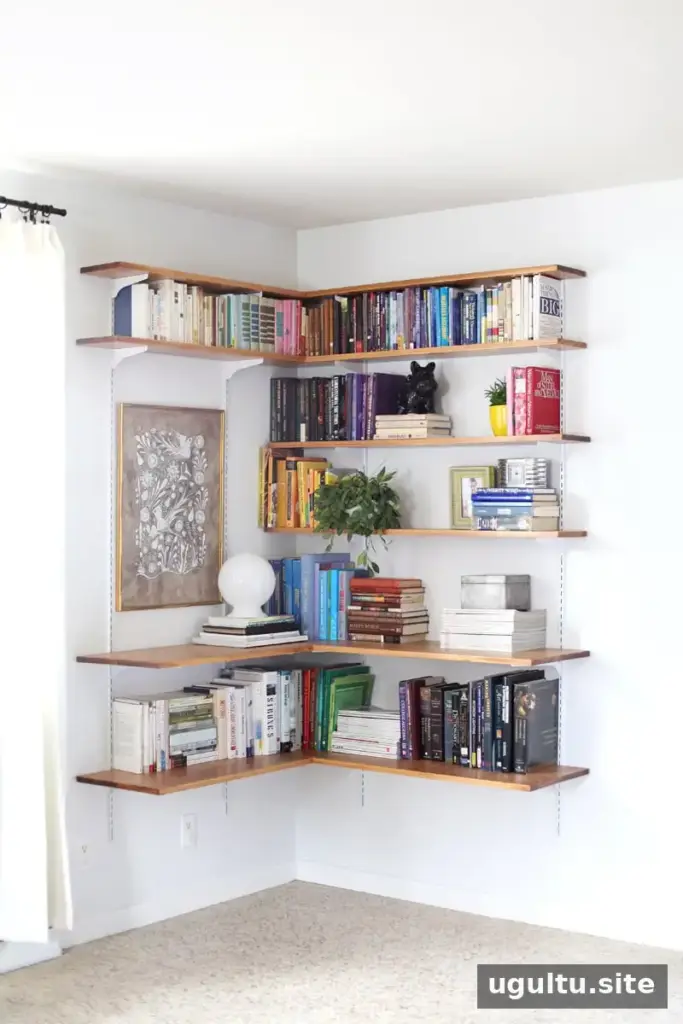
A corner shelving system can make an unused living-room corner more useful while adding flexible storage for books and decor. This adjustable design uses wall-mounted shelving standards, brackets, and wood planks, so shelf heights can be changed later without drilling a new set of holes.
The project can be planned to suit different shelf widths and wall lengths. Before buying materials, locate the wall studs, decide how long each shelf should be, and work out how the boards will meet at the corner.
Materials for a corner shelving system
Gather the following supplies before starting. The amount of lumber, number of standards, and number of brackets depend on your wall layout and chosen shelf count.
- Wood planks in 7″ and 12″ widths
- Polyurethane, varnish, or another finish to seal the shelves
- A 1/8″ drill bit
- A drill bit and screws suitable for attaching standards to the wall
- A power drill
- Shelving brackets in 6″ and 10″ lengths
- Shelving standards
- Wood stain or paint and primer
- Optional: 1/8″-diameter dowels for joining shelf corners
Choose and mount the shelving standards
Standards are the vertical wall strips with notches that hold shelf brackets. The brackets support the shelves, while the standards let you reposition them without making additional holes for every new shelf height.
Use a stud finder to locate the wall studs and mark their positions before laying out the standards. Attach the standards with screws driven into studs wherever possible. Shelves loaded with books can be heavy, and standards that are not securely fastened may pull away from the wall. Use appropriate wall anchors only where a stud is unavailable, and ensure the fasteners are suitable for the expected load.
Plan shelf lengths and lumber
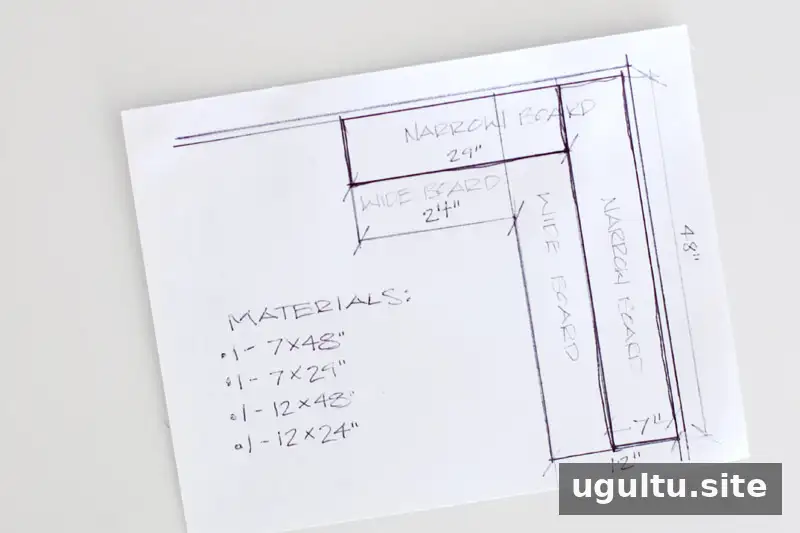
Decide which shelves need to be narrow and which should be wider. In this example, the shorter shelves were 32″ long and the longer shelves were 48″ long. Allow the shelves to extend at least 2″ beyond the outer standards, or 3″ beyond the outer stud, as described in the original layout guidance.
For the shorter wall, subtract the width of the shelf that meets its end at the corner. For example, subtract 7″ when planning the shorter shelves and 12″ for the wider shelves. This helps account for the space occupied by the adjoining shelf and creates a more considered corner fit.
Write down the lengths and widths needed for every shelf before visiting a lumber yard. Ask for the boards to be cut to size if that service is available. Plan board purchases around usable cuts: for five 4′ pieces, two 10′ planks will not provide five separate 4′ lengths. Three 8′ planks provide enough total length, with some extra material. Confirm the cutting plan with the supplier before purchasing.
Calculate standards and brackets
For each wall section, two standards may be sufficient. For a shelf longer than 64″, the project guidance recommends three sets of standards and brackets for additional support. On a short wall, standards can be mounted on adjacent studs; a longer wall may allow a stud to be skipped while still providing two support points.
Consider the weight the shelves will carry when choosing the support layout. A shelf holding a heavy collection of books may need more support than one displaying lightweight decor. The example setup used five 7″-wide shelves on each wall and two 12″-wide shelves on each wall, with two brackets for each shelf.
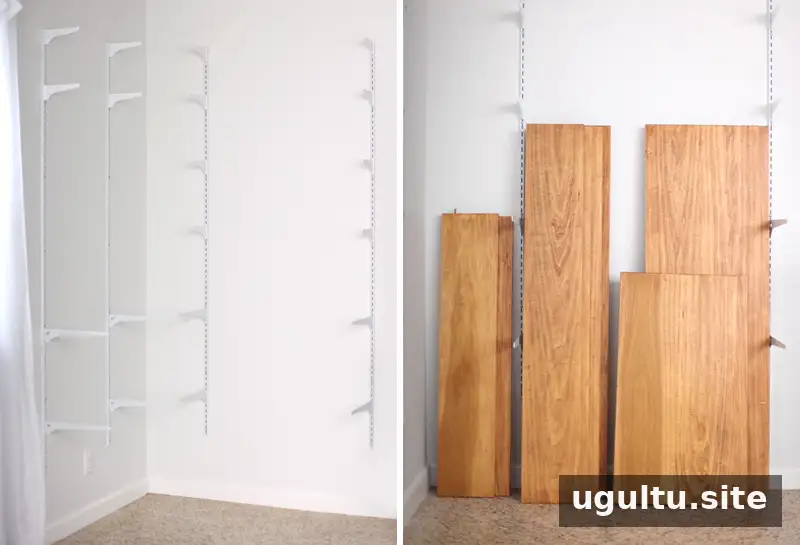
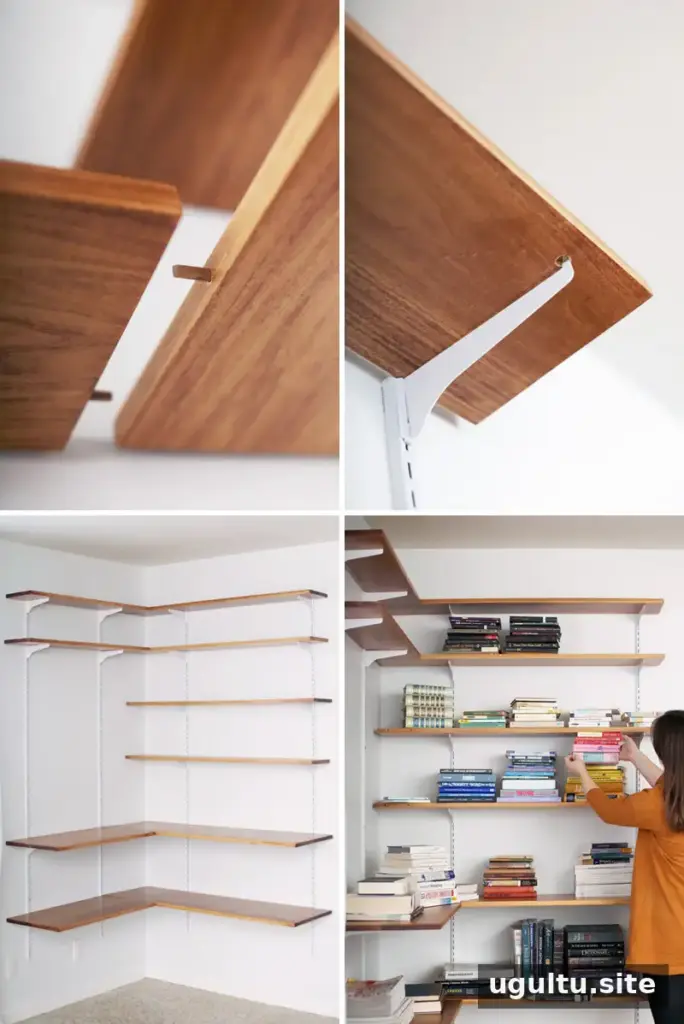
Fit the shelves over the brackets
Brackets may be shorter than the shelf width to create a less prominent profile. If the bracket ends have raised notches that keep the shelf in place, mark where each notch meets the underside of the wood. Remove the shelf and drill a shallow recess at each mark so the notches can fit into the wood.
To connect two shelves at the corner, dowels can help prevent them from shifting apart. Measure the same distance in from the edge of each board, then drill matching, vertically centered 1/8″ holes. Insert short 1/8″ dowels into the aligned holes. Test the fit before finishing the assembly, and avoid drilling deeper than needed.
Finish and arrange the shelves
Stain or paint the boards, then seal them with polyurethane, varnish, or another suitable finish. Follow the product directions and allow the finish to dry before placing books and objects on the shelves.
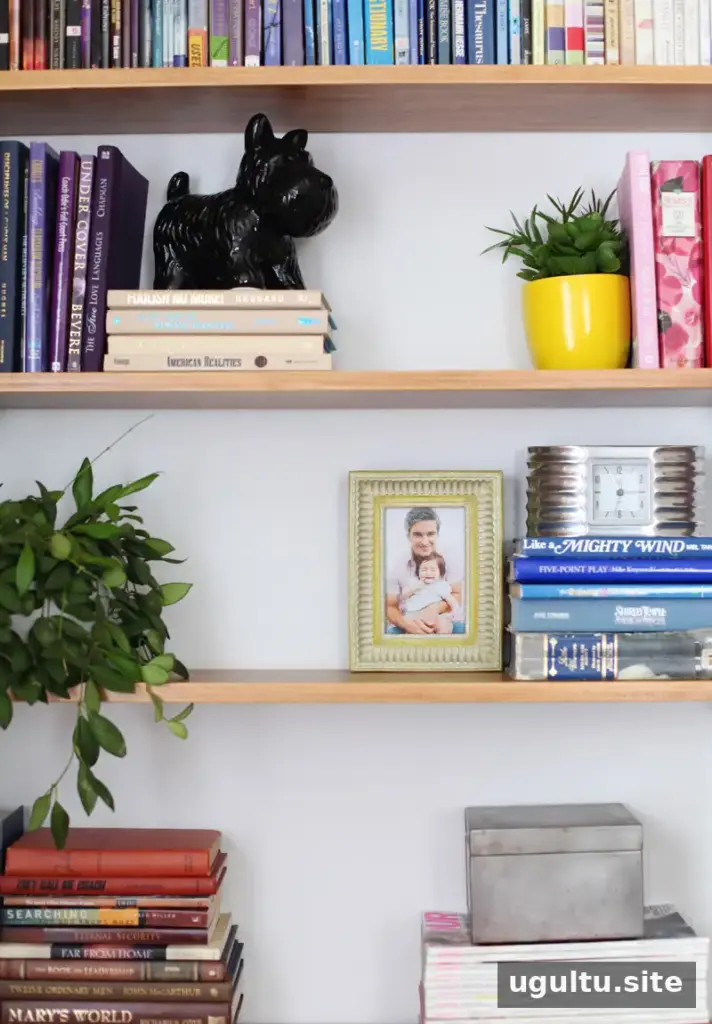
Arrange books by size or color, depending on what makes them easiest to find and keeps the display visually balanced. Leave gaps where useful, and fill open areas with framed pictures, a clock, plants, a storage box, or other decorative objects. Keep heavier items on shelves with adequate support, and avoid placing objects where they could easily fall.
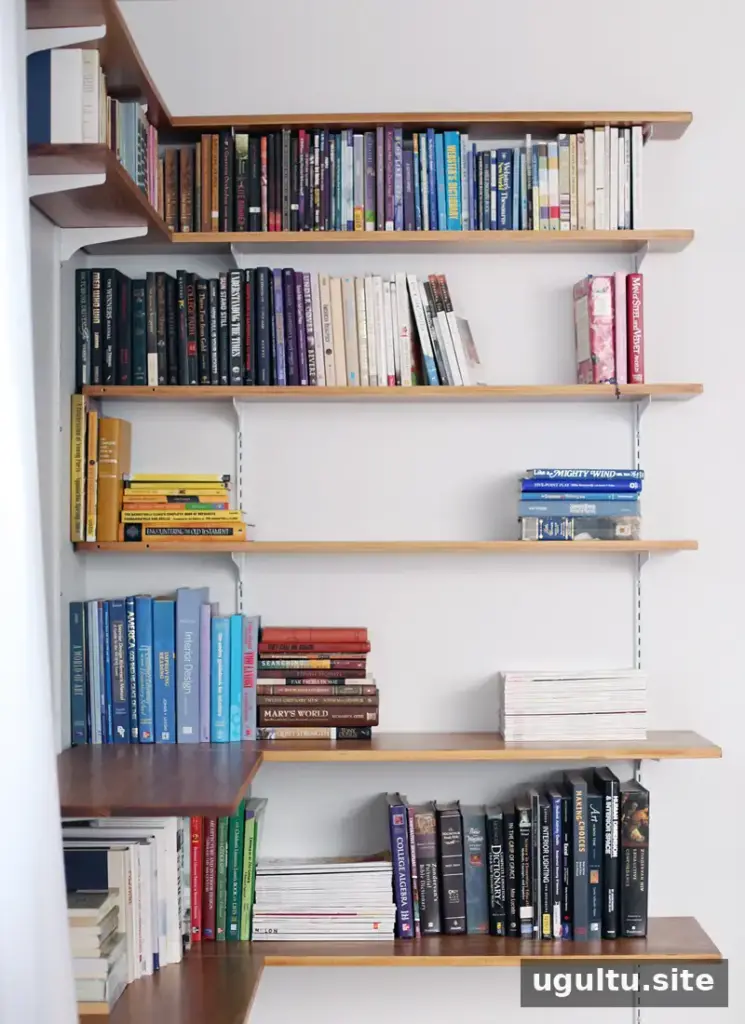
Balancing colors and visual weight across both walls can help the corner feel organized. One practical approach is to distribute darker books and decor rather than concentrating them all in one area. Since the standards are adjustable, the arrangement can be updated as storage needs change.
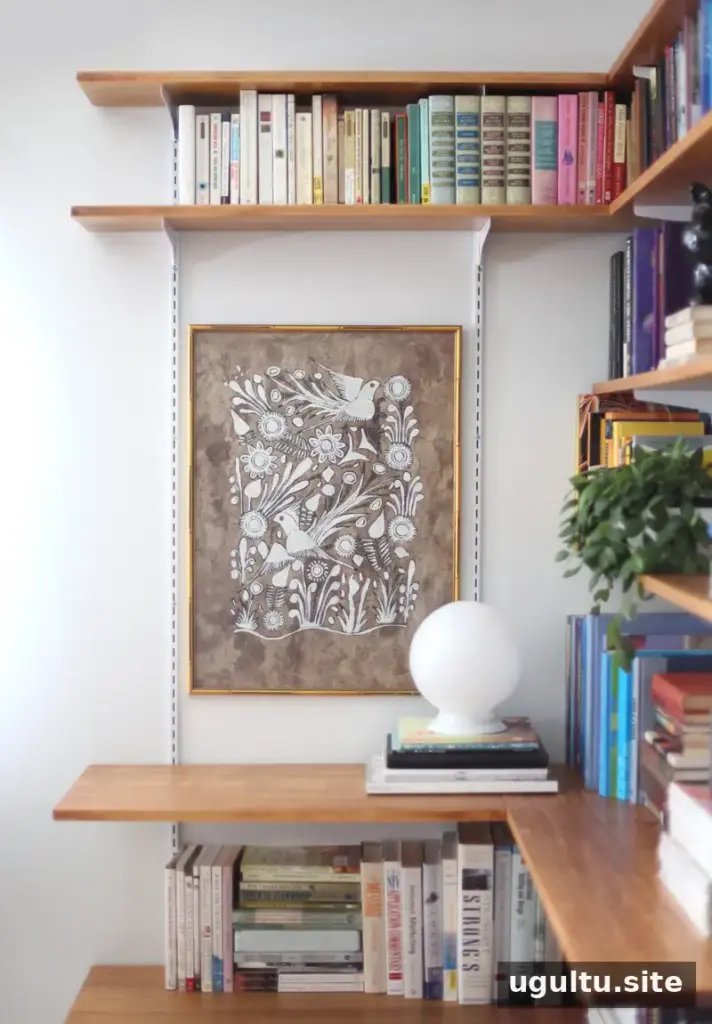
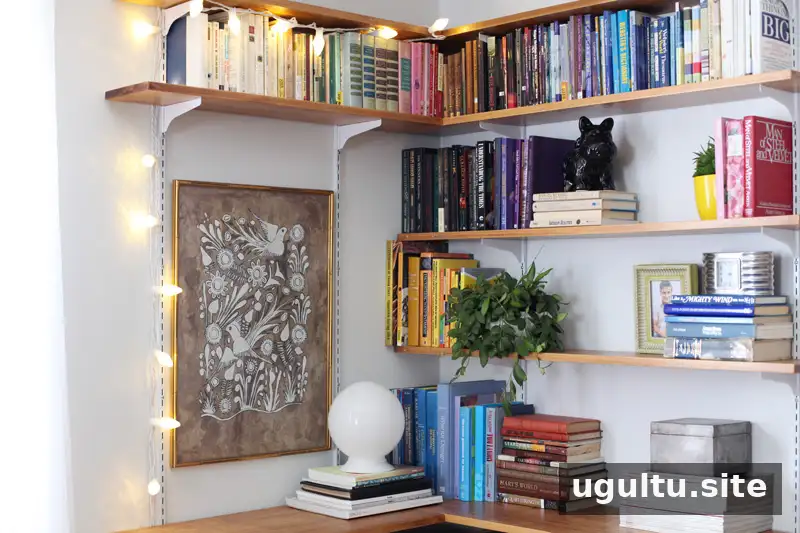
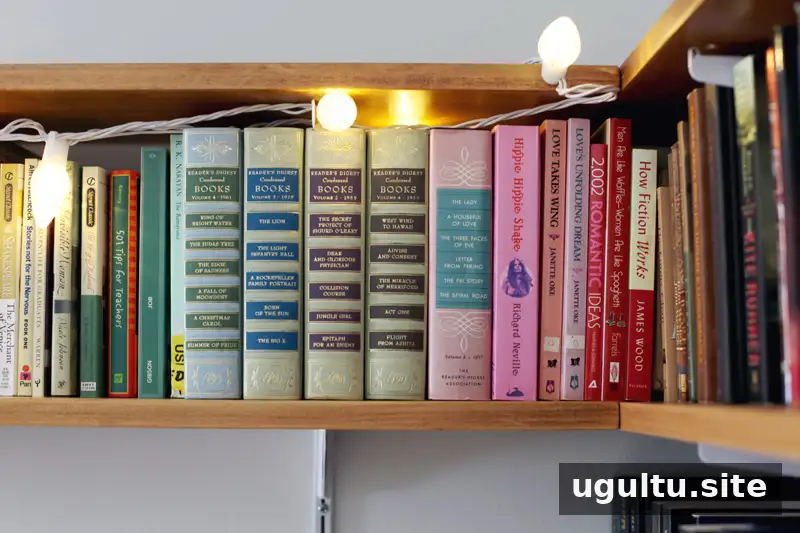
For seasonal styling, string lights can add a festive touch. A table lamp can provide light to the corner during the rest of the year; position electrical cords safely and keep them clear of walkways.
Conclusion
A well-planned corner shelving system turns an empty corner into adaptable storage for books and home accessories. Measure carefully, anchor standards securely, and select enough brackets for the shelf lengths and loads. The adjustable layout also makes it easy to change shelf spacing or add and remove shelves over time.
Project author: Mandi.


