
 admin
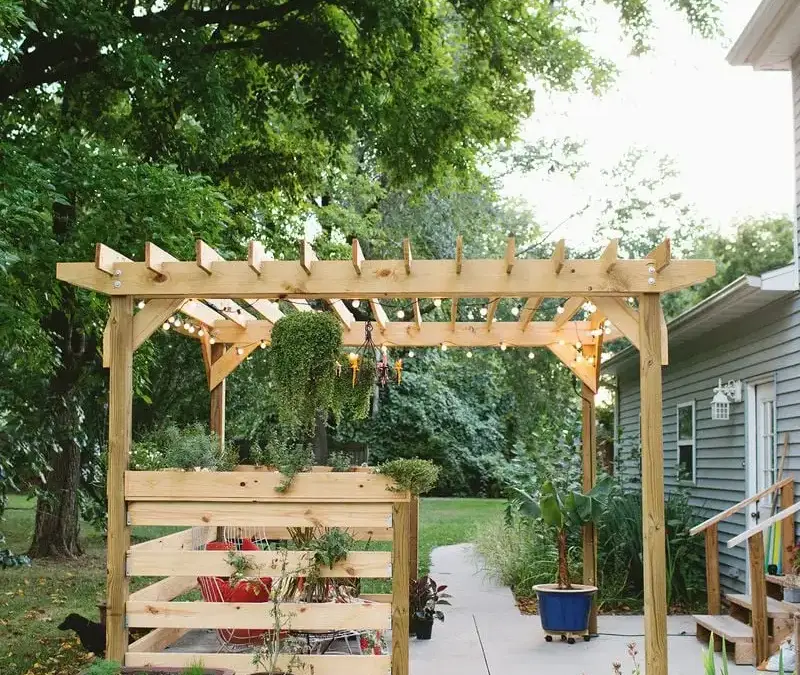
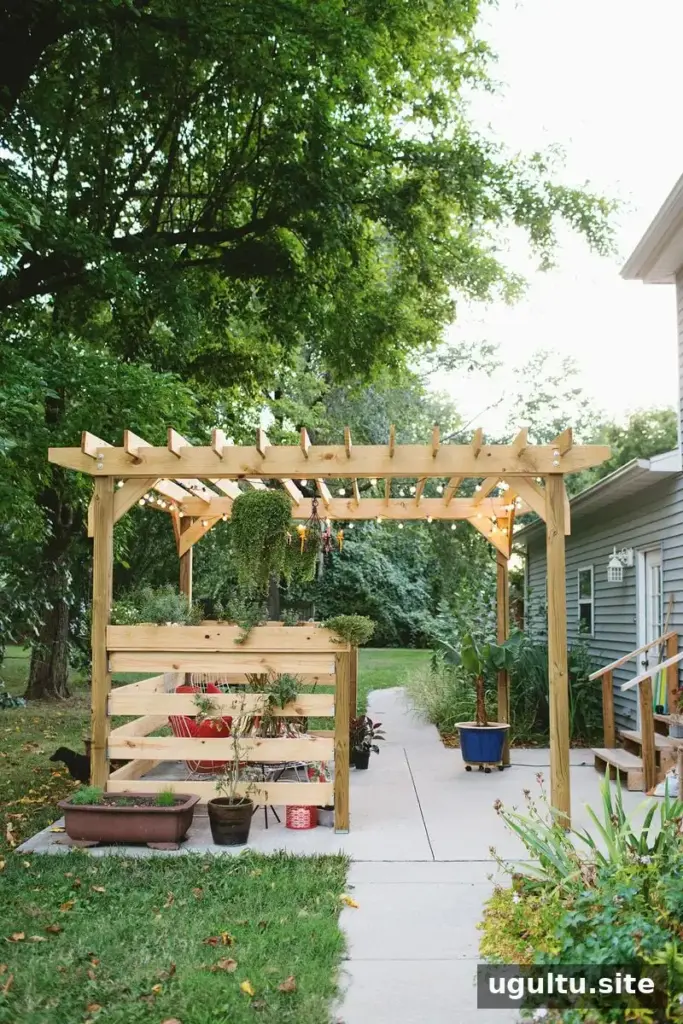
Planning to build a pergola on an existing concrete slab? This project created a 10-by-10-foot structure on a 16-by-16-foot slab and took two days to complete. A helper made lifting and positioning the larger pieces easier, especially during the framing stage. Before starting, check that your site, tools, and materials are ready, and arrange assistance for any heavy or overhead work.
Materials and tools for this pergola build
The following list reflects the materials and approximate prices used for this project. Prices can vary by location and over time, so use them as a reference rather than a current quote.
Materials
- Twelve 1x6x12 pressure-treated decking boards, about $7 each
- Four 2x8x12 pressure-treated boards, about $13 each
- Five 4x6x8 treated posts, about $15 each
- Ten 2x6x10 treated boards, about $8 each
- Ten 1x6x10 treated boards, about $7 each
- Six post anchors, about $20 each
- One box of ten Tapcon 3/8-inch x 3-inch concrete anchors, about $20
- Twenty-four 2×4 fence brackets, about $0.70 each
- One box each of 2.5-inch and 1.25-inch Grip-Rite deck screws, about $10 per box
- 3/8-inch concrete drill bit, about $7 each; two are recommended because one wore out after six uses during this build
- Eight 2 1/4-inch galvanized lag bolts
- One box of 25 1/2-inch x 6-inch coarse-thread galvanized steel hex-head lag screws, about $50
- One box of 25 1/2-inch galvanized steel flat washers, about $7
Tools
- Miter saw and jigsaw
- Speed square, tape measure, pencil or white pencil, and chalk line
- Ladder, drill, and drill bits
- Ratchet, leather gloves, and helping hands
Gather everything before beginning, and check that the fasteners and anchors are suitable for the treated lumber and concrete you are using.
How to build a pergola on a concrete slab
Step 1: Prepare and mark the layout
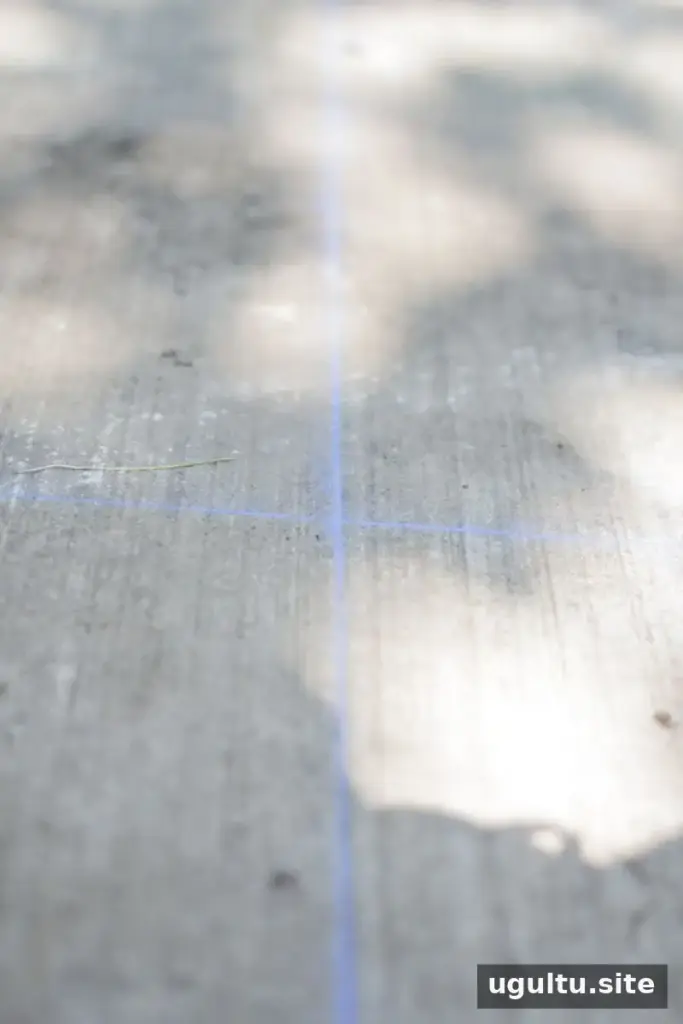
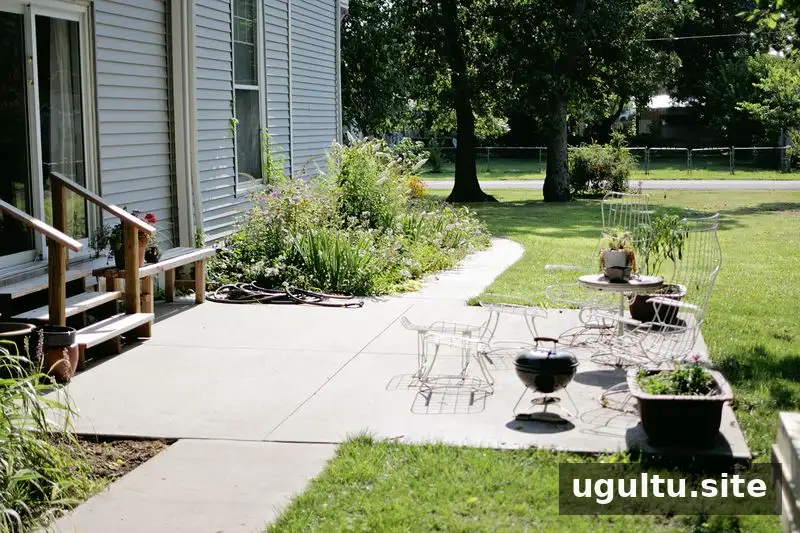
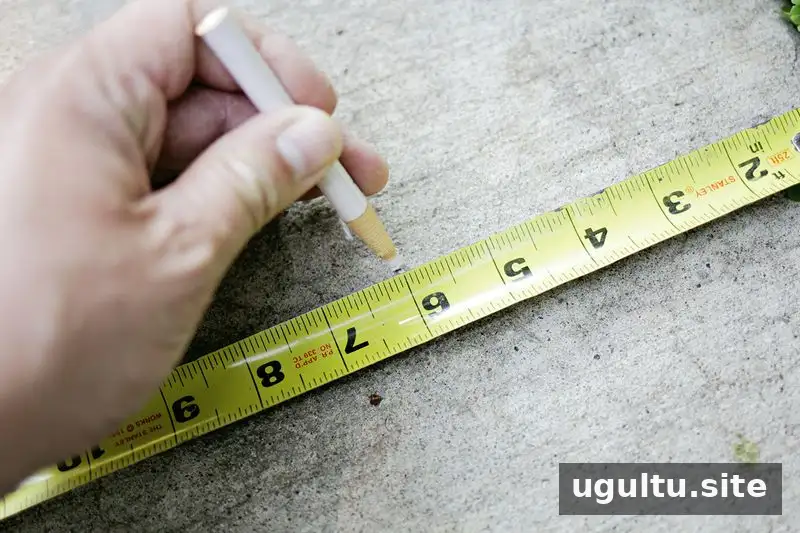
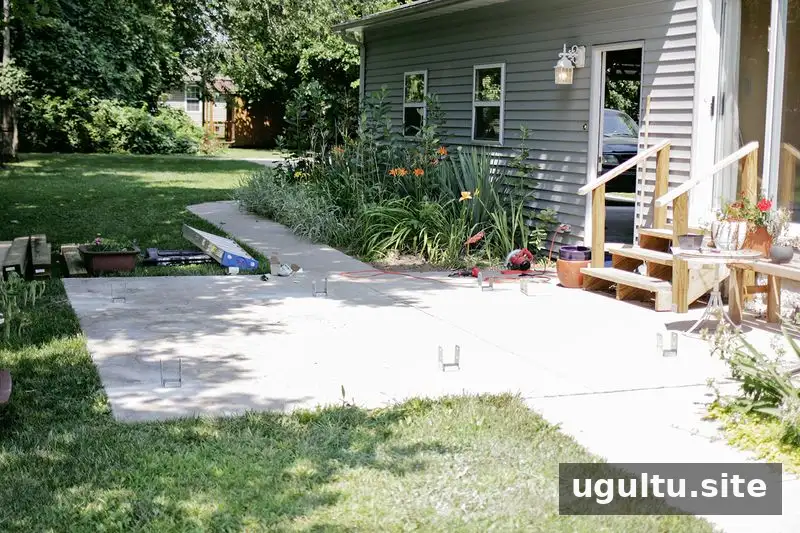
Clear the slab of furniture, planters, leaves, and dirt so you have a clean, level work area. The slab measured 16 by 16 feet, and the initial plan was to center the 10-by-10-foot pergola, leaving a three-foot walkway on each side. After considering the side garage door and kitchen sliding door, the layout was shifted one foot over and back. Measure the proposed position, mark it on the concrete, then use a chalk line to make the edges clear.
Step 2: Anchor the posts to the concrete
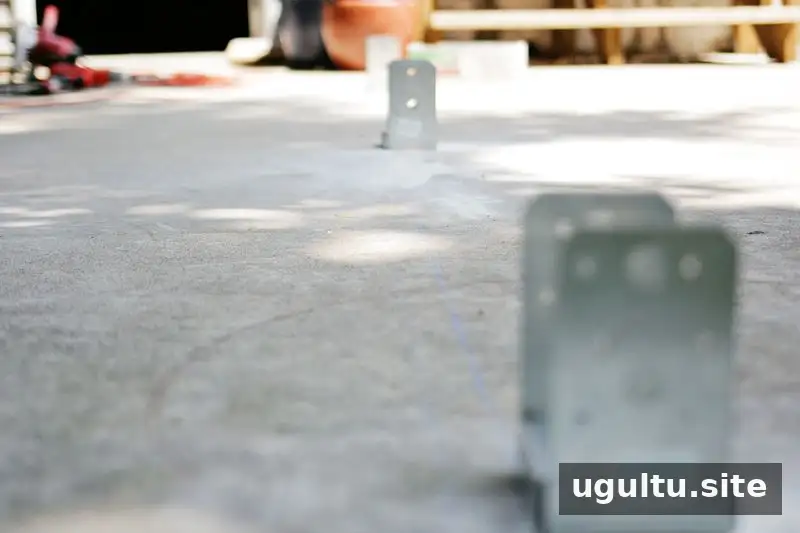
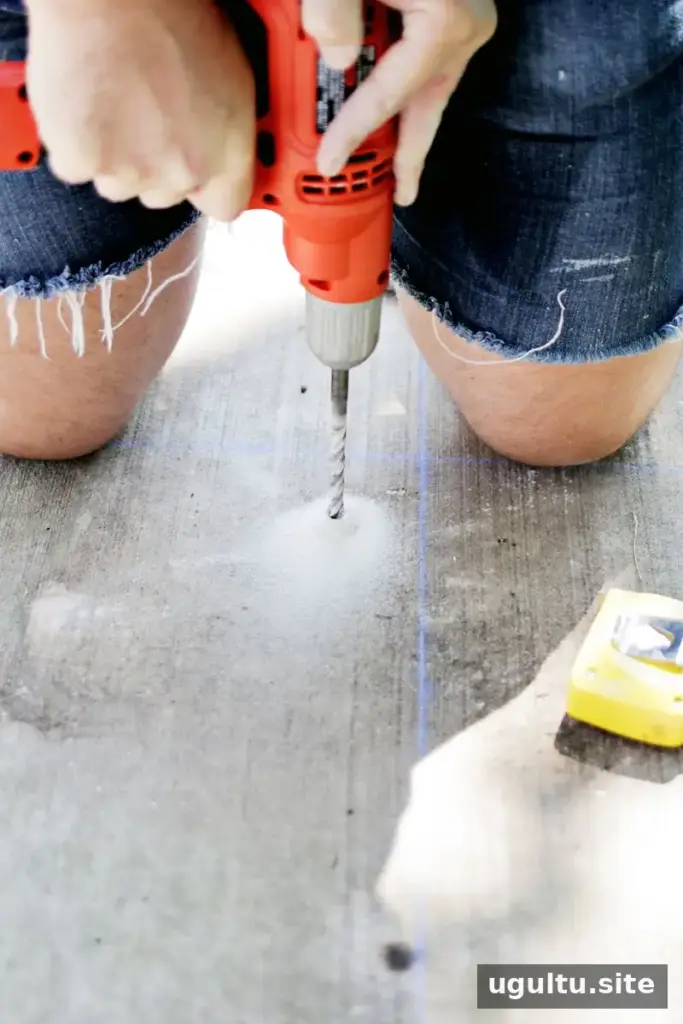
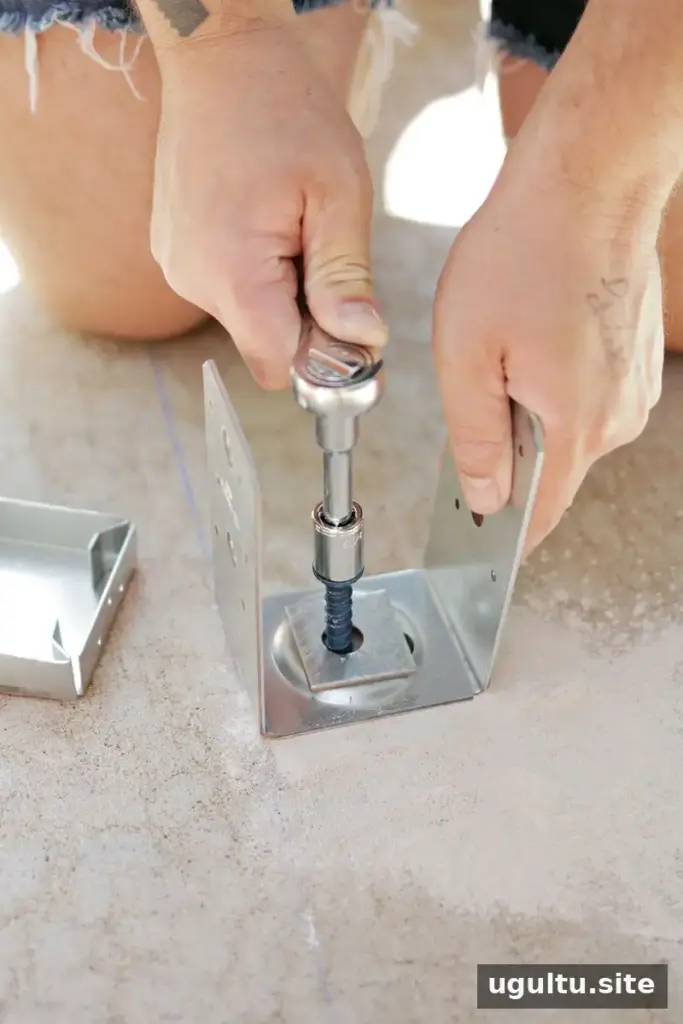
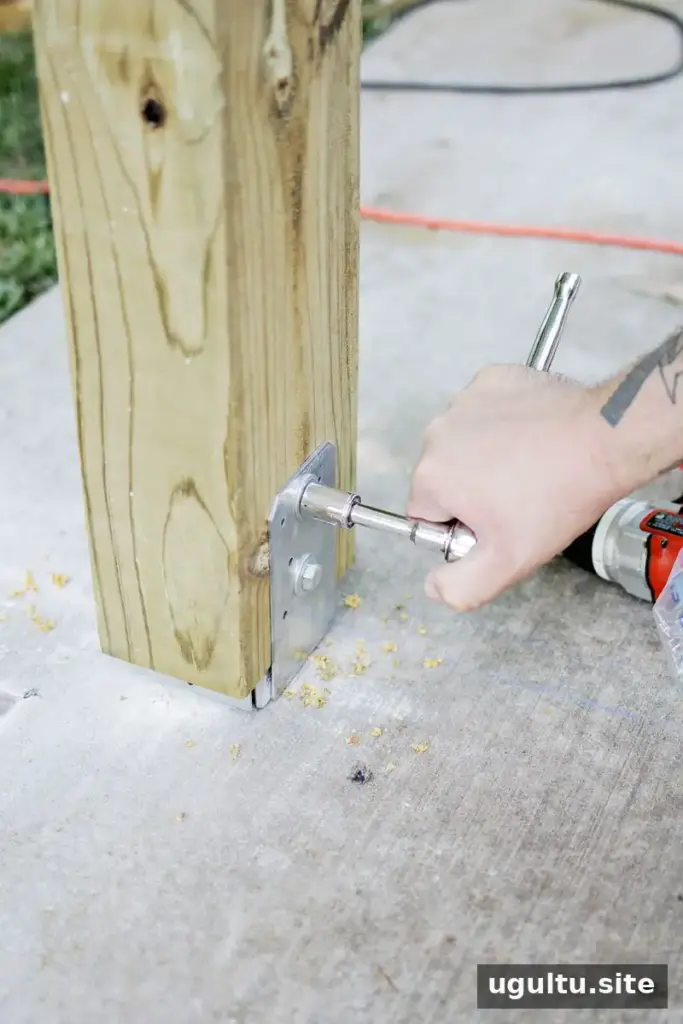
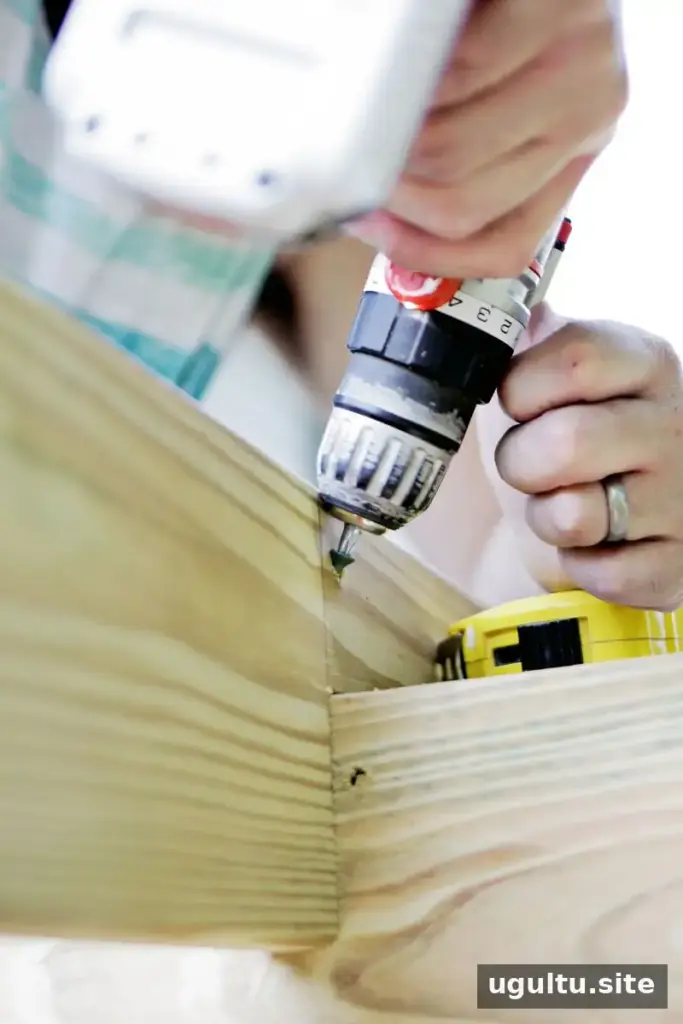
Because strong winds can put pressure on an outdoor structure, the post bases were secured to the slab. The selected heavy-duty anchors had a triple-zinc coating and were recommended for treated lumber. Their one-inch stand-off plates also raised the wood above the concrete to help limit moisture contact. Position each plate, drill through the concrete with a 3/8-inch bit, and tighten the anchor bolts with a ratchet. Use appropriate eye and hearing protection when drilling, and confirm the anchor instructions match your installation.
Step 3: Position the posts and privacy panels
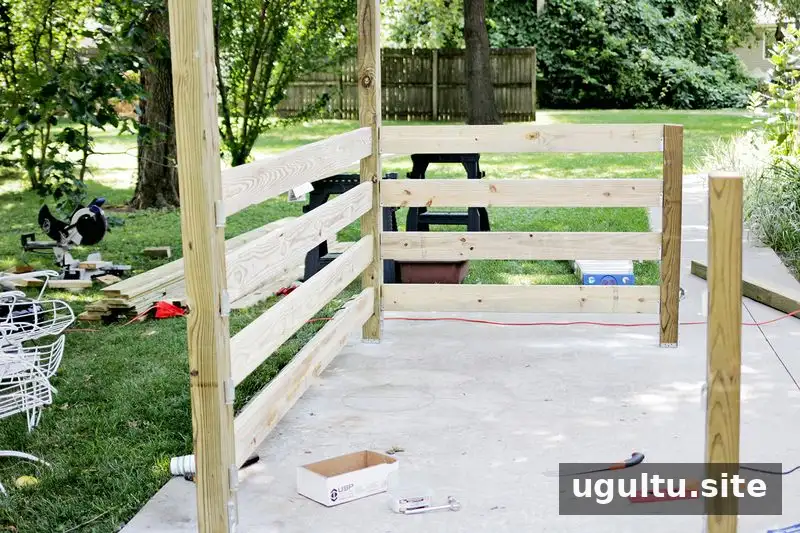
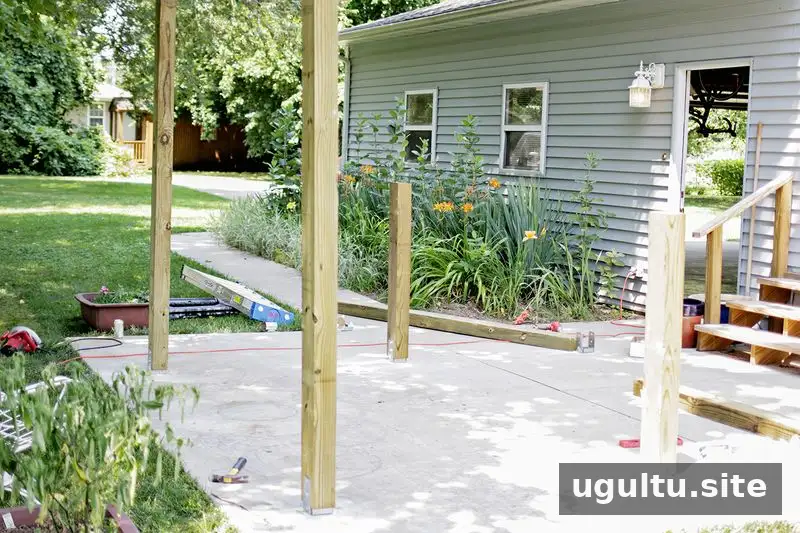
The 4×6 posts were nominally eight feet long and established the planned ceiling height, so they were cut to the required size before installation. Tall posts can wobble before they are connected, so the build was assembled in stages: the back posts and shorter posts were raised first, then tied together with horizontal boards. Once the frame had more support, the remaining posts were installed.
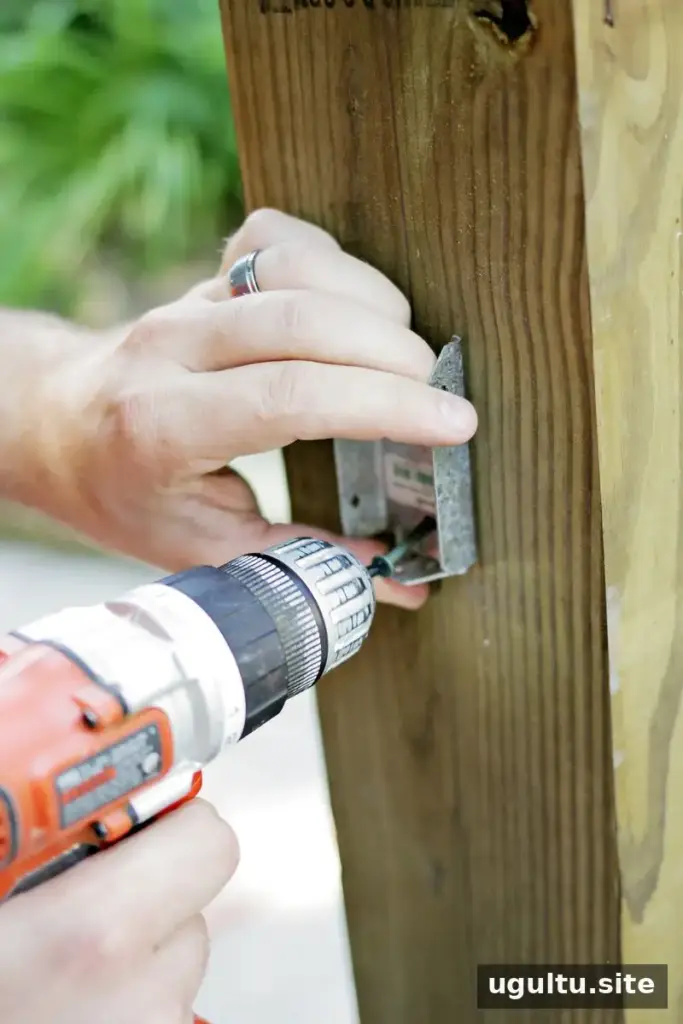
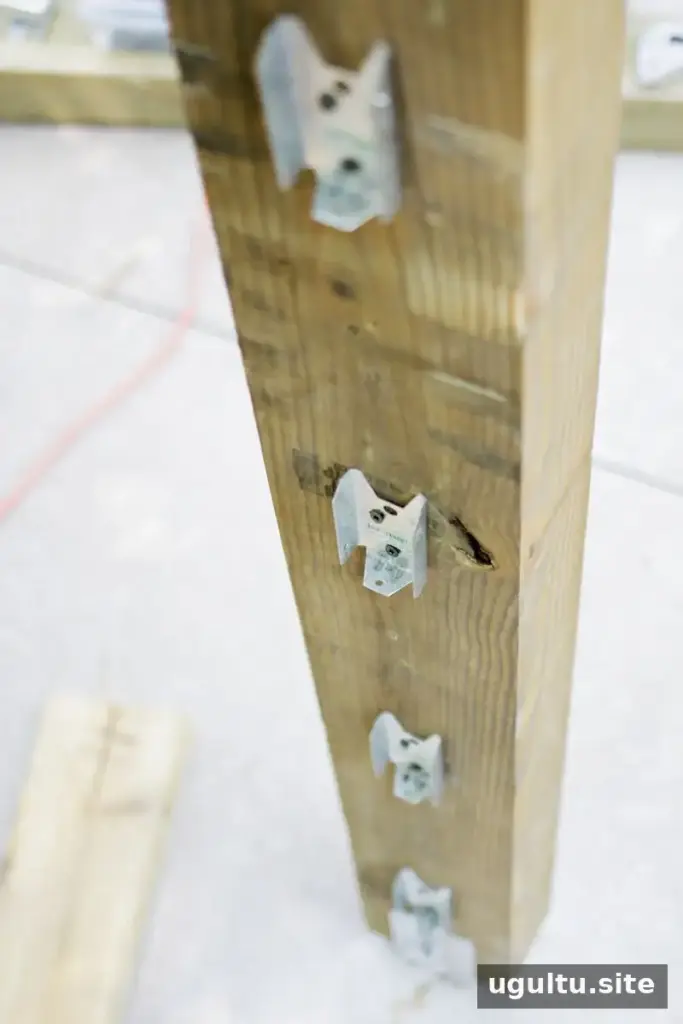
For the privacy panels, install the fence brackets, cut the 1×6 boards to fit, and screw them into place. The brackets held the boards, but did not add as much structural stability as expected. For a future build, consider whether a different connector or a beam attachment to the outside of the posts would better suit the design. Do not rely on decorative or panel hardware as a substitute for properly designed structural connections.
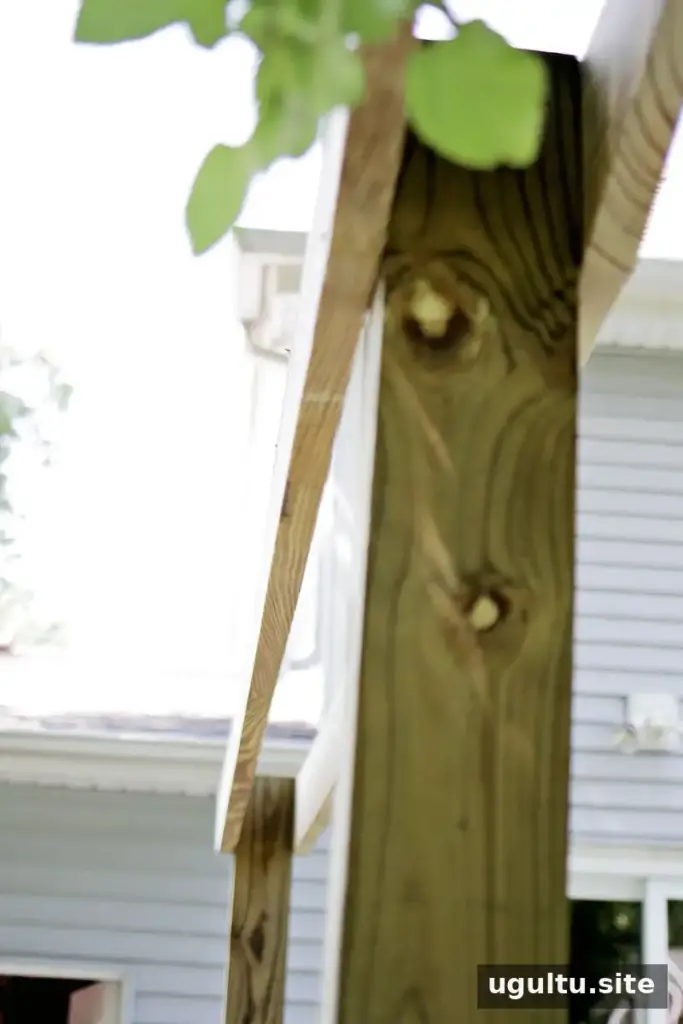
Step 4: Fit the horizontal beams
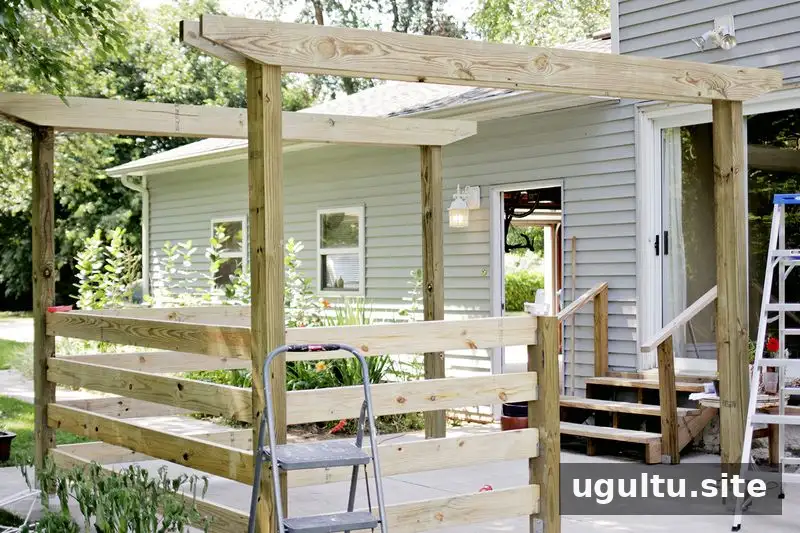
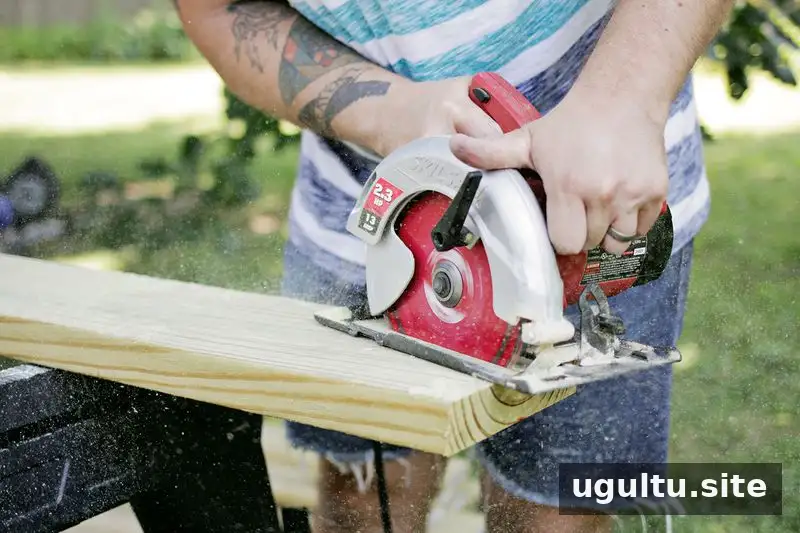
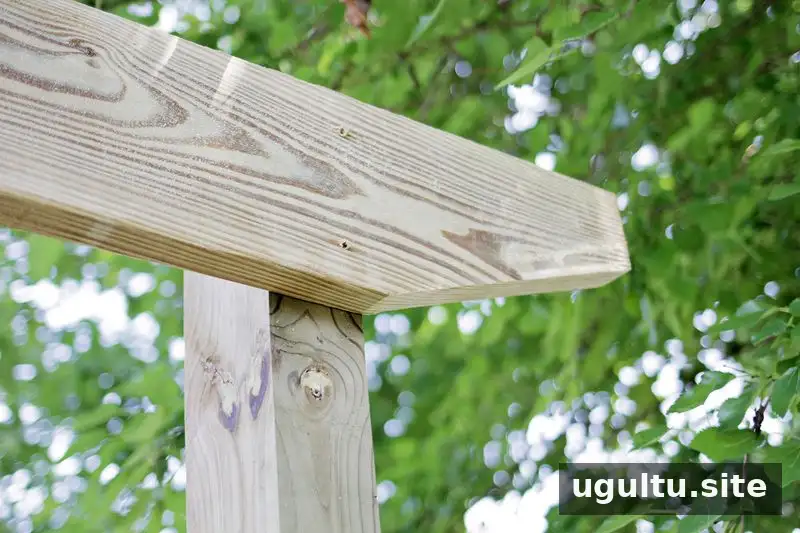
With all six vertical beams in place, the 2×8 boards were added to provide lateral support. Their corners were cut for a finished detail. Mark the beam position on each post before lifting it into place; clear marks help align the pieces without prolonged adjustments. The beams were temporarily held with screws until the longer lag bolts arrived. Because these boards are heavy, have a helper support the opposite end while positioning and fastening them.
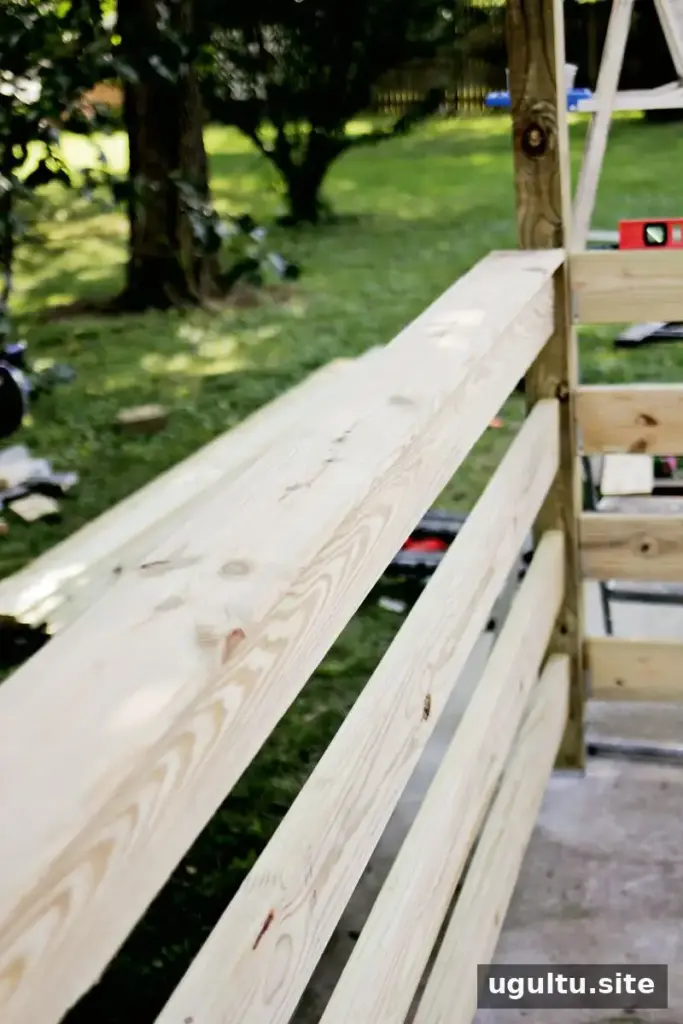
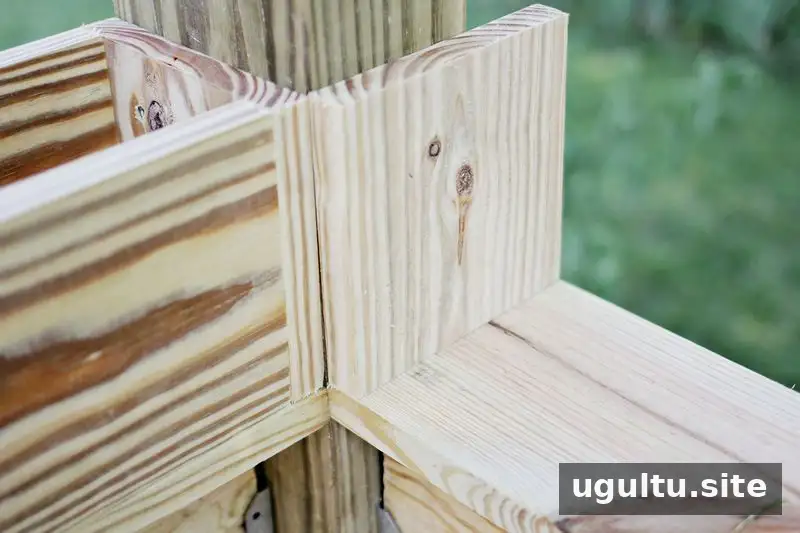
Step 5: Add the trough and corner bracing
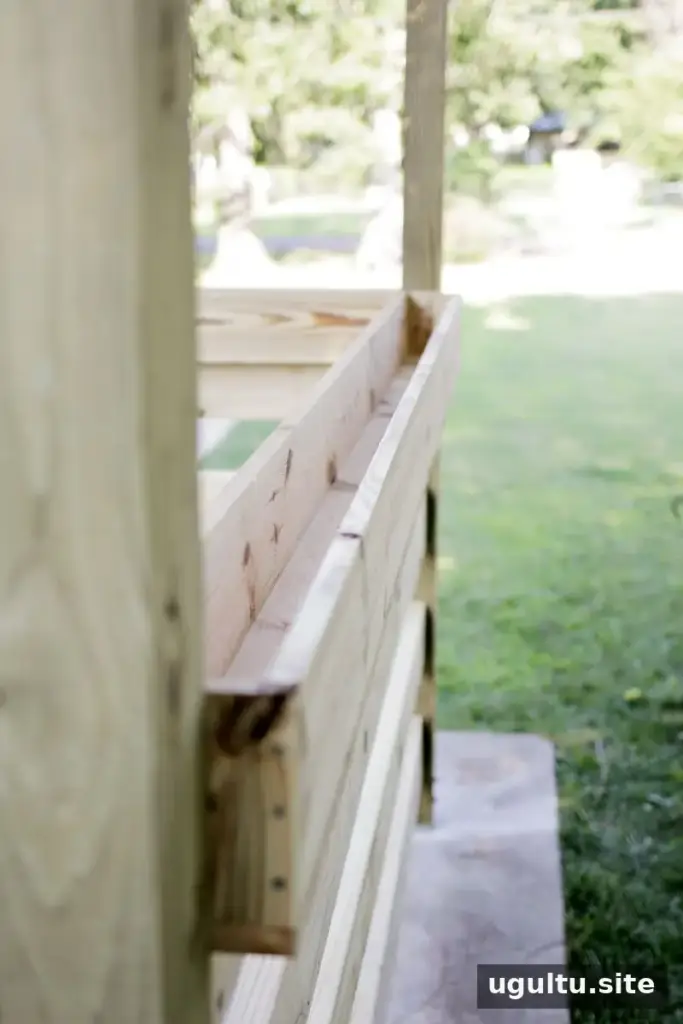
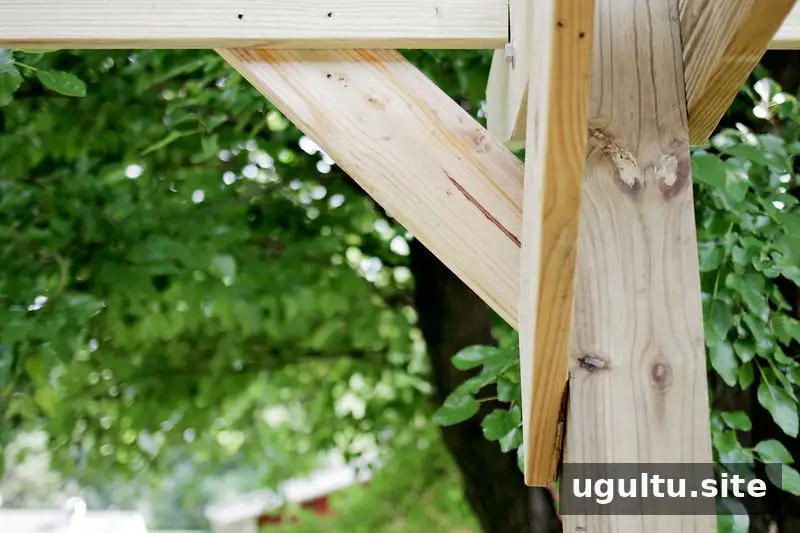
Before installing the roof slats, a box-like trough was screwed onto the top of the half walls to reinforce the frame. A fitted piece of wood was added at the corner for additional bracing. Drainage holes were drilled in the bottom of the trough so water would not collect there. Keep drainage openings clear and check that water can flow away from the structure.
Step 6: Secure the frame and install the slats
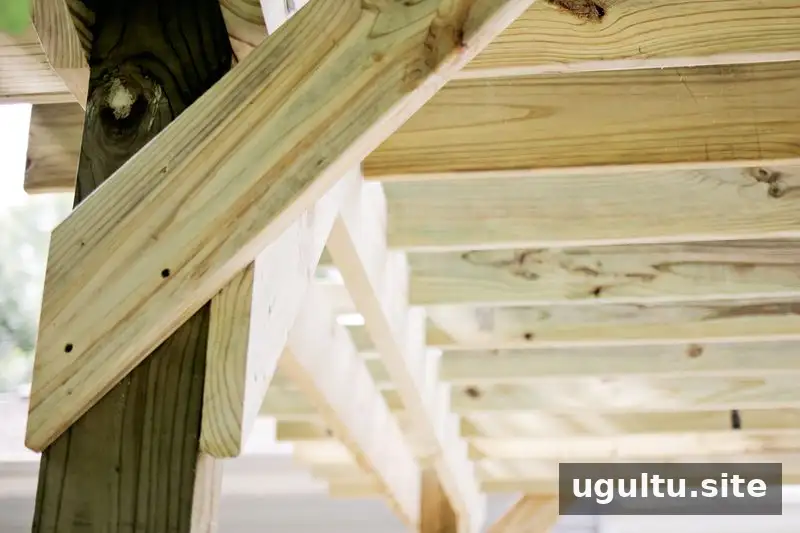
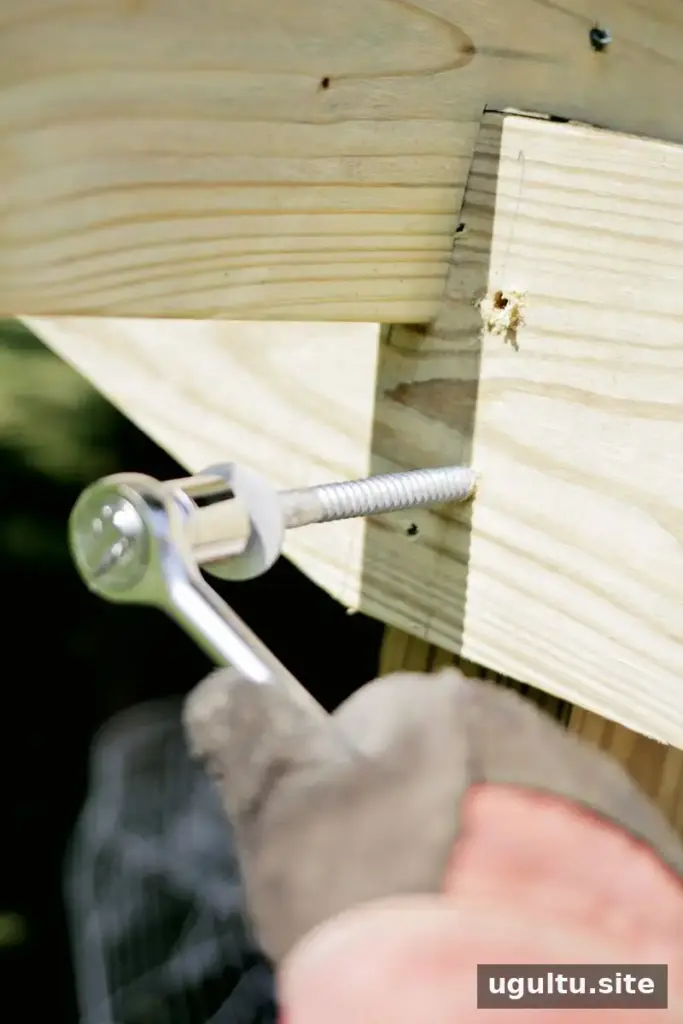
Once the lag screws and washers were available, they were added to the horizontal 2x8s: two on the outside of each end and one on each inside member. The holes were pre-drilled, but the 1/2-inch x 6-inch fasteners still took considerable effort to tighten. Wear gloves and use the correct tools, and avoid forcing a fastener if it binds.
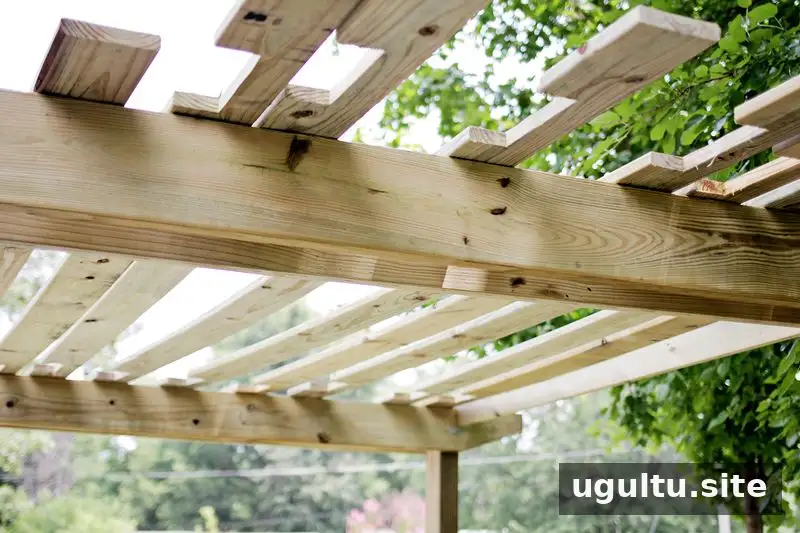
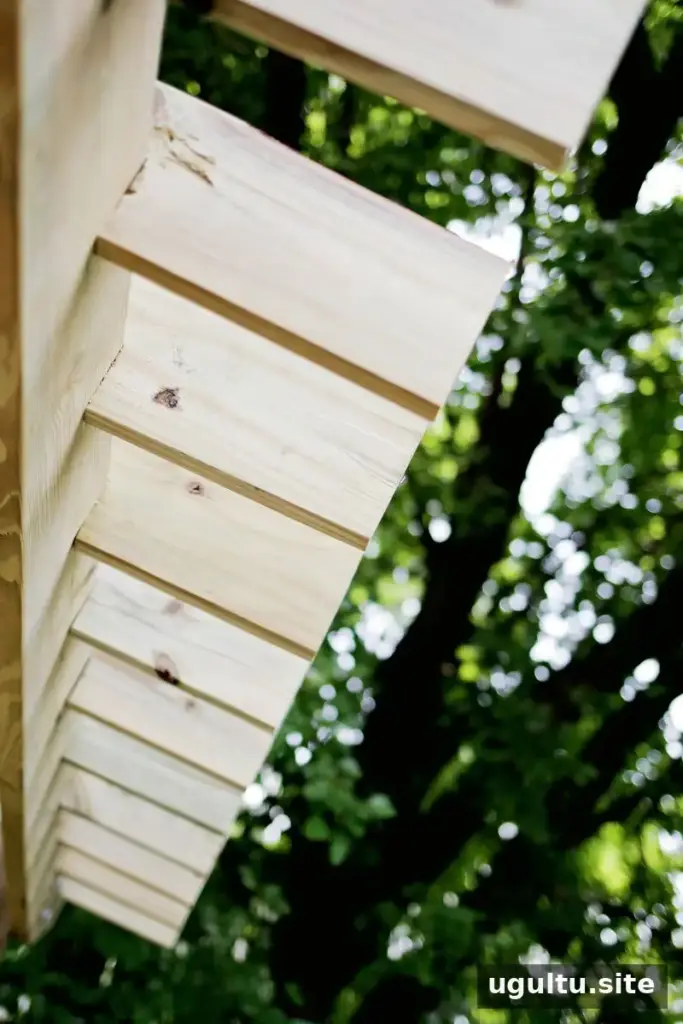
The 1×6 decking boards became the roof slats. Measure and cut notches so each board fits over the cross beams. To space the slats evenly, subtract the combined width of the boards from the length being covered, then divide the remaining space by the number of gaps. In this project, the slats were about 3/4 inch wide, and the calculation used 12 boards: multiply 12 by 3/4 inch, subtract that amount from the overall length, and divide the remainder by 12. Mark each position before fastening the boards with screws on both sides.
Finish by cutting 45-degree angles at both ends of the 2×6 braces and fastening them to the frame. Check that the structure is secure and that connections are tight before adding plants or outdoor furnishings. Because wind exposure, slab condition, and local requirements differ, have the design and anchoring reviewed as needed for your site.
Final checks when you build a pergola
To build a pergola that is practical as well as attractive, take time to plan the footprint around doors and walkways, anchor the posts appropriately, and use help when lifting beams. Even spacing and drainage details make a noticeable difference in the finished structure. Before starting a similar project, confirm your material quantities, fastener specifications, and local building requirements.


