admin
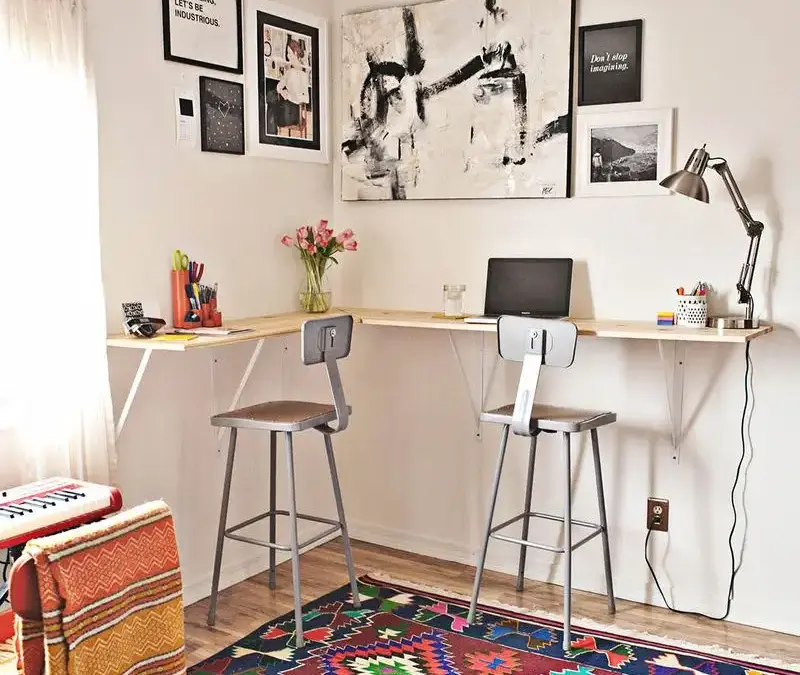
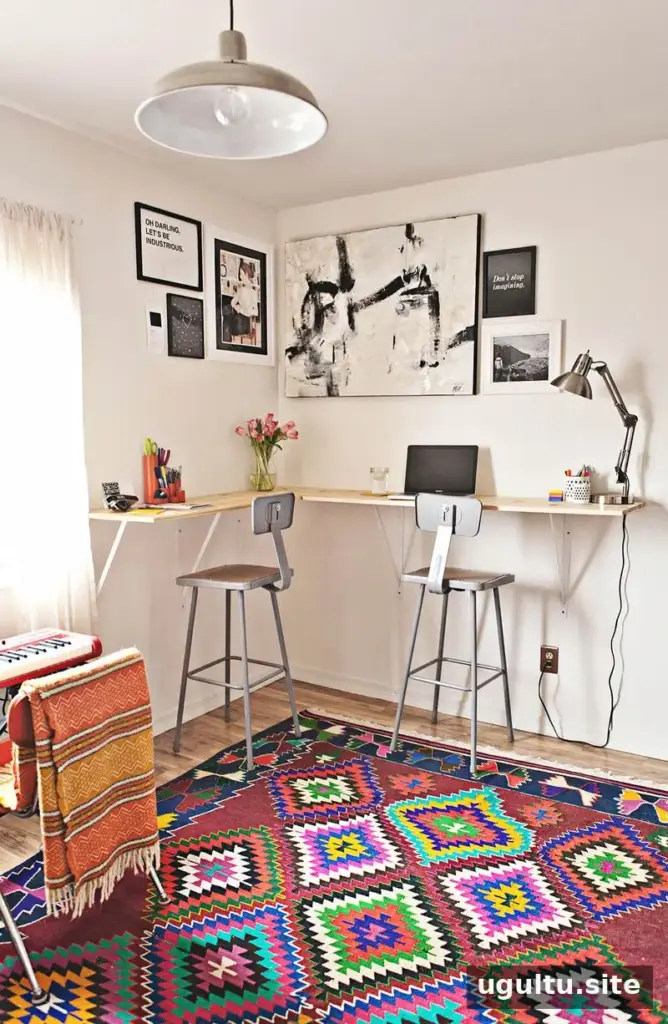
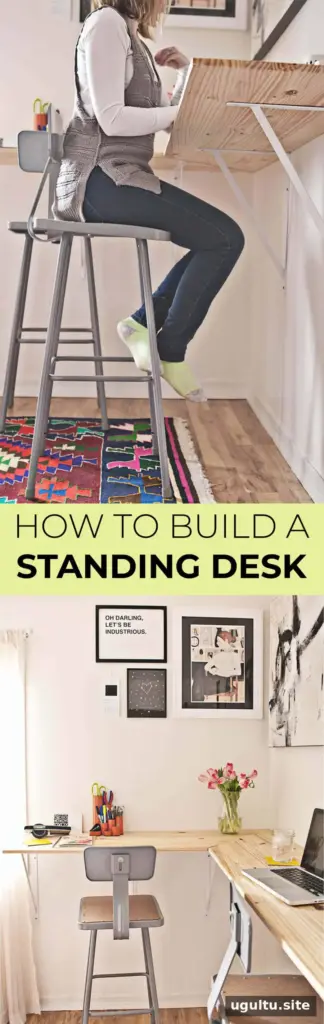
Building a standing desk can be a practical way to add generous work space without crowding a home office. A wraparound design makes use of the walls, leaves the center of the room open, and can provide separate areas for different activities. The key is to plan the layout around your room and cut the boards to suit your measurements.
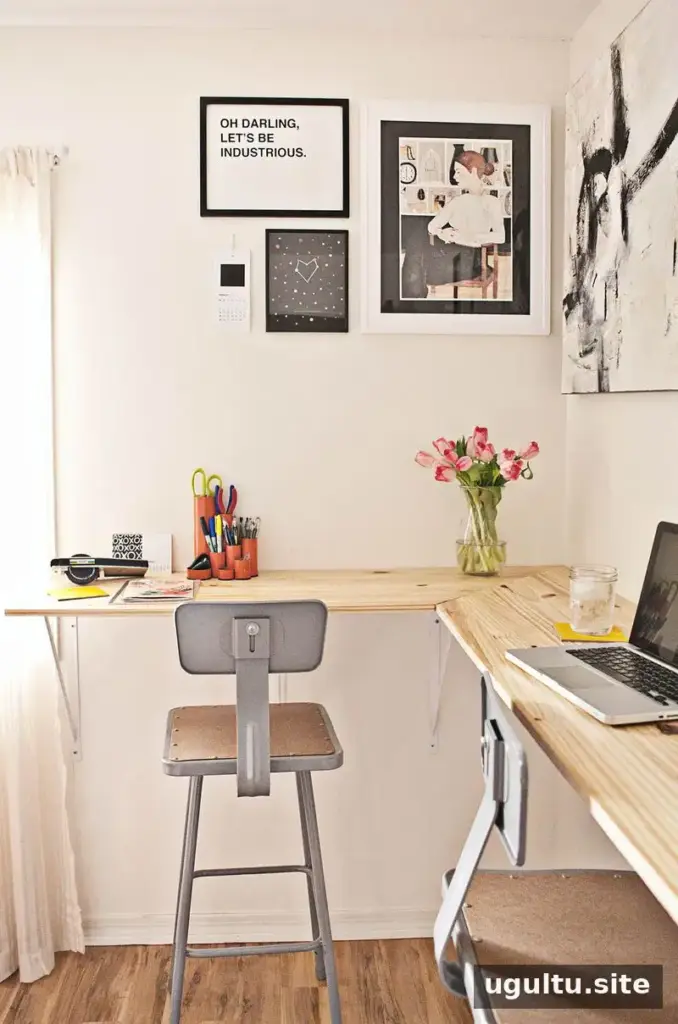
Why choose a wraparound standing desk?
A desk that follows two walls can give more than one person a place to work while keeping the main floor area clear. It can also create distinct zones for tasks such as writing, computer work, music, or small craft projects. Before buying materials, decide where each section will go and measure the usable wall space carefully.
Materials and tools
The following supplies were used for this particular office. Your quantities may differ depending on the room dimensions and layout:
- One 1 in. x 2 ft. x 6 ft. pine board
- One 1 in. x 2 ft. x 5 ft. pine board
- One 1 in. x 2 ft. x 4 ft. pine board
- Seven large shelf brackets and screws suitable for the brackets
- Power saw and power drill
- Level, sandpaper, and hand sander
- Polyurethane (semi-gloss was used), plus a clean rag or brush
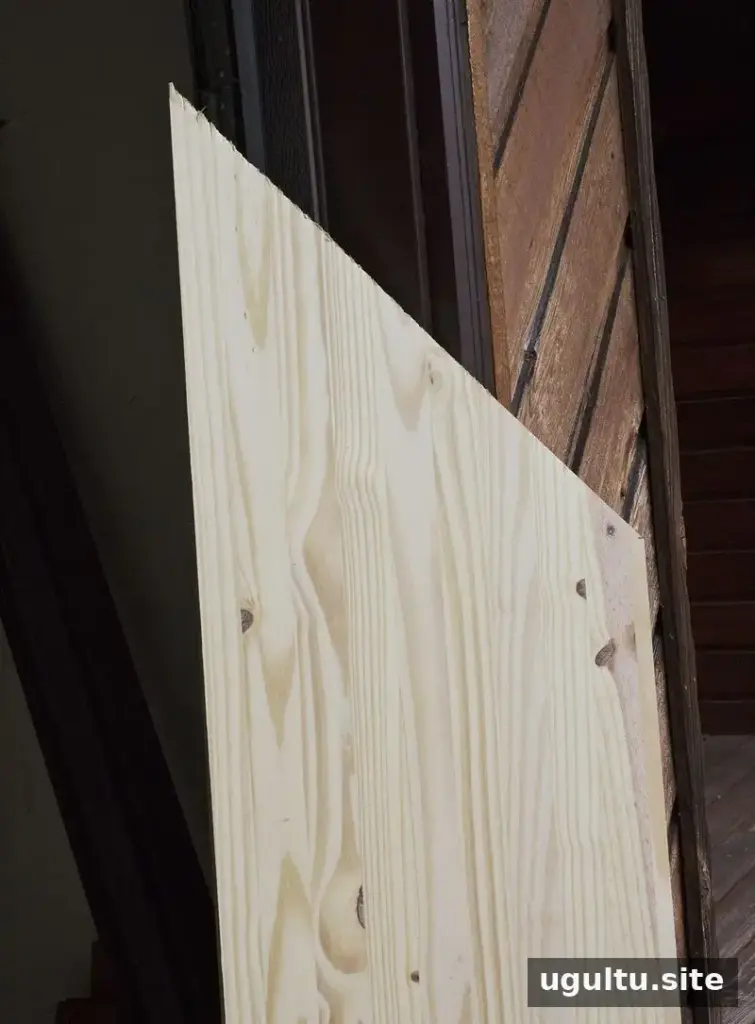
Measure your walls before purchasing lumber and brackets. The board lengths listed here fit one specific space, so use your own measurements to work out the required lengths and support points.
How to build a standing desk
1. Measure and cut the boards
Cut the boards to fit your planned layout. Lumber suppliers may not stock boards in the exact lengths you need, so you can cut them yourself or ask the supplier about cutting services. For a corner, angled board ends can create a closer fit; a simple meeting of straight edges is another option.
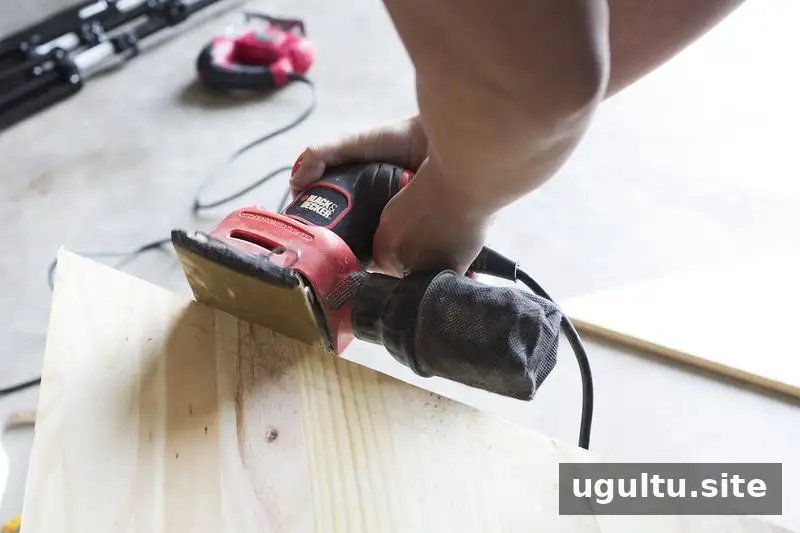
2. Sand and seal the wood
Sand the cut edges and the full surface of each board until the wood feels smooth. Wipe away the dust, then apply one or two coats of polyurethane. If you want a stained finish, stain the boards before sealing. Follow the finish product’s directions, including its instructions for application and drying.
3. Find studs and mount the brackets
Attach the shelf brackets to the wall before placing the boards on them. Choose brackets that fit within the board depth, and plan to fasten at least two brackets per board section into wall studs for a sturdy installation. Studs are commonly spaced 16 or 24 inches apart, measured from center to center, though spacing can vary.
- Use a stud finder: Treat its signal as a starting point and confirm the location using another method.
- Check likely locations: Corners and areas near door frames, window frames, and outlets can help you identify possible stud positions.
- Measure typical spacing: Once you locate a stud, check 16-inch or 24-inch intervals, then verify each suspected location.
- Listen for a solid sound: Tapping the wall may help distinguish a stud from a hollow section, but use it as a cross-check rather than your only test.
Mark the stud locations, then use a long level to align the brackets at a consistent height. Secure the brackets to the wall with appropriate fasteners, and attach the boards to the brackets. If using drywall anchors, select ones rated for the intended load; for a desk that will see regular use, prioritize fastening the planned bracket supports into studs.
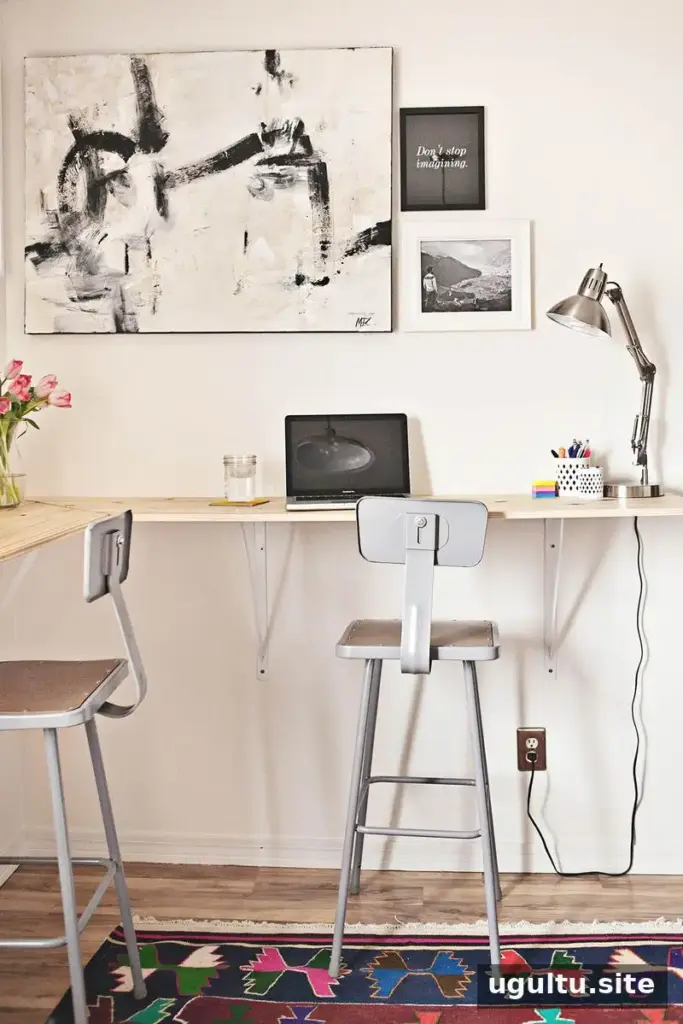
Finishing touches and practical tips
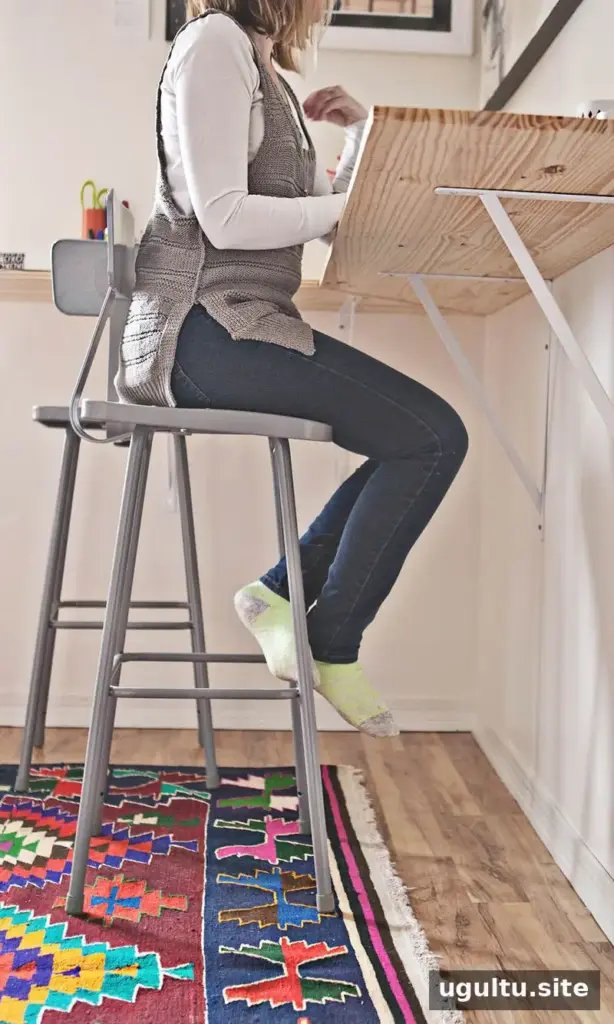
Check that the desk feels stable before putting it to use, and avoid placing more weight on it than the brackets and wall fasteners are designed to support. A standing-height surface can also be paired with bar-stool-height seating for times when you want to work sitting down. Confirm the seated position is comfortable before choosing chairs.
Building a standing desk allows you to tailor the size and layout to your room, rather than fitting the room around a large freestanding desk. Careful measuring, smooth finishing, and secure bracket installation are the essentials for a functional wraparound workspace.
— Emma