admin
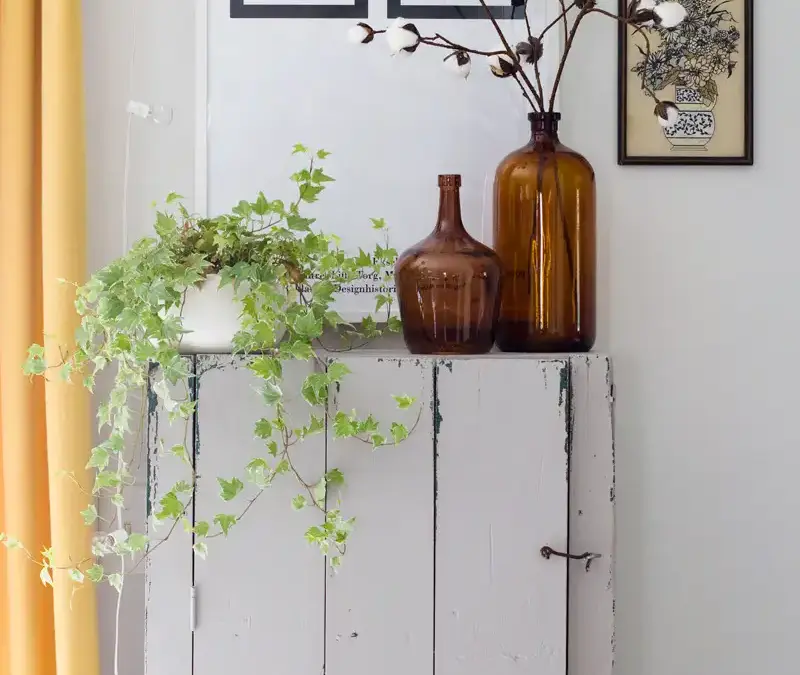
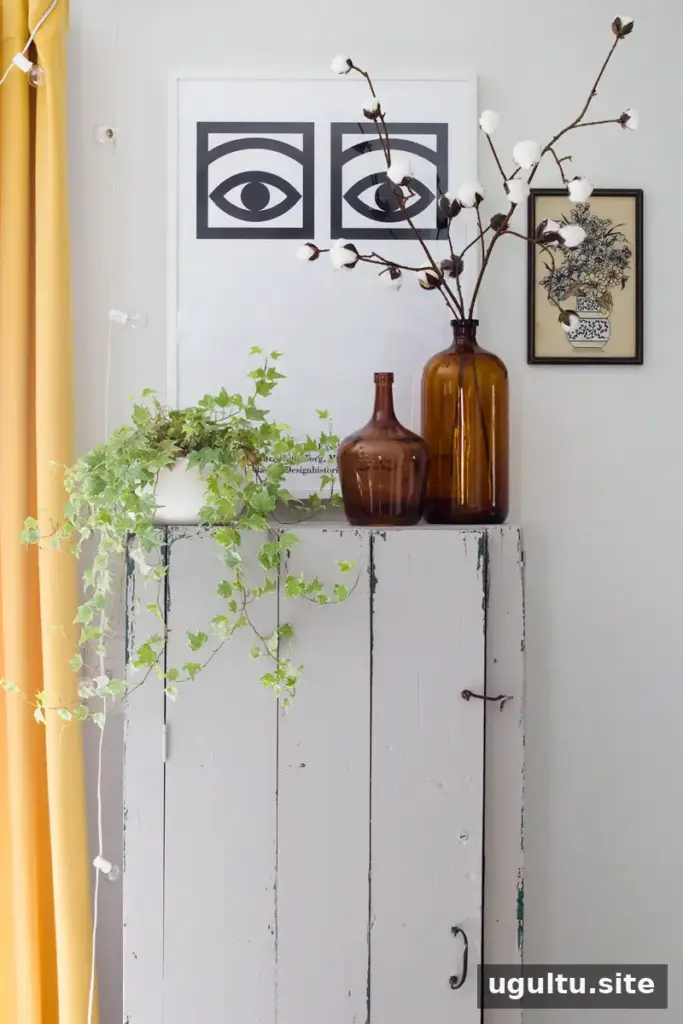
A painted cabinet makeover can refresh a piece that no longer suits a room without hiding all of its original character. This project uses a simple resist technique to create a worn, rustic finish: petroleum jelly keeps paint from adhering to selected areas, allowing parts of the original surface to show through.
The cabinet had a rugged, primitive look rather than finely detailed features. Its green finish and straightforward design gave it plenty of character, and its affordable price made it a practical choice for additional craft-supply storage in a dining room.
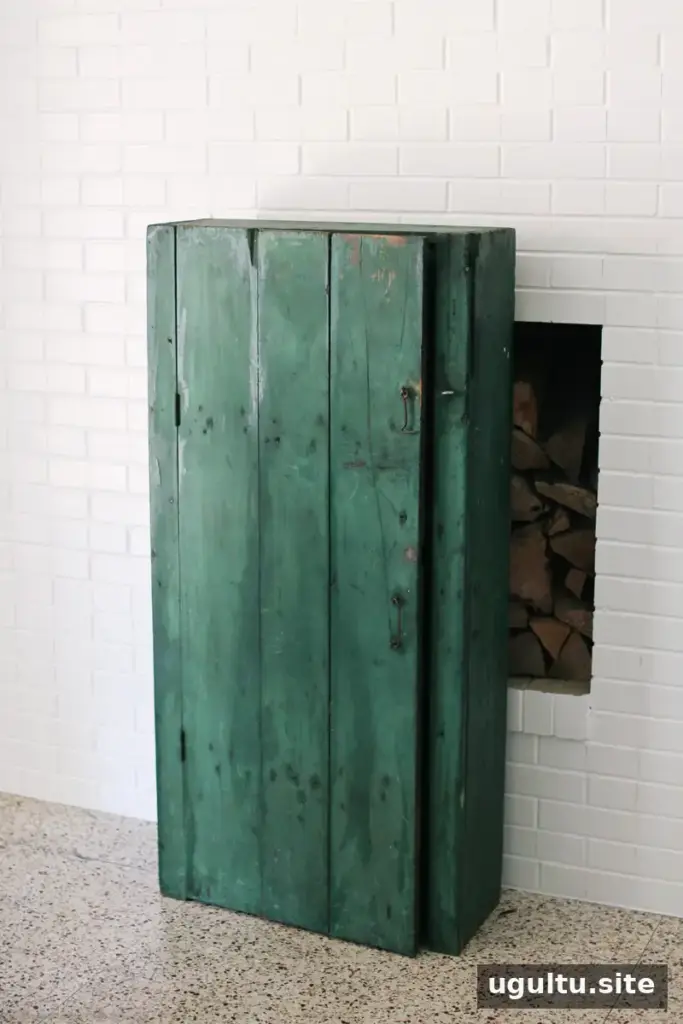
After bringing it home, the green color felt out of place among the room’s yellow tones. Instead of leaving the cabinet unused or covering it with a uniform coat of paint, the exterior was given a distressed gray finish. The original green was left inside, creating a small contrast whenever the doors are opened.
Painted Cabinet Makeover: Supplies and Preparation
This approach is suited to a cabinet where a rustic, imperfect finish complements the existing style. Before starting, clean the surface and make sure it is dry. Protect the surrounding area, and consider testing the paint and resist technique in a less visible spot first.
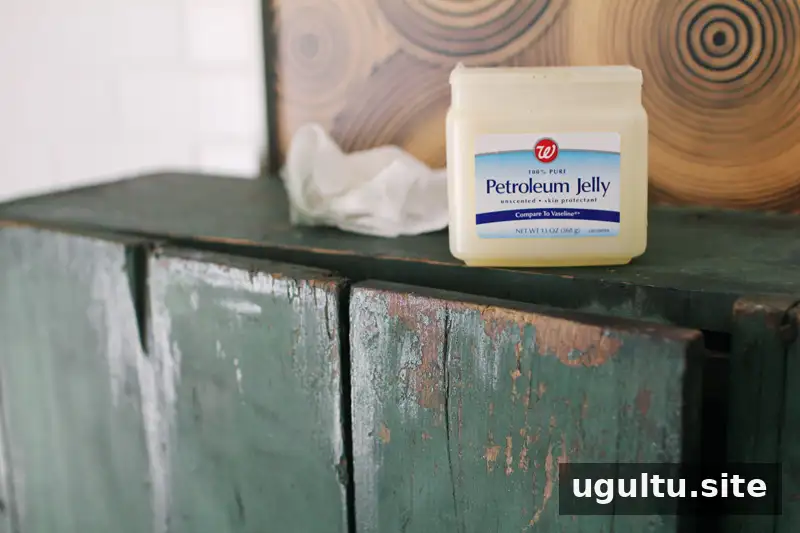
Supplies
- Petroleum jelly
- Paint, without primer
- Paintbrush
- Metal spatula; a drywall spatula works well
How to Create a Distressed Painted Finish
1. Apply petroleum jelly to selected areas
Wipe down the cabinet with a damp cloth, then let it dry completely. Apply petroleum jelly where you want the original finish to remain visible. Focus on places that might naturally show wear, such as edges, joins between boards, and a few scattered areas on the door. Keep track of where you apply it, since you will return to those spots after painting.
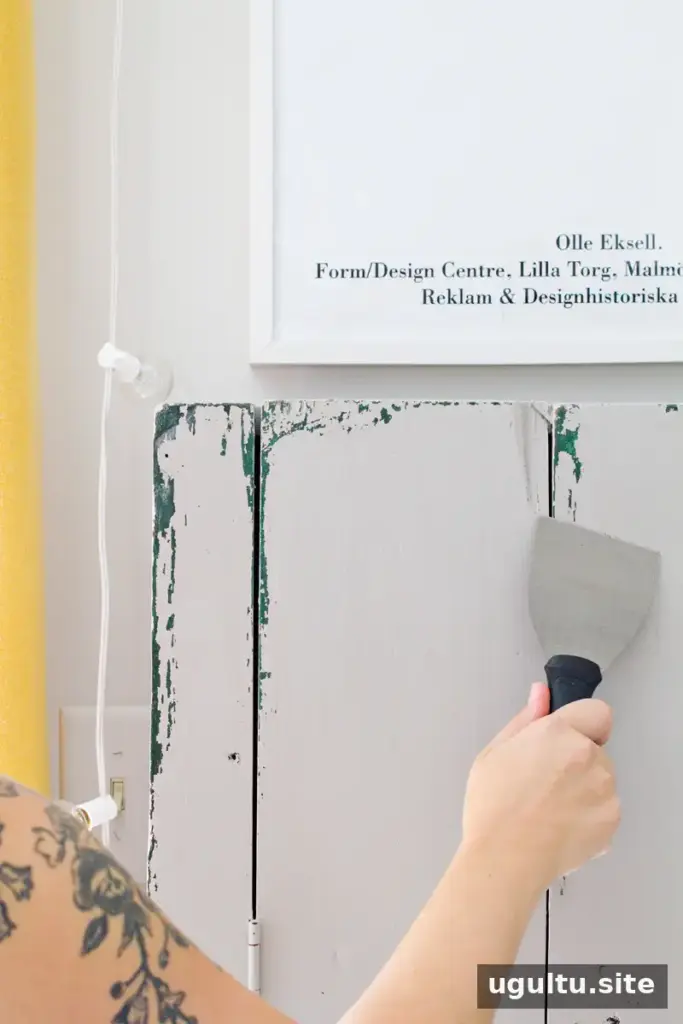
2. Paint the cabinet
Brush paint over the original finish, covering the areas you want to change. For this particular method, skip primer: the paint needs to be easy to lift in the next step. Two coats of Stone Harbor in an eggshell finish covered the cabinet in this project. Follow the paint’s instructions for drying time between coats.
3. Reveal the original finish
Once the paint is dry, use a metal spatula to gently scrape the areas treated with petroleum jelly. The paint should loosen more easily there. Work in small sections, using light pressure so you do not gouge or scratch the wood. Stop when the amount of visible original finish looks right to you.
If you want to reduce additional wear from everyday use, you can apply a suitable clear sealant, such as polyurethane. Check that it is appropriate for the paint and follow the product directions.
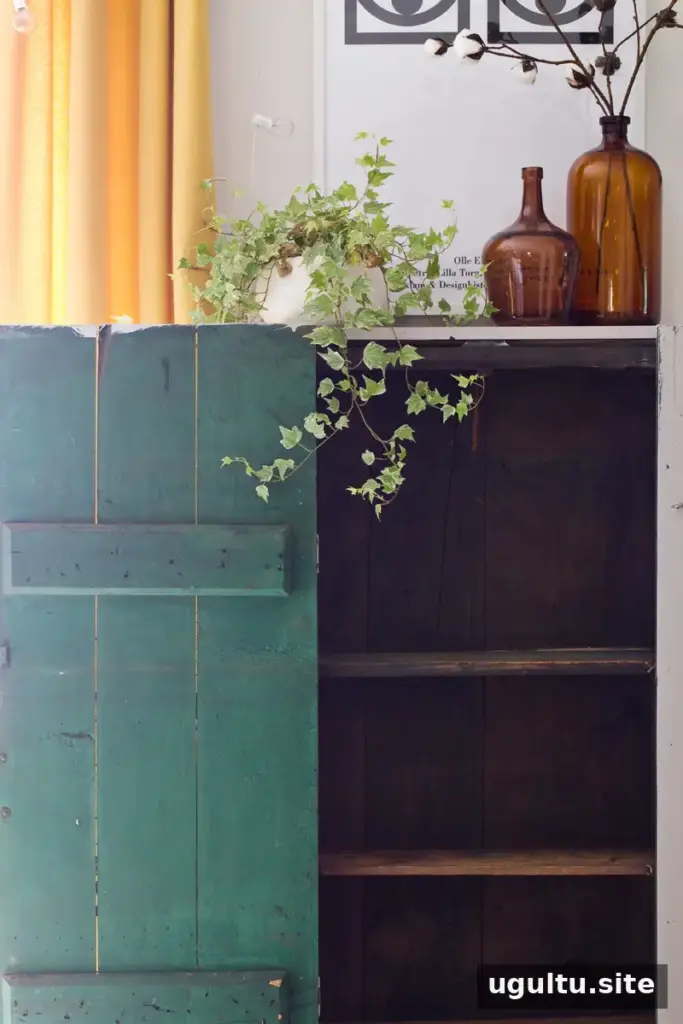
The cabinet’s interior was left untouched, preserving its green finish while the new exterior better matched the room. Keeping the inside unpainted is one option when its existing color is part of the piece’s appeal; for storage, boxes and jars can help keep craft supplies organized.
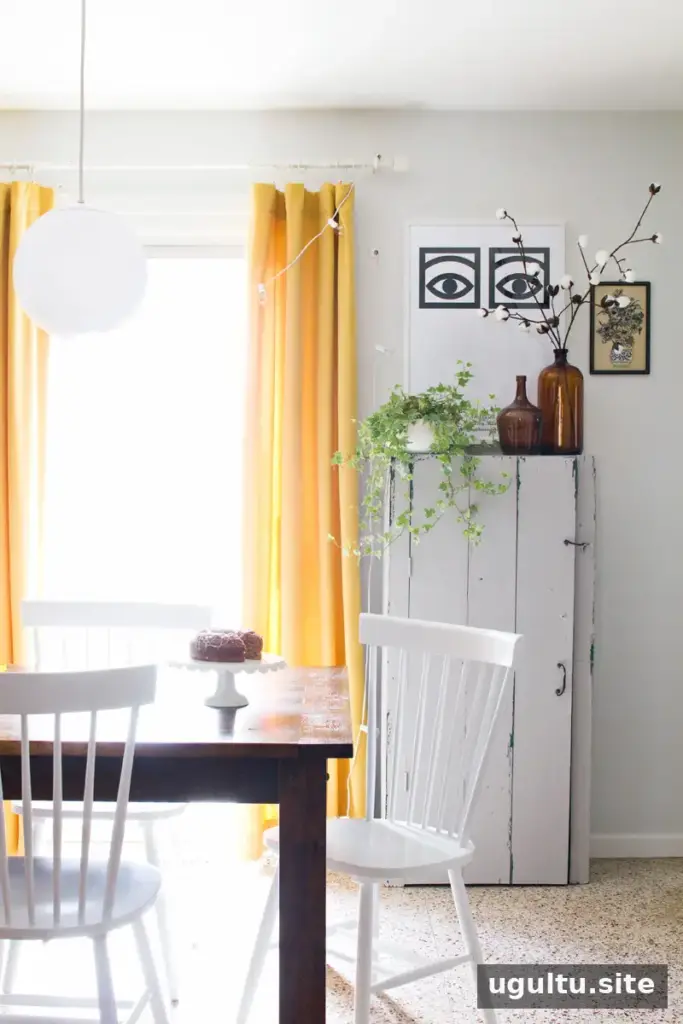
Final Thoughts on This Painted Cabinet Makeover
This painted cabinet makeover gives an old piece a more coordinated appearance while retaining glimpses of its earlier finish and rugged character. The main points to remember are to apply petroleum jelly only where you want paint to resist, avoid primer for this scraping method, and remove paint gradually with a light touch. The result is a distinctive alternative to a solid, uniform coat of paint.
—Mandi