admin
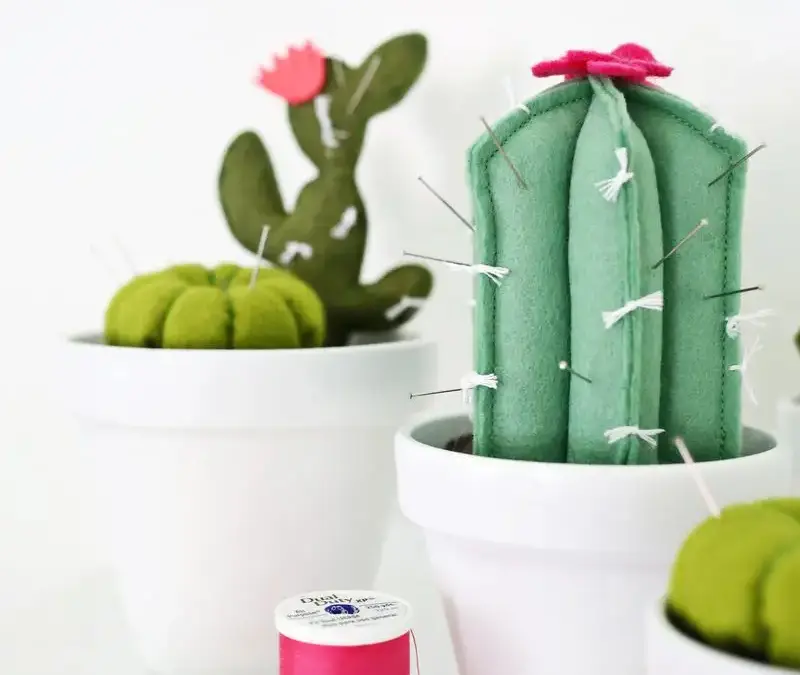
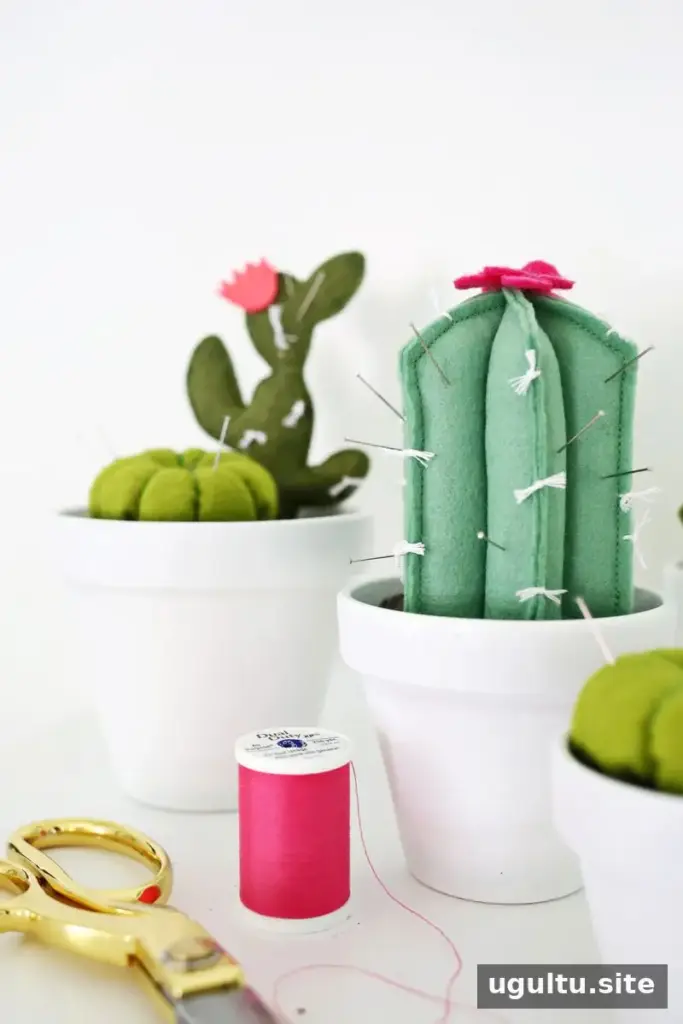
A cactus pincushion DIY project is a fun way to make a practical sewing accessory with a playful look. Use felt, stuffing, and a small pot to create one cactus shape or several designs for a miniature pincushion garden. The three options below use straightforward sewing techniques, so you can choose the style that best suits your materials and skill level.
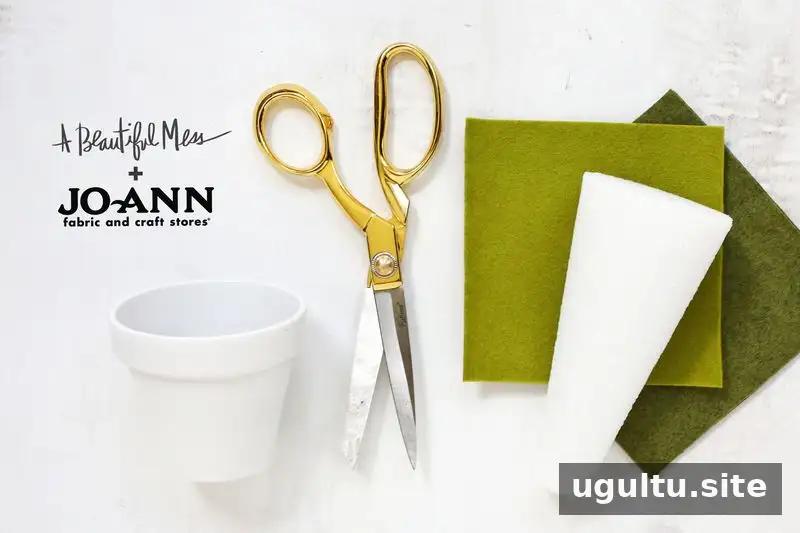
Gather the supplies before you start. Having the pot and floral foam ready makes it easier to size the cactus base correctly.
- Assorted colors of felt, including wool felt for the cactus bodies
- Fabric scissors
- A terracotta pot
- A floral foam cone
- A hot glue gun
- Pillow stuffing
- Embroidery floss
- A yarn needle
Cactus Pincushion DIY: Choose a Shape
Rounded barrel cactus
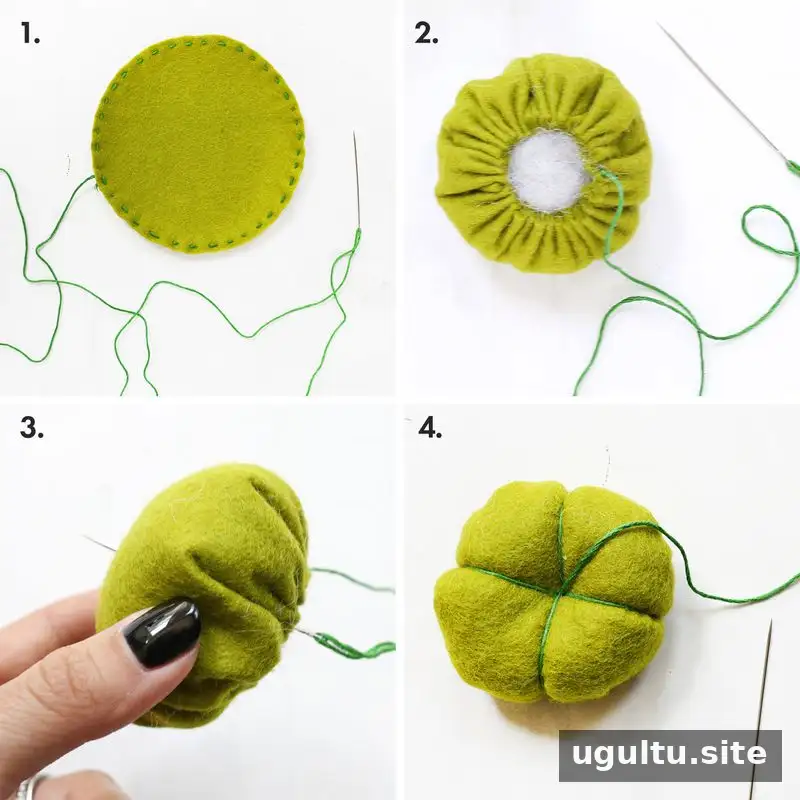
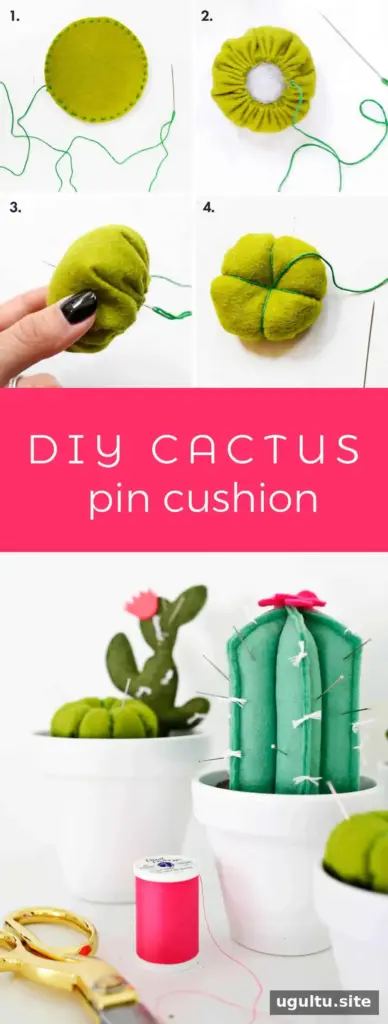
Cut a wool-felt circle about twice as wide as you want the finished cactus to be. With embroidery floss and a yarn needle, sew a running stitch around the outer edge. Pull the thread to gather the felt into a pouch, add stuffing until it has the fullness you want, and knot the thread securely.
Thread a long piece of floss and bring the needle up through the center of the stuffed shape. Stitch down over the outside and return through the middle to form a section. Repeat around the cactus, spacing the stitches evenly and staggering them as needed to create eight sections. After making the final section, bring the needle back through the center and secure the thread underneath, where the knot will be hidden.
Prickly pear cactus
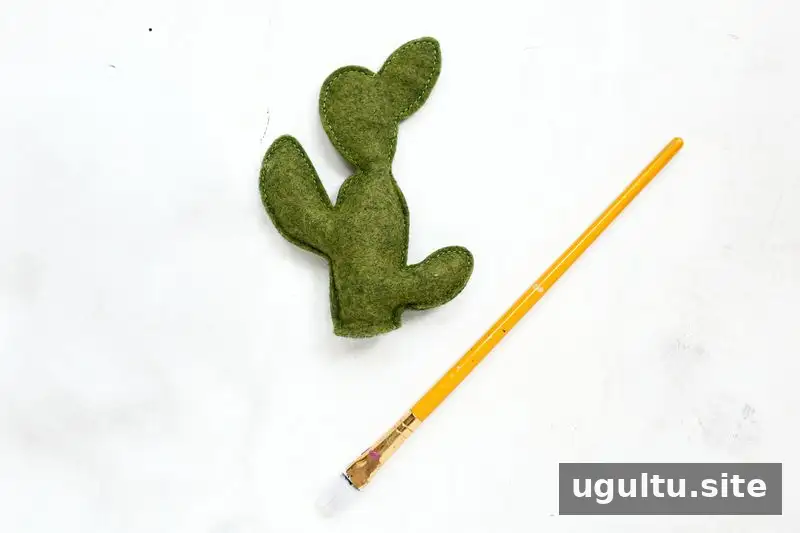
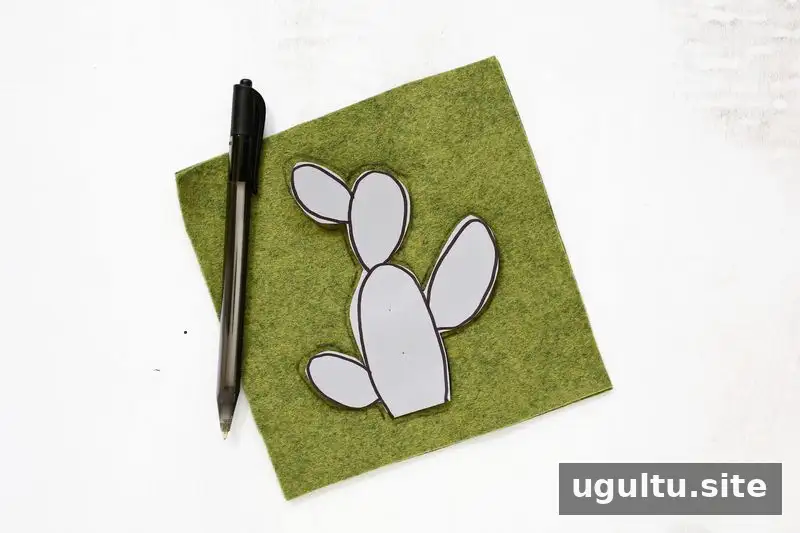
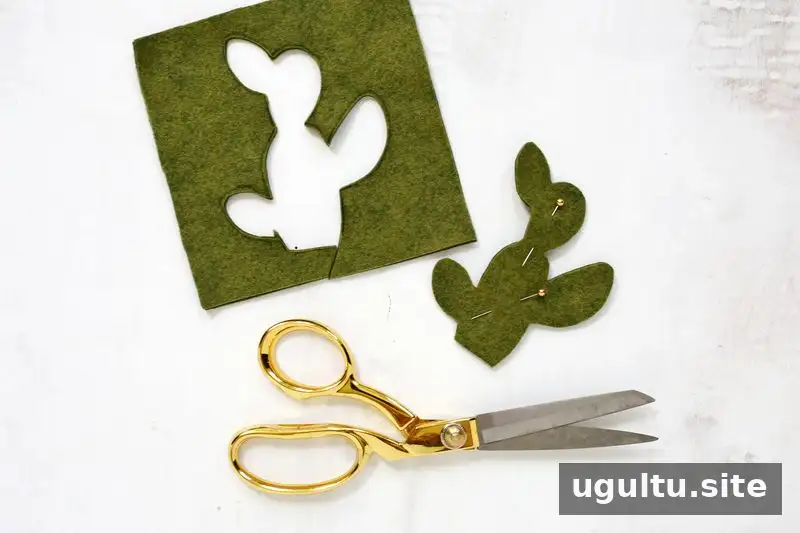
Sketch the cactus outline and size on paper, leaving an opening at the bottom that is large enough to add stuffing. Use the pattern to cut two layers of wool felt. Sew around the shape by machine or hand, leaving the bottom open.
Push stuffing into each part of the cactus with a wooden skewer or crochet needle. Work gradually so the branches fill out evenly. To make the branches poseable, you can add wire or pipe cleaners inside them before finishing the stuffing.
Three-dimensional cactus
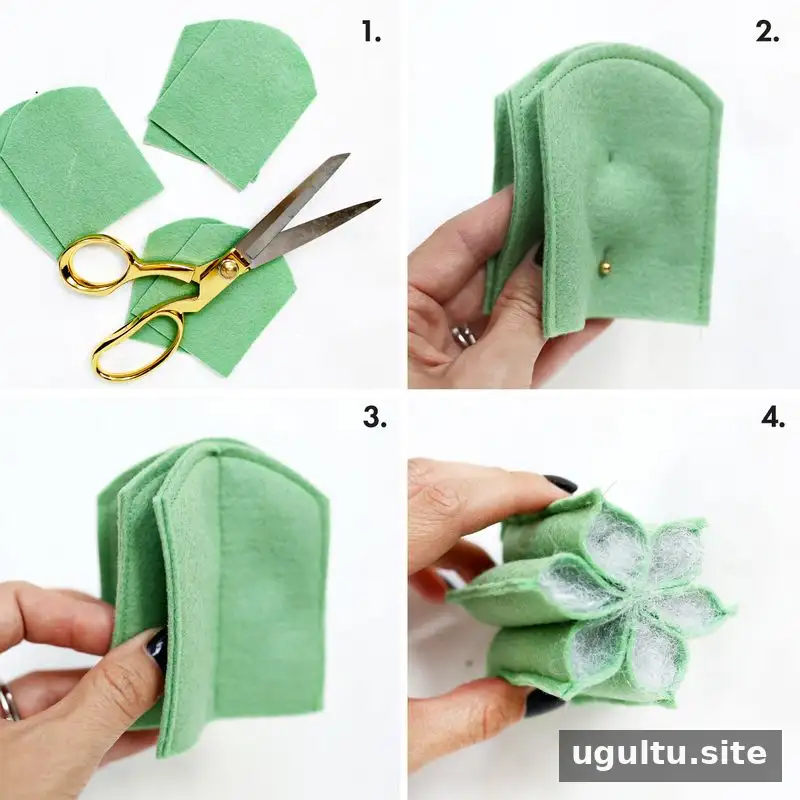
Draw a rounded dome template slightly larger than the intended finished cactus. Adjust the template to make a taller or shorter shape. Cut three pairs of felt pieces using the template, then sew around the edges of each pair, leaving the bottom open.
Stack the three sewn sections and stitch a line down the center to join them. Fill each section with stuffing until the cactus has the shape and firmness you want. Avoid overfilling, which can make the bottom harder to attach neatly.
Attach the Cactus and Finish the Pincushion
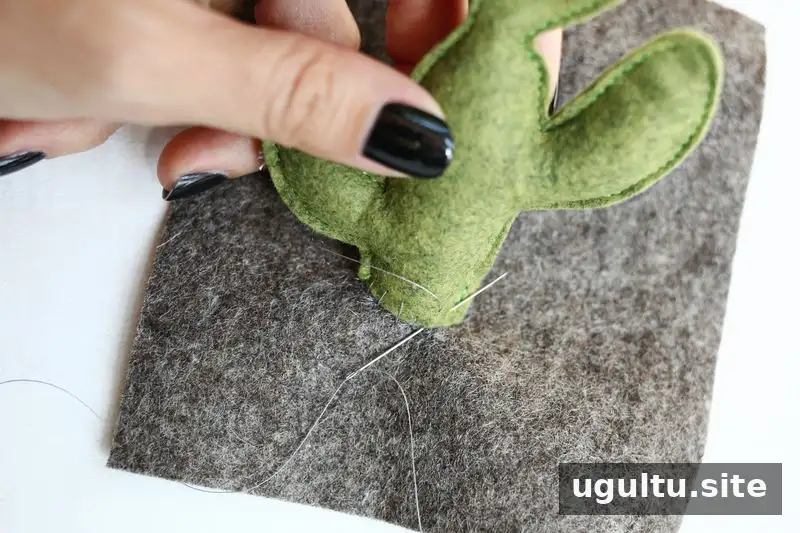
Use a needle and thread to sew the bottom of each cactus body to a piece of brown wool felt, which represents the soil. Fabric glue may work for a rounded cactus if the base sits securely, but stitching gives the other shapes a firm connection. Check that the cactus stands upright before moving on.
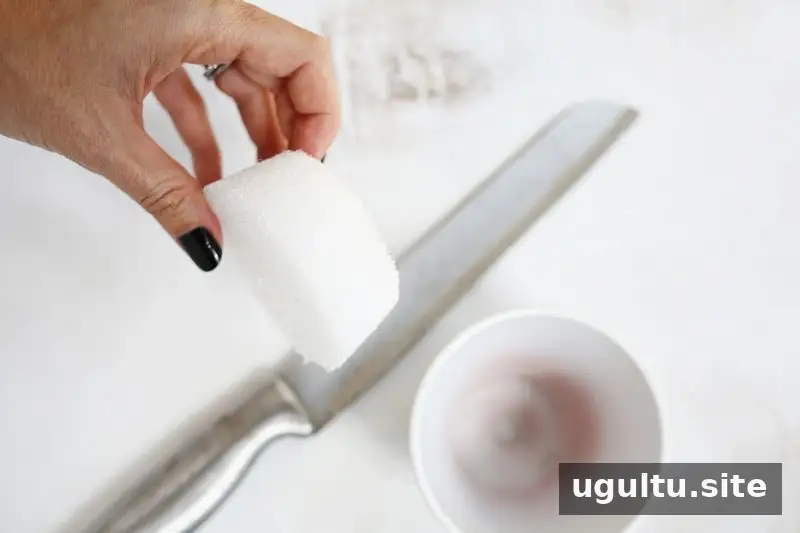
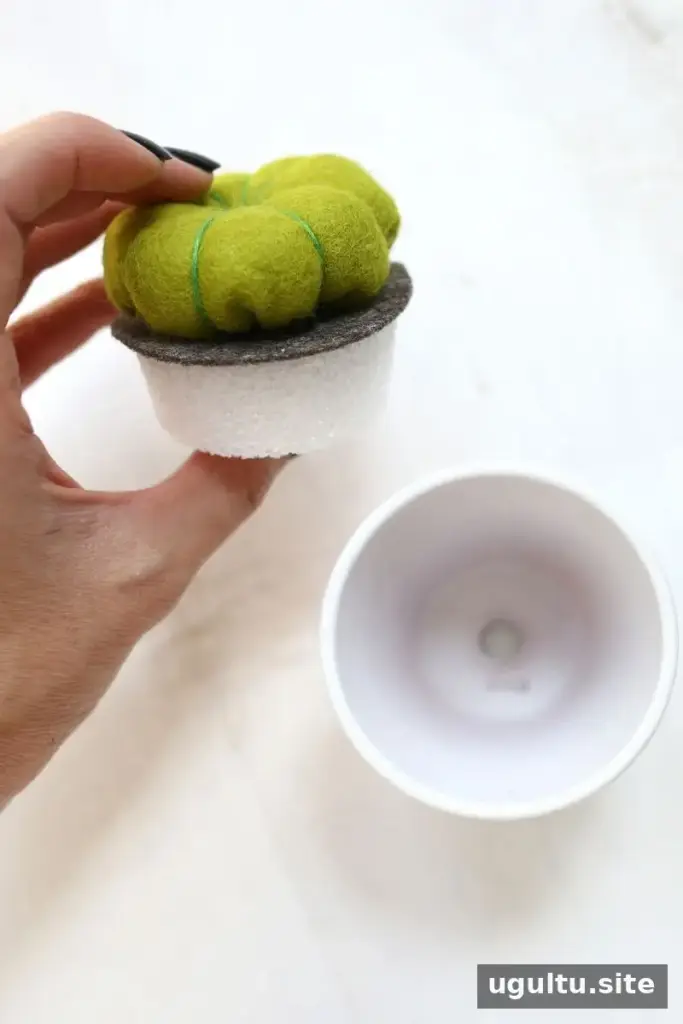
Cut the floral foam to fit inside the tapered terracotta pot. Use a hot glue gun to attach the cactus to the center of the foam, then trim the brown wool felt so it fits over the foam surface. Glue the sides of the foam and press the assembly into the pot to secure it. Take care when cutting the foam and handling hot glue, and keep both tools on a protected work surface.
Add optional details with embroidery floss: make small knots and trim the ends to suggest cactus needles. You can also cut small flowers from colored felt and glue them to the top. Once the glue is set, place pins in the pincushion and check that they are held securely.
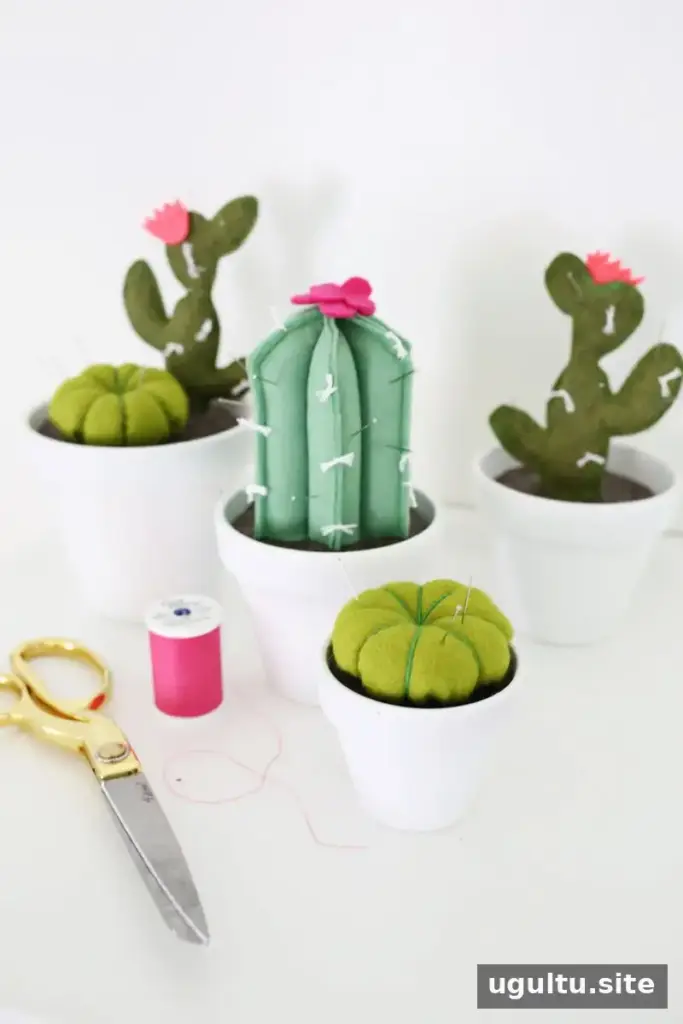
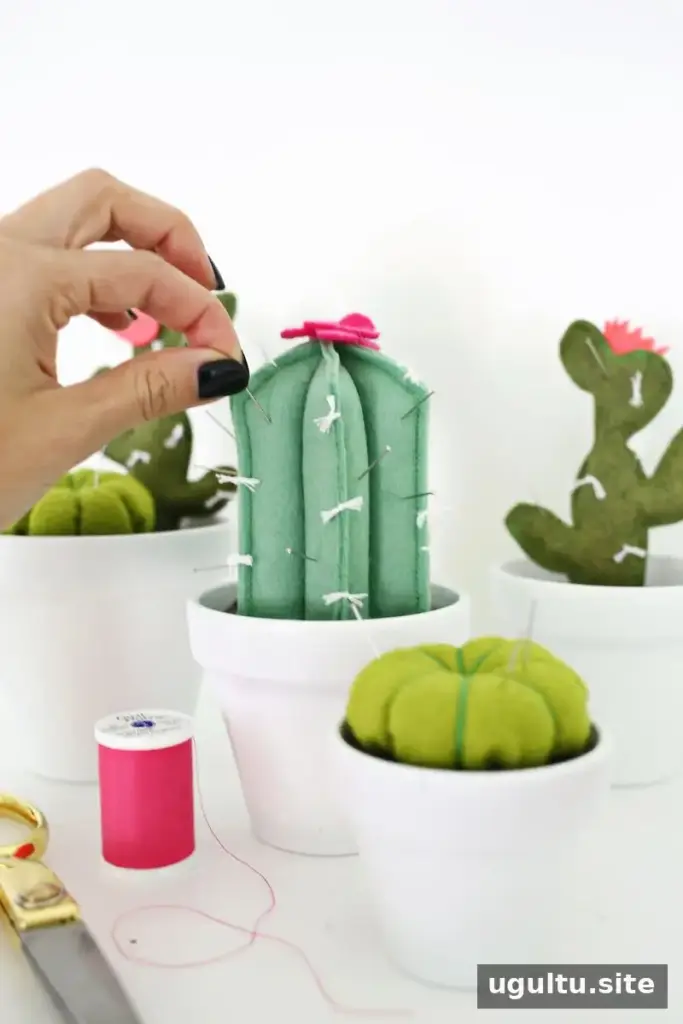
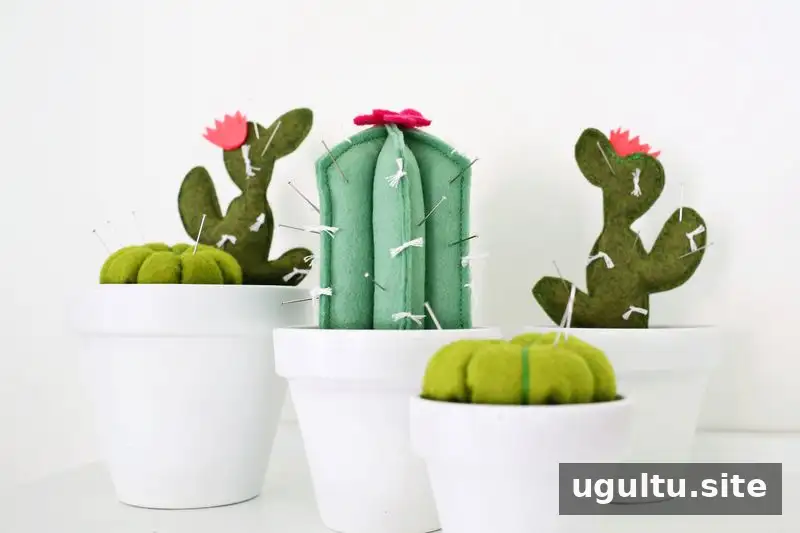
These felt cactus pincushions can brighten a sewing table and can also work as small favors for a sewing-themed party or craft night. Before making several, try one shape first and adjust the pattern or stuffing to suit the size of your pot. This helps ensure each cactus fits its base and remains upright.
— Laura