
 admin
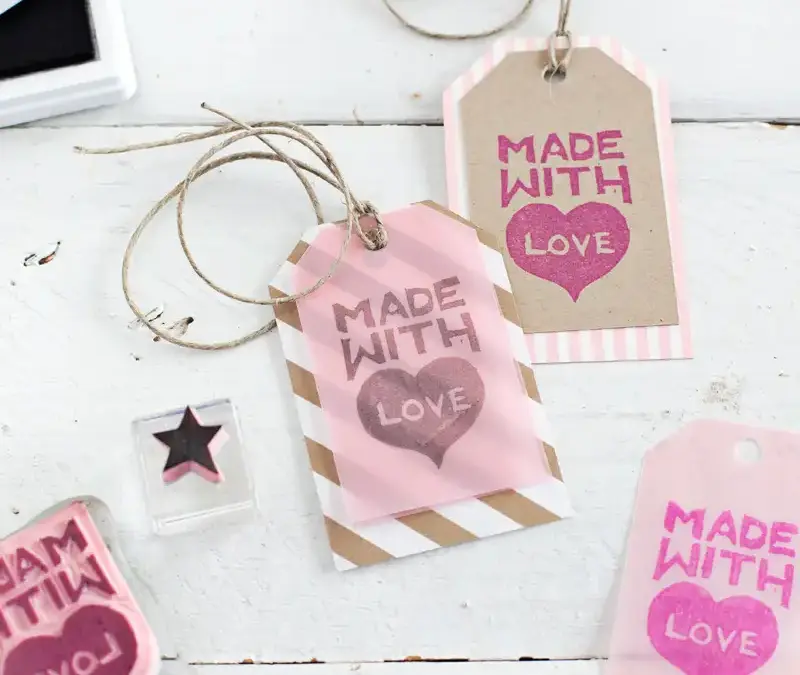
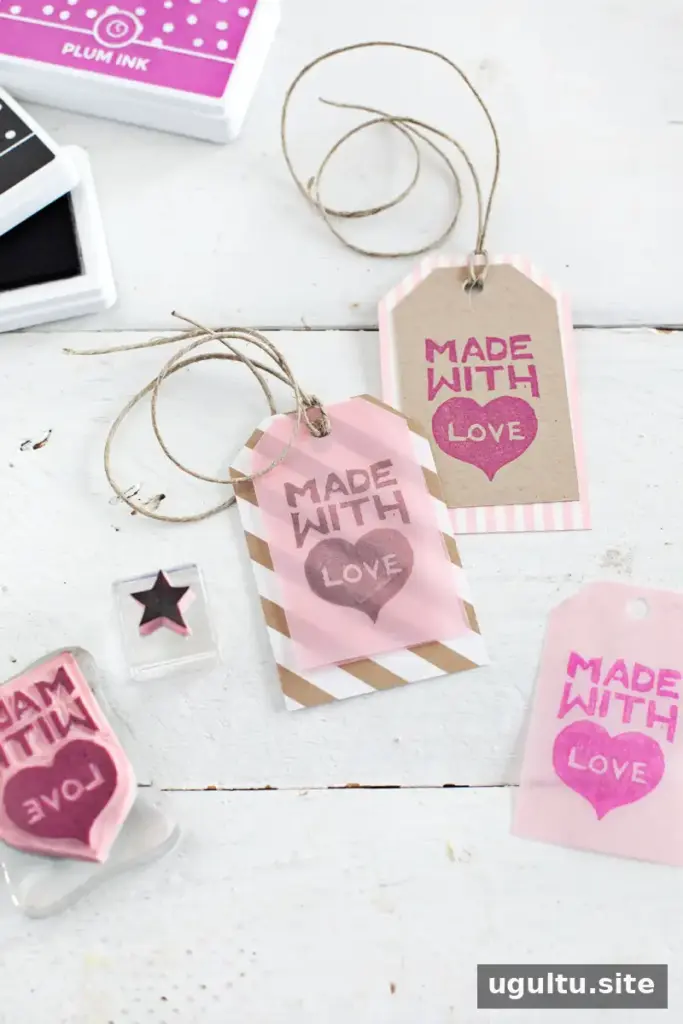
DIY carved stamps are a practical way to turn personal lettering and simple doodles into reusable designs for cards, gift tags, and other paper crafts. Making a stamp at home also gives you more control over the size and style of the image when a ready-made design does not suit your project.
The process involves drawing a design, transferring it to carving rubber, and removing the surrounding material. Bold, uncomplicated shapes are usually easier to carve than fine lettering, so start with a simple design if you are new to stamp carving.
Supplies for DIY Carved Stamps
Gather your materials before beginning. Keeping the design, rubber, and tools together helps make the transfer and carving steps easier to manage.
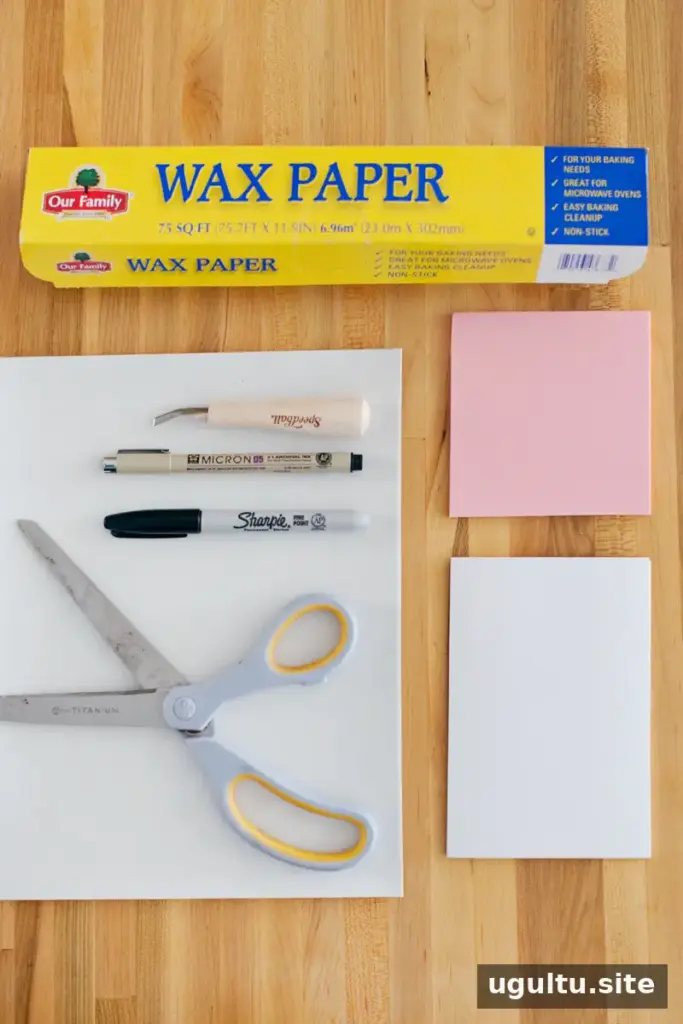
Supplies:
- Stamp carving kit
- Static cling foam mounting sheet
- Acrylic stamping block
- Wax paper
- Pens in a variety of thicknesses
- White paper, including scrap paper
- X-Acto blade and scissors; scissors are optional if using a blade
- Cutting mat
- Inkjet printer
- Ink pad
- Clear tape, optional
How to Make DIY Carved Stamps
1. Draw a simple design
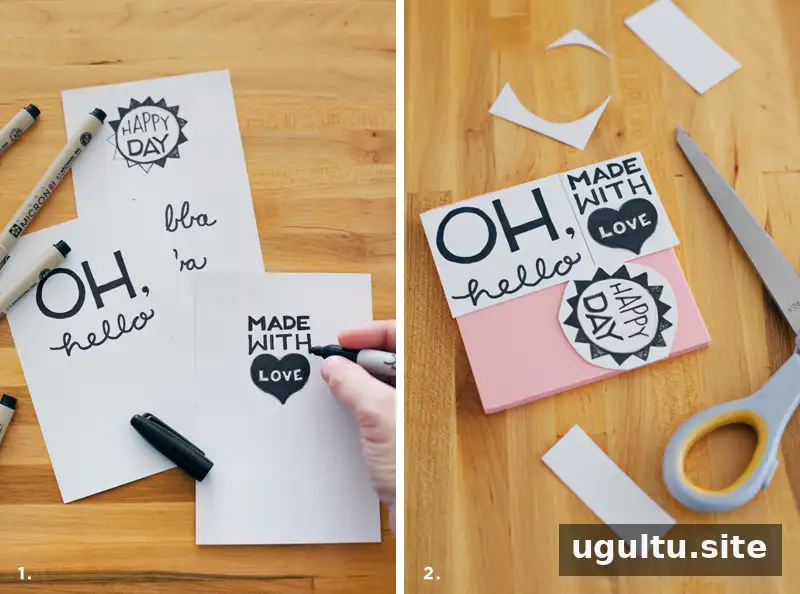
Draw your lettering or doodles on white paper. Thicker lines and letters leave more material to work with and are generally simpler to carve. Very fine script can be challenging, so consider testing a small, bold design before moving on to detailed artwork.
2. Arrange the designs
Cut out the drawings and arrange them to fit on the piece of carving rubber. If you want to keep several designs in the same layout for transfer, tape the paper pieces together. Check that each design fits within the available rubber before proceeding.
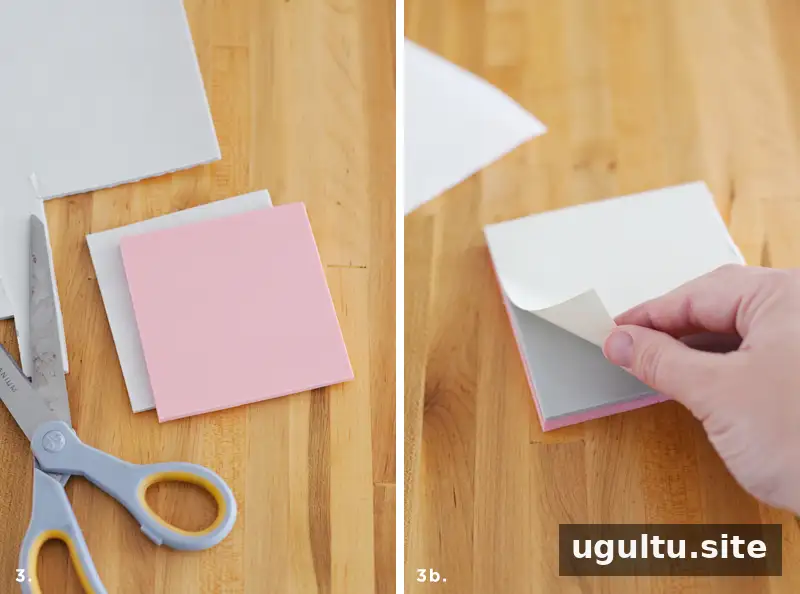
3. Attach the mounting foam. Cut a piece of static cling mounting foam to match the rubber, then peel away its adhesive backing and attach the foam to the rubber. The exposed static-cling side can later attach temporarily to an acrylic block, allowing the stamp to be removed for flat storage.
4. Transfer the artwork
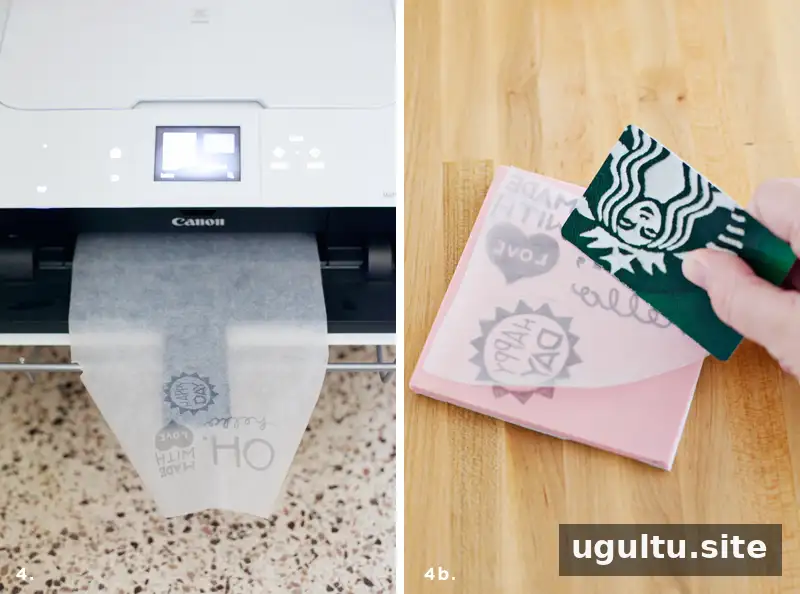
Trim wax paper to the size of printer paper and place it in the inkjet printer tray. Follow your printer’s handling guidance, since wax paper may feed differently in different printers. The printed ink will remain wet and can smear, so handle the sheet carefully.
Position the printed wax paper precisely over the rubber. Swipe the back of the sheet with a card to transfer the inked design. Lift it carefully and check that the image has transferred before carving.
5. Cut and carve the stamp
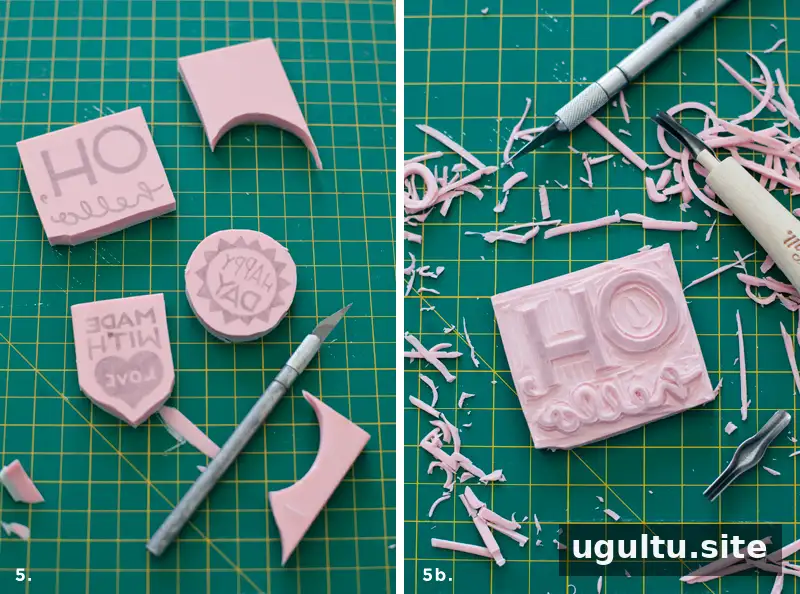
Cut out the rubber pieces, then use the carving tools to remove the negative space around each design. Work slowly around small details. A blade can help with tight areas, such as the enclosed spaces in cursive letters, but use it carefully on a cutting mat and keep your hands clear of its path.
Mounting and Using Your Stamps
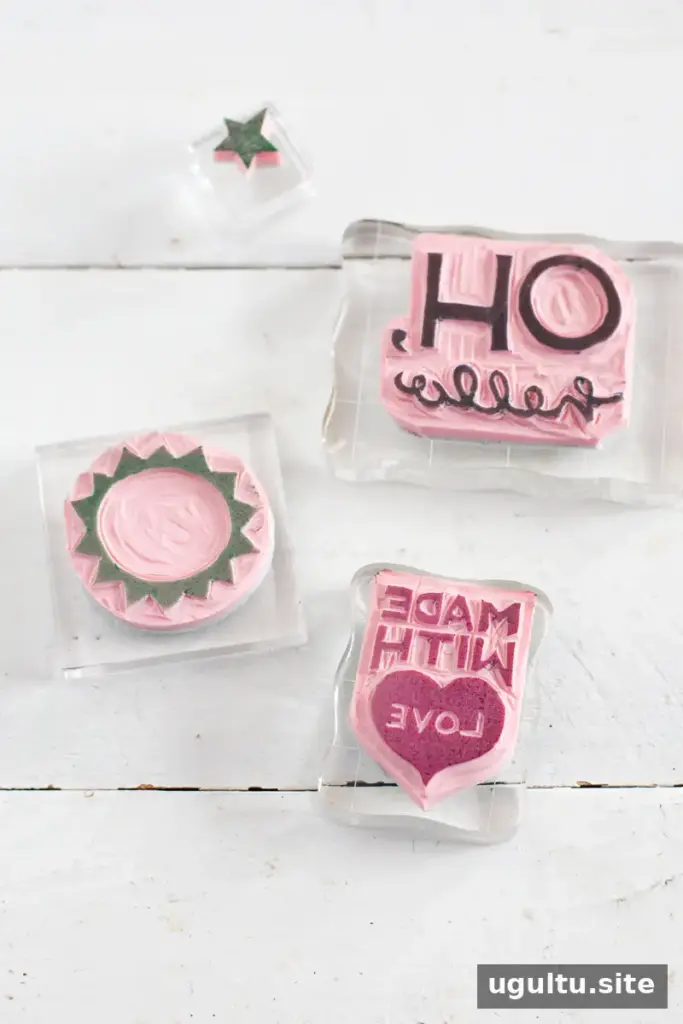
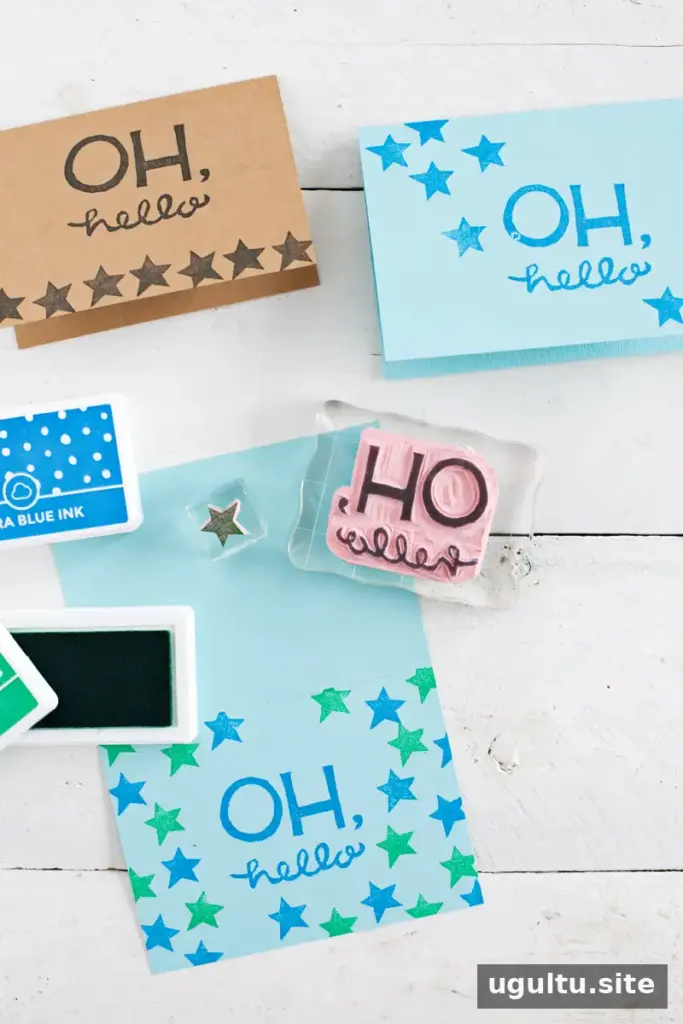
Attach a finished stamp to an acrylic block using the static-cling side of the mounting foam. Clear acrylic makes it easier to see the design and position the stamp accurately on paper. Apply ink evenly and test the stamp on scrap paper first; this helps reveal whether any areas need additional carving.
When you are finished stamping, remove the rubber from the block and store it flat. This keeps the stamps easy to organize and avoids the need to leave them permanently mounted.
Conclusion
DIY carved stamps can add a handmade detail to greeting cards and gift tags while letting you create designs that match your project. Begin with bold, simple artwork, transfer it carefully, and carve gradually for better control. Once complete, mount each stamp on an acrylic block for use and store it flat afterward.
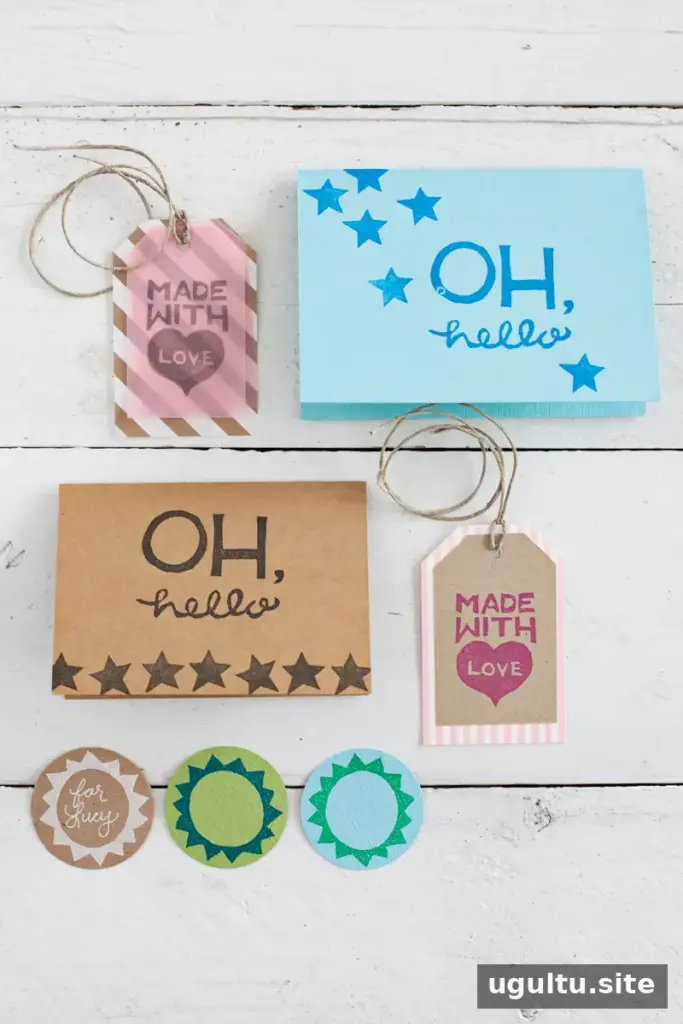
This first hand-carved stamp project demonstrates how personal drawings can become reusable craft tools. Larger or more complex designs can be explored after gaining experience with simpler shapes. —Mandi


