admin
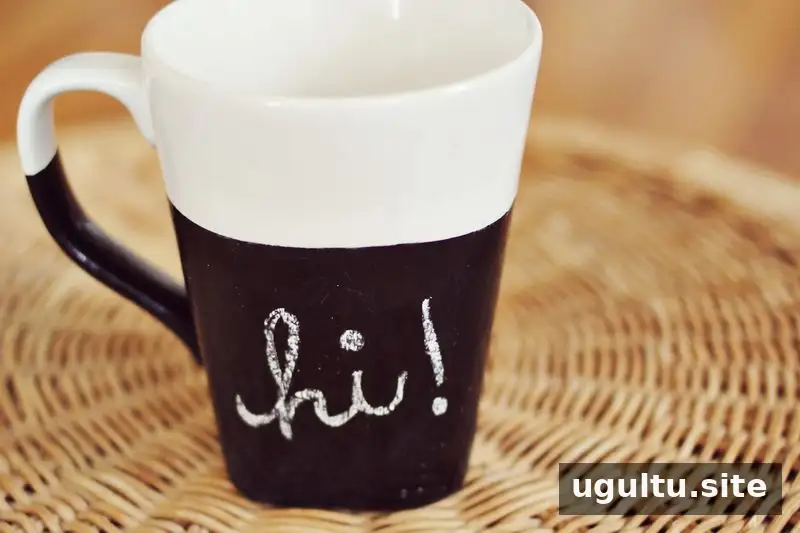
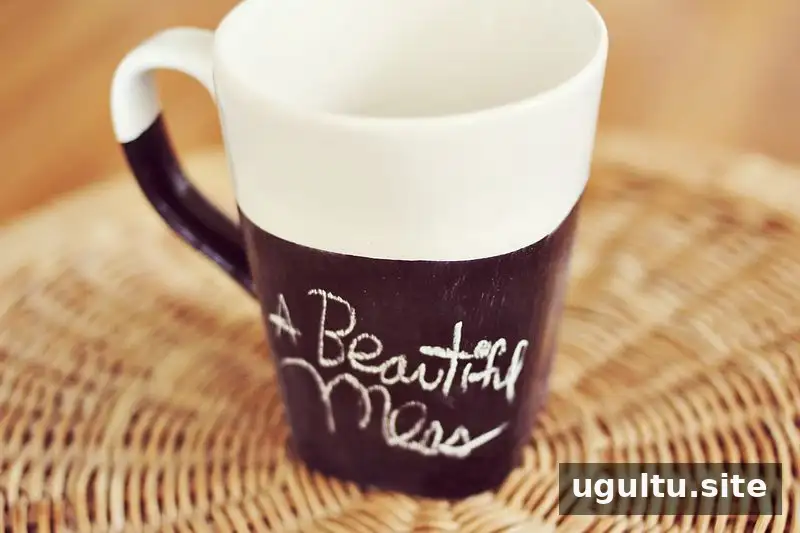
A chalkboard mug DIY project turns a plain white mug into a reusable surface for doodles, names or short messages. With a few basic supplies and porcelain chalkboard paint, you can create a clean, simple design at home. Keep the painted area on the mug’s exterior and leave the rim and inside unpainted so the finish does not come into contact with food or drink.
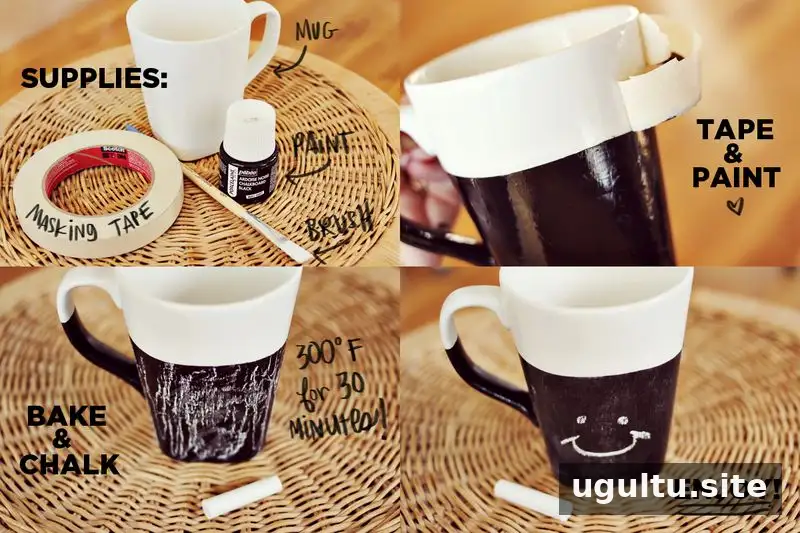
Supplies for a Chalkboard Mug DIY
- A white mug
- Masking tape
- Black chalkboard paint made for porcelain
- A paintbrush
- Chalk or a chalk marker for decorating
Before starting, make sure the mug is clean and dry. Masking tape helps create a crisp boundary, while several thin coats of paint can produce a more even finish than one heavy coat.
How to Paint and Bake the Mug
- Place masking tape around the top of the mug and around the handle to mark the edge of the painted area.
- Brush paint onto the mug’s exterior below the tape. Apply the number of coats needed for even coverage, allowing coats to dry as directed on the paint packaging.
- Remove the tape immediately after applying the final coat. If small paint marks remain outside the intended area, carefully tidy them with a brush before the paint fully sets.
- Bake the mug at 300°F for 30 minutes, following the paint manufacturer’s complete instructions. Once baked as directed, the finish is described as permanent like baked enamel and dishwasher safe.
Oven temperatures and curing directions can vary by product, so check the paint label before baking. Use care when handling the hot mug, and let it cool completely before continuing.
Prepare the Surface for Chalk
After the mug has cooled, rub the side of a piece of chalk over the painted exterior to cover the surface, then wipe it clean. This “seasoning” step prepares the finish for writing. The surface may feel smoother than a traditional chalkboard, but regular chalk or a chalk marker can still be used.
Ideas for Using Your Finished Mug
Write a name on the mug, add a small sketch, or change the message whenever you like. For a neat result, test your chalk or marker on a small area first and wipe the surface gently when changing the design. If the mug will be washed frequently, follow the paint’s care guidance rather than assuming every chalkboard finish tolerates the same cleaning method.
A finished chalkboard mug can also make a thoughtful handmade gift, especially when personalized with the recipient’s name or a simple design. This chalkboard mug DIY is an easy way to customize a plain mug while keeping the decoration changeable.
Project by Elsie.