
 admin
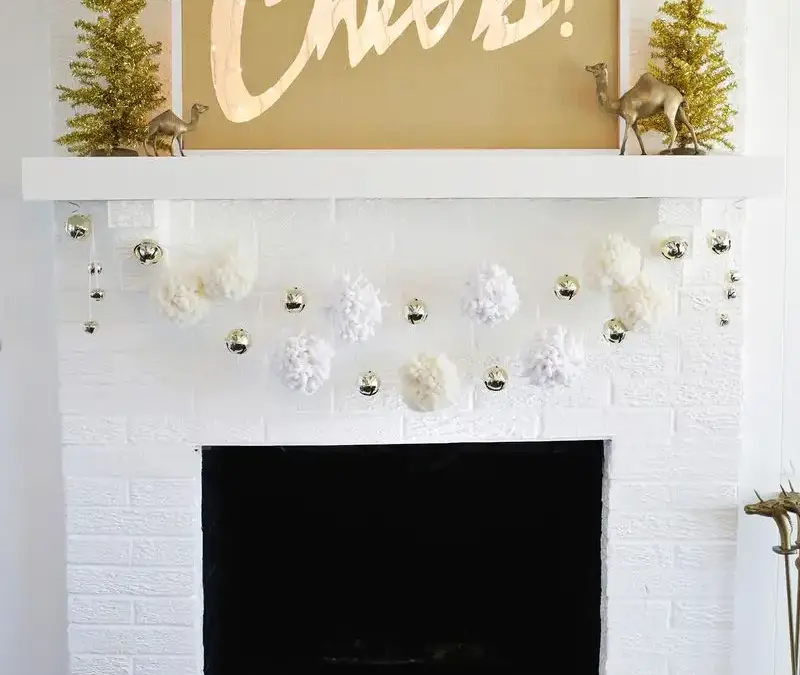
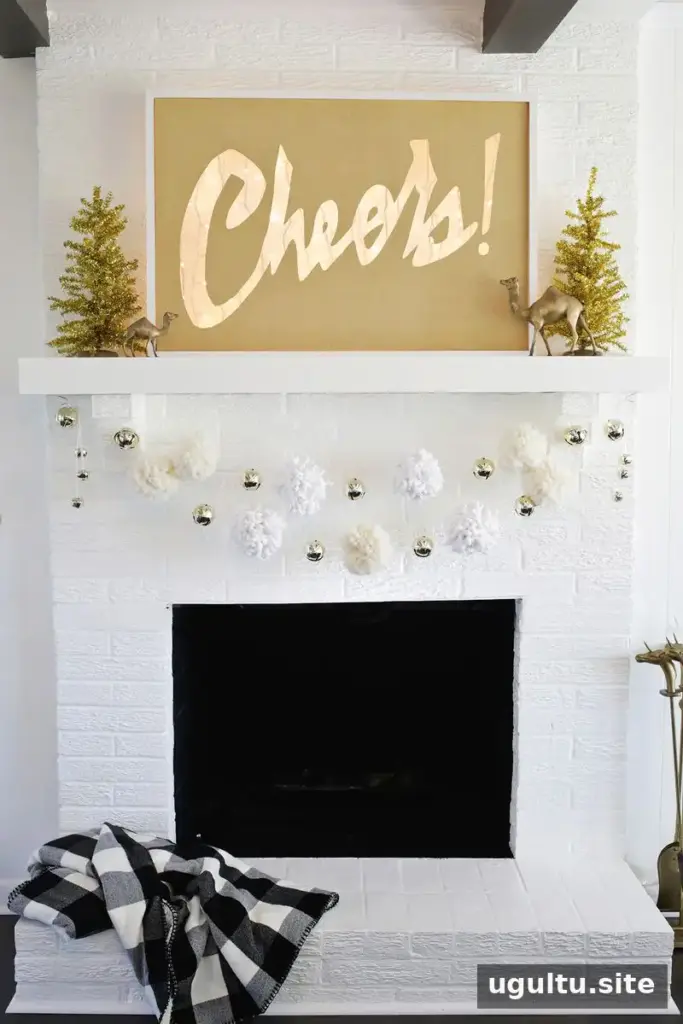
A DIY light box marquee brings together two favorite holiday details: a warm glow and a little sparkle. This project uses a wooden frame, an acrylic panel, glitter paper, and Christmas lights to create a personalized sign. Choose a seasonal greeting such as “Cheers!” or make a design you can display throughout the year.
Supplies:
- 3/4″ x 4″ boards (two 6′ boards are enough)
- 3/4″ x 2″ boards (two 6′ boards are enough)
- 24″ x 36″ acrylic plexiglass panel; a home improvement store can cut it, or you can score and snap it
- White Christmas lights (two sets of 100 lights were used for this project)
- Low-temperature glue gun
- Large glitter sheet or glitter wrapping paper
- Spray adhesive
- X-Acto knife and cutting mat
- Wood glue and wood screws
- Paint or wood stain, if desired
Build the frame for your DIY light box marquee
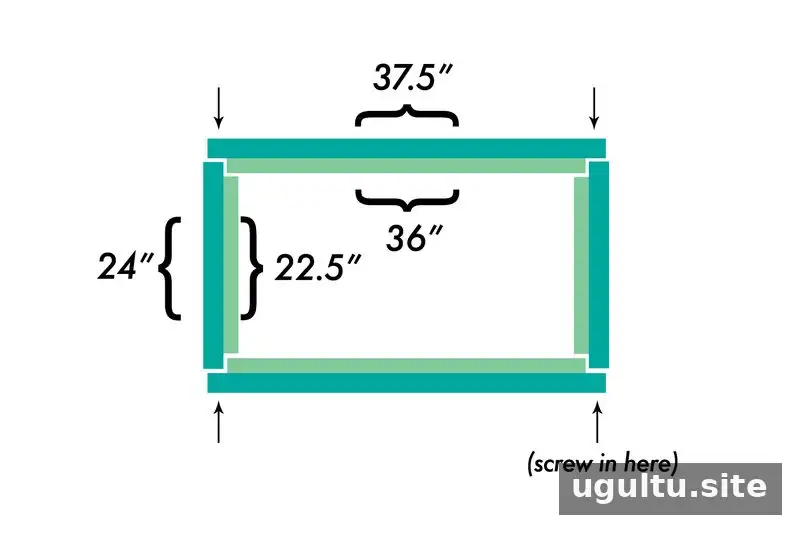
The frame is made from four pieces of the wider boards, with the narrower boards attached inside them to create ledges for the acrylic panel. The narrower pieces are centered on the wider boards, leaving a 3/4″ space on each side of the short boards so the frame pieces can fit together at the notches. If you do not have a power saw, ask the store to cut the boards to size.
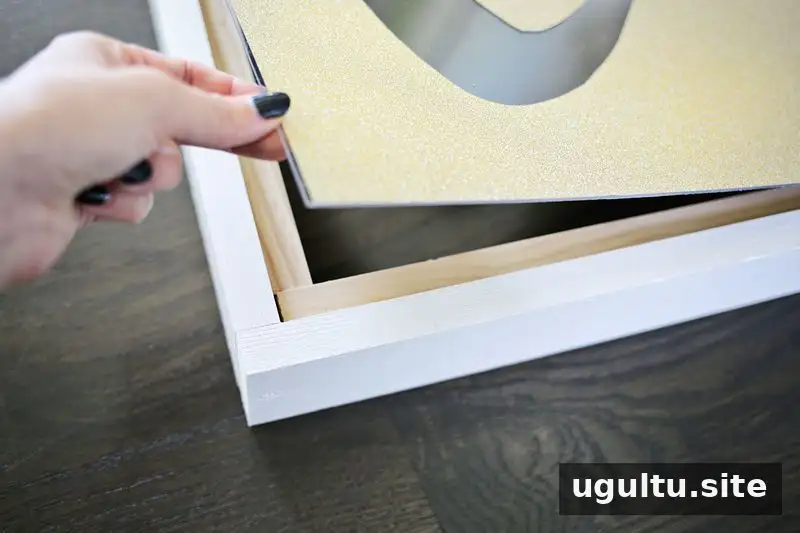
Attach each narrow board to a wider board with wood glue, positioning it 1/2″ down from the top edge. This creates a recessed seat for the acrylic. Let the glue dry, then secure the four frame pieces with wood screws at the marked points. Before fastening everything together, check that the acrylic fits and adjust the frame if needed. Paint or stain the assembled wood, if you like, and let it dry.
Cut and attach the glitter lettering
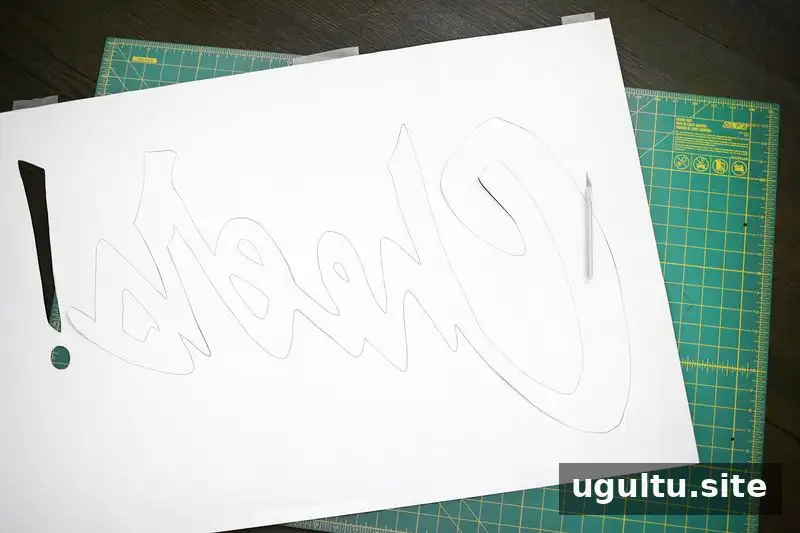
Trace or draw your chosen word on the back of the glitter paper. A projector can help with larger lettering; alternatively, print the letters as large as possible or print a scaled pattern to trace. Reverse the design before tracing so the lettering reads correctly from the front. Cut out the letters with an X-Acto knife on a cutting mat, and set aside the small inner pieces from letters such as “o” and “e.”
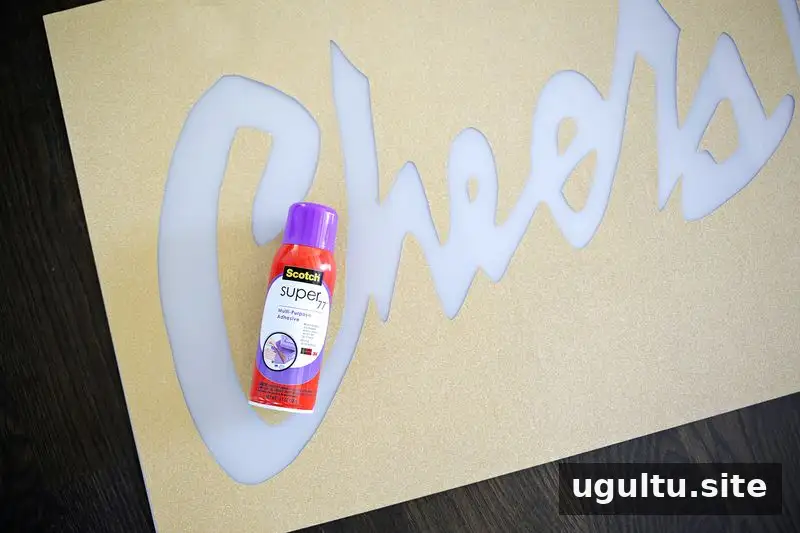
Apply spray adhesive to the front of the acrylic and position the glitter paper. Working on one section at a time can make it easier to line up the design; cover the rest of the work area with cardboard to limit overspray. Attach the saved letter centers as needed. If adhesive gets onto the acrylic, use only a remover labeled as suitable for acrylic and test it on an inconspicuous area first.
Install the lights and finish the sign
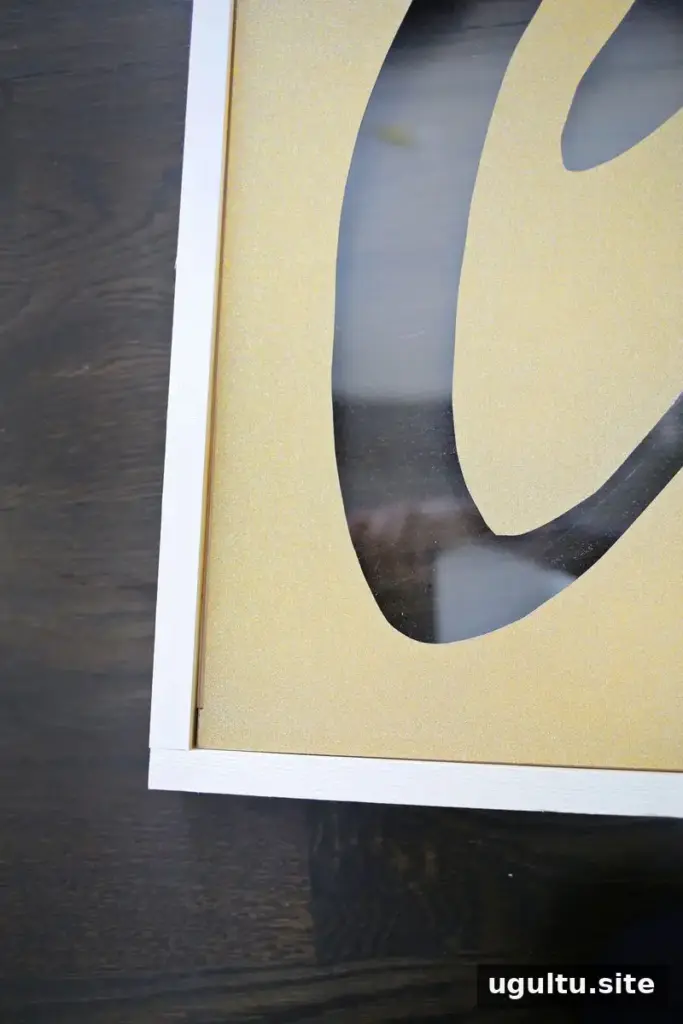
Use the low-temperature glue gun to secure the acrylic panel inside the recessed frame. Handle the panel carefully while fitting it, and avoid forcing it into place if the dimensions are not right.
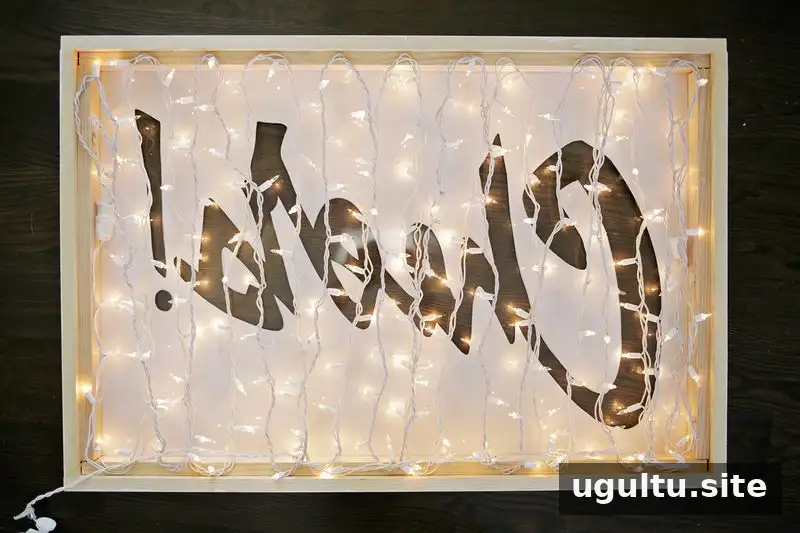
Arrange the Christmas lights in a zigzag pattern across the back of the sign and attach them to the frame with the glue gun. Position the plug on the side that will be most convenient for reaching an outlet or extension cord. Keep the lights unplugged while arranging and securing them, then check that the wiring is not pinched before switching them on.
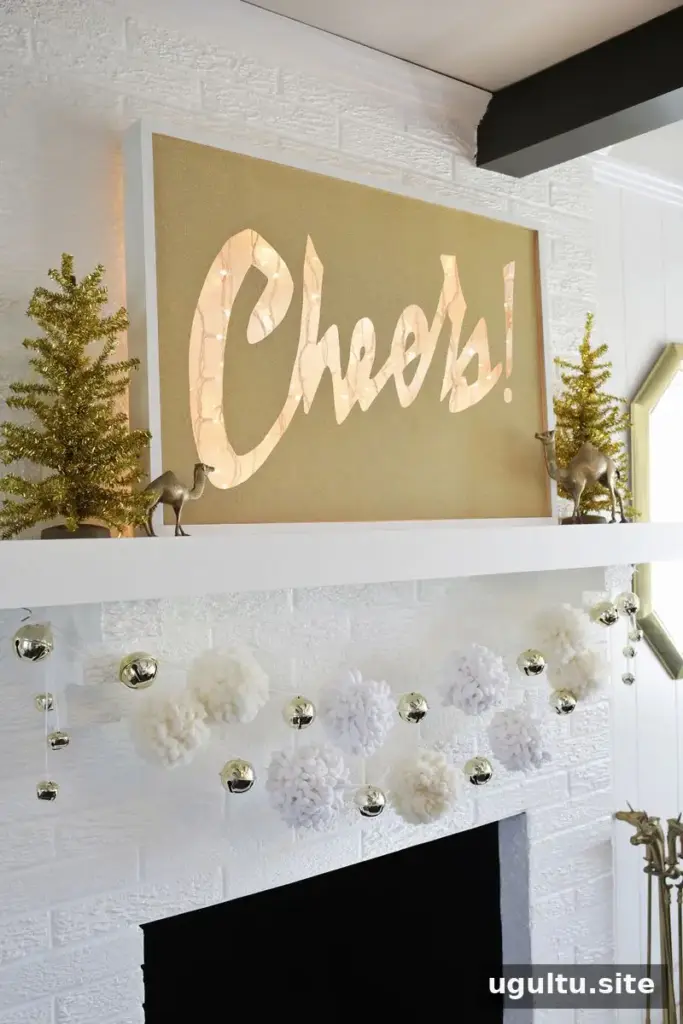


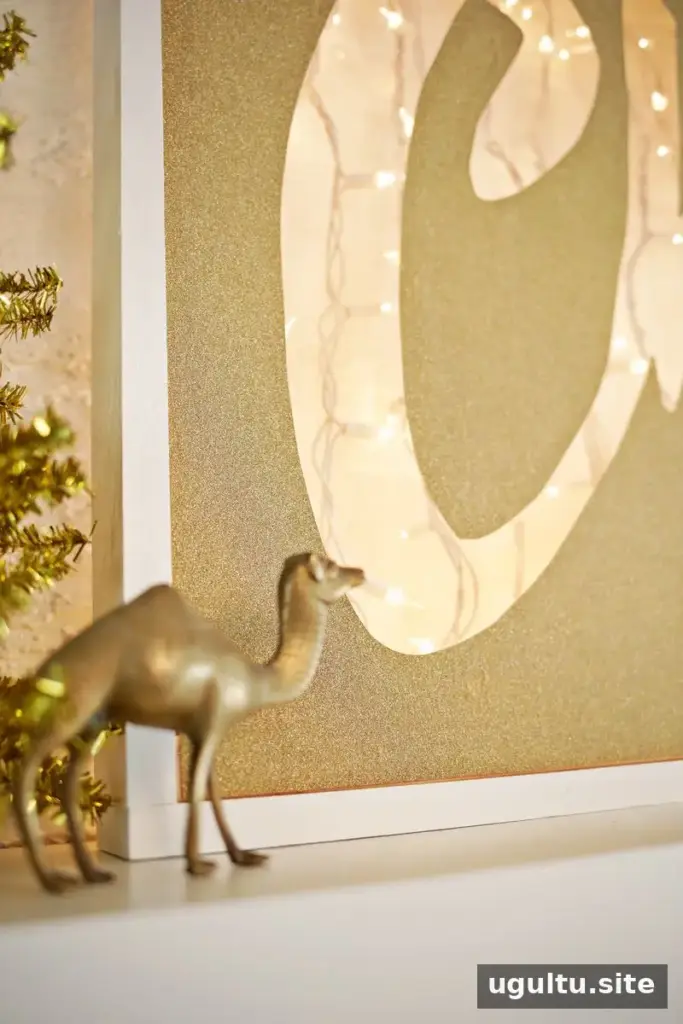
Display and customize your light box marquee

Once illuminated, the light shines through the box and makes the glitter lettering stand out. Choose a phrase that suits your holiday décor, or make a design for another room or season. Before displaying the sign, confirm that it is stable and that the lights and cord are kept clear of anything that could snag or damage them. The finished marquee can be paired with other festive decorations, such as an oversized pom-pom garland.
A little planning makes this DIY light box marquee easier to assemble: check the acrylic fit before joining the frame, reverse the lettering before cutting, and apply the adhesive gradually. Enjoy a custom glowing sign for the holidays and beyond.
—Laura


