
 admin
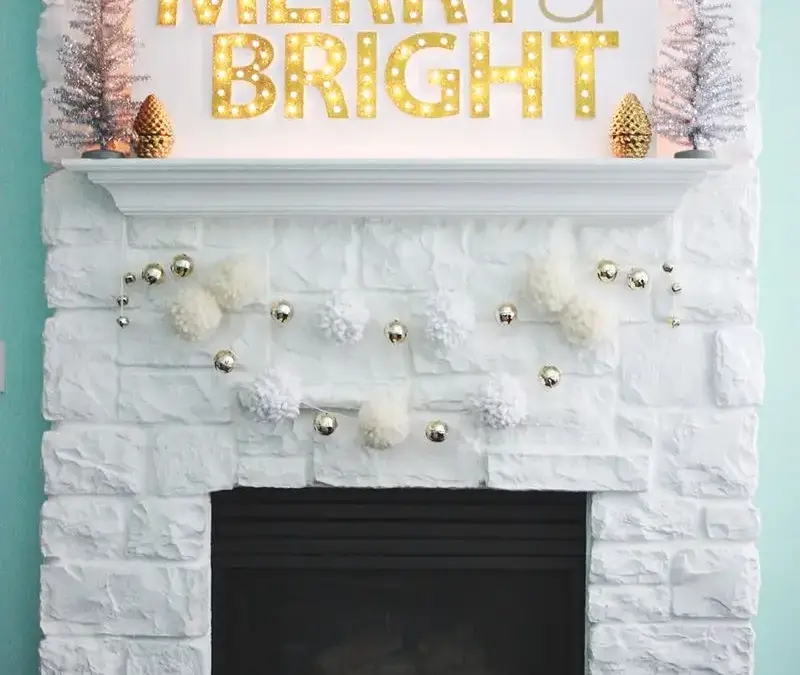
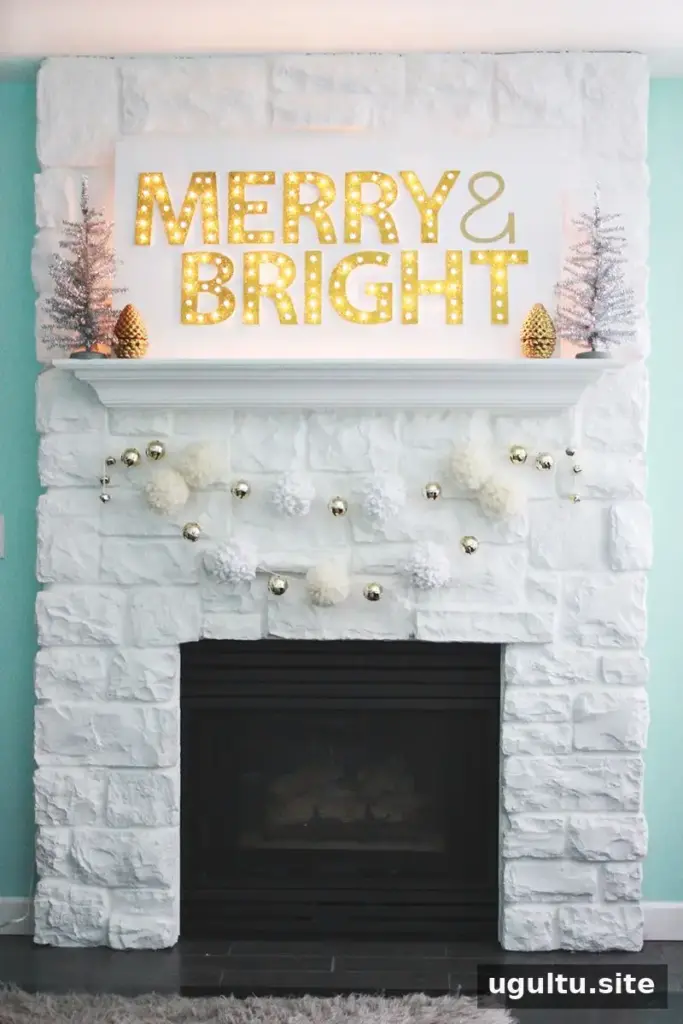
A Christmas light up marquee DIY project combines glitter, warm holiday lighting, and a handmade sign into one festive decoration. This guide, by Laura, explains how to build a framed wooden sign, decorate it with sparkling letters, and add indoor Christmas lights. The finished piece can sit beside a tree or brighten another spot in your home; plan the sign’s location in advance so the cord can reach an outlet safely.
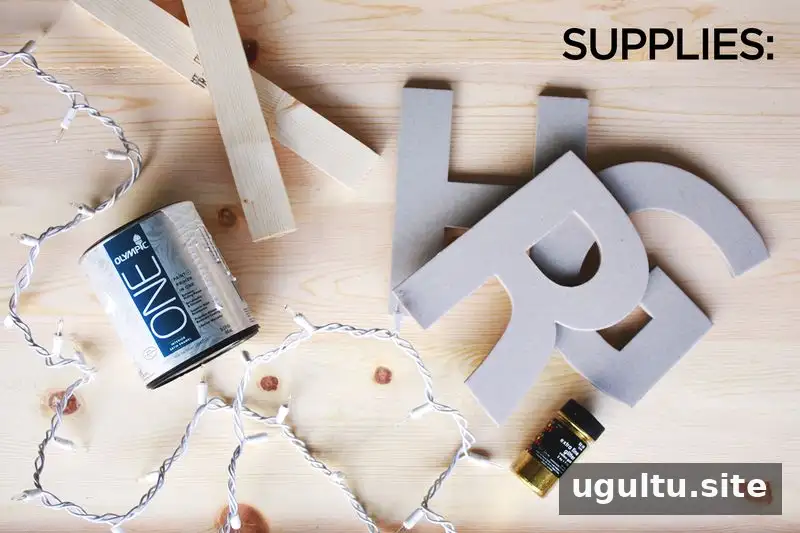
Supplies
- One large wood board measuring 50 x 24 inches
- Four wood planks measuring 2 x 1 inches
- Wood screws and a drill
- Indoor Christmas lights
- White acrylic paint
- Loose gold glitter and Mod Podge
- Chipboard letters
- Strong glue, such as E6000
- Duct tape
Before starting, check that the lights are intended for indoor use and gather the tools in a clear, well-ventilated work area. Keep the lights unplugged while assembling the sign.
How to Make a Christmas Light Up Marquee DIY Sign
1. Build the frame
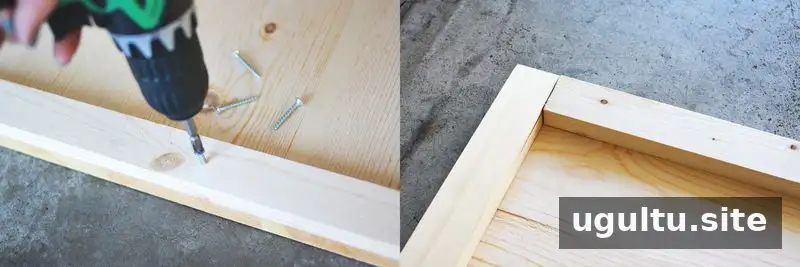
Cut two planks to 46 inches long and two to 24 inches long. Attach them around the back perimeter of the board with wood screws, using a drill and keeping the planks flush with the board’s outer edges. The frame helps conceal the light wires and gives the sign a more finished appearance from the side. Check the alignment before tightening the screws.
2. Paint and glitter the letters

Apply two coats of white acrylic paint to the front and sides of the board, allowing the paint to dry between coats. Paint the side edges of the chipboard letters as well. When the letters are dry, brush Mod Podge onto each front surface and sprinkle on loose gold glitter. Turn each letter over gently to remove extra glitter, then leave it to dry. Add another coat of adhesive and glitter where needed. If your chipboard letter set does not include an ampersand, glitter cardstock can be used to make one.
Work over a tray or sheet of paper while applying glitter to make cleanup easier and save excess material.
3. Attach the letters and mark the light holes

Arrange the dry letters on the painted board, checking their spacing and position before gluing. Use a strong adhesive to secure them, and follow the product’s instructions for drying time.
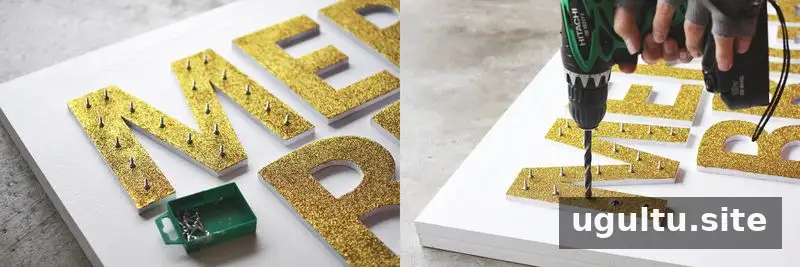
Mark the locations for the bulbs on the board. Since marks can be difficult to see on glitter, the project uses upside-down screws to make small impressions as guides. Drill at each marked point. Having a second person hold a shop-vac hose near the drill bit can help collect wood shavings as you work. Wear appropriate eye protection and keep hands clear of the drilling area.
4. Install the lights
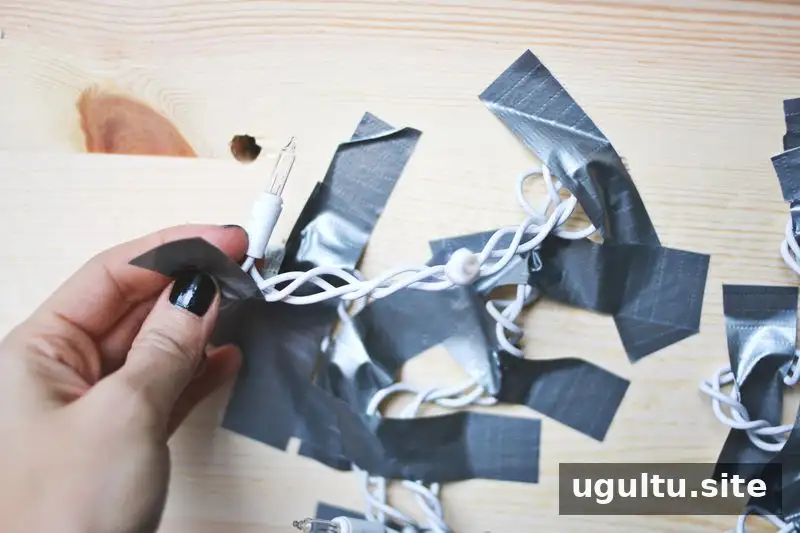
With the lights unplugged, push each bulb through a hole from the back of the board and secure the light strand with duct tape. Check that the bulbs are seated and the wiring is not pinched. Once installation is complete, plug in the lights and confirm that the sign illuminates as intended.
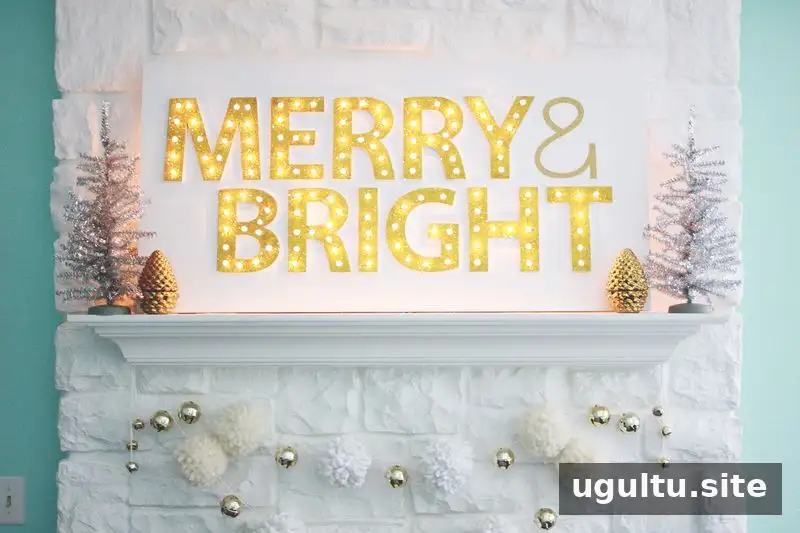
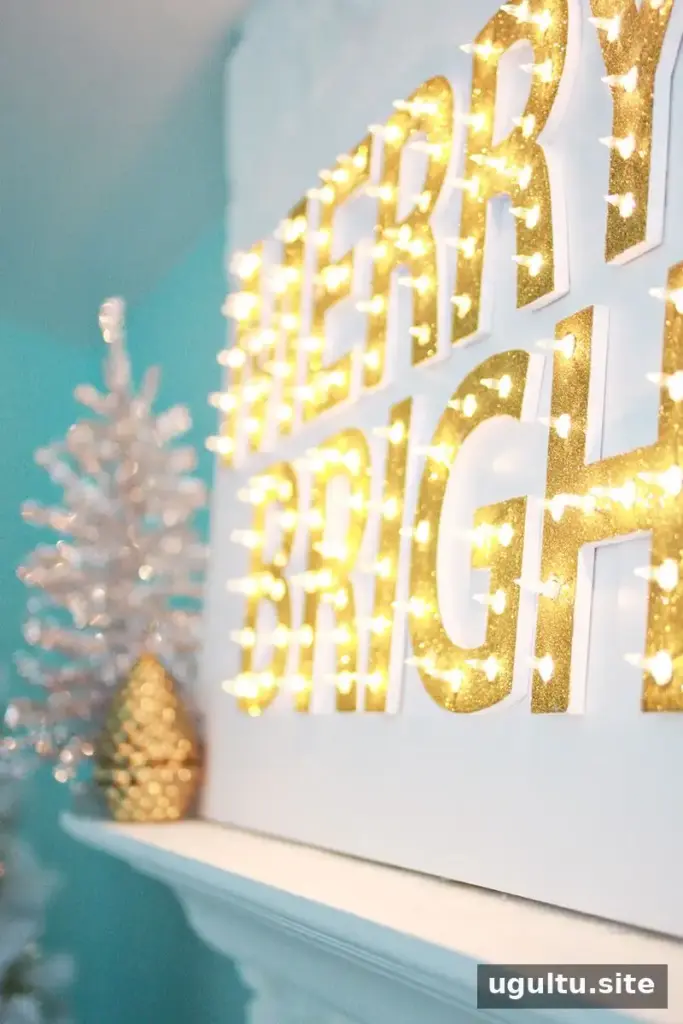

Christmas Light Up Marquee DIY Safety Tips
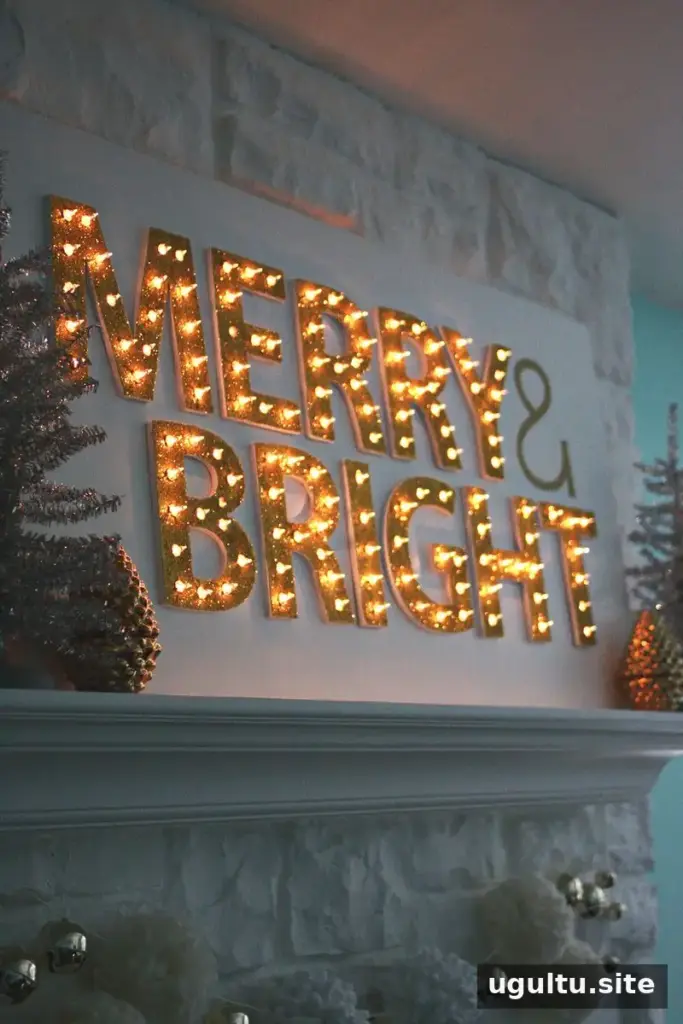
The original project’s safety notes recommend treating the sign like other seasonal light decorations and following the light manufacturer’s directions. Keep these precautions in mind:
- Choose lights with a label from an independent testing laboratory, and use a set rated for indoor use.
- Do not use light strings with worn or broken cords, or with loose or broken bulbs.
- Check the manufacturer’s instructions for the maximum number of light strands that may be connected safely.
- Keep the finished wiring orderly and avoid exposed bundles of cords. Use only the final cord or extension cord needed to reach an outlet.
- Turn the lights off before leaving home or going to bed.
Final Thoughts
This Christmas light up marquee DIY project is a customizable way to bring glitter and a soft glow to holiday décor. Allow paint, adhesive, and glitter to dry fully, and test the light strand before displaying the sign. With careful assembly and indoor-rated lights used according to their instructions, the finished marquee can add a festive accent beside a Christmas tree or in another suitable space.


