
 admin
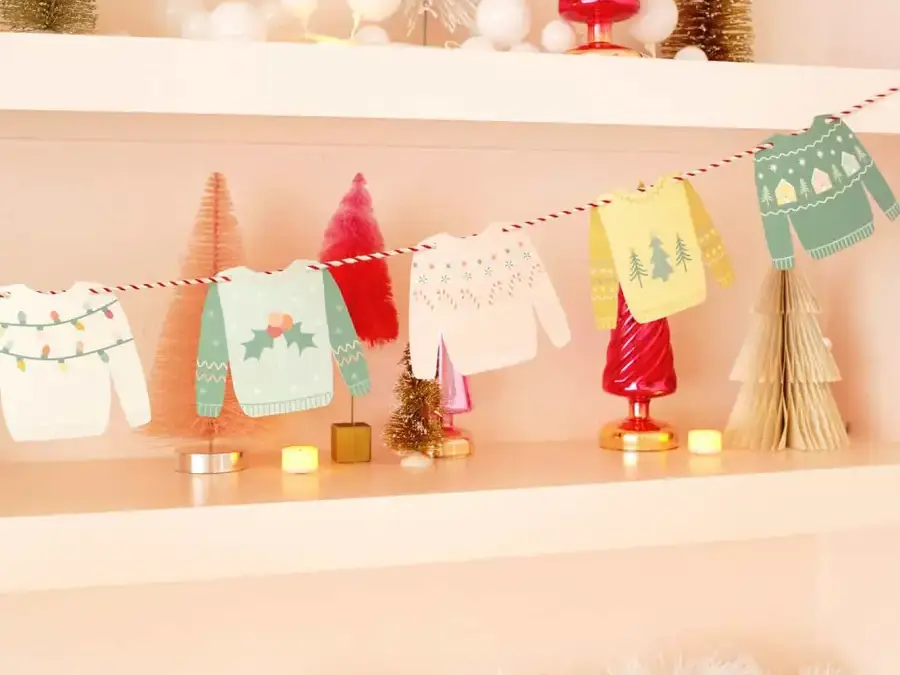
A Christmas sweater garland DIY is an easy way to add a playful, handmade touch to your holiday decorations. Print the sweater designs, cut them out, and string them together to create a colorful garland that works on a mantel, wall, doorway, or shelf. The project uses a few basic supplies and can be customized to suit your space and holiday color scheme.
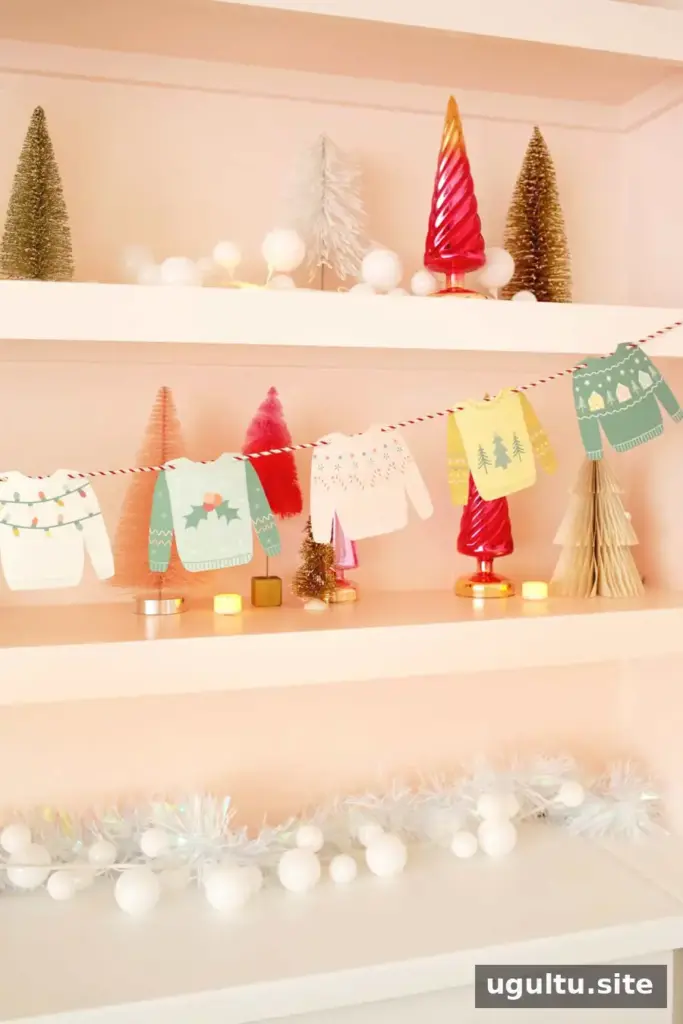
Why make a Christmas sweater garland?
Garlands are versatile decorations that can be draped over furniture or tied in place. They also take up little storage space once the season is over. Because this design is lightweight, it can be a practical option for renters and homeowners alike. Use removable hanging strips where suitable, or simply drape the garland over a shelf or mantel.
For other festive paper and yarn projects, consider trying a giant pom-pom garland, a holiday garland made with different materials, a mylar pom-pom garland, or a star garland advent calendar.
Materials for the Christmas sweater garland DIY
- Scissors
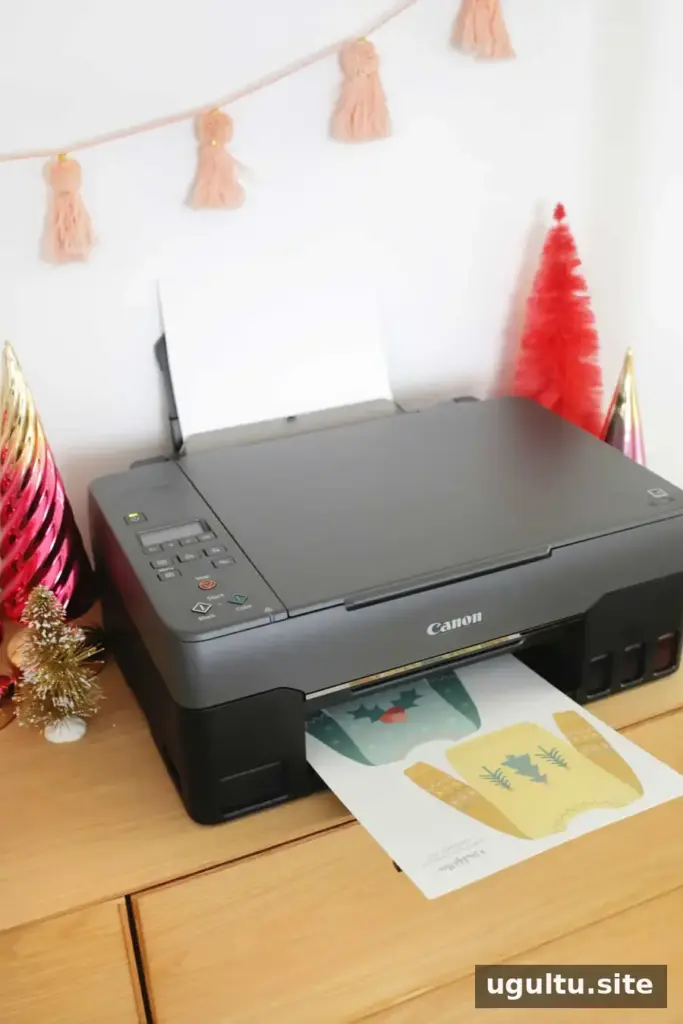
- A home printer
- Matte photo paper or cardstock
- Hole punch
- Chunky twine or yarn
- Clear tape (optional, to make threading easier)
- The Christmas sweater garland printable, available in 5-inch-wide and 3.5-inch-wide sizes
Choose the sweater size that best fits your display. Print additional sheets if you want a longer garland, and use cardstock or matte paper for a sturdier finish. Check the printer settings before printing so the designs come out at the intended size.
How to make the garland
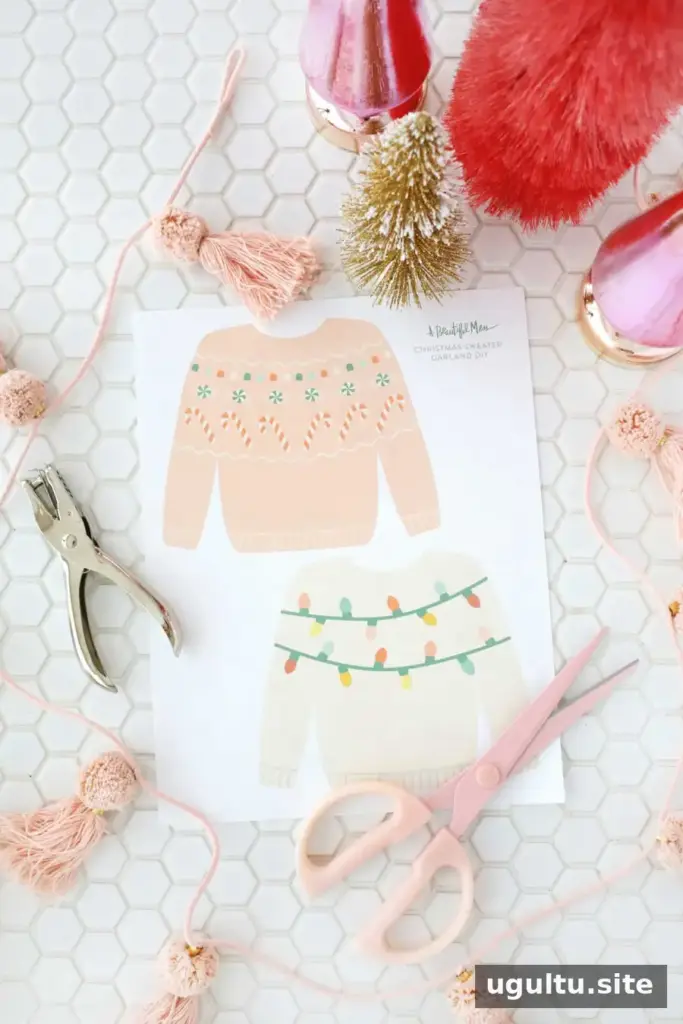
- Print the sweater designs. Select either the 5-inch-wide or 3.5-inch-wide version. Print as many sheets as needed for your planned garland length.
- Cut out the sweaters. Carefully follow the outlines with scissors. For a neat result, turn the paper as you cut rather than twisting your wrist around the design.
- Punch the holes. Make two holes in each sweater at the marked positions near the top. Keep the holes in similar places so the pieces hang evenly.
- Thread the twine or yarn. Pass the string through the holes in each paper sweater. If the end of the twine frays, wrap a small piece of clear tape around it to make threading easier.
- Arrange and hang. Space the sweaters evenly along the string, then hang the garland where it will be easy to see and away from anything that could snag or damage the paper.
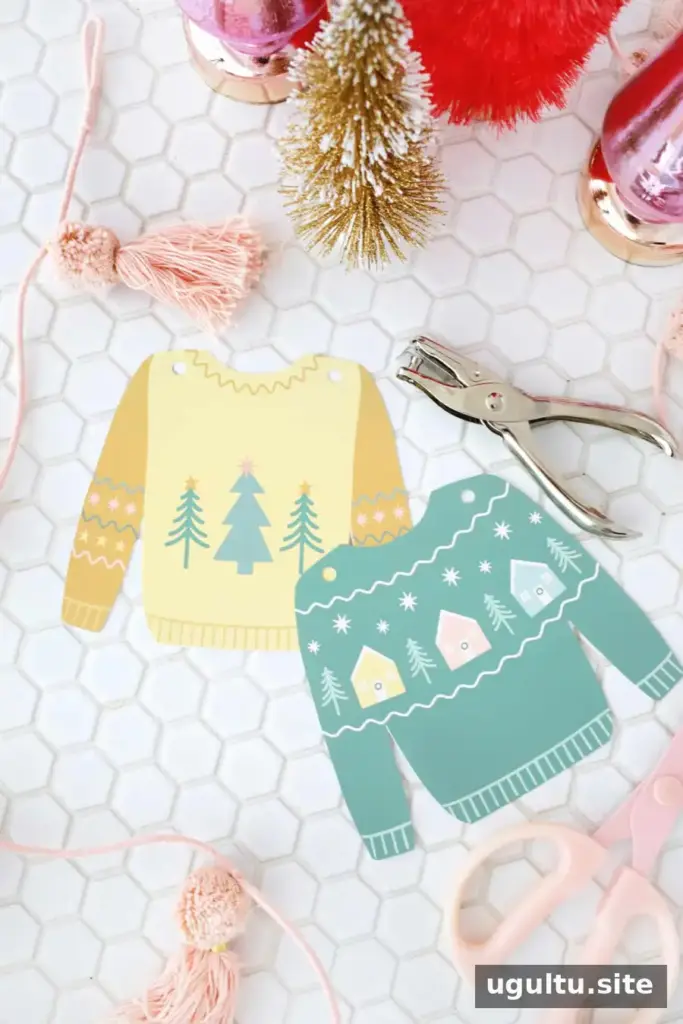
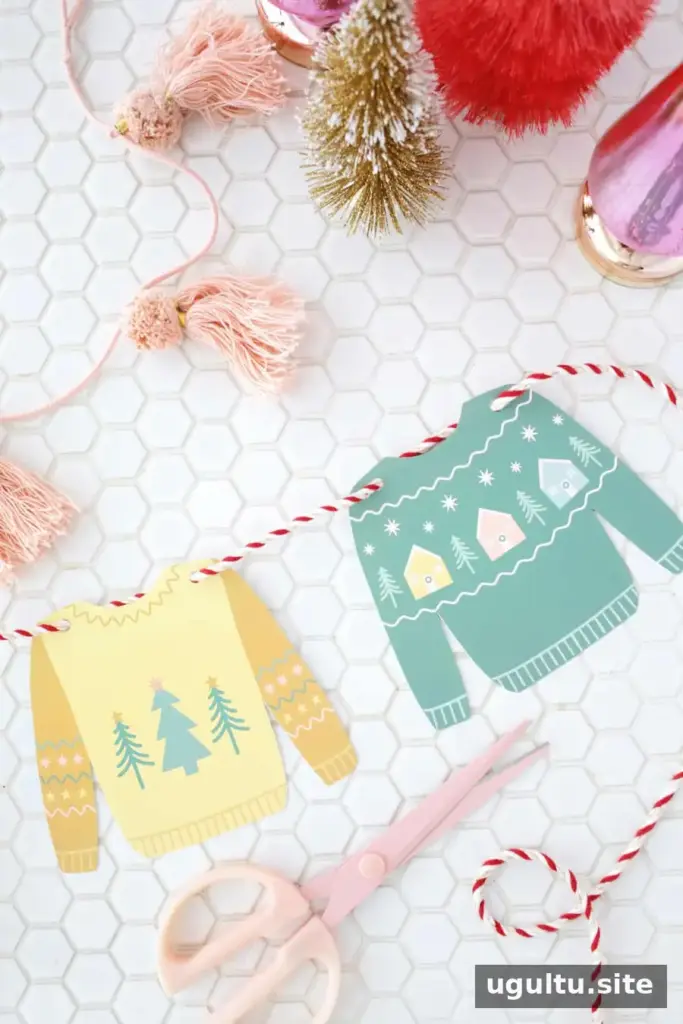
When threading each sweater, keep the front of the design facing the same direction. This simple step helps the finished garland look tidy. If you want the pieces to stay in place, adjust the spacing before hanging and avoid pulling the string too tightly.
Customize your holiday decoration
The printable makes it easy to tailor the garland to your home. Mix the two sweater sizes, choose a specific color palette, or arrange the designs in a pattern. For extra texture, add yarn tassels or small bells between some of the paper sweaters. Keep additions lightweight so the string does not sag and the paper pieces do not tear.
This is also a suitable group craft for children who can use scissors safely. An adult can help with cutting when needed, while children can take part in arranging the sweaters, using a hole punch with supervision, and threading the string.
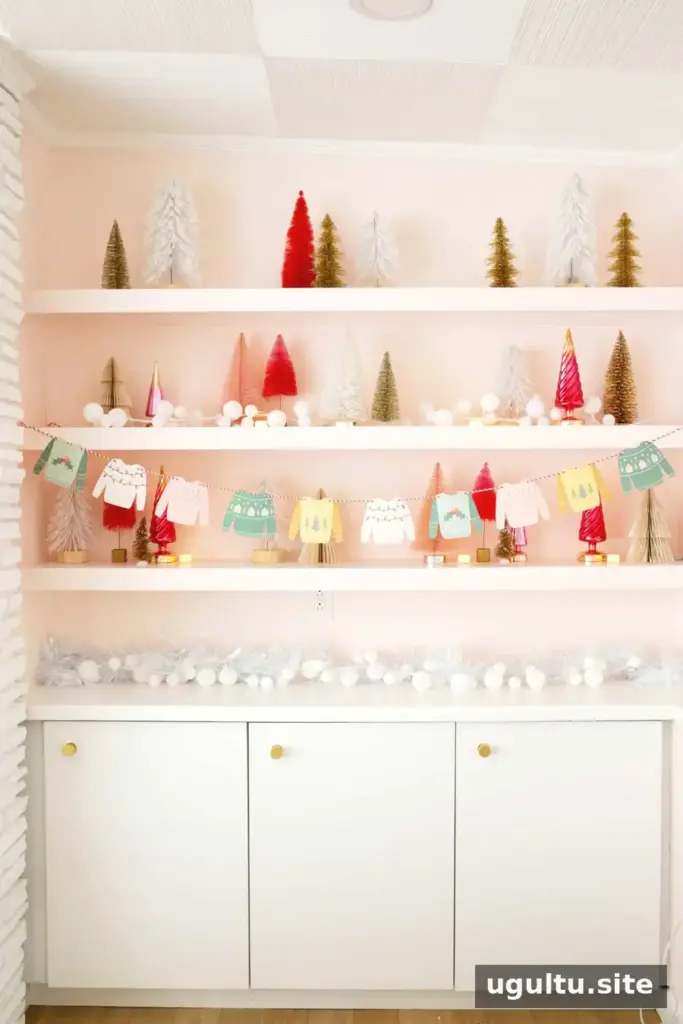
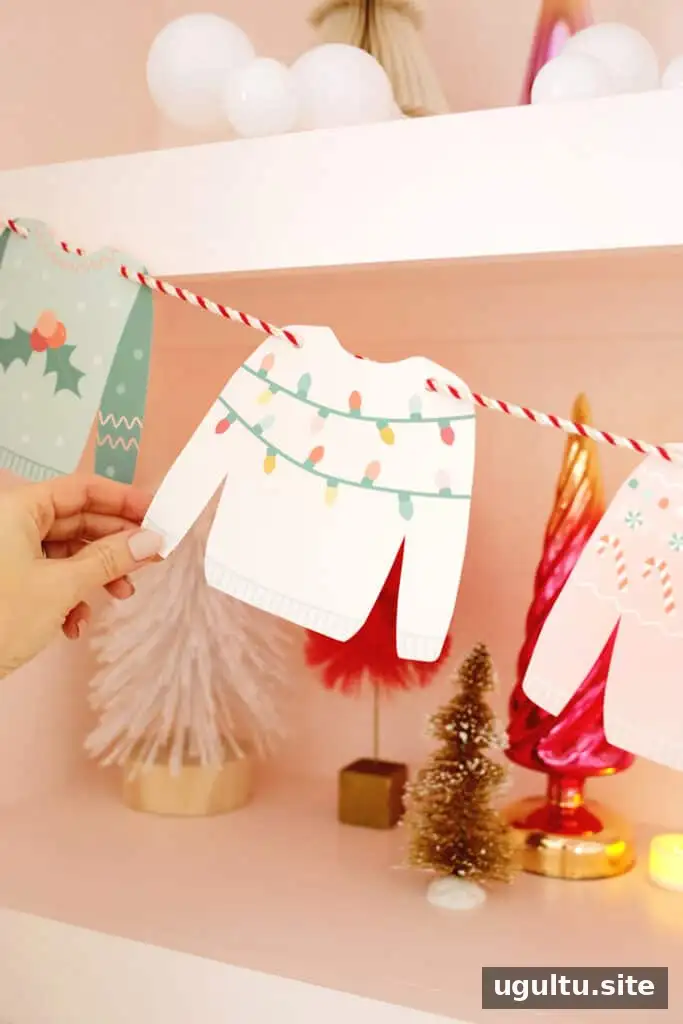
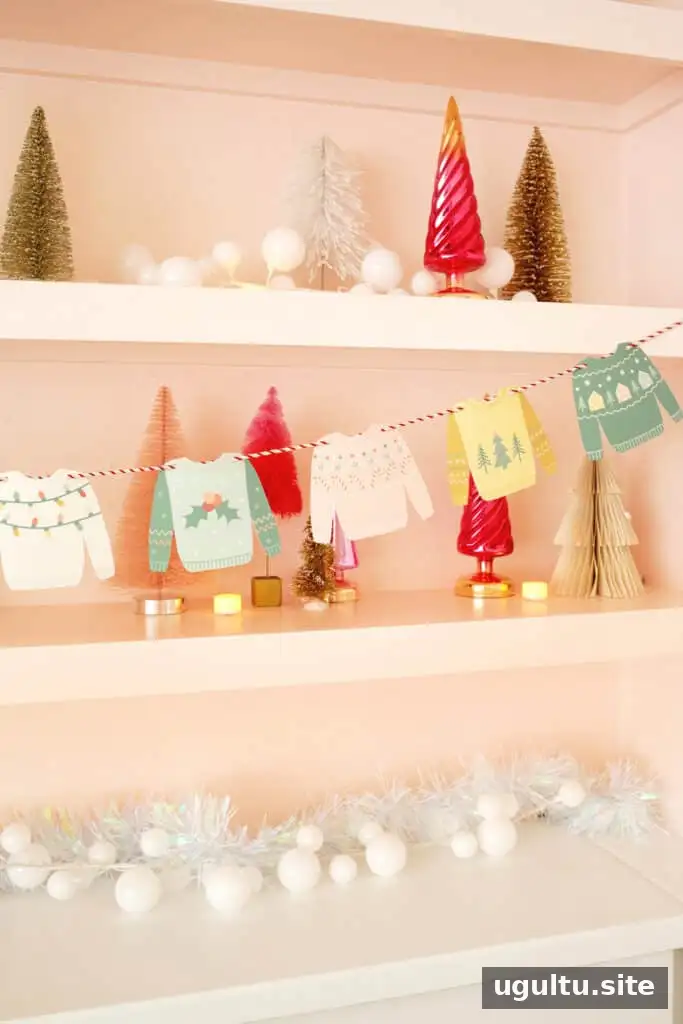
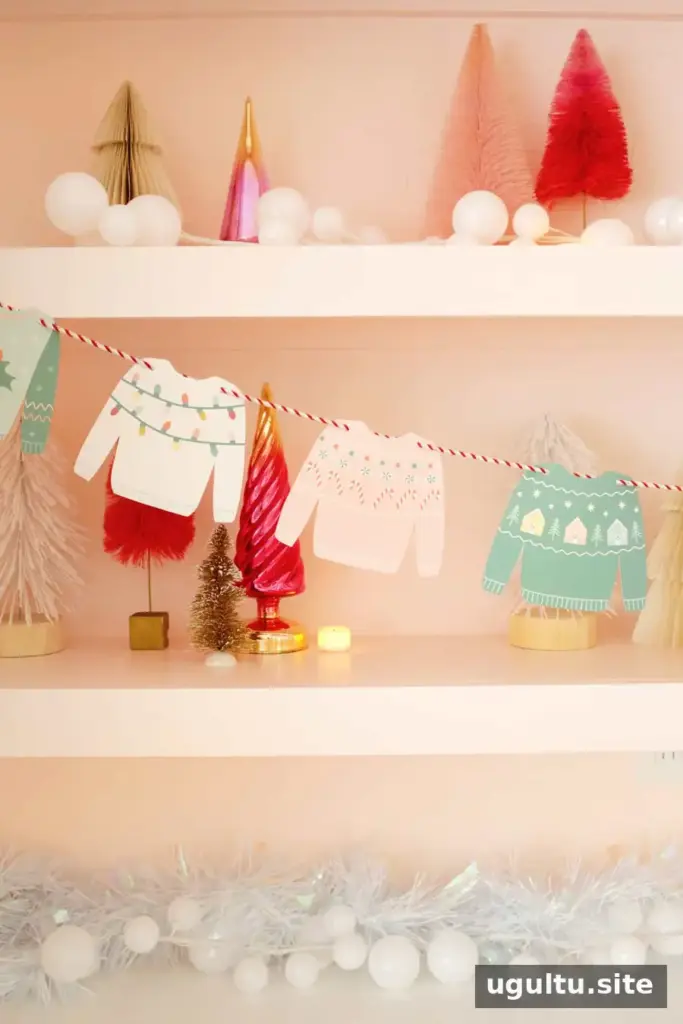
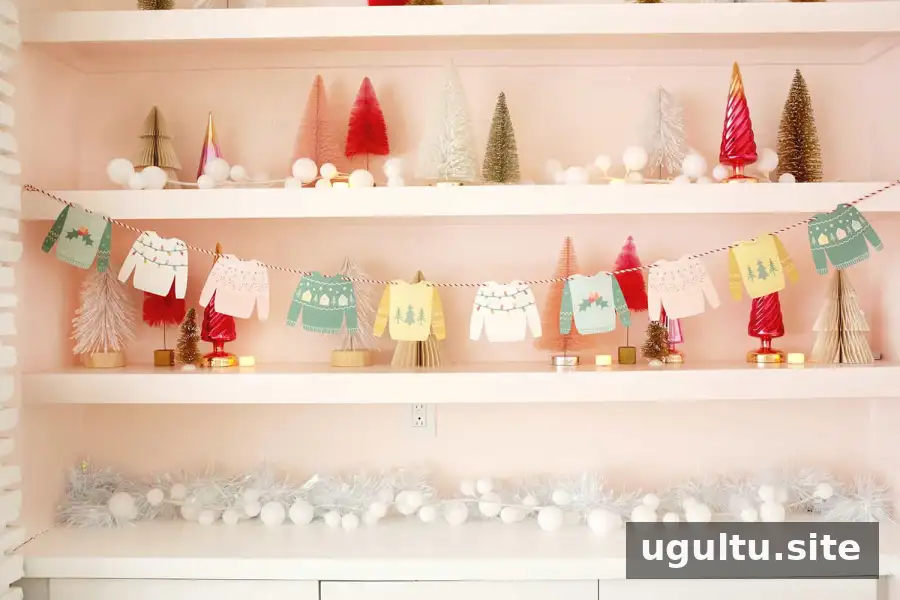
Enjoy your Christmas sweater garland DIY
This Christmas sweater garland DIY is a simple way to bring color and handmade charm to holiday decorating. Print the template in the size you prefer, make enough pieces for your space, and personalize the arrangement with colors or small lightweight accents. Store the finished garland flat or loosely coiled after the holidays to help protect the paper for next year.
By Laura


