
 admin
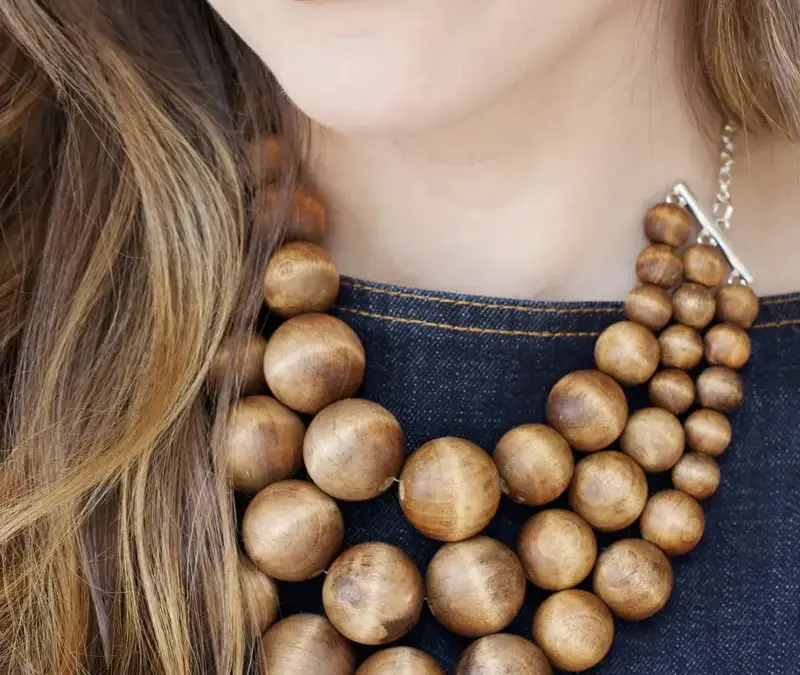
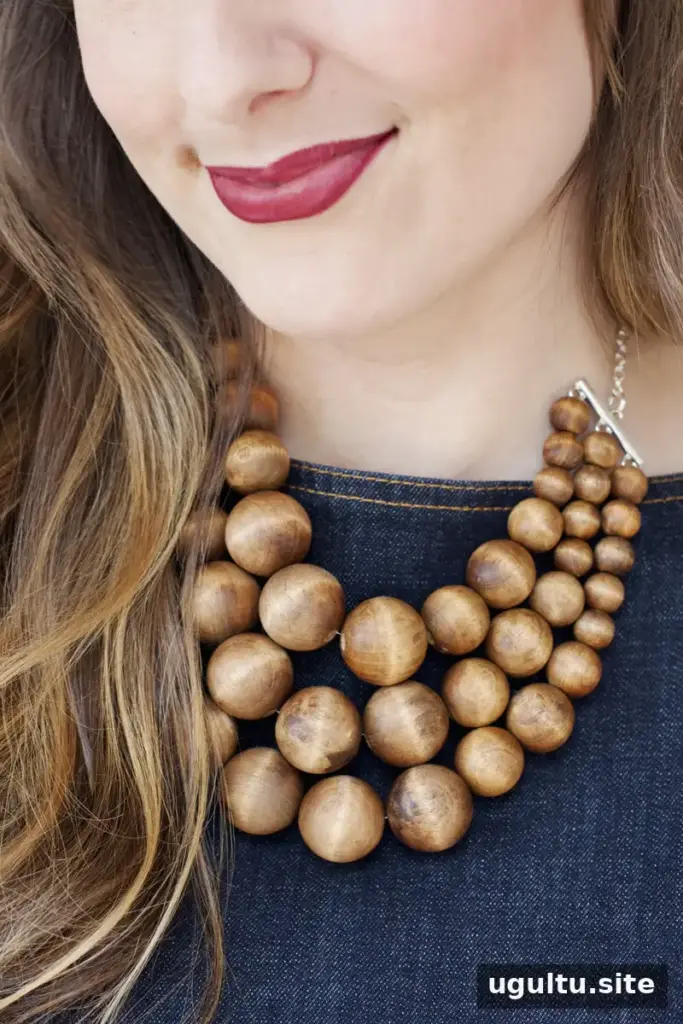
A chunky wooden bead necklace is an easy way to add color and texture to an outfit, and you can customize the design to suit your style. This project combines several bead sizes with a simple clasp, creating a bold accessory without complicated jewelry-making techniques. Choose a stain or paint color that works with your wardrobe, and adjust the bead arrangement to change the overall look.
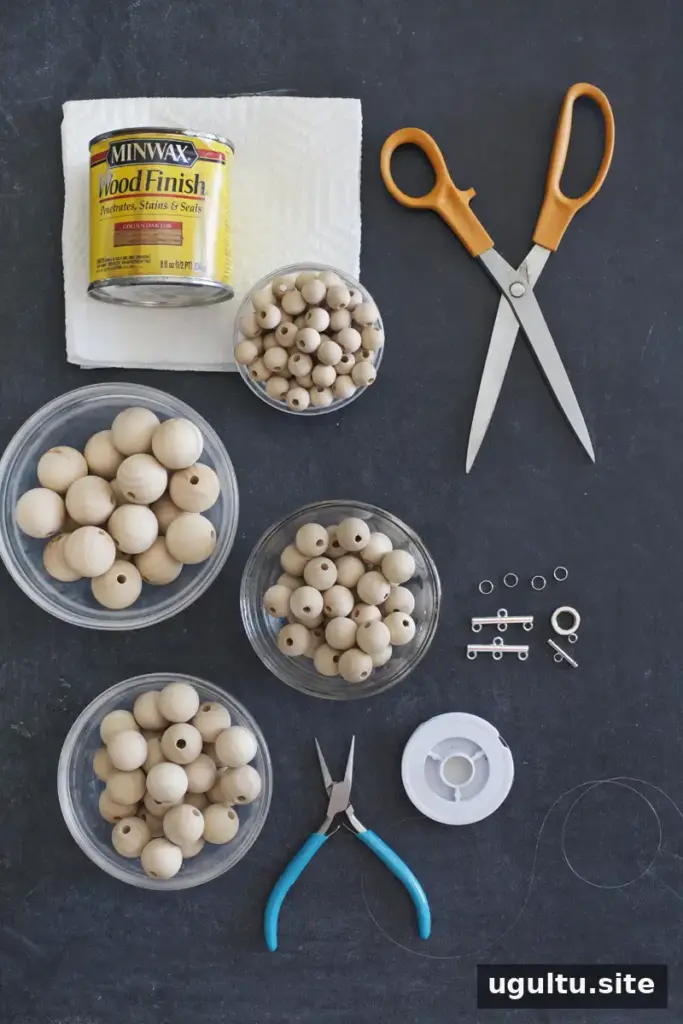
Materials and tools
Gather the following supplies before you begin. The listed bead quantities provide a starting point; additional small beads can help fill out the necklace and reduce the amount of chain needed.
- 12 wooden beads measuring 25 mm
- 12 wooden beads measuring 20 mm
- 6 wooden beads measuring 16 mm
- 24 or more wooden beads measuring 12 mm
- Wood stain or paint in your chosen color; the original project used an Early American stain shade
- Nylon monofilament
- 4 double rings, 7 mm
- 2 three-strand end bars
- Chain, if needed to reach the desired necklace length
- A paper towel, rag, or brush for applying stain
Tools: small needle-nose pliers and scissors.
How to make a chunky wooden bead necklace
1. Color the beads
Apply stain or paint to the wooden beads in your selected color. If you use stain, wear gloves and work in a well-ventilated area. Let the beads air out for a couple of days before wearing the finished necklace. This allows the treated wood to dry and air out fully.
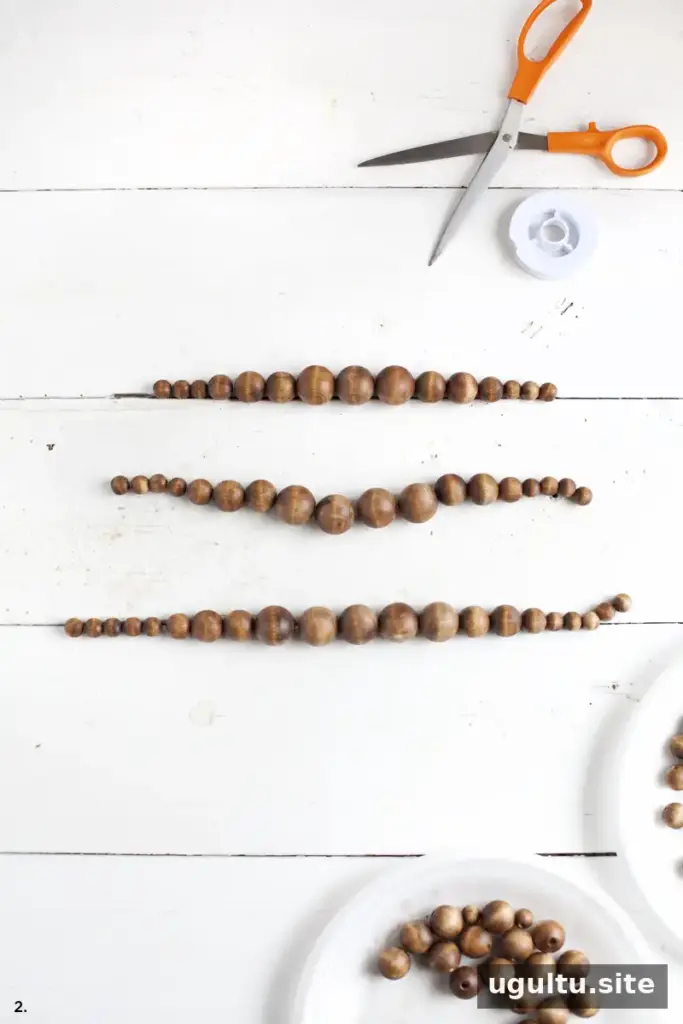
2. Arrange and string the beads
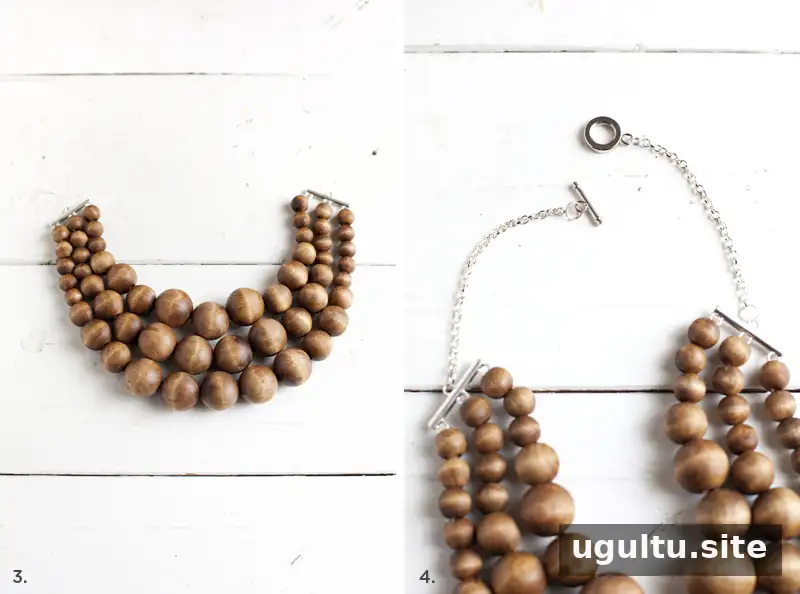
Thread the beads onto the nylon monofilament in the desired pattern, using the reference image as a guide. Distribute the different sizes to create the look you want. Add more 12 mm beads if you prefer a fuller beaded section and less visible chain. Before tying anything off, check the arrangement and approximate length around your neck.
3. Attach the end bars
When the strand reaches your preferred length, knot the monofilament onto each ring of the three-strand end bars. Leave about a 2-inch tail beyond each knot, then tuck the extra line back into the bead strand. Check that the knots are secure and the beads sit as intended before trimming any excess line.
4. Add chain and a clasp if needed
If the beads do not extend far enough to wrap around your neck, attach chain to the end bars. A 7 mm double ring can connect the chain to an end bar and provide a connection point for a toggle clasp. Other clasp styles can also be used. If you have strung enough beads to reach the desired length, you may not need chain.

Personalizing and wearing your necklace
Change the style by varying the bead colors, sizes, or arrangement. When choosing a length, consider how the necklace will sit with the necklines you wear most often. Handle the finished piece gently, especially around the clasp and the knotted monofilament, and check the connections periodically.
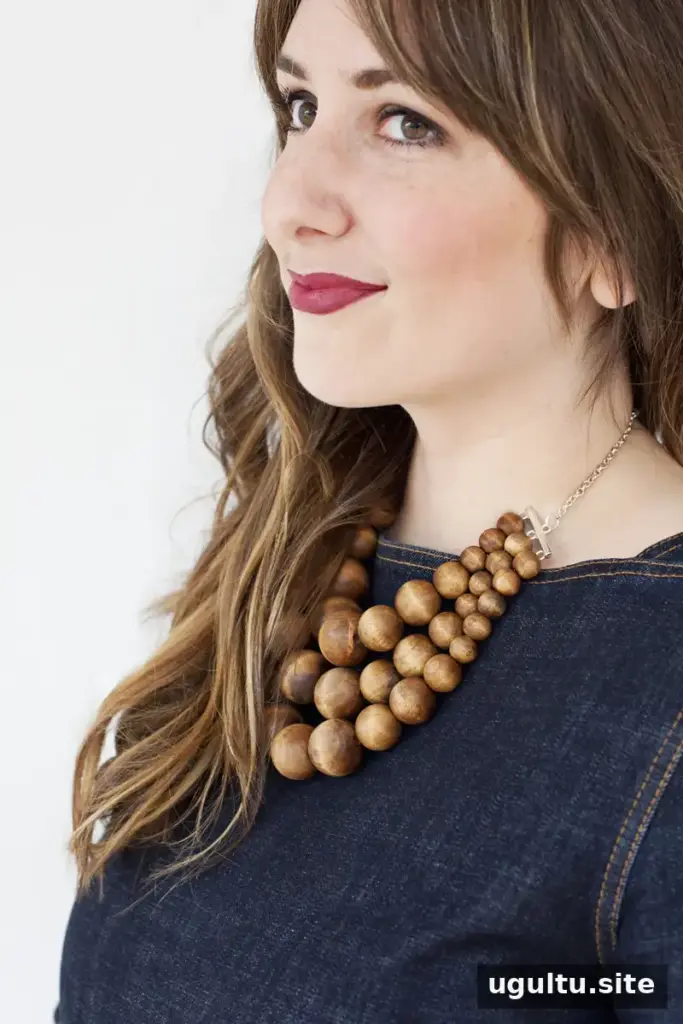
This simple project creates a distinctive statement necklace and can also make a thoughtful handmade gift. Adjust the bead mix and finish to create a version that feels personal and works with different outfits. — Mandi


