admin
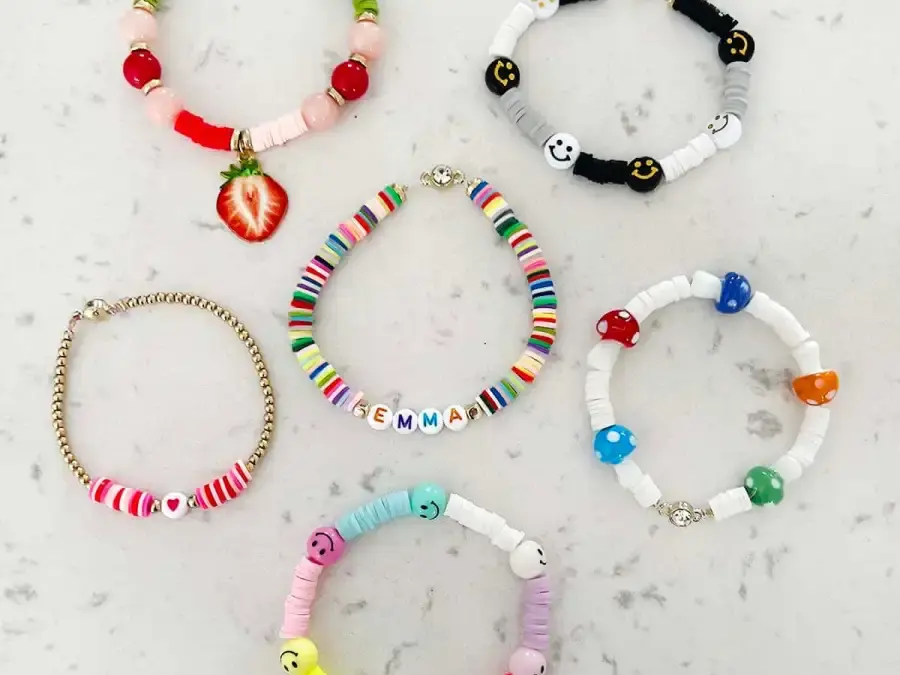
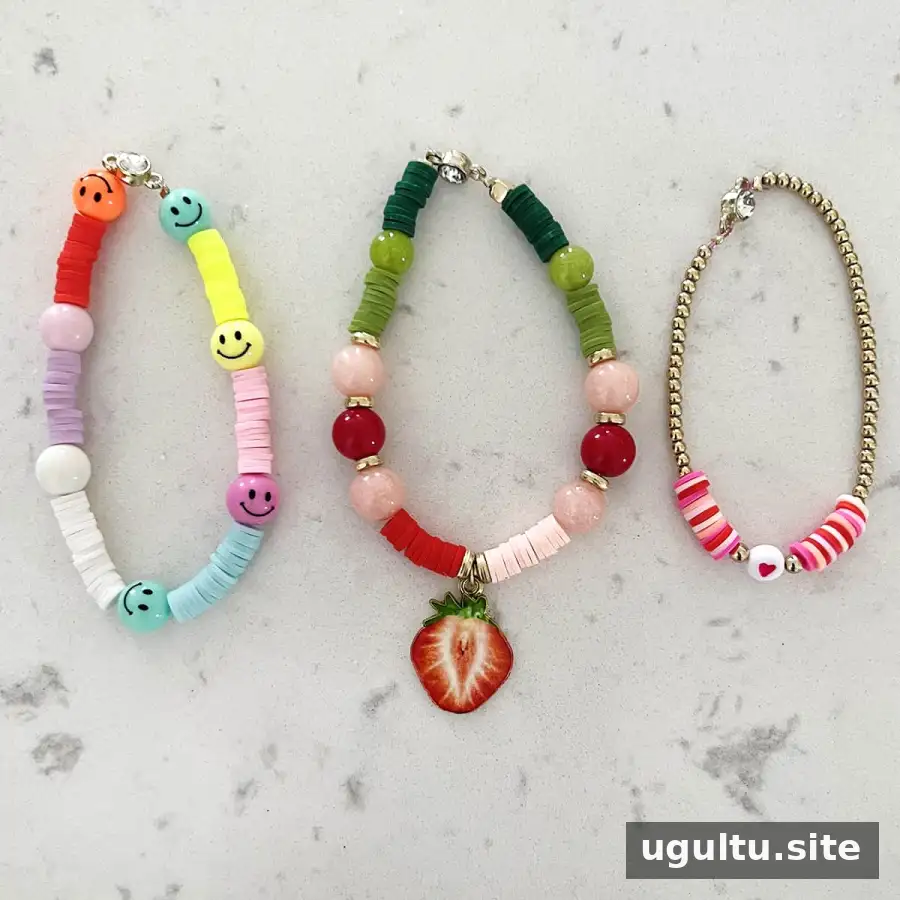
Clay bead bracelet ideas range from simple monochrome designs to bright, personalized patterns. Polymer clay beads come in many colors, making them an approachable and inexpensive choice for beginner jewelry makers. With a few basic supplies, you can create a bracelet for yourself or as a handmade gift; many of these designs can also be adapted into necklaces.
Clay bead bracelets are a suitable craft for many ages, including older children with adult supervision when using scissors and jewelry pliers. Before stringing beads, arrange your design on a bead board or a covered work surface so you can adjust the color order and spacing.
Supplies for Clay Bead Bracelets
Gather your materials before starting. A bead board helps keep beads in order, while a felt-covered surface can serve as a simple alternative.
- Clay beads
- Elastic cord, sometimes called crystal string; clear or colored cord can work
- Letter beads, accent beads, or charms, if desired
- Crimping beads for securing the ends
- A connector for a pull-on design that does not require fastening a clasp
- Small scissors
- Jewelry pliers for crimping and other jewelry-making tasks
- A bead board or felt to cover your work surface
Supplies and closure styles can vary with the design. Check that the cord, connector, and beads are compatible before assembling the bracelet. Keep small beads and tools away from young children.
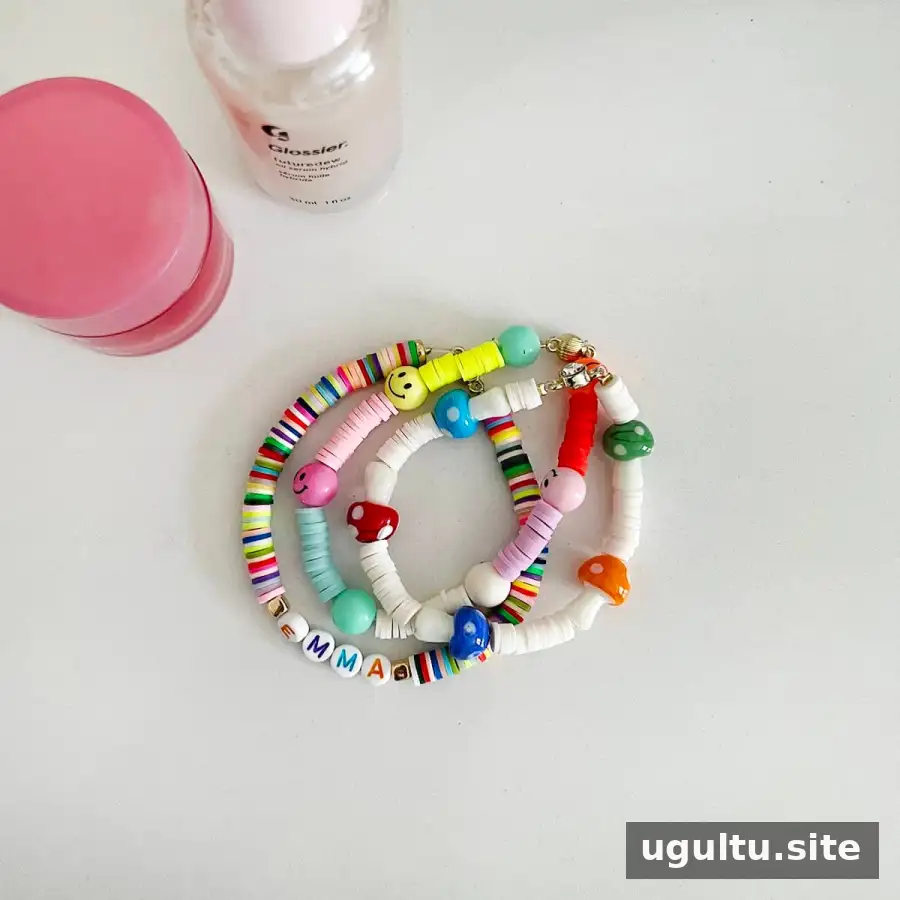
How to Make a Clay Bead Bracelet
Plan the pattern and check the fit before securing both ends. A little extra cord makes it easier to handle the bracelet while you work.
- Arrange the beads on a bead board and adjust the colors, charms, or accent beads until you are happy with the design.
- Cut a piece of elastic cord about twice the width of the widest part of your hand to leave room for working.
- Pass one end of the cord through a crimping bead, through one side of the connector, and back through the same crimping bead.
- Use jewelry pliers to crimp the bead and secure the cord.
- String the planned bead pattern onto the cord.
- Check the bracelet length and add or remove beads as needed before closing it.
- Pass the remaining cord through a second crimping bead, through the other side of the connector, and back through the crimping bead. Pull the cord snug.
- Crimp the second bead with pliers to secure the end.
- Trim excess cord, or tuck it into nearby beads if possible.
Handle the cord gently when tightening it, since pulling too hard can stretch or damage elastic. Test the finished bracelet carefully before wearing it.
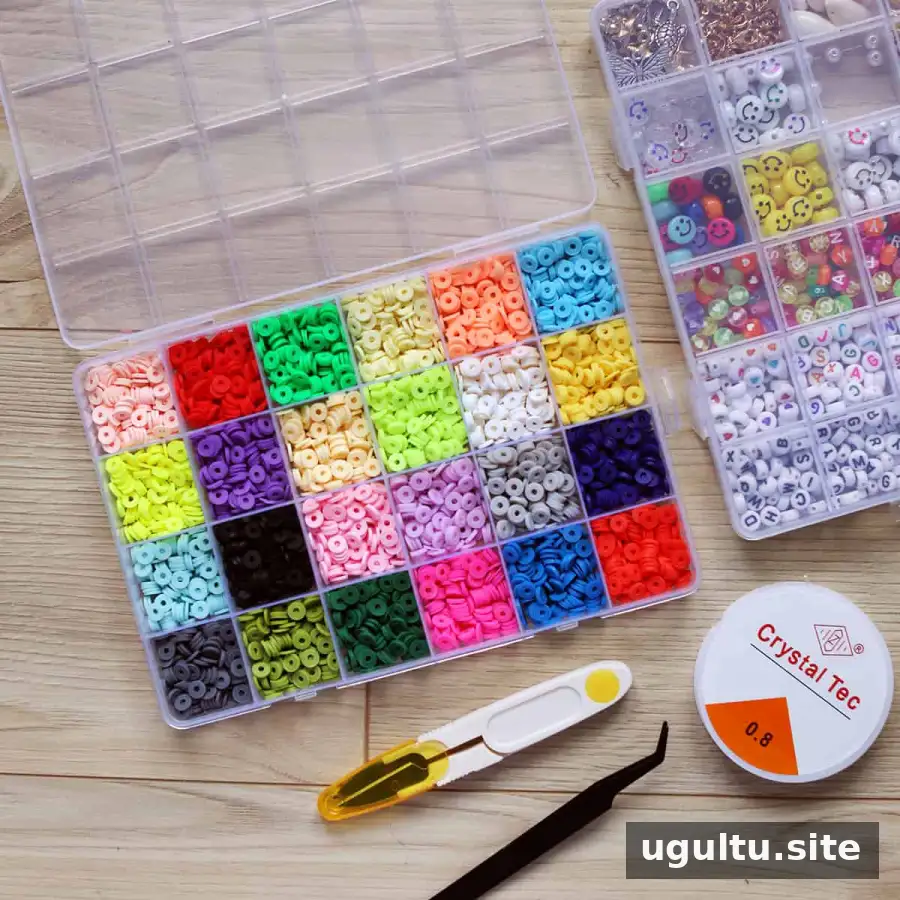
Clay Bead Bracelet Ideas for Color and Style
Use a repeating pattern for a coordinated look, or mix colors and accents for a more playful result. Try one of these starting points:
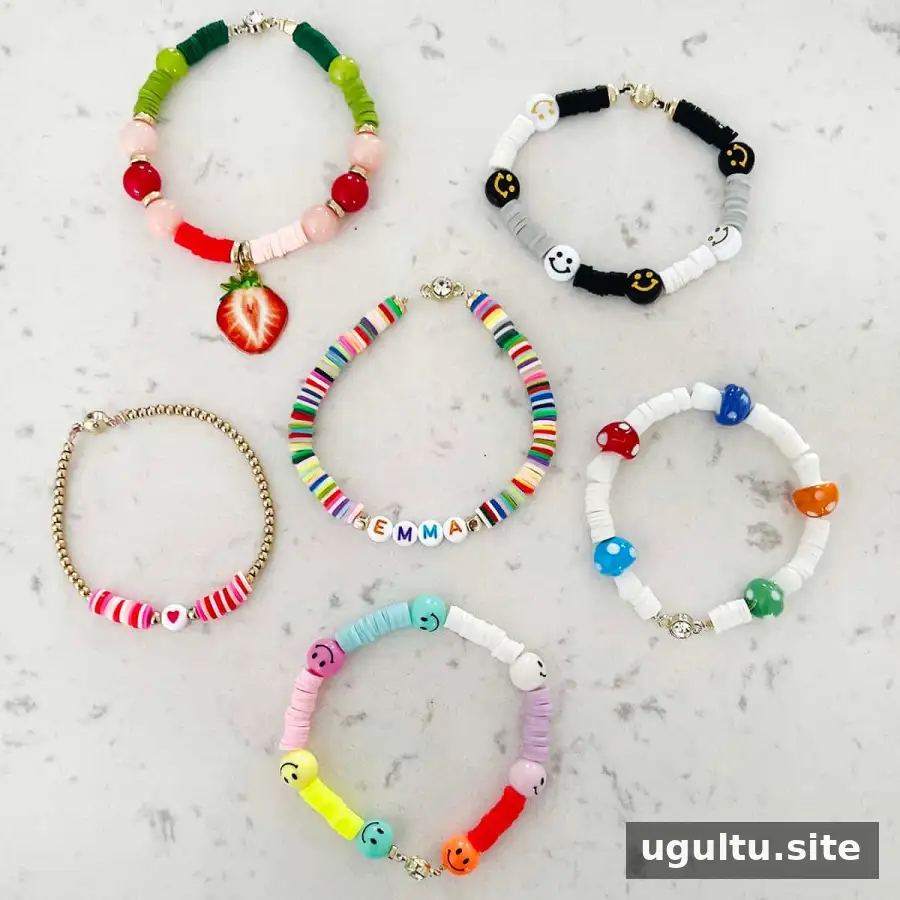
- Multicolored: Repeat a sequence of colors or arrange them in a more spontaneous pattern.
- Primary colors: Combine red, blue, and yellow beads.
- Secondary colors: Use orange, green, and purple.
- Monochromatic: Choose one color or several tones of the same color for a unified design.
- Black or white: Make a simple single-color bracelet or alternate the two.
- Charm accents: Separate bead clusters with a charm or glass bead, or add several charms for a charm-bracelet effect.
- Personalized lettering: Add your name or a friend’s name to create a gift.
- Gold accents: Use small gold beads for most of the bracelet and add colored clay beads as highlights.
For a balanced pattern, lay out the full sequence before stringing. If you are adding a larger charm, place it near the center so the design sits evenly on the wrist.
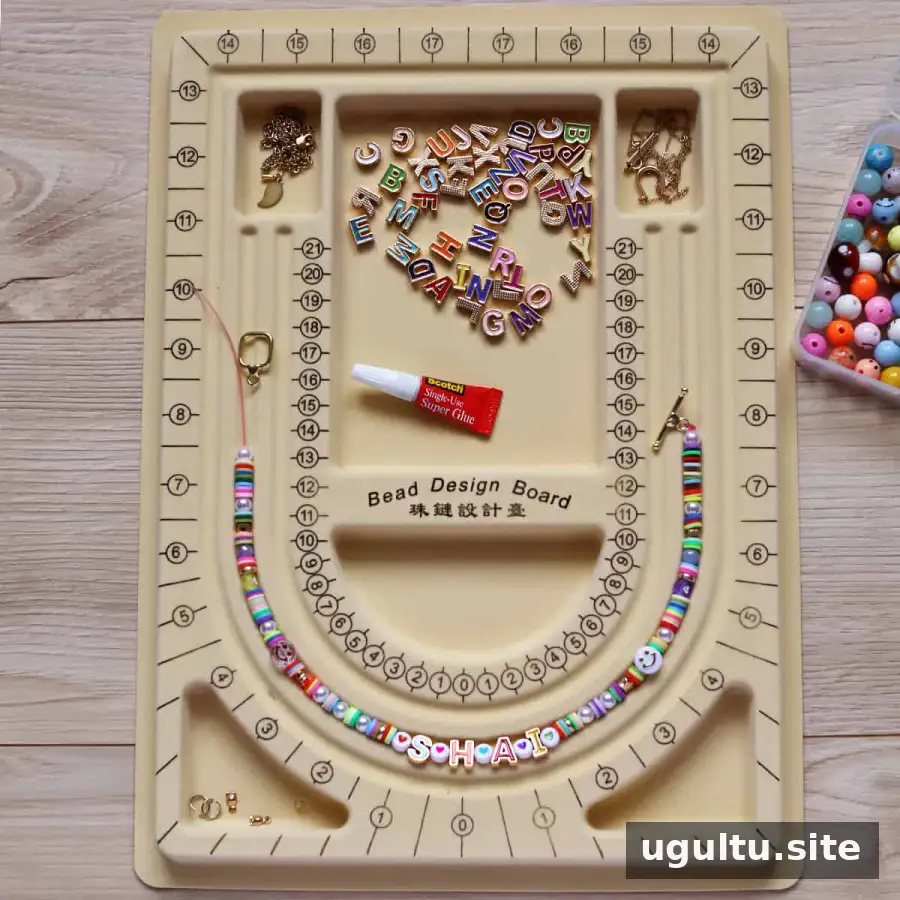
Where to Find Beads and Reusable Materials
Clay beads and jewelry-making supplies may be available from craft and bead shops, secondhand stores, estate sales, and online marketplaces. You can also take apart jewelry you no longer wear and reuse suitable beads or charms.
Inspect reused components for sharp edges, damage, or discoloration before adding them to a bracelet. Keep the materials together in a small organizer to make color planning and cleanup easier.
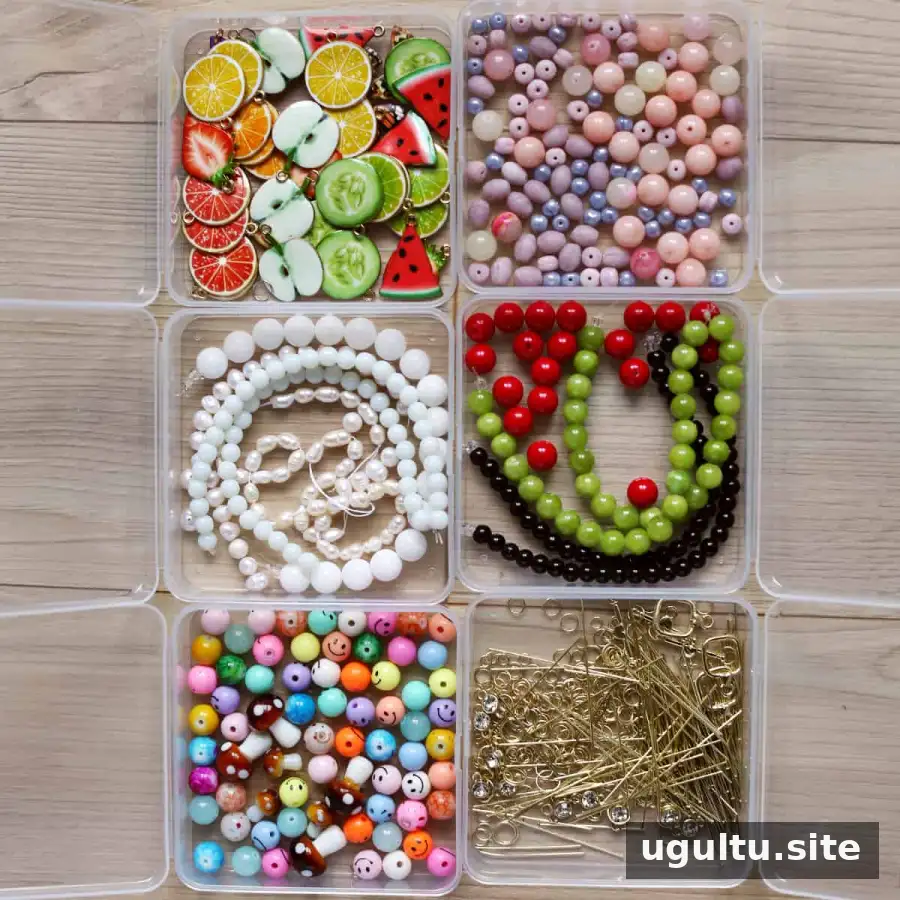
- Clay bead kits with cord and basic tools
- Metal letter beads
- Fruit charms
- Mushroom beads
- Freshwater pearl beads
Frequently Asked Questions
How many clay beads make a bracelet?
For an adult with small to medium hands, approximately 125–150 clay beads may make a bracelet. The number can vary depending on bead size, wrist measurement, and how closely the beads are placed. Lay out the design and check its length before fastening it.
What string works for clay bead bracelets?
Elastic cord, also called crystal string, is commonly used because it stretches over the hand and does not require a clasp. It is available in clear and colored options. Choose a cord suited to the bead holes and handle it without overstretching.
Are clay bead bracelets waterproof?
Polymer clay beads are waterproof, but a finished bracelet may include cord, charms, or other materials that do not tolerate soaking as well. Remove the bracelet before swimming or bathing to help protect its components.
Can clay beads be washed?
Yes. If the bracelet gets dirty, gently wash it with soap and water, then dry it thoroughly. Although the polymer clay colors will not run or fade from gentle washing, avoid harsh cleaners that could affect other parts of the bracelet.
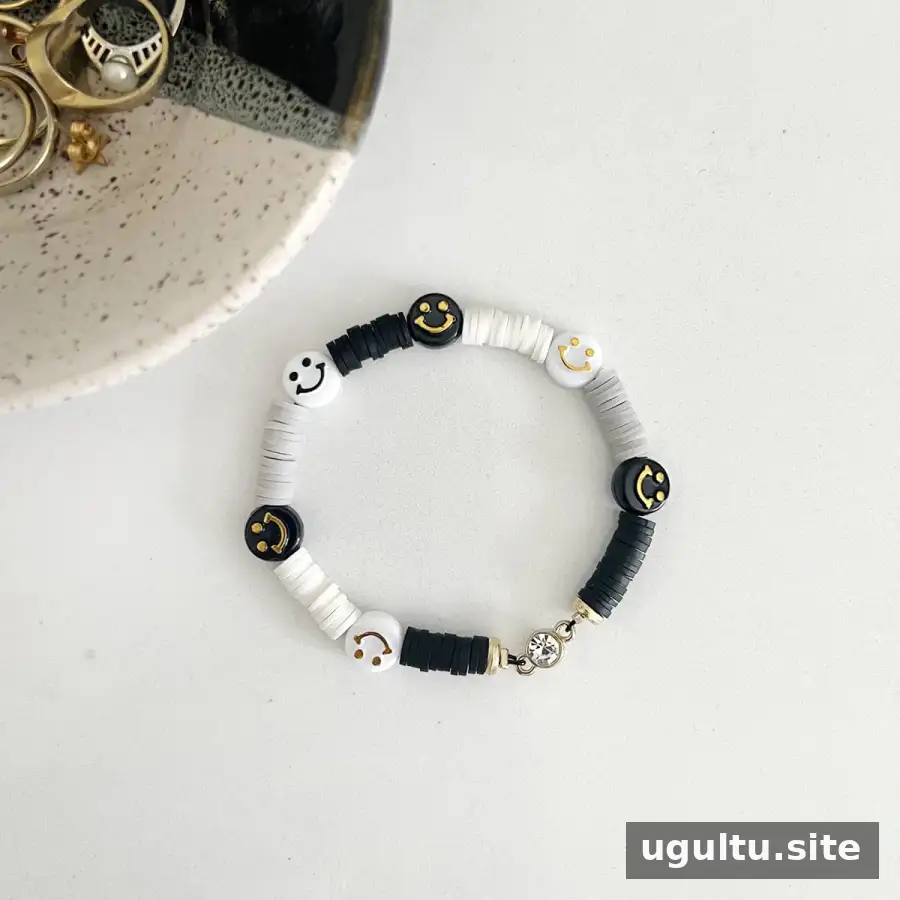
Making a clay bead bracelet is a flexible project: you can keep the pattern simple or personalize it with color, lettering, and charms. Start by arranging the beads, check the fit before finishing the ends, and use these clay bead bracelet ideas as a guide for a design that suits your style.