
 admin
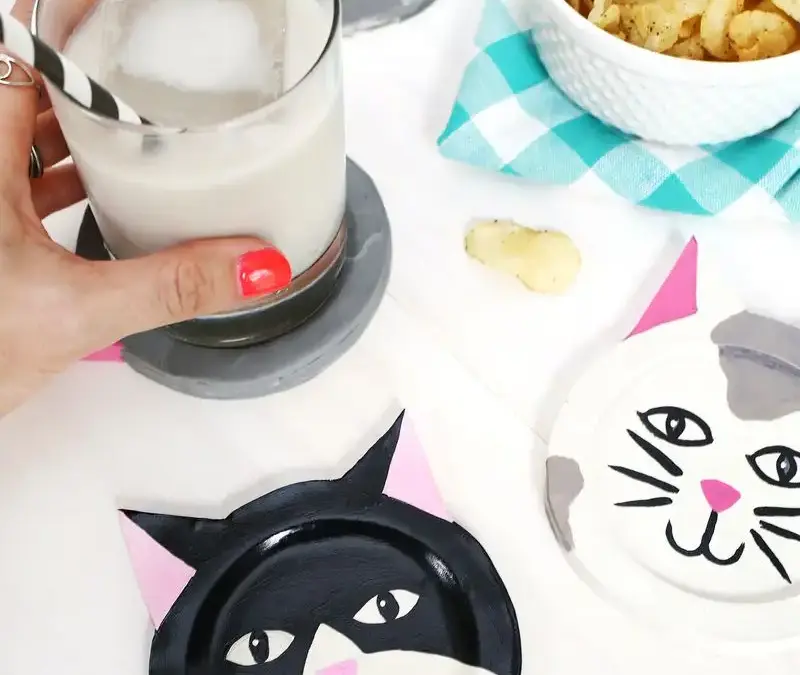
DIY clay cat coasters are a fun way to add a playful touch to a coffee table or desk. Made with oven-bake clay, a kitty-shaped template, and acrylic paint, each coaster can be customized with stripes, spots, or a simple cat-face design. The layered construction also creates a shallow place for a cup to sit.
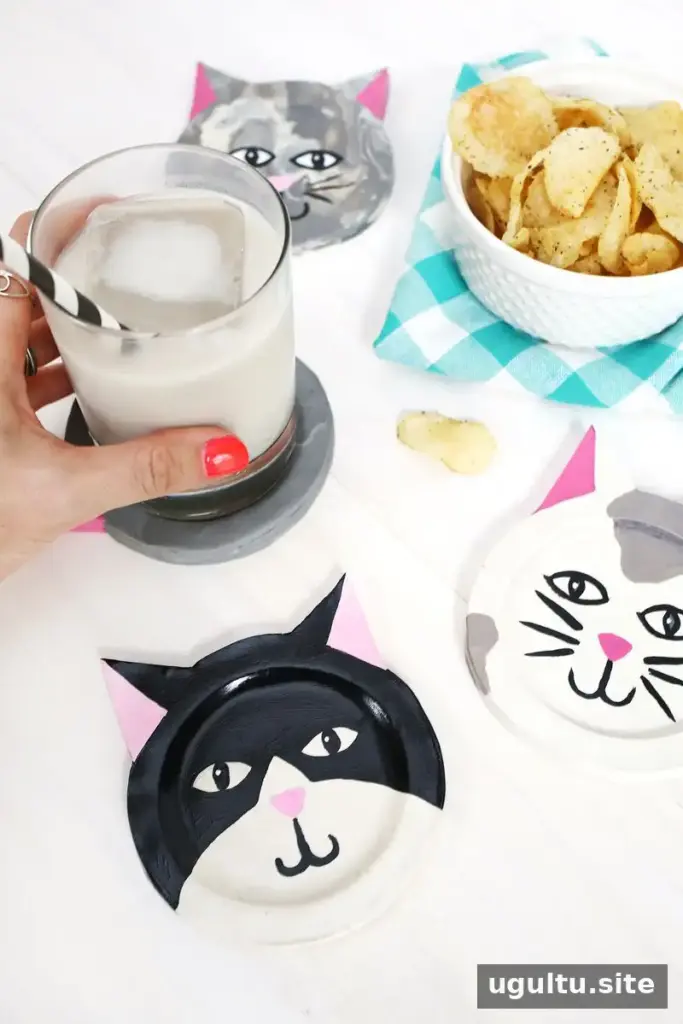
Supplies for DIY Clay Cat Coasters
Gather your materials before starting so the clay can be shaped and assembled while it is easy to work with:
- Oven-bake clay
- Kitty coaster template
- X-Acto knife and plastic clay knives
- Nonstick mat and rolling pin
- Acrylic paint
- Clay sealer
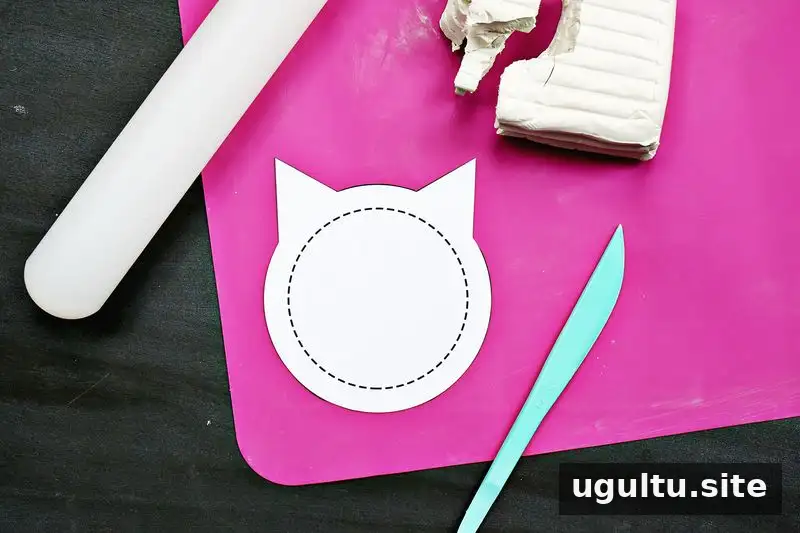
Check the clay package for baking and handling instructions before you begin. A nonstick work surface and clean tools help prevent debris from becoming pressed into the finished coaster.
How to Make a Kitty-Shaped Clay Coaster
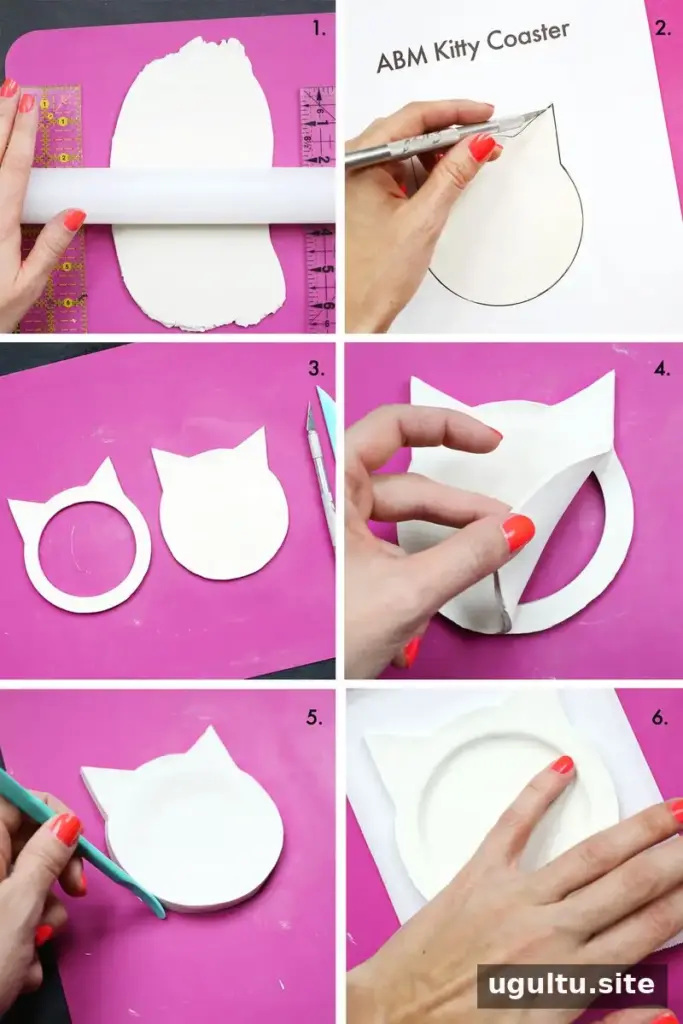
- Roll out clay to a sheet at least 5″ x 6″ and about 1/4″ thick. To keep the thickness even, place two guides of equal height on either side of the clay as you roll.
- Print and cut out the kitty template, leaving the outer outline intact. Place it on the clay and carefully trace around the shape with an X-Acto knife or clay knife. Cut the paper circle template along its dotted line, position it in the middle of the clay kitty, and cut out the circle. A circle cookie cutter of a similar size can also be used.
- Roll out another piece of clay and cut a second kitty shape using the template. Leave this piece whole, without a circle cutout.
- Set the uncut kitty shape on top of the piece with the hole, aligning the edges. The lower opening will help form a shallow cup rest when the top layer is pressed down.
- Use the rounded end of a clay knife or your fingers to gently smooth the joined edges and reduce the appearance of the seam.
- Place the coaster on parchment paper. Press the center of the top layer with the pad of your little finger, working toward the edges until it settles into the opening beneath it. Bake according to the clay manufacturer’s directions, then let the coaster cool completely.
Paint, Seal, and Finish the Coasters
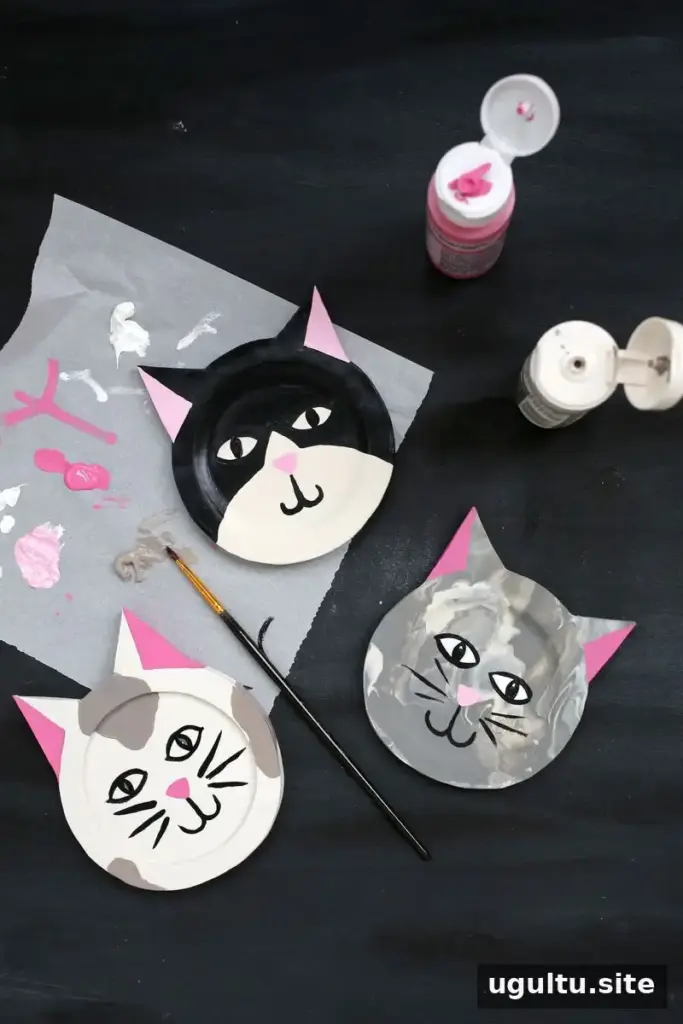
Once the clay has cooled, decorate the cat face with acrylic paint. Add stripes, spots, sleepy eyes, or another simple pattern. Let the paint dry fully before applying a clay sealer. Follow the sealer’s directions, and allow it to cure as instructed before placing a drink on the coaster.
Optional Shape and Surface Variations
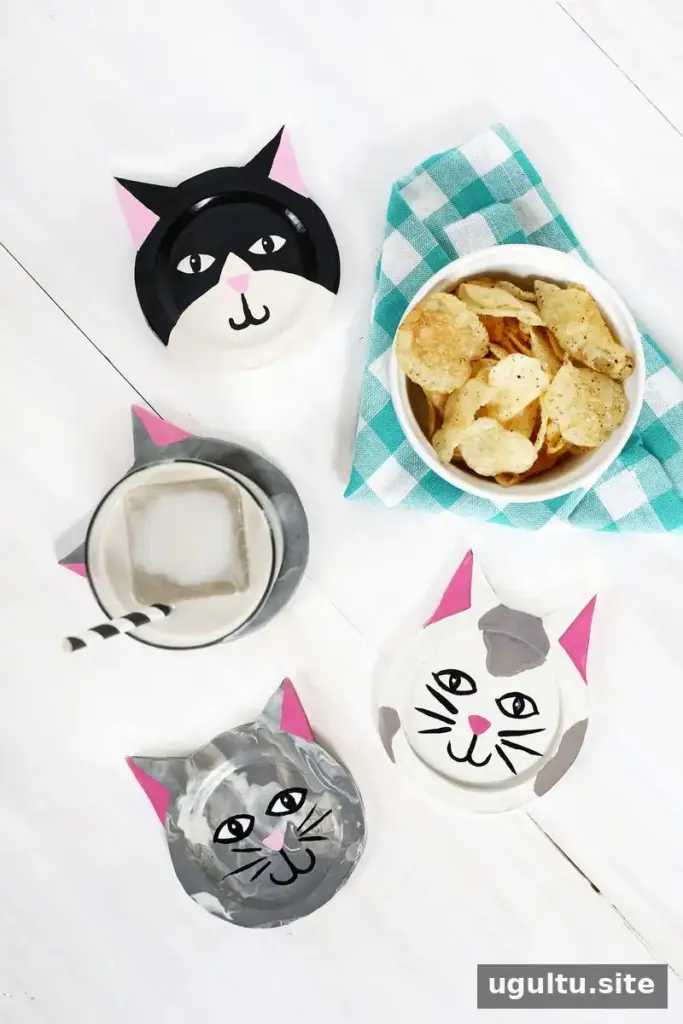
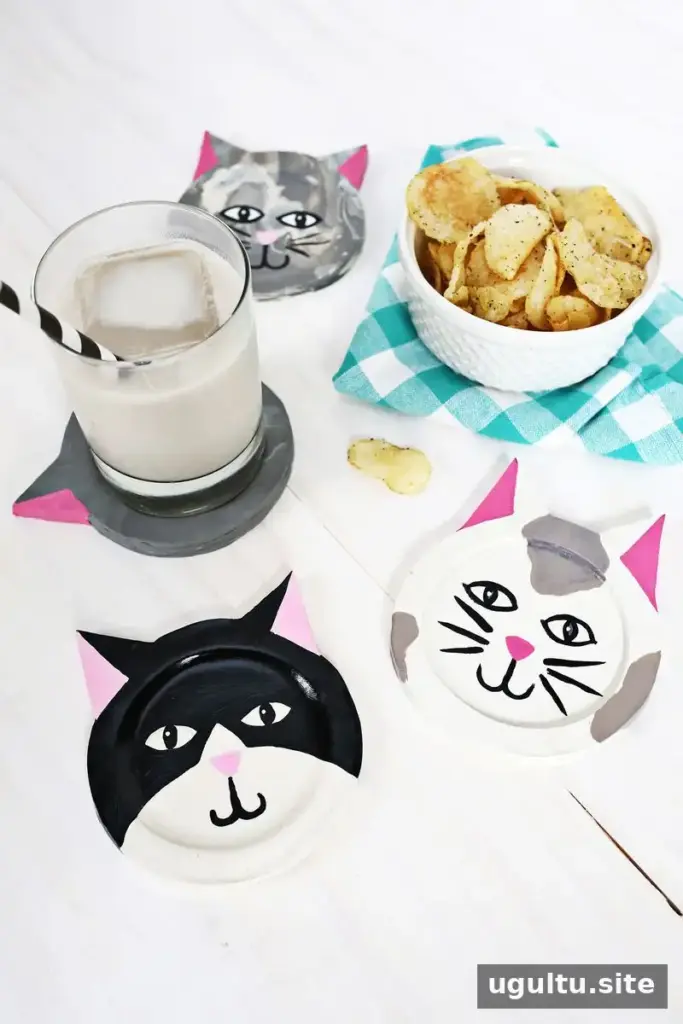
For a crisp-edged cup recess, place the layer with the circle cutout on top instead of underneath. The top opening will leave a more defined edge, while the original arrangement creates a gently sloped indent. To make a marbled look, blend grey and white clay together before shaping the coaster.
For a smoother feel against the table, attach felt or cork circles to the underside after the coaster is finished. Keep the coaster level by placing the pads evenly near its base, and make sure any adhesive is fully set before use.
Enjoy Your DIY Clay Cat Coasters
These DIY clay cat coasters combine a useful cup rest with a customizable kitty design. Take care to follow the clay, paint, and sealer instructions, and allow each layer to dry or cure completely. The result is a handmade accessory that can be tailored to different colors and cat patterns. — Laura


