
 admin
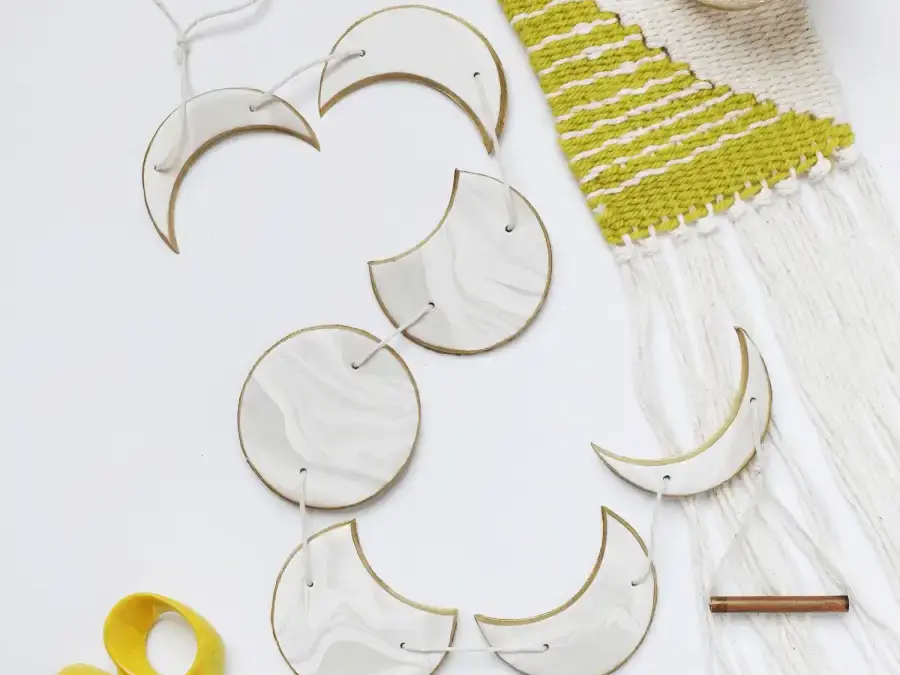
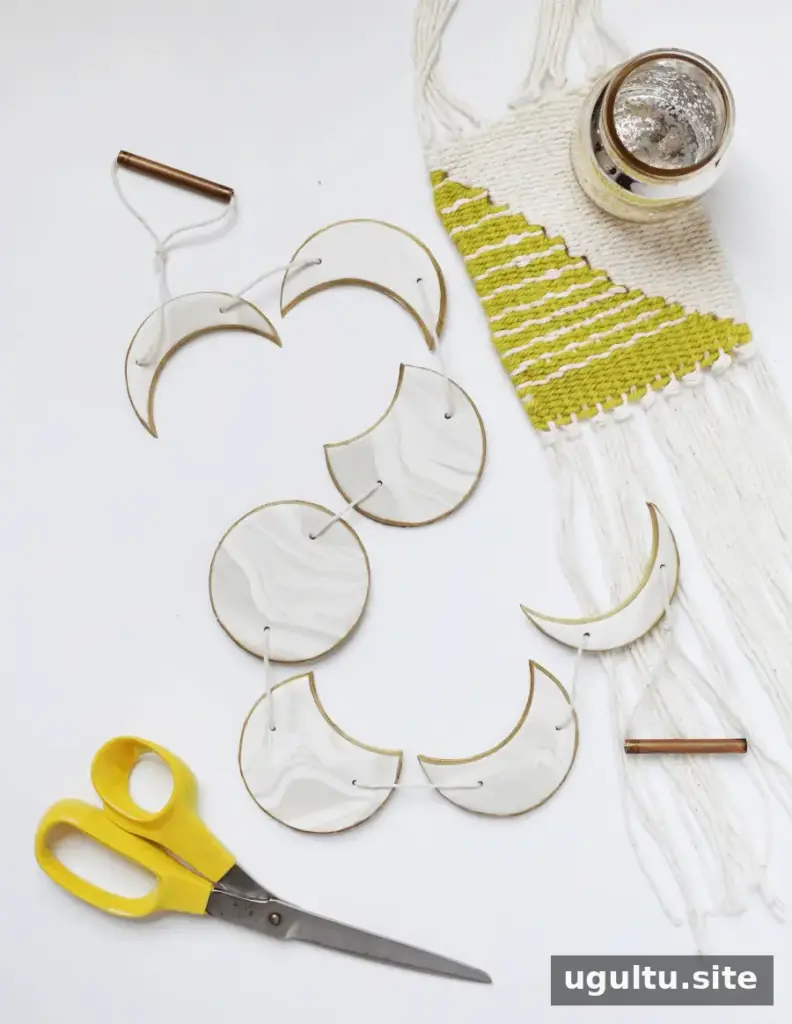
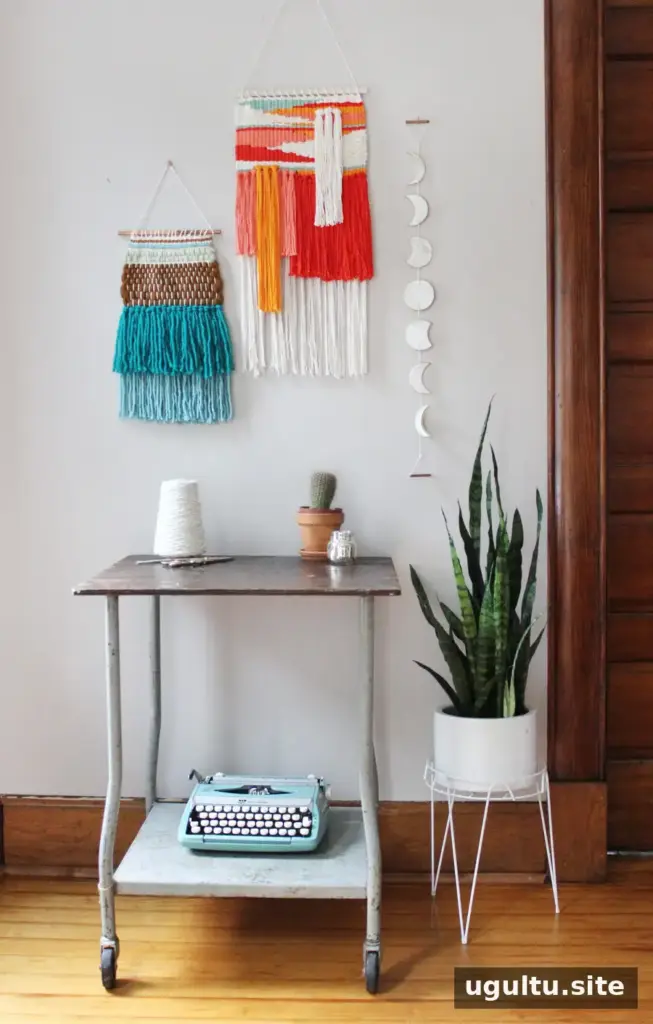
A clay moon phase garland brings the changing shapes of the Moon into your home as simple, handmade décor. This afternoon craft uses oven-bake clay, twine, and a few basic tools to create seven moon shapes, from a crescent to a full moon. Hang the finished garland in a bedroom, classroom, or space-themed room, or use it as a visual aid when introducing the lunar phases.
Supplies for a Clay Moon Phase Garland
- Three small packages of oven-bake clay in one or two shades
- Parchment paper
- Rolling pin
- Jar lid or circular cookie cutter
- Cotton twine
- Skewer for making holes
- Metallic paint and a paintbrush
- Access to an oven
- Six-inch copper pipe and pipe cutter, both optional
For a softly marbled look, combine two clay colors, such as white and light grey with a little sparkle. Avoid overmixing the colors if you want the swirls to remain visible.
Shape the Moon Phases
Place the clay between two sheets of parchment paper and roll it to an even thickness of about 1/4 to 1/3 inch. Use the jar lid or circular cutter to make seven circles. Set one aside as the full moon and arrange the remaining six in three pairs.
Use the lid to trim each pair into matching crescent shapes. For the pair nearest the full moon, cut into the circles by about 1/4 of their width. For the next pair, cut nearly halfway across; for the final pair, cut about 2/3 of the way across. Keep the shapes in complementary orientations so the finished garland shows the waxing and waning phases. Save leftover clay in case any pieces need to be reshaped.
Bake, Paint, and Assemble the Garland
Before baking, use a skewer to make two holes through each moon. Begin with the thinnest pieces, keep the holes away from the edges, and align them consistently so the moons hang straight. Check that every hole passes all the way through.
Bake the clay on parchment paper on a baking sheet, following the clay manufacturer’s instructions for temperature and time. Let the pieces cool completely, then paint their edges with metallic paint and allow the paint to dry.
Cut a length of cotton twine and thread the moons in the correct order, taking care to face each shape in the intended direction. Tie a small knot behind one hole on each moon to help prevent it from sliding. If desired, add a short section of 1/4-inch copper pipe to the twine as a decorative accent; a pipe cutter can be used to trim it.
Safety and Display Tips
Keep parchment paper between oven-bake clay and any surface or tool that is also used for food preparation. Do not reuse cookie cutters or other food tools for food after using them with clay. Follow the clay packaging for handling and baking guidance, and let the finished pieces cool before stringing them.
This garland can serve as cheerful room décor or as a hands-on visual for children learning about the Moon. For a teaching display, arrange the shapes in order and leave enough space between them to make each phase easy to see.
Enjoy Your Clay Moon Phase Garland
With seven shaped pieces, a little paint, and carefully knotted twine, this clay moon phase garland makes a simple way to celebrate the lunar cycle. Hang it where the phases can be seen clearly, and check that the twine is securely fastened before displaying it.
— Rachel


