
 admin
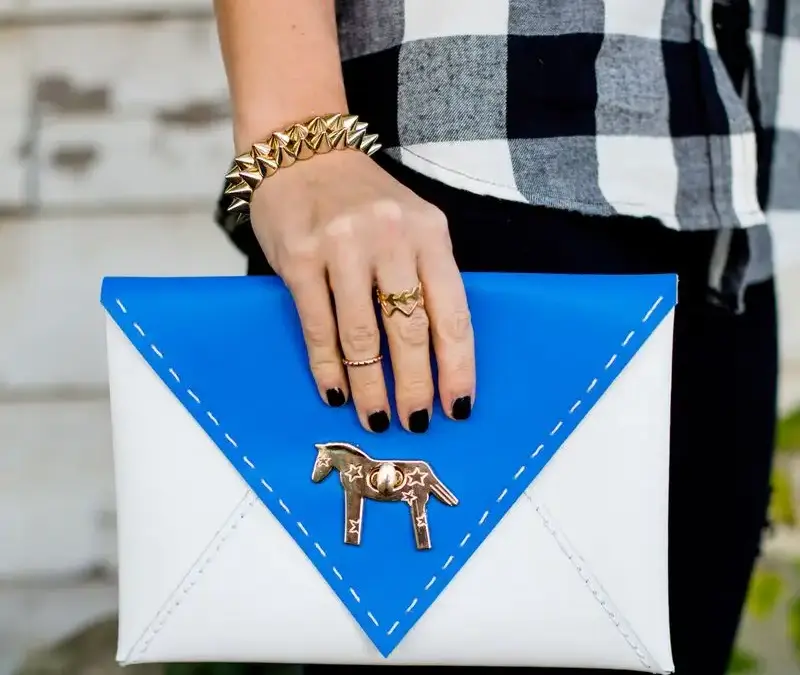
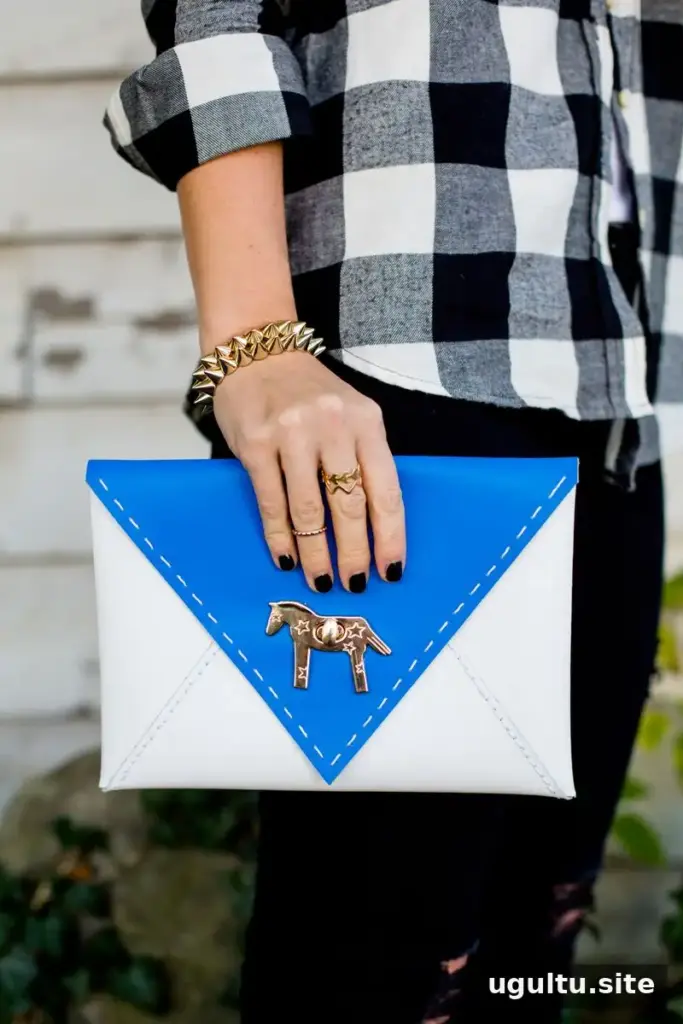
A colorblocked envelope clutch is a practical beginner sewing project that creates a compact bag for evenings out or everyday use. This design combines two colors of medium-stiff leather or faux leather, visible hand stitching, and a twist-lock closure. The pattern uses folded side and bottom flaps, so you can assemble the clutch without a sewing machine.
Supplies for a Colorblocked Envelope Clutch
Gather your materials before cutting. Using leather or faux leather with some stiffness helps the finished clutch hold its shape. Choose a contrasting color for the flap if you want the colorblocked detail to stand out.
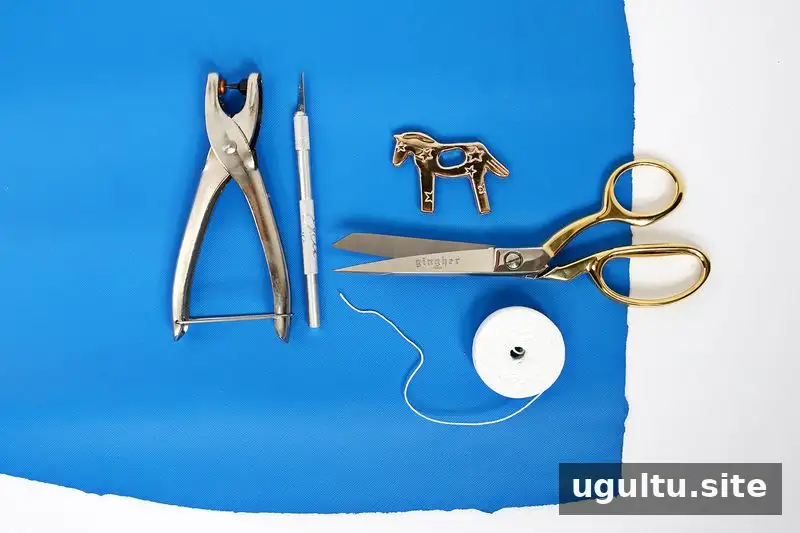
- Two colors of medium-stiff real or faux leather: one for the main body and one for the flap
- A paper clutch template
- Hole-punch pliers
- A craft knife or rotary cutter, a metal ruler, and a cutting mat
- Waxed thread and a yarn needle
- Small binder clips
- A twist-lock purse closure
Cut and Punch the Leather Pieces
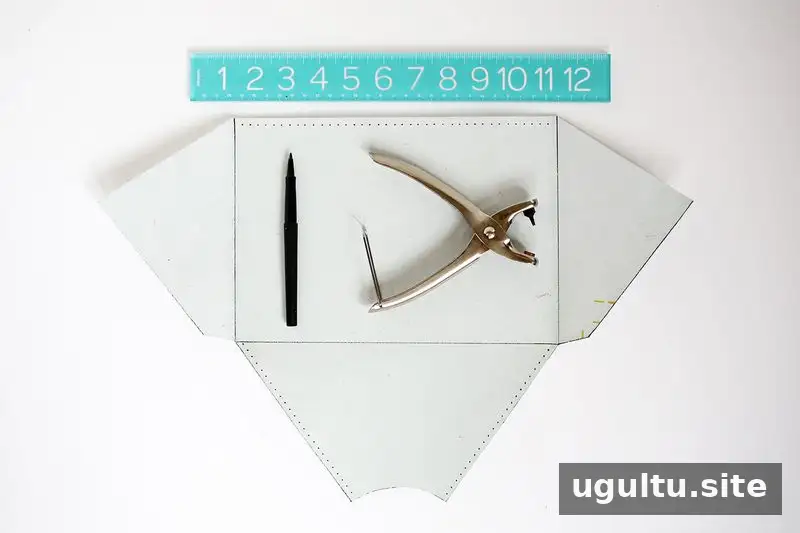
Print and assemble the paper template, then cut out its pieces. Trace the main body pattern onto the wrong side of one leather color and the top flap pattern onto the other. Keep the pattern pieces aligned as you trace so the stitching holes will match later.
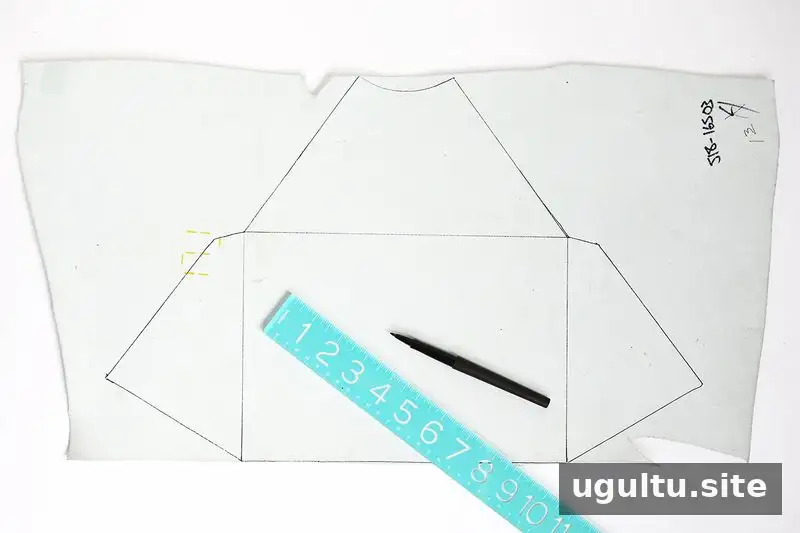
Cut out the body and flap with a craft knife or rotary cutter, using a ruler and cutting mat to guide straight edges. On the main body, mark holes every 1/4 inch along the top edge and both sides of the bottom flap. Punch a hole at each mark. Work on a protected surface and keep your fingers clear of the cutting edge.
Mark the Matching Stitching Holes
Fold both side flaps inward, then fold the bottom flap over them. Hold the layers together with binder clips. Through each punched hole in the bottom flap, mark the layer beneath with a pen or thin marker. Unfold the leather and punch holes at those new marks.
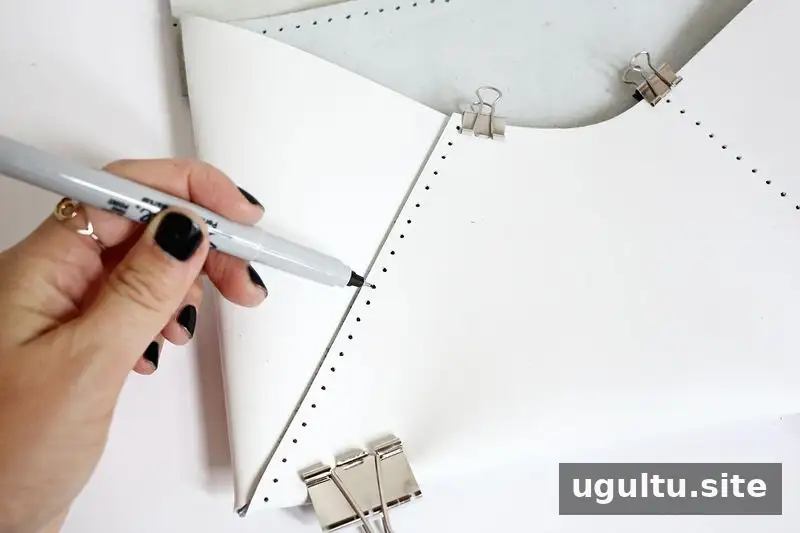
Use the same alignment method to match the top flap to the holes along the top of the main body. Check that the pattern’s indicated holes line up before punching. Taking time to align the layers helps prevent uneven stitching during assembly.
Sew the Clutch Together
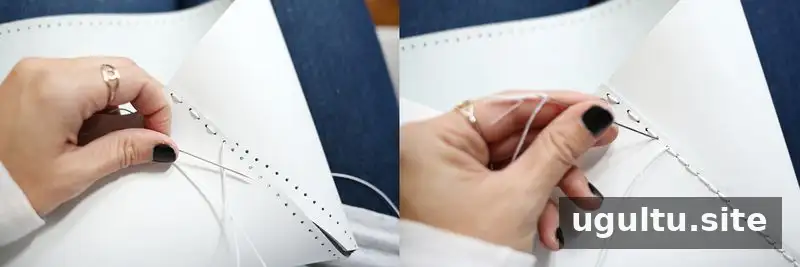
Thread a medium-sized yarn needle with waxed thread and knot the end. Sew through the punched holes to join the pieces. For a continuous line of stitching, sew back through the opposite holes after reaching the end of a seam. Tie off the thread inside the clutch and trim the excess. Repeat on the other side and along the top to attach the flap.
Optional: Add a Lined, Contrasting Flap
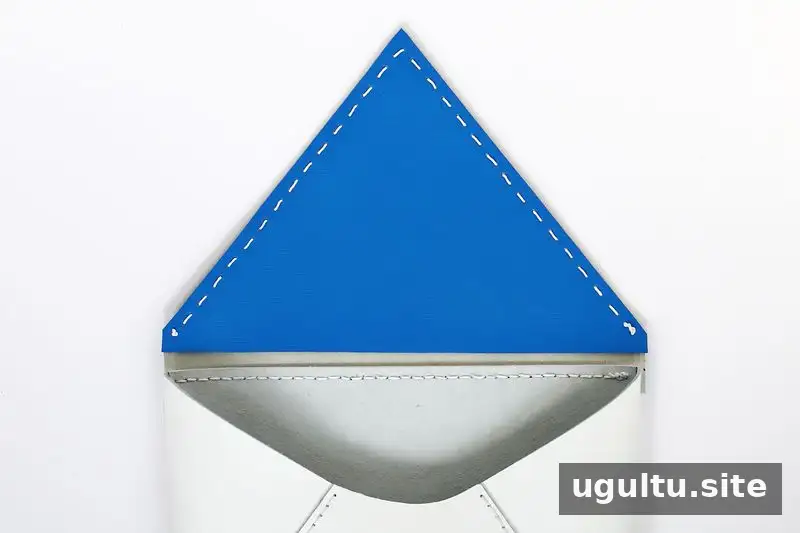
For a sturdier flap with a colored interior, cut a second flap piece from the other leather color. Make it 1 inch shorter along the bottom than the original. Place the pieces with their wrong sides together, mark and punch holes every 1/4 inch along the edge, then sew them together. You can also add this line of stitching without using a second layer. Leave small gaps between stitches or sew back through the holes at the end for a continuous finish.
Install the Twist-Lock Closure
Fit the twist-lock to the flap and the front of the main body beneath it. Installation varies by closure design, so follow the instructions supplied with your hardware. Depending on the style, you may need a craft knife to make the required holes or notches and a small screwdriver. Check the placement with the clutch closed before cutting, since the two parts of the lock need to meet correctly.
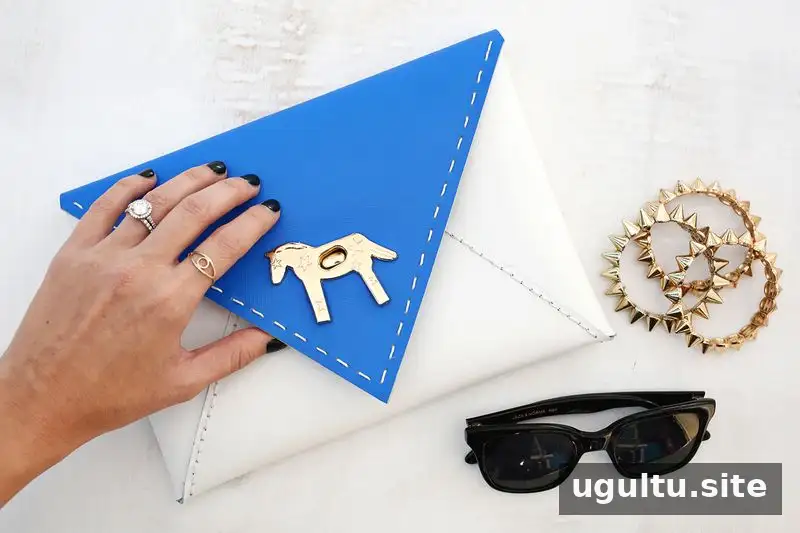
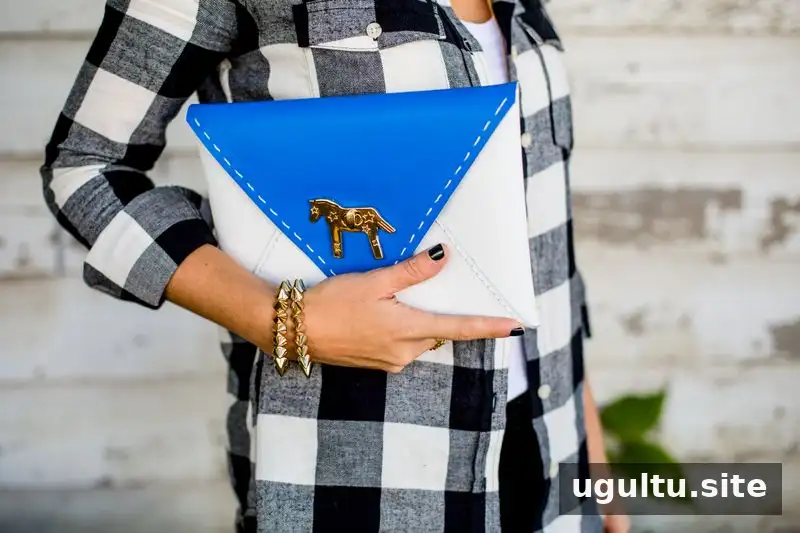
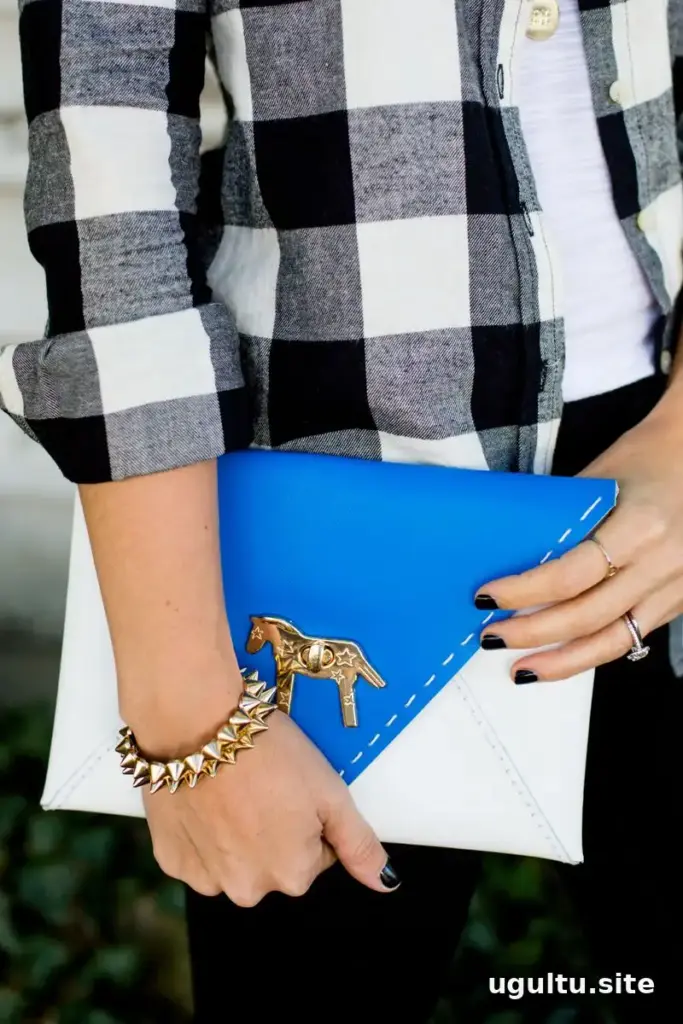
The finished colorblocked envelope clutch can work with casual daytime outfits or dressier evening wear. A contrasting flap gives the bag its two-tone look, while a metallic leather choice can create a more formal effect. Before using the clutch, check that the seams are secure and that the closure opens and fastens smoothly. This project offers a straightforward way to try bag-making with basic hand-stitching techniques.
Project by Laura.


