
 admin
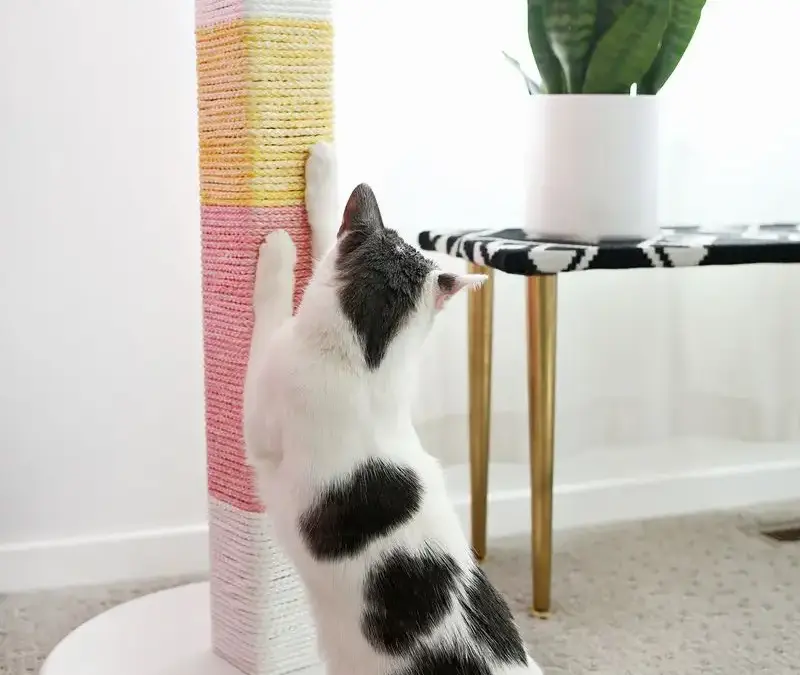
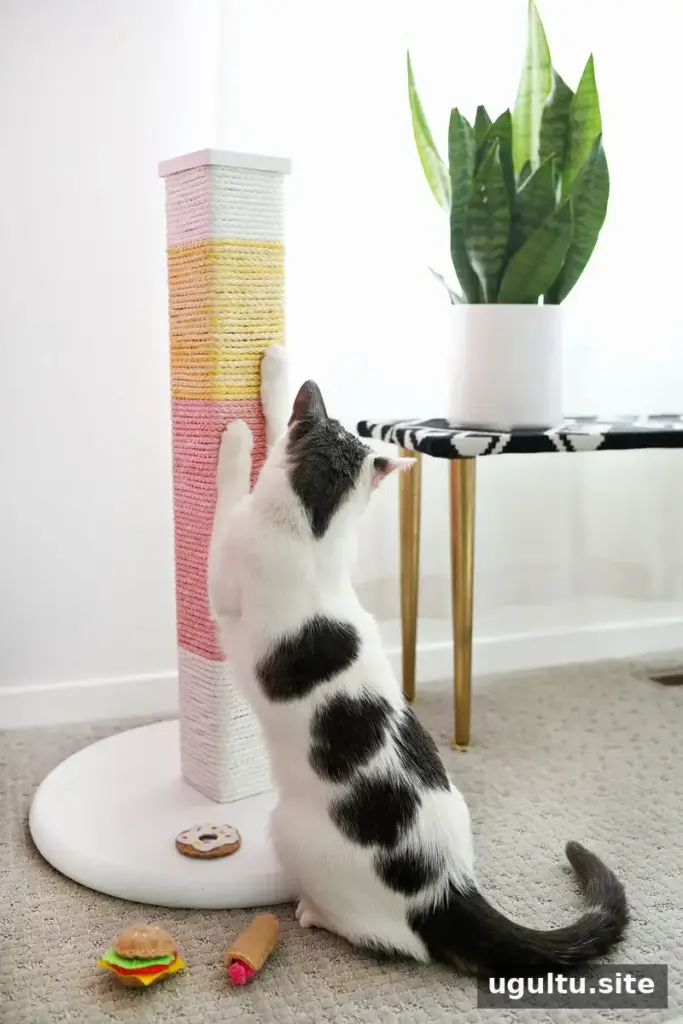
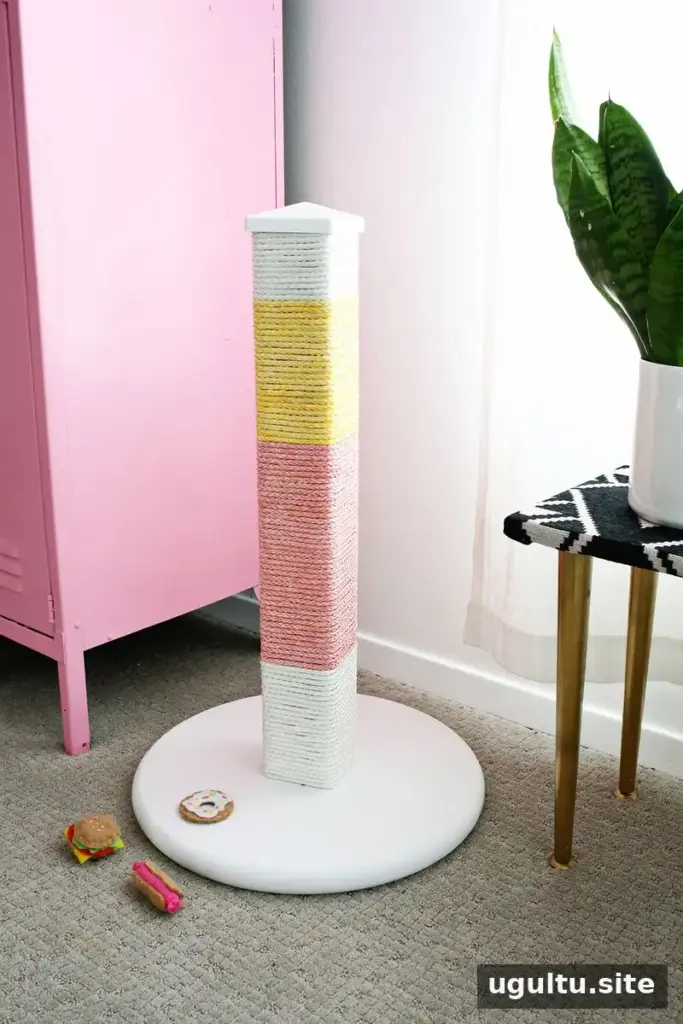
A DIY cat scratching post can give cats a dedicated place to scratch while adding a personal touch to your home. This colorblocked design uses a round wooden base, a fence post, and rope in three colors. Choose shades that suit your space, and make sure the finished post is stable and securely wrapped before introducing it to your cat.
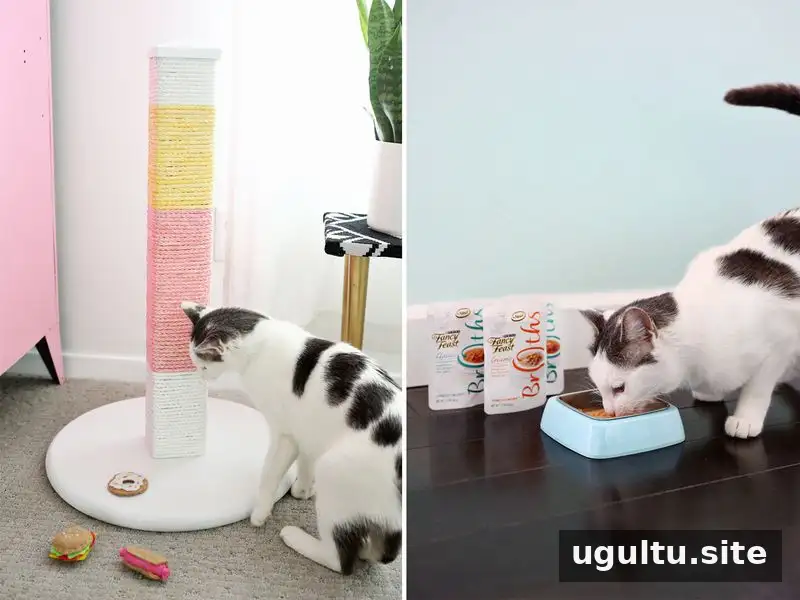
Materials for a DIY Cat Scratching Post
Gather the following supplies before you begin:
- 18-inch round wood circle
- 4×4 wooden fence post, about 20 inches tall
- Drill and long wood screws
- White 4×4-inch post cap
- White paint
- 150 feet of 1/4-inch nylon rope
- Pink and yellow dye
- Bucket and salt for dyeing the rope
- Staple gun, or a hammer and small nails
- White and pink or yellow electrical tape
The example uses 50 feet of pink rope, 50 feet of yellow rope, and 50 feet of undyed white rope. Sisal is also commonly used for scratching posts and may withstand long-term scratching better than nylon. Nylon was selected here for its brighter dye colors; either type can be dyed.
Build and Paint the Base
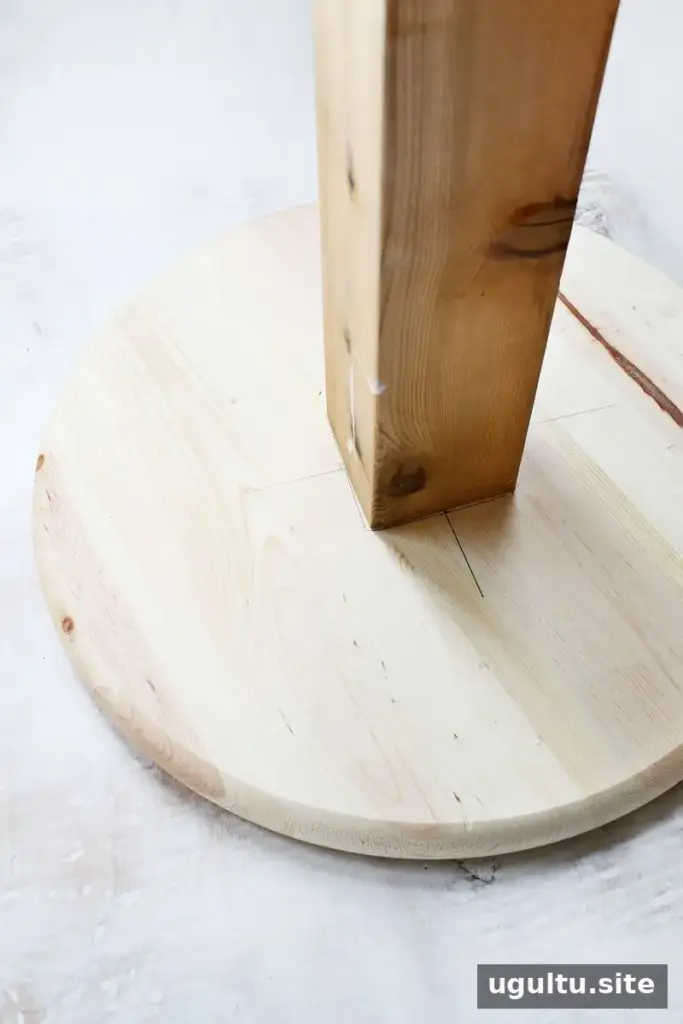
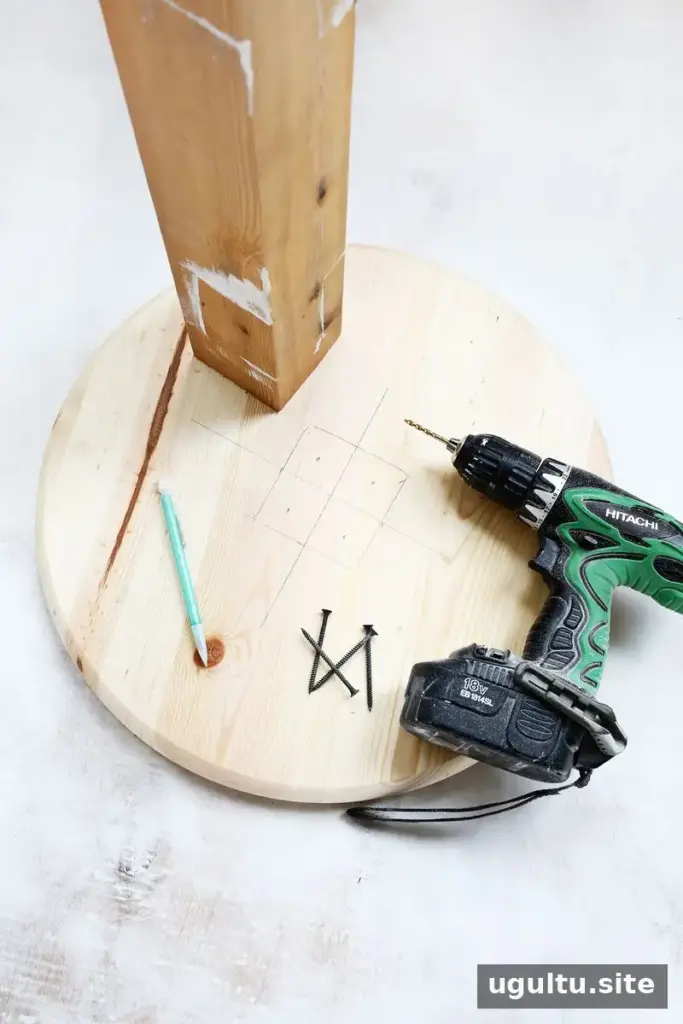
Mark the center of the round platform, set the post in place, and trace around its edges. Using a drill bit slightly smaller than the wood screws, drill four holes through the platform inside the marked square. Turn the platform over and position the post beneath the marked area. Drive the four screws through the underside of the base and into the post. Ask someone to steady the pieces if needed while you work.
Turn the assembled base upright and apply a few coats of white paint to the platform. Allow the paint to dry fully before continuing. A stable, well-fastened base helps keep the post from shifting during use.
Dye and Dry the Rope
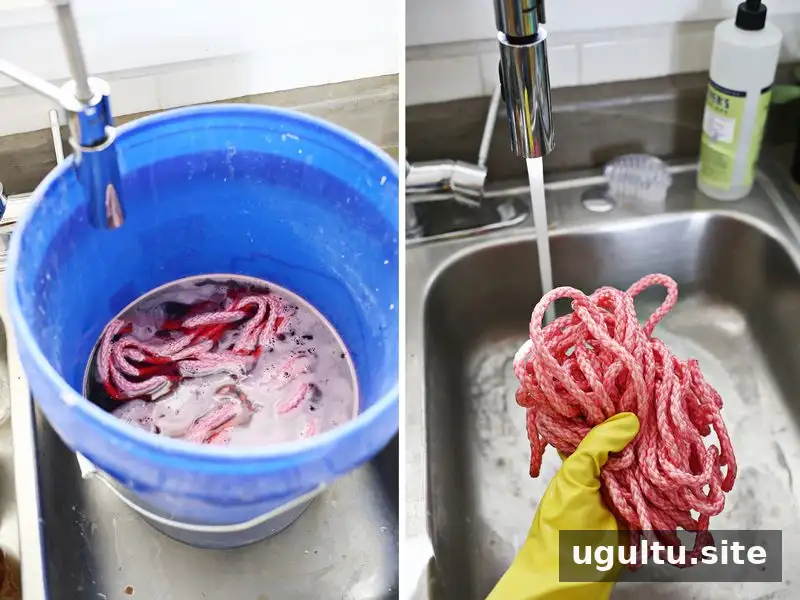
For each dyed color, fill a large bucket halfway with hot water and stir in 1/3 cup of salt to help set the dye. Add the dye and submerge one section of rope. The example uses one full bottle of dye and leaves the rope in the bath for 30 minutes. Check the color as it develops; adjust the dye amount or soaking time to get the shade you want.
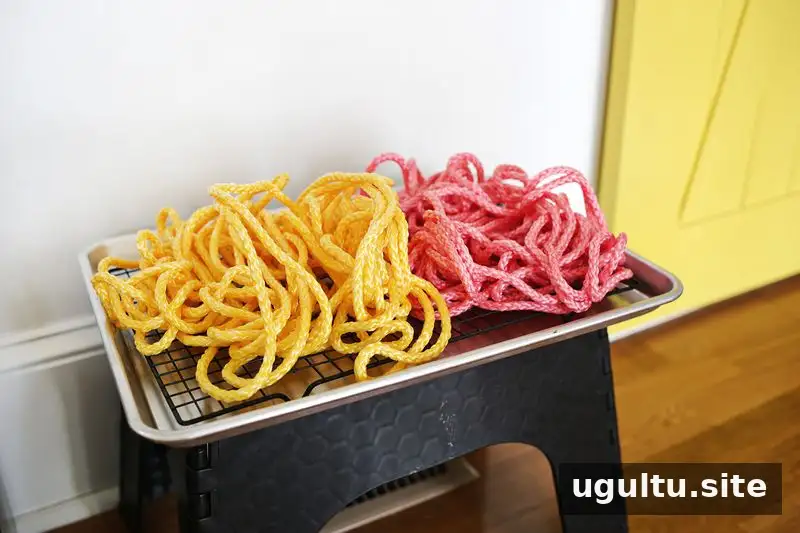
When the color is right, pour out the dye and rinse the rope in cool water until the water runs clear. Rinsing thoroughly helps prevent excess dye from transferring to your cat’s paws. Repeat with the second color, leaving the third section white. Air-dry the rope on a baking sheet or hang it until completely dry.
Wrap the Post in Colorblocked Rope
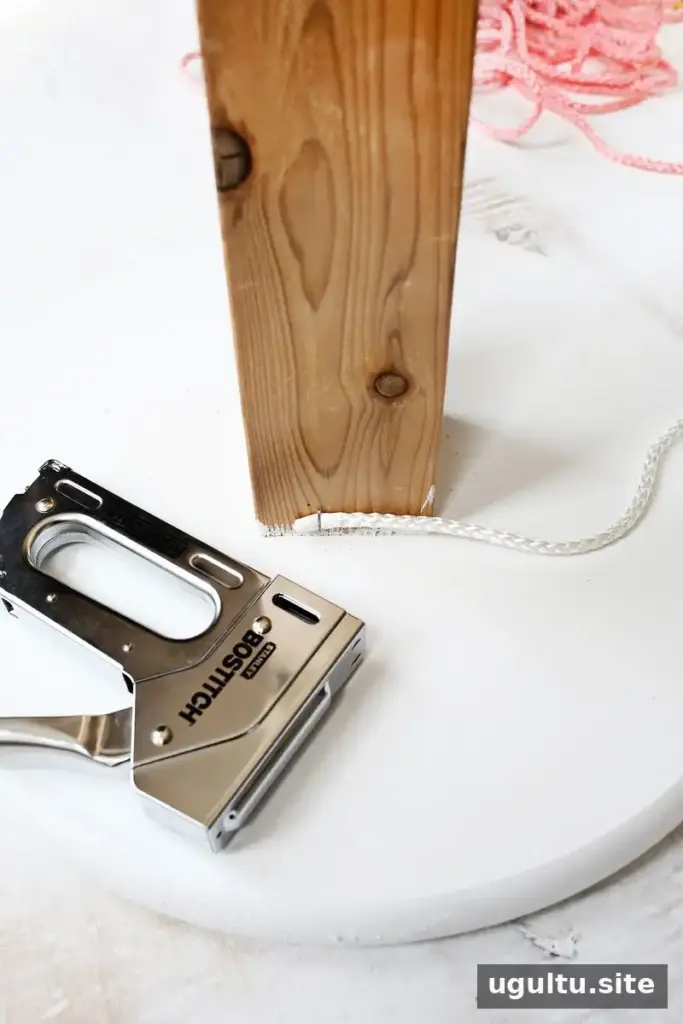
Staple or nail the end of the white rope near the bottom of the post. Wrap the rope tightly around the post, pressing each row down as you go so there are no large gaps.
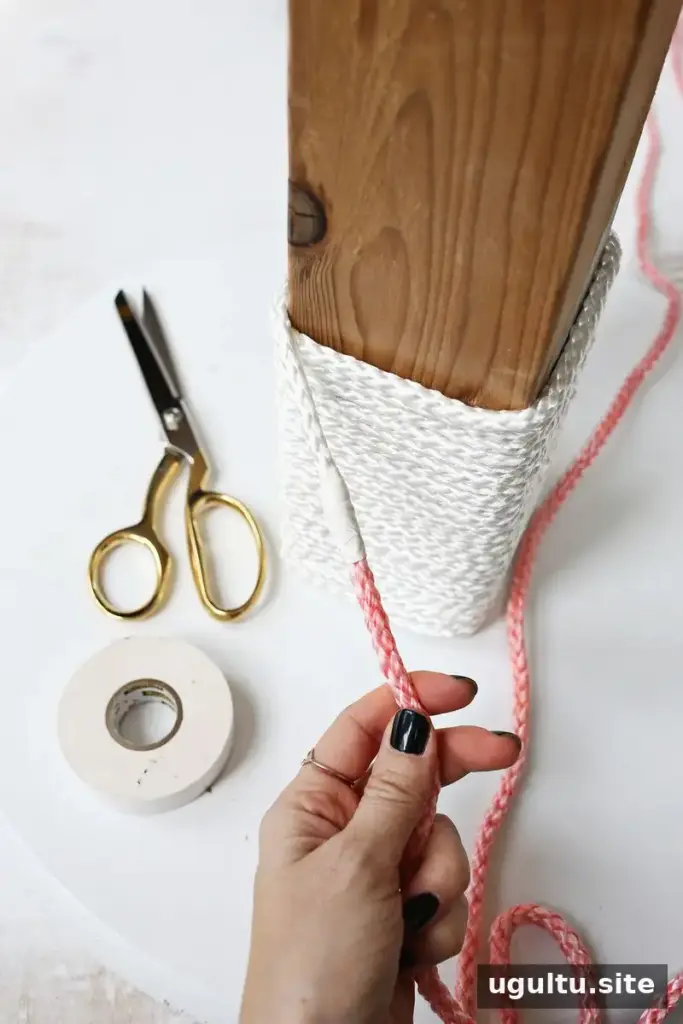
At the first color change, cut the white rope and join its end to the pink rope with white electrical tape. Stretch the tape as you wrap it to help secure the connection. Continue wrapping, keeping the rows close together. Use pink or yellow tape when joining the pink and yellow sections, then white tape when changing back to white.
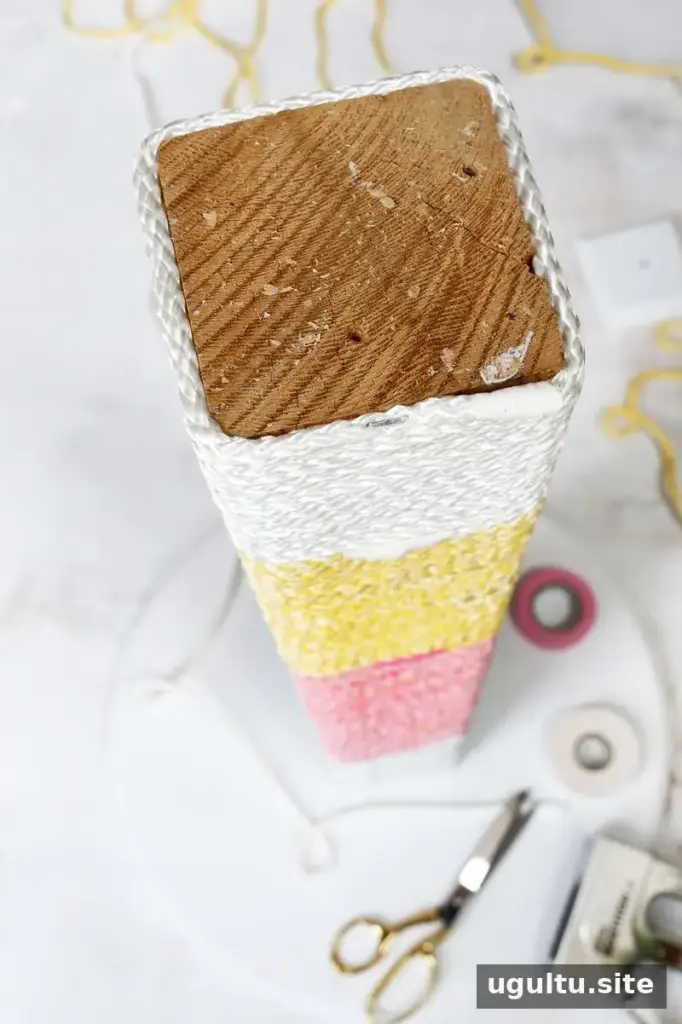
When the post is fully covered, cut the rope and secure its end with electrical tape and a staple or small nail. Attach the post cap to the top with epoxy glue. Let the adhesive dry completely before letting your cat use the post.
Help Your Cat Try the New Scratching Post
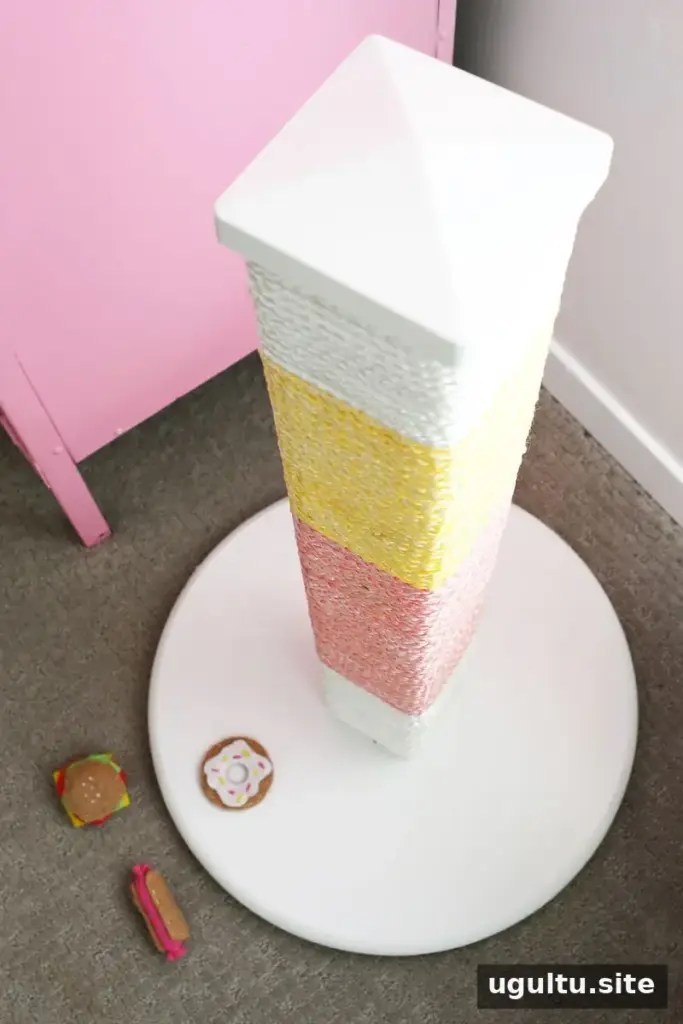
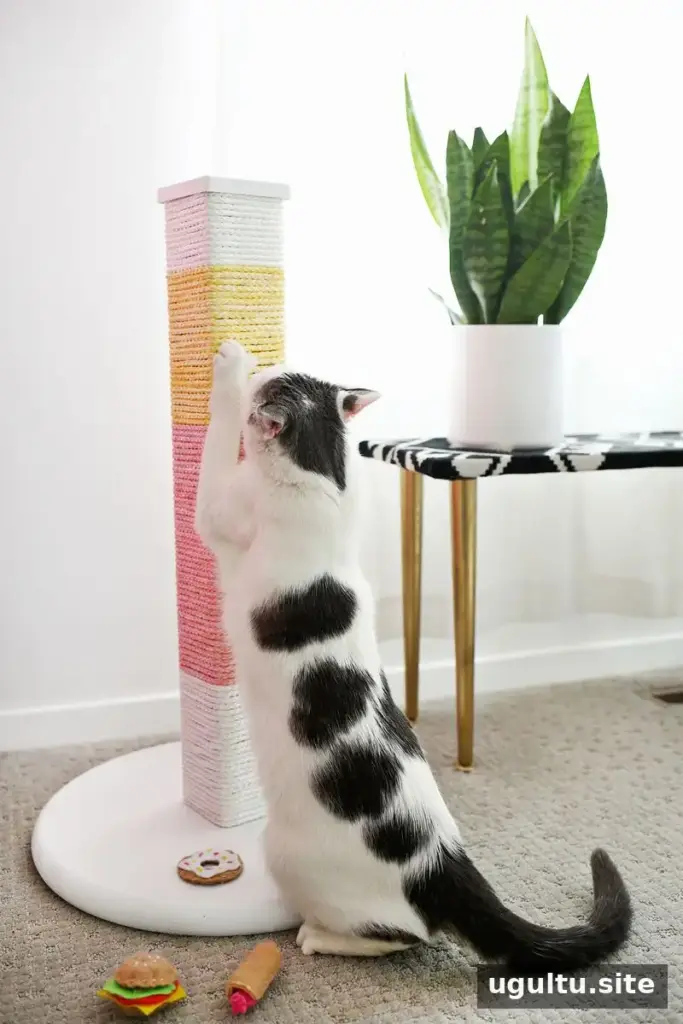
Place the post where your cat spends time. You can rub a little catnip on its sides or demonstrate the scratching motion to draw attention to the new surface. Some cats take to a new post quickly, while others may need time and gentle encouragement. Keep the post steady and check the rope and fastenings regularly for signs of loosening or wear.
This DIY cat scratching post combines a practical scratching surface with a customizable colorblocked finish. Choose rope colors that complement your room, secure every section firmly, and allow paint and glue to dry before use. The result is a functional post designed to give cats a more suitable place to scratch. — Laura


