
 admin
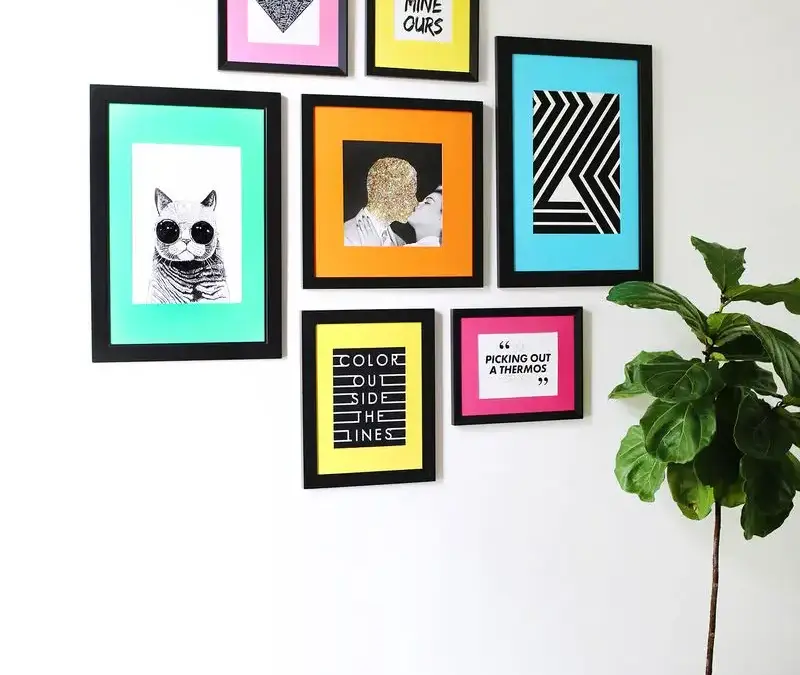
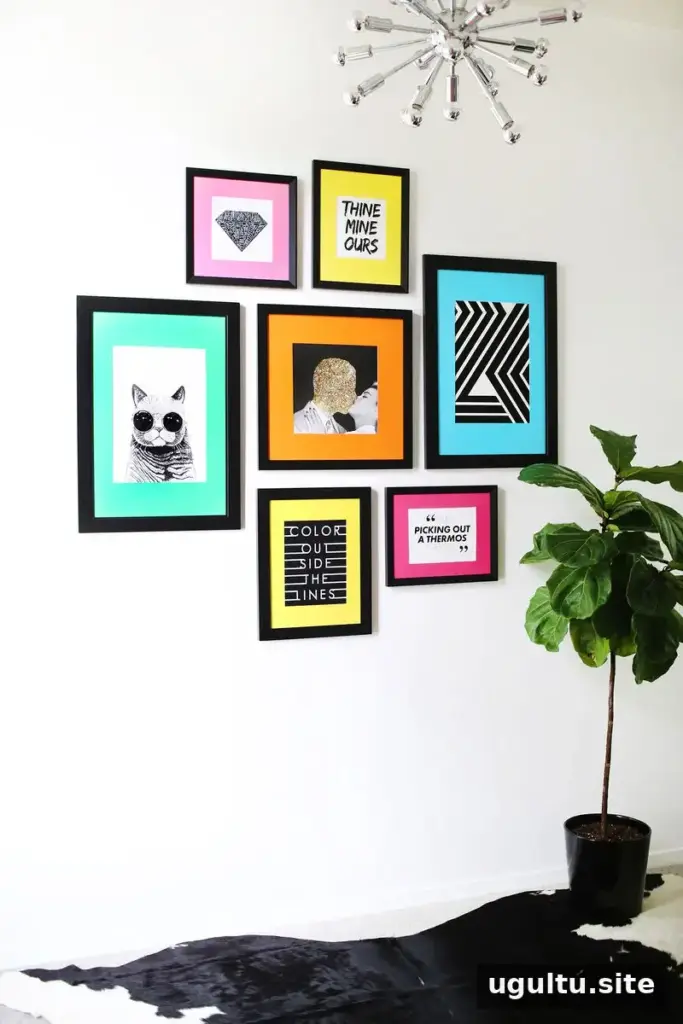
A colored mat gallery wall is an easy way to bring personality and contrast to a room. Pairing black-and-white prints with colorful borders keeps the artwork cohesive while letting each frame add a cheerful accent. Choose colors that complement your room, then use the steps below to make custom mats from cardstock.
Materials for a Colored Mat Gallery Wall
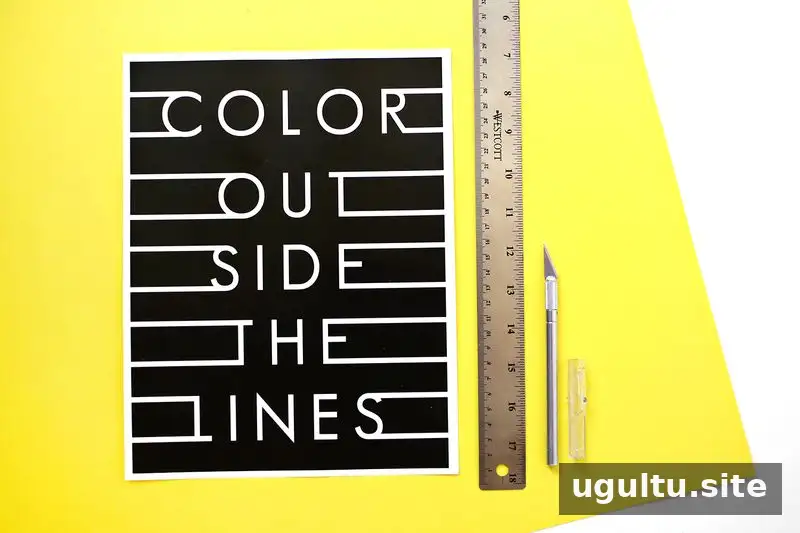
Gather the following supplies before you start. Having your frames and prints ready will make it easier to plan mat sizes and colors.
- Colored cardstock or mat board
- A craft knife
- A metal ruler
- A cutting mat
- Black-and-white prints
- Frames several inches larger than the prints, to leave room for a visible colored border
Mat board is a sturdy option, while cardstock can be easier to cut and more budget-friendly. Choose sheets large enough to cover the backing of each frame. Before cutting, check that the paper fits inside the frame and that the color works well with the print.
How to Make Colored Mats for Your Prints
1. Cut the cardstock to fit the frame
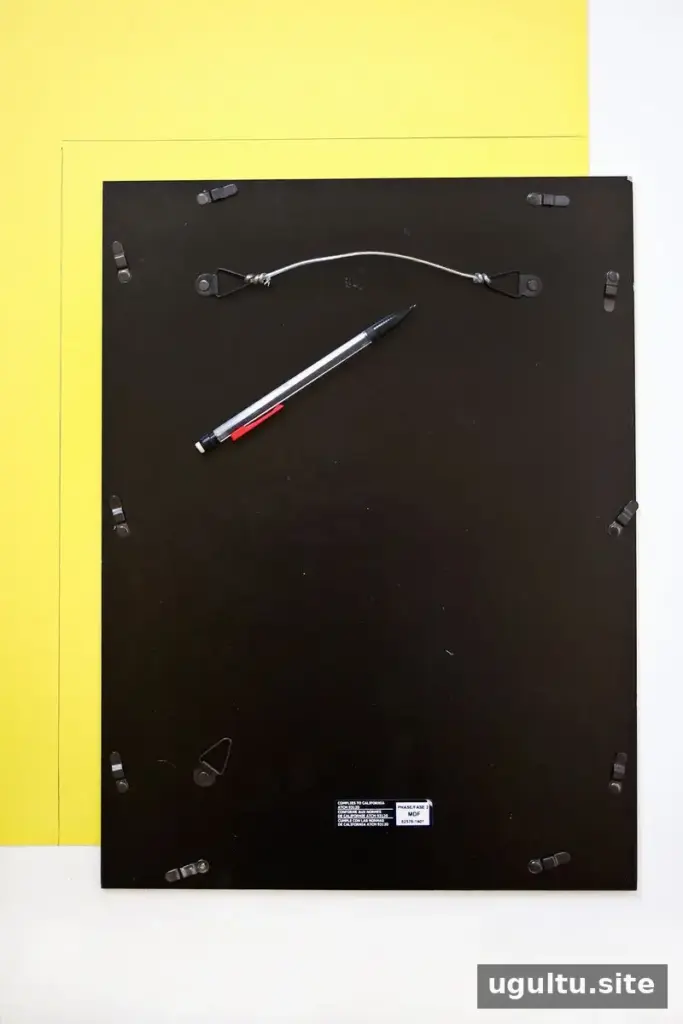
Remove the frame backing and use it as a template. Place it near a corner of the cardstock so two edges align with the paper’s edges, then trace the other sides. Cut along the outline with a ruler and craft knife, working on a cutting mat to protect your surface.
2. Measure and cut the mat opening
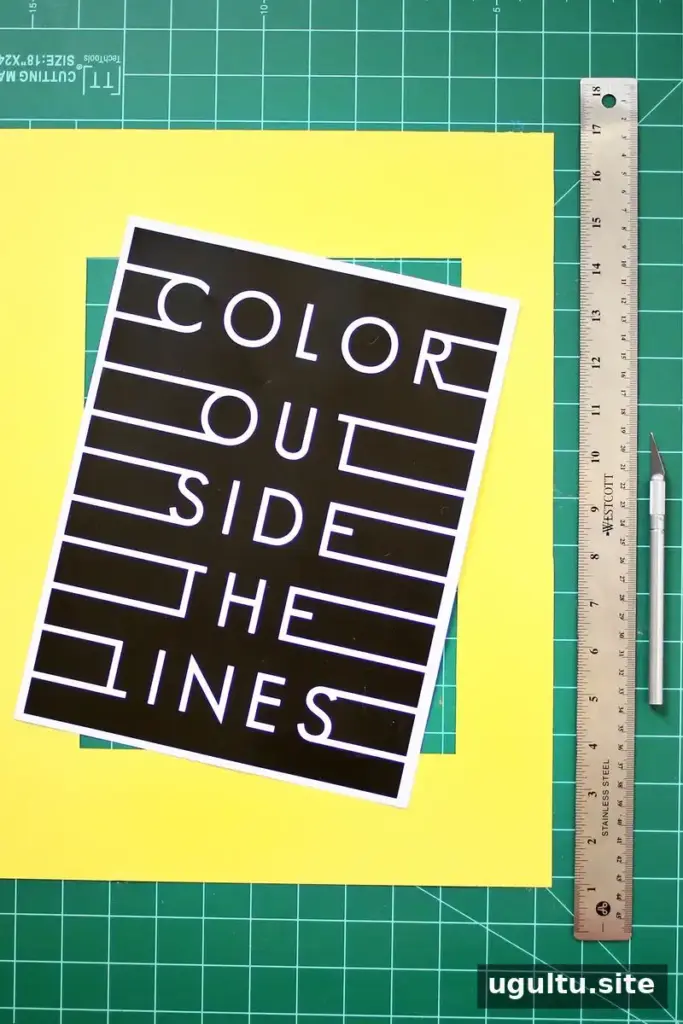
Measure the area of the print you want to display and mark a centered opening on the cardstock. For example, with an 8-inch by 10-inch print in a 12-inch by 16-inch frame, the border will be 2 inches on each side and 3 inches at the top and bottom. Mark the opening carefully, then cut it out using the ruler as a guide. Measure twice before cutting so the print sits evenly behind the mat.
3. Attach the print and reassemble the frame
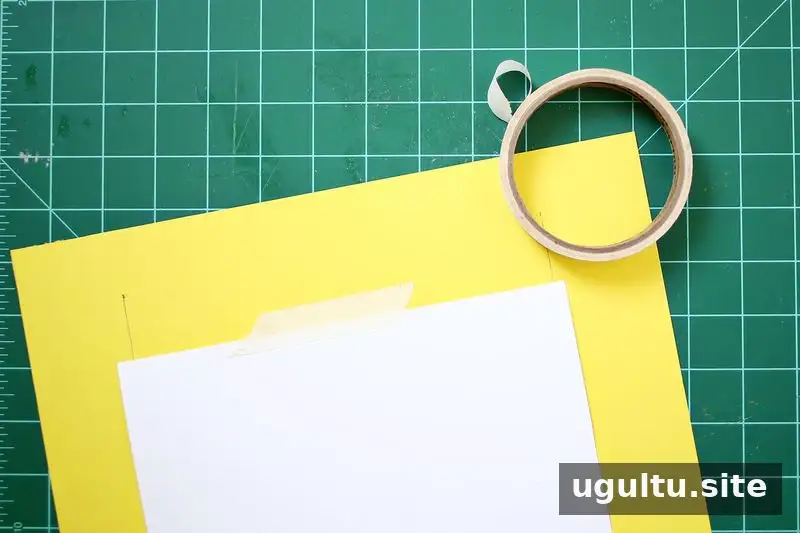
Center the print behind the opening and secure it to the back of the cardstock with masking tape or an acid-free tape option. Avoid placing tape over the visible part of the artwork. Reassemble the frame and check that the print and mat remain aligned before hanging it.
Plan and Hang the Gallery Wall
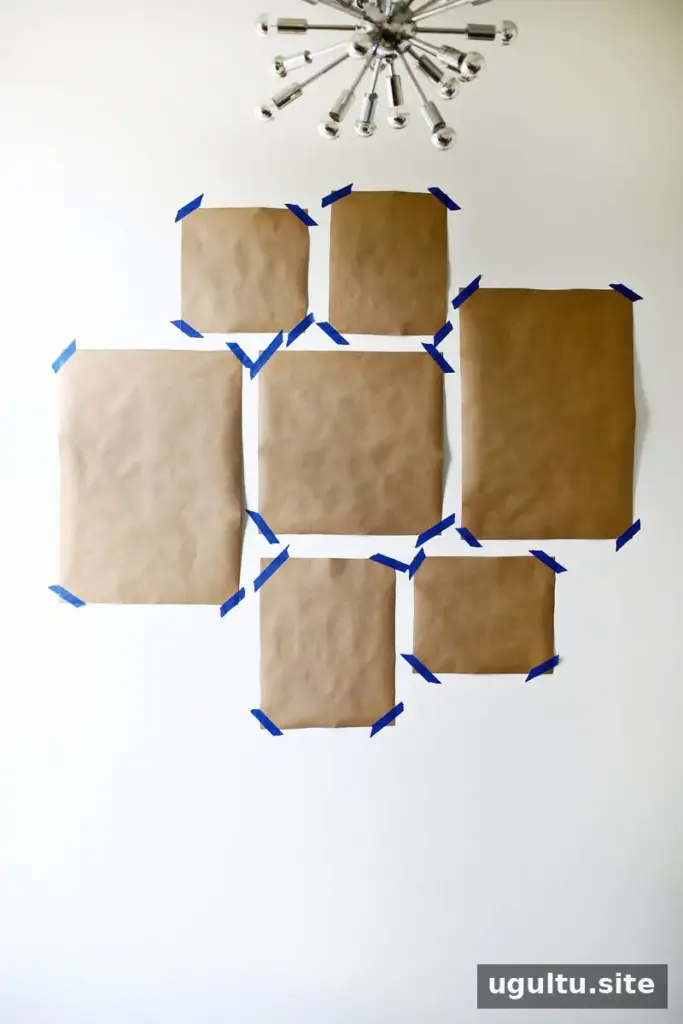
Arrange the frames on the floor first, or make paper placeholders cut to the exact dimensions of the frames. Move the placeholders around on the wall until you find a balanced grouping. This lets you adjust spacing without making unnecessary holes.
To mark hanging points, measure the distance from the top of each frame to its nail or hanging hardware. Transfer that measurement to the corresponding paper placeholder and mark the spot. Place the nail at the mark, then remove the paper. Check that each frame is level once hung.
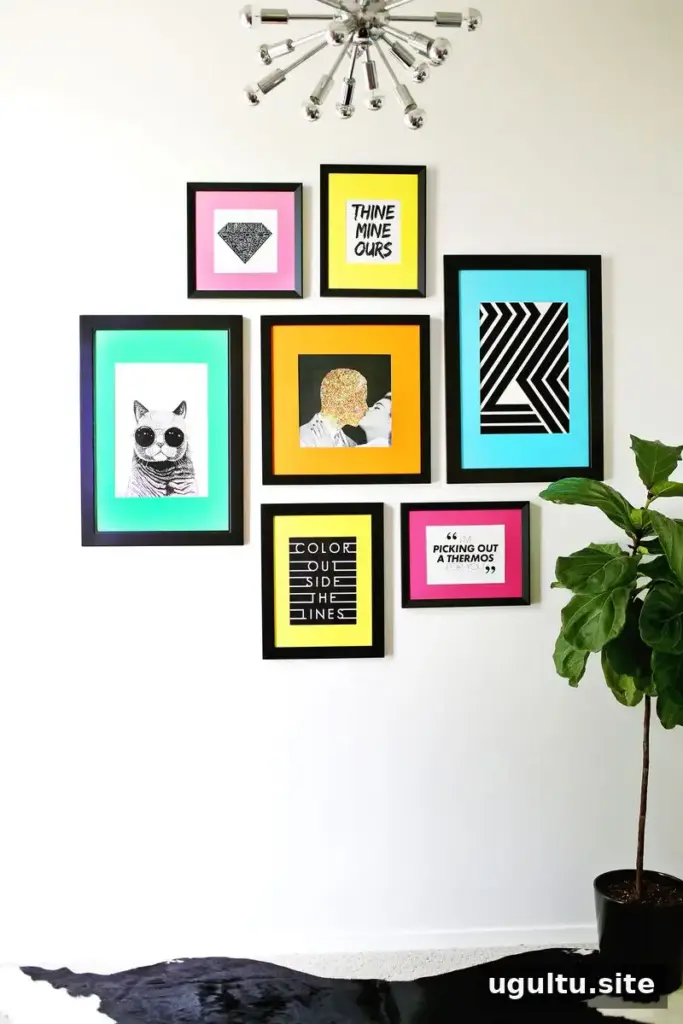
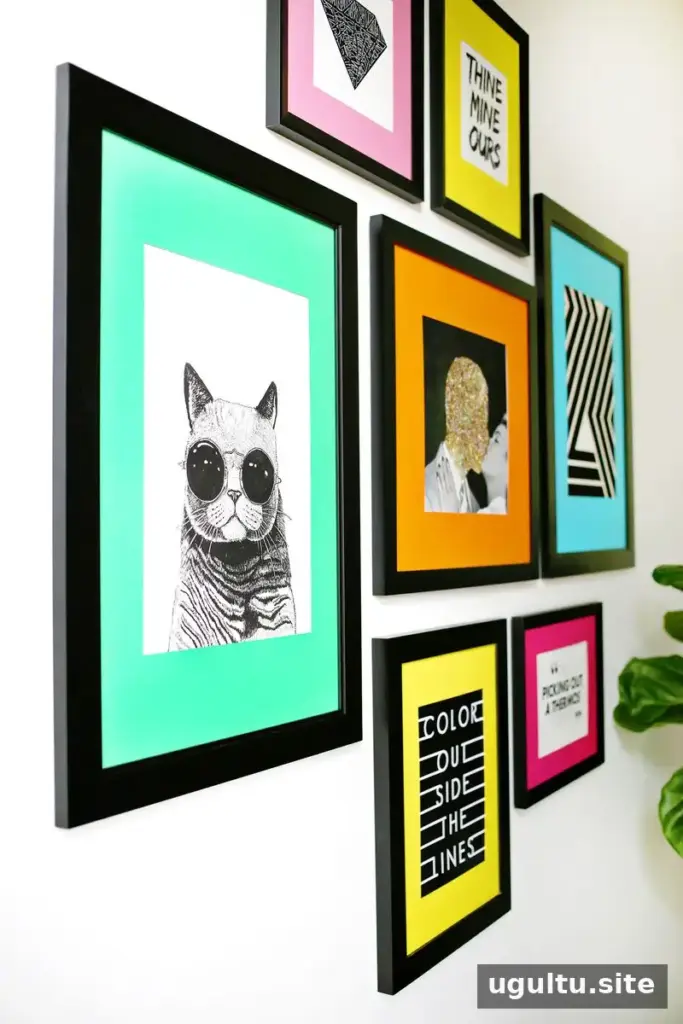
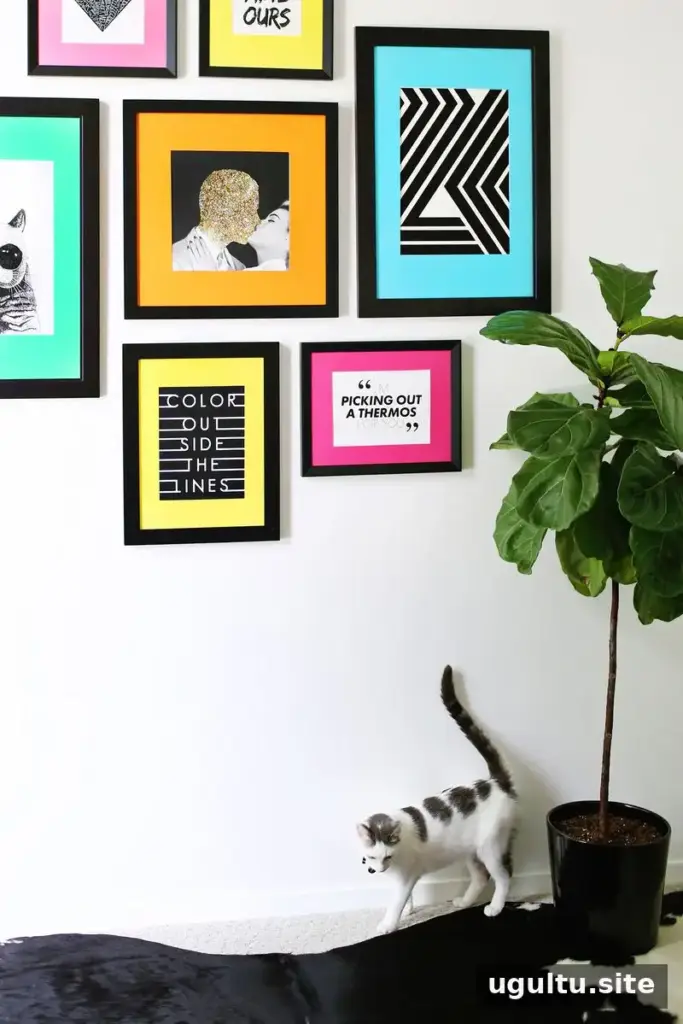
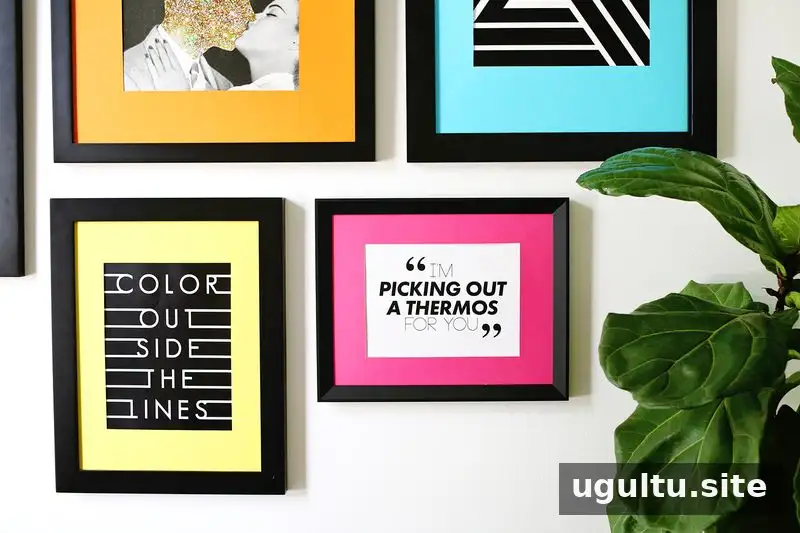
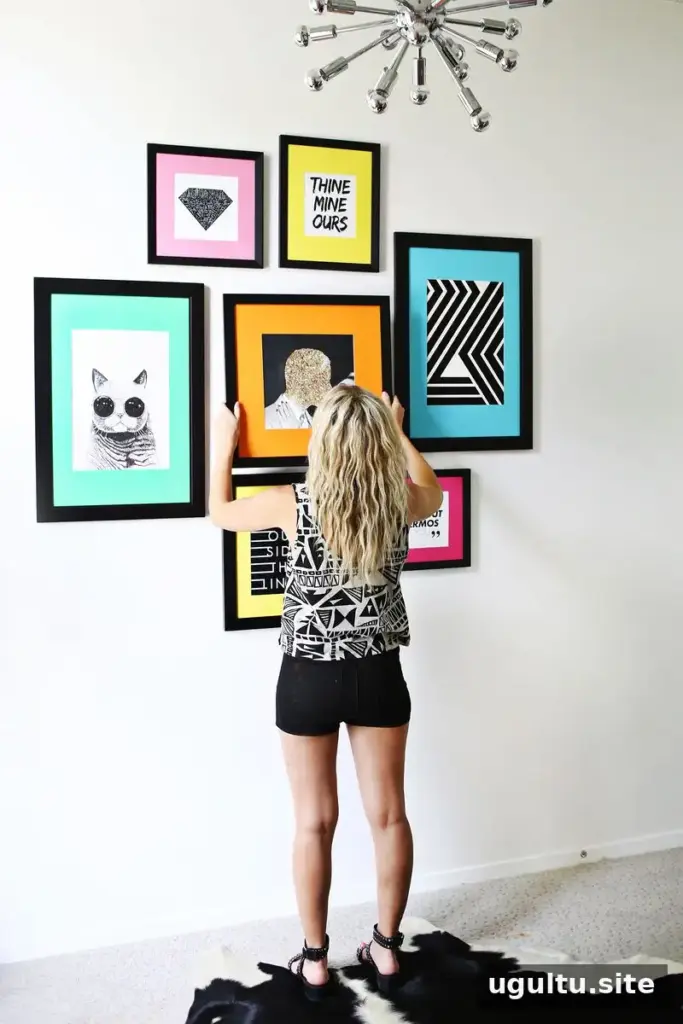
Prints clockwise from the top: 1 (printed at home), 2, 3 (printed at home), 4, 5, 6, and 7.
Finishing Touches for Your Colored Mat Gallery Wall
Some of the prints were made at home to keep the project affordable and give the display a personal touch. One print features a quote from Steve Martin’s The Jerk, a favorite film. A mix of purchased and home-printed artwork can make a gallery wall feel more individual; just make sure every print is sized to fit its frame and opening.
The colored borders add a lively accent, and they can be changed later if the room’s palette changes. For a cohesive look, repeat a few colors across the frames and vary the artwork or mat widths for visual interest. A colored mat gallery wall is a flexible way to refresh a room without replacing the frames or prints.
— Laura


