admin
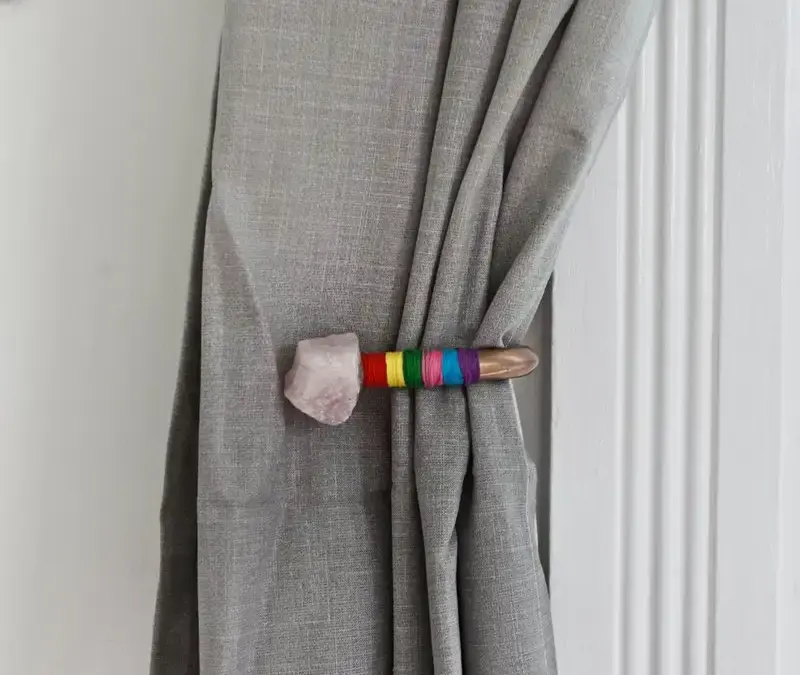
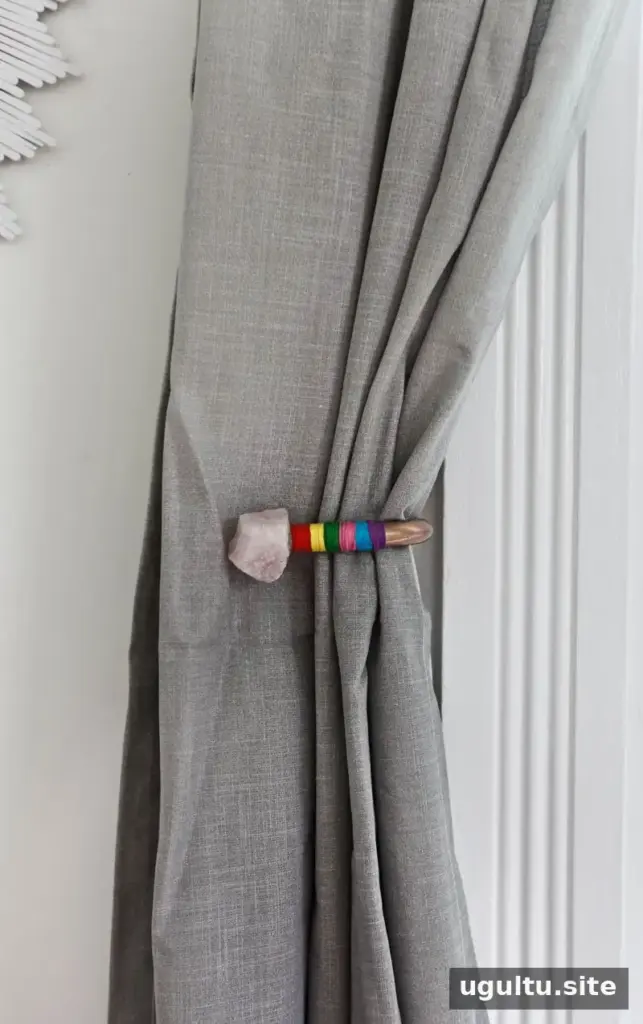
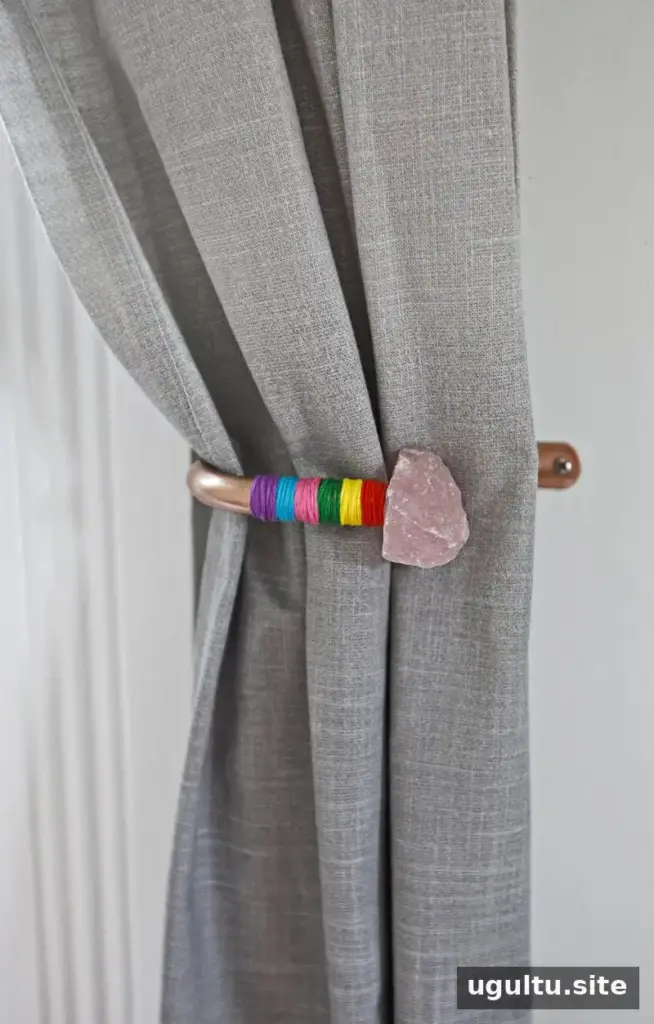
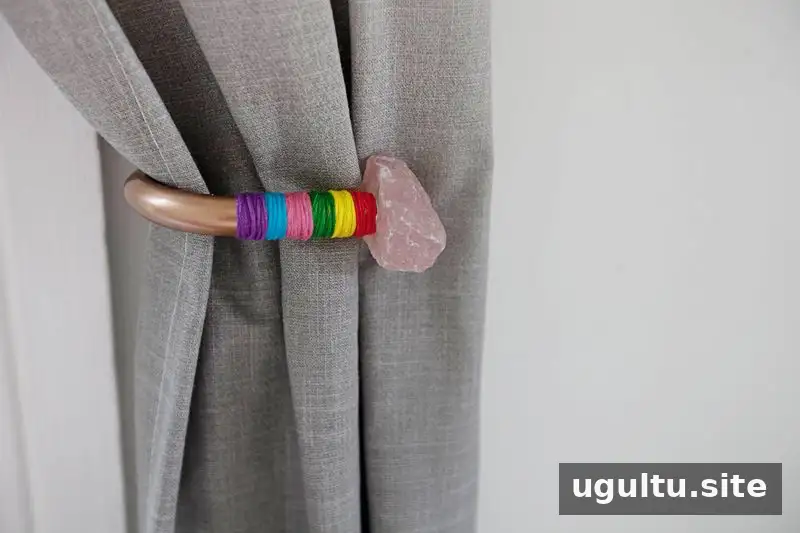
DIY crystal curtain finials are a simple way to add color and personality to a room. With a few crystals, suitable screws, epoxy, and embroidery thread, you can update curtain rods or tiebacks that already have removable finials. Check how your existing hardware is assembled before starting so the new finials will fit securely.
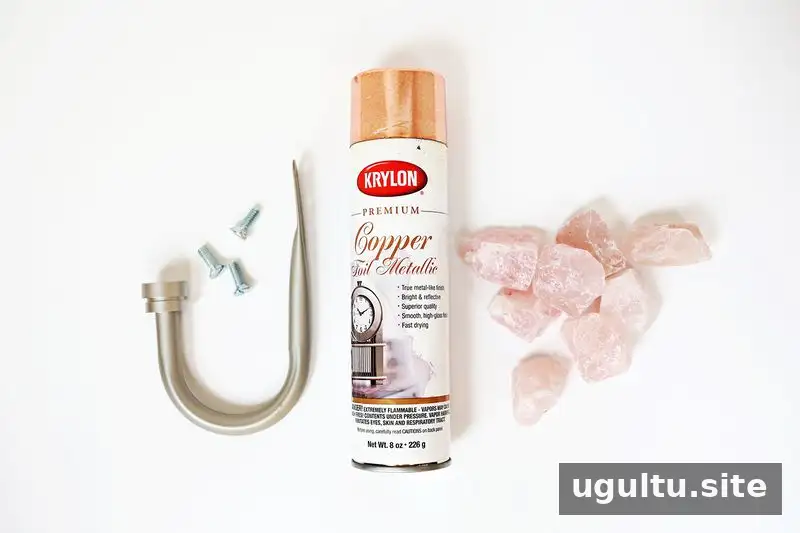
Supplies:
- Curtain rods or curtain tiebacks, or both
- Crystals at least about 1 1/2 inches in size
- Copper spray paint
- Flat-head screws
- Epoxy glue
- Embroidery thread in several colors
How to Make DIY Crystal Curtain Finials
1. Check the hardware and choose screws
Many store-bought rods and tiebacks have finials that unscrew. Remove one and use it to identify the screw size your replacement needs. Taking the original finial, with its screw attached, to a hardware store can help you find a matching size. Choose flat-head screws so they provide a suitable surface for attaching the crystals.
Before buying or gluing anything, check that your chosen crystals have a reasonably flat area for the screw. This makes it easier to create a stable connection. Handle the crystals carefully, as irregular shapes may not sit securely on a work surface.
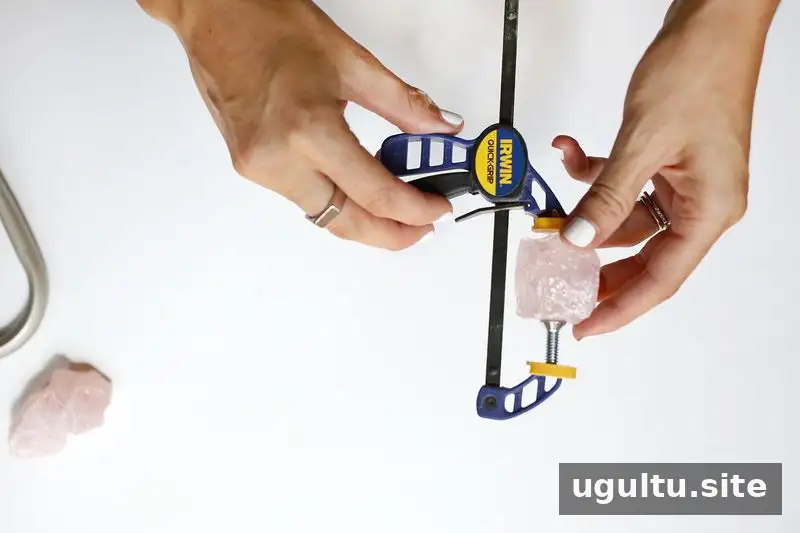
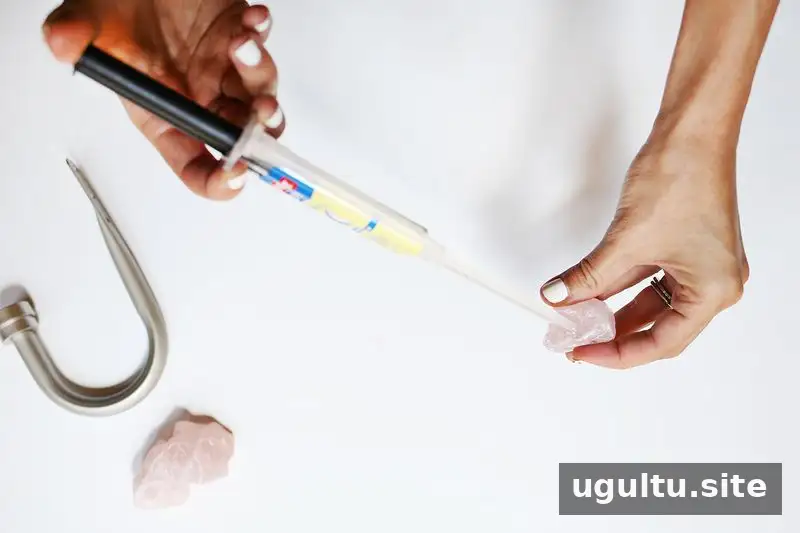
Use epoxy to attach a screw to the flat area of each crystal. Follow the adhesive’s package directions, including any instructions for preparing and joining the surfaces. Keep the crystal upright with the screw pointing upward while the glue cures. A clamp can help hold the pieces in place; otherwise, prop each crystal carefully so it does not tip over.
A two-part epoxy that you mix as needed can be more practical for making several finials. Some self-dispensing formulas may begin to set inside the opening after use, leaving less usable adhesive for the next piece. Mix only the amount needed and allow the full recommended curing time before handling or installing the finials.
2. Paint the rods or tiebacks
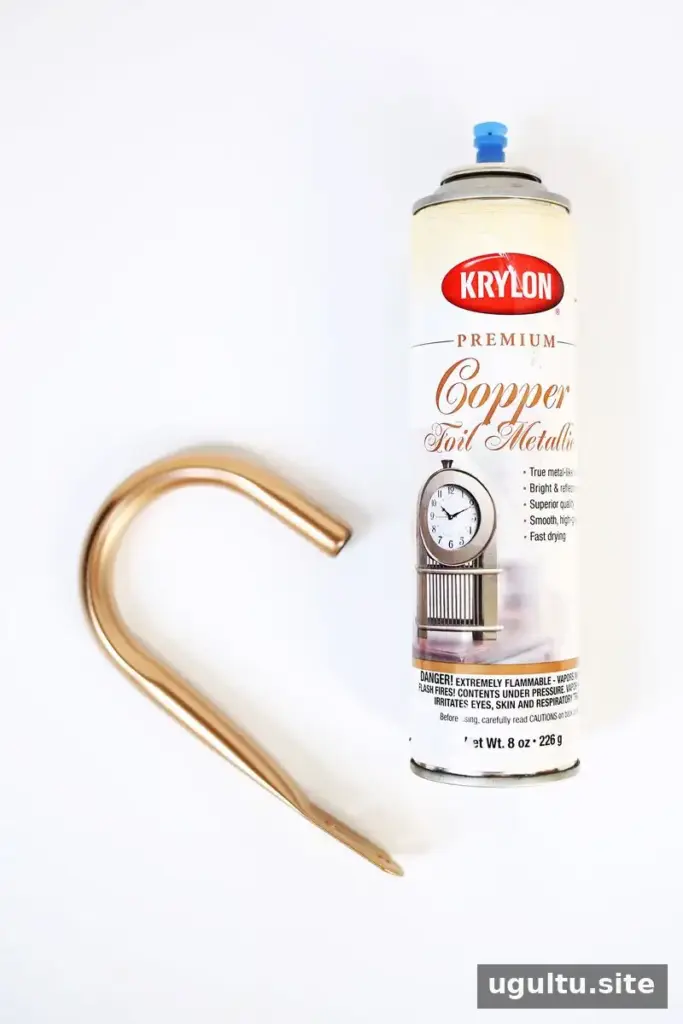
Apply copper spray paint to the rods or tiebacks in light, even coats, continuing until the surface is covered. Use spray paint in a well-ventilated area and follow the product label. Let the hardware dry fully before picking it up; touching metallic paint too soon can leave fingerprints or marks.
3. Add thread and install the finials
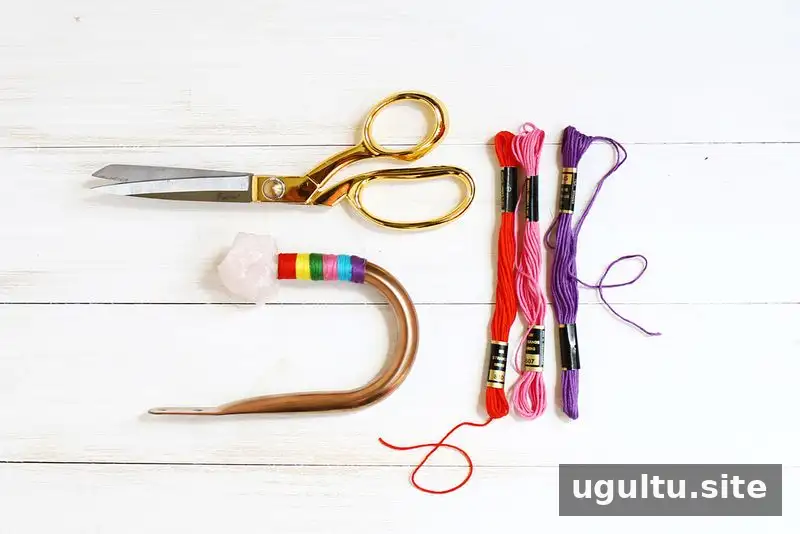
Once the epoxy is dry, screw each crystal finial back into its rod or tieback. Wrap embroidery thread around the first few inches of the metal, changing colors as desired. To make the transition between colors easier to cover, tie the old and new threads together and wrap over the loose ends as you continue.
After finishing the thread, install the hardware and hang the curtains. Check that each finial is secure and that the rod or tieback is firmly mounted before use. If a crystal feels loose, remove the hardware and address the attachment rather than relying on the thread to hold it in place.
A simple finishing touch for curtains
DIY crystal curtain finials can turn ordinary curtain hardware into a colorful accent without changing the curtains themselves. Choose crystals and thread colors that complement the room, and make sure the screw and adhesive connection are secure before installation. The same basic idea can be adapted to rods or tiebacks, depending on the hardware you have.
—Laura