admin
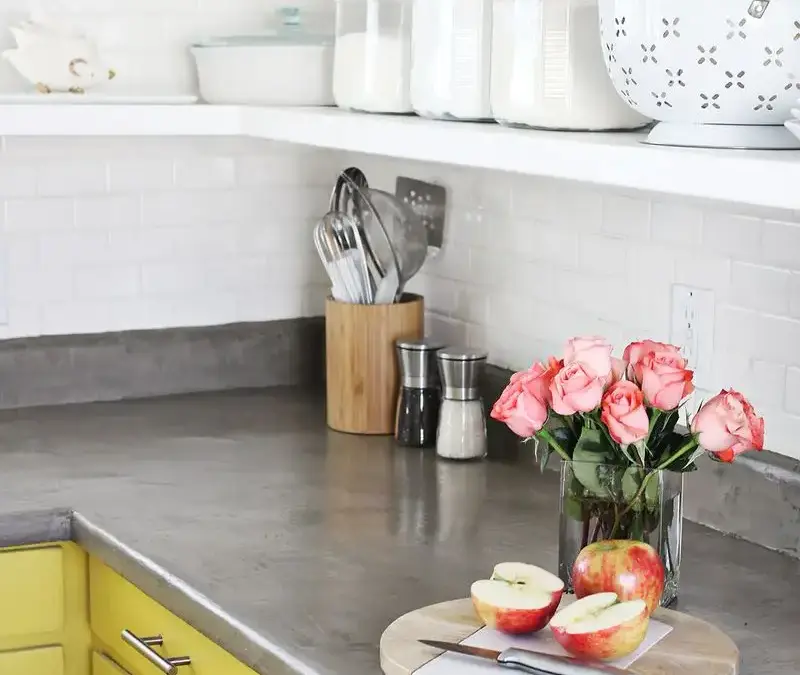
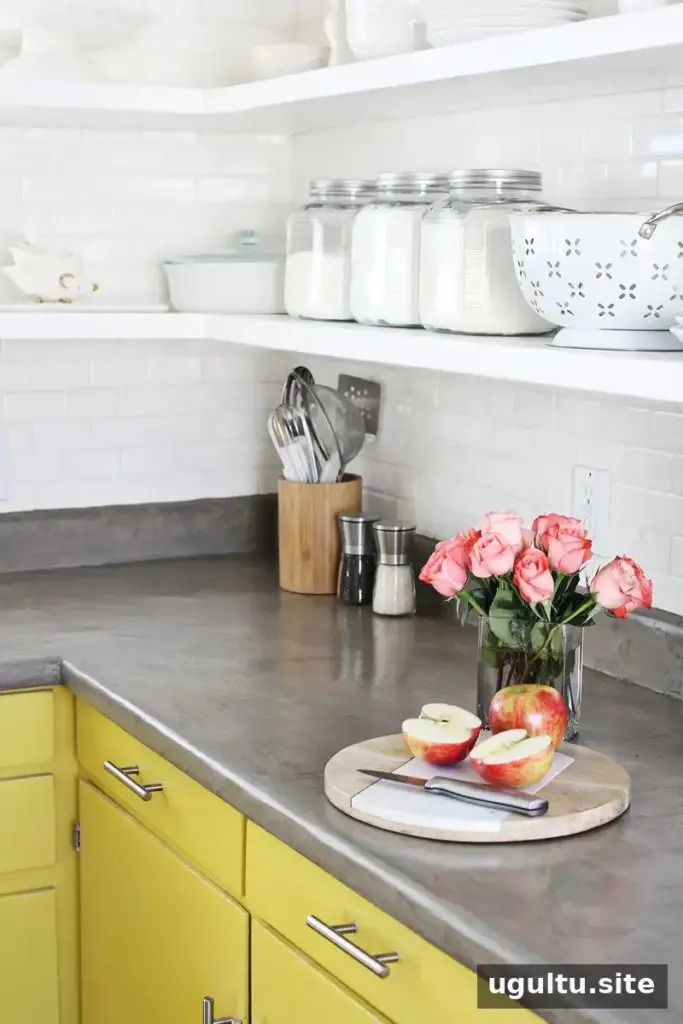
A concrete countertop DIY can give an existing Formica surface a fresh, modern finish without replacing the entire counter. This project used feather-finish concrete over an existing countertop, with three thin coats and a sealer. The reported project cost was $99. Allow time for drying and sanding between layers, and check the sealer’s food-safety instructions before using the counter for food preparation.
Concrete Countertop DIY: Supplies and Preparation
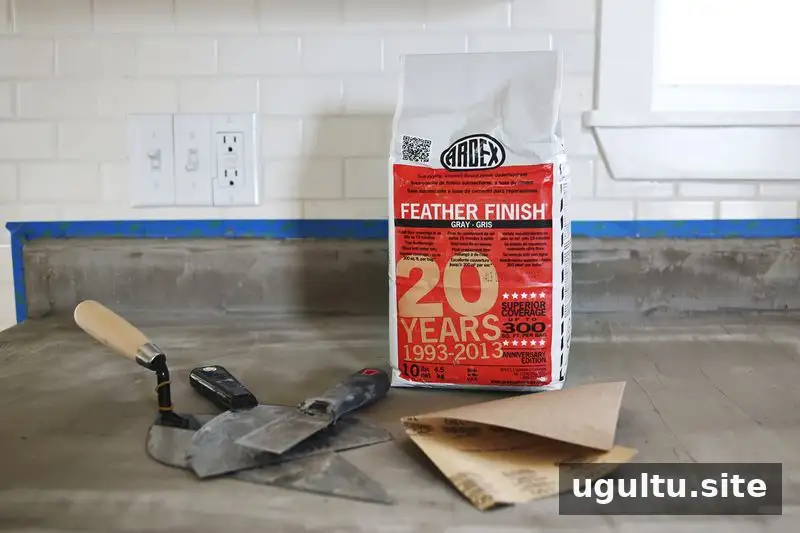
The project used two bags of feather-finish concrete. Gather the remaining materials before starting so each small batch can be spread while it is workable.
- Two bags of feather-finish concrete
- Coarse, medium, and fine sandpaper
- A hand orbital sander (optional)
- Small and wide putty knives and a drywall knife or trowel
- Disposable containers and a paint stirrer for mixing
- Concrete sealer, with food-safety suitability checked in advance
- Painter’s tape, a paint roller, and a brush
Protect the surrounding tile and grout with painter’s tape. Remove the sink if practical so the concrete can be applied beneath its edge. As a general precaution, use suitable eye and dust protection while sanding, and follow the product labels for handling and ventilation.
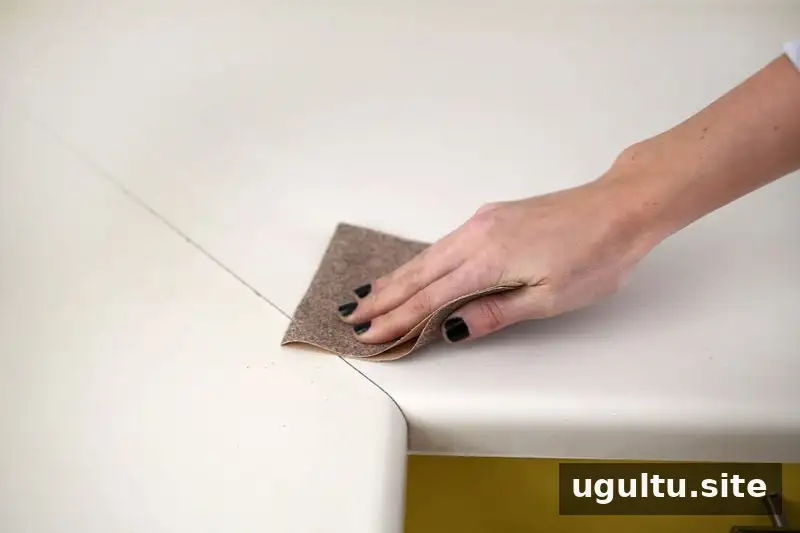
Prepare the Existing Countertop
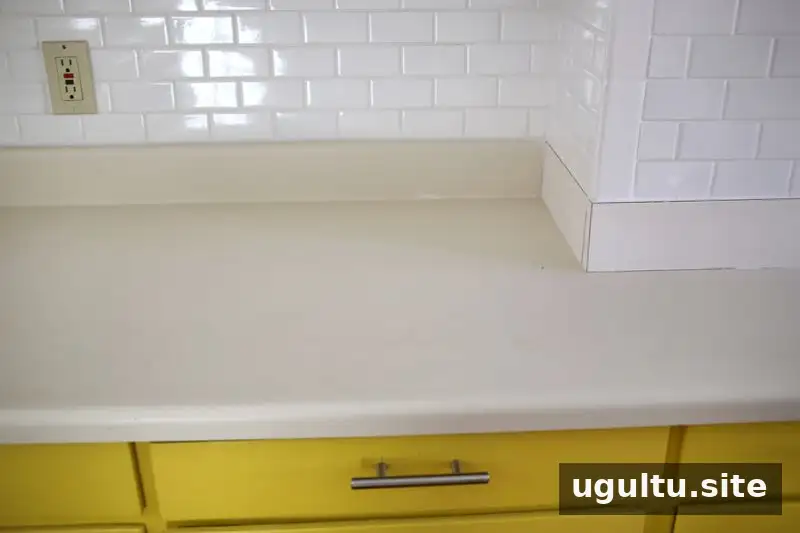
Roughen the Formica with coarse sandpaper to help the concrete adhere, then wipe away residue with a damp cloth and let the surface dry completely. Apply painter’s tape just above the line where the backsplash meets the wall tile to help protect both the tile and grout.
Keep the work area clean and dry before applying the first coat. A shop vacuum can help remove sanding dust, but make sure the surface is free of loose debris before spreading concrete.
Mix and Apply Thin Coats
For small batches, the product instructions specified one part water to two parts dry concrete. The project used one cup of water and two cups of dry mix per batch. Smaller amounts are easier to spread before the mixture hardens. Always follow the directions on the product you use.
Use a combination of putty knives and a drywall trowel to spread a thin layer across the countertop. The first coat does not need to cover every thin-looking spot perfectly; later coats can even out the surface. At the inside corner between the counter and backsplash, pull the wet concrete in opposite directions on each surface to help form a cleaner edge.
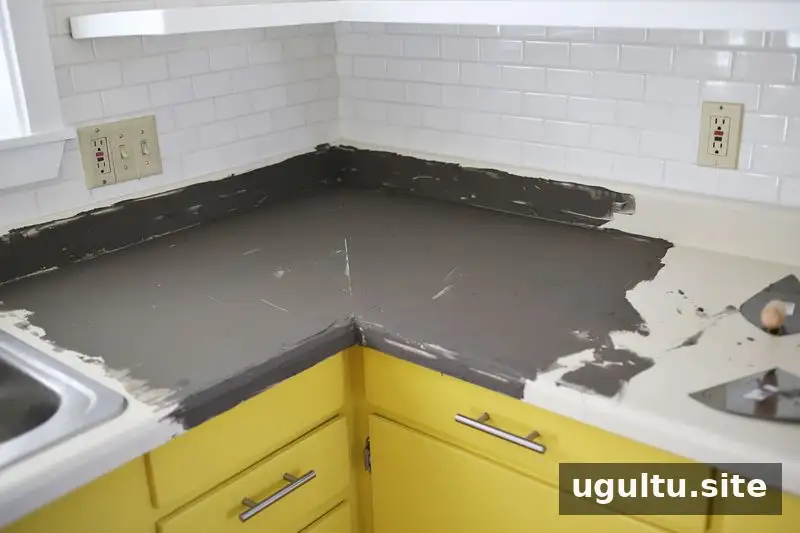
For a rounded backsplash edge, apply small amounts with a narrow putty knife and shape the area gradually. It can be easier to refine the curve during sanding. When uncertain, a little extra material can be sanded away after it dries; adding more later requires mixing another batch.
Dry, Sand, and Build Up the Surface
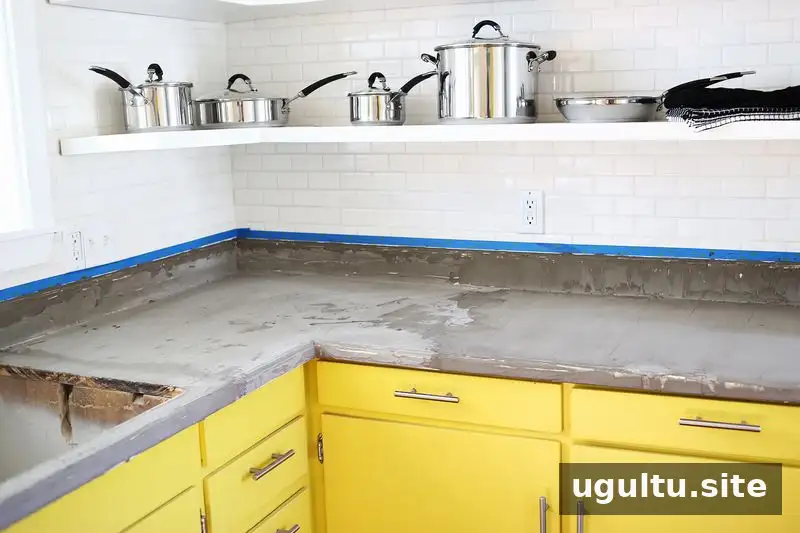
Let the first coat air-dry for 24 hours, then use medium-grit sandpaper to knock down high spots before applying the next layer. The project used three coats, with at least 24 hours of drying time between coats. Remove sanding dust before adding each new layer so it does not become trapped in the finish.
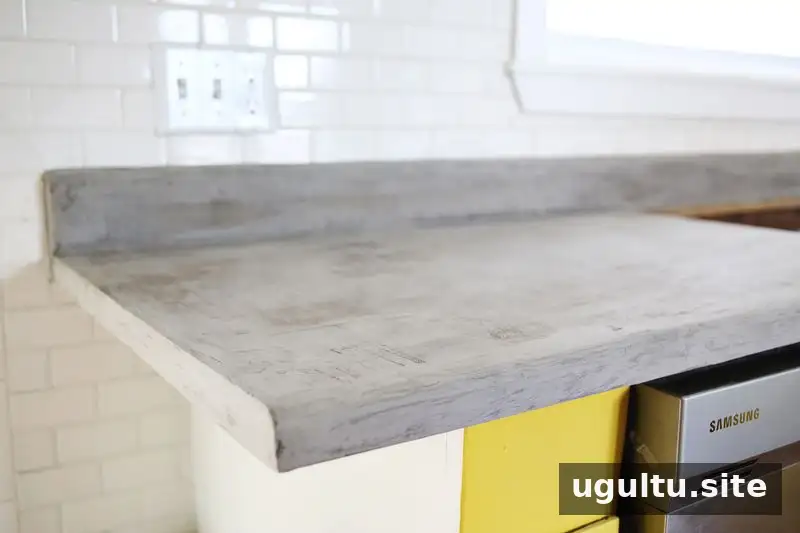
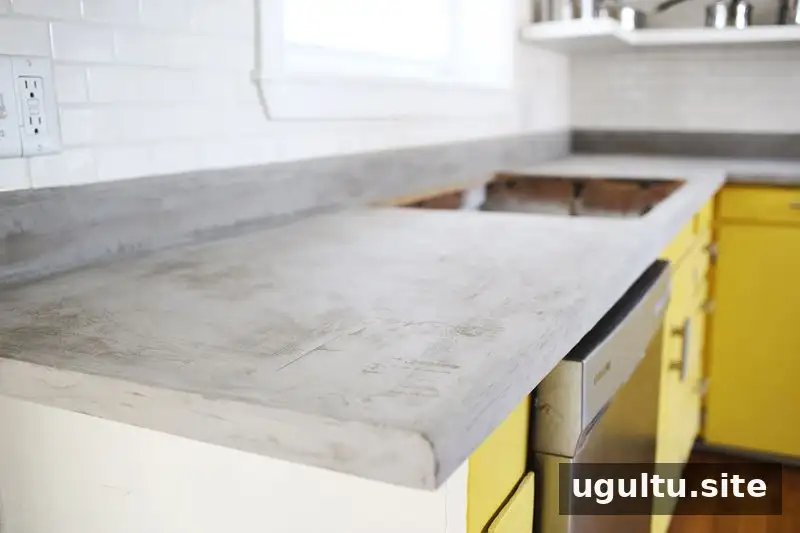
After the final coat, sand the surface progressively, starting with coarse paper and moving to a finer grade. Hand sanding can take several hours, so gloves can help protect fingertips. An orbital sander may speed up some of the work, but use a light touch: too much pressure can create divots rather than a smooth surface.
Remove the painter’s tape and carefully scrape away any concrete that has crossed onto it. Vacuum the dust and check that the countertop is clean and smooth before sealing.
Seal the Countertop and Consider Food Safety
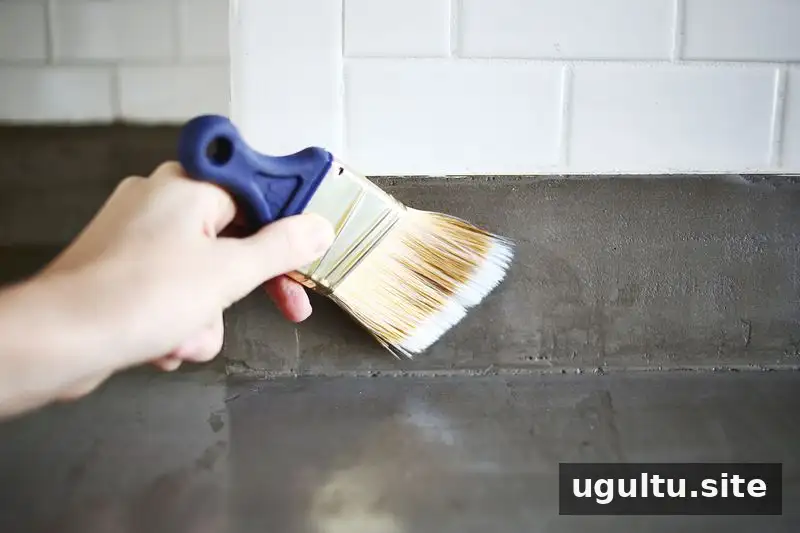
The project applied three coats of a water-based satin sealer, using a short-nap roller for broad areas and a brush for tight spots. The sealer was thin, so apply it carefully to limit splashes and follow the manufacturer’s drying and recoat instructions. Reinstall the sink only after the sealer has dried as directed.
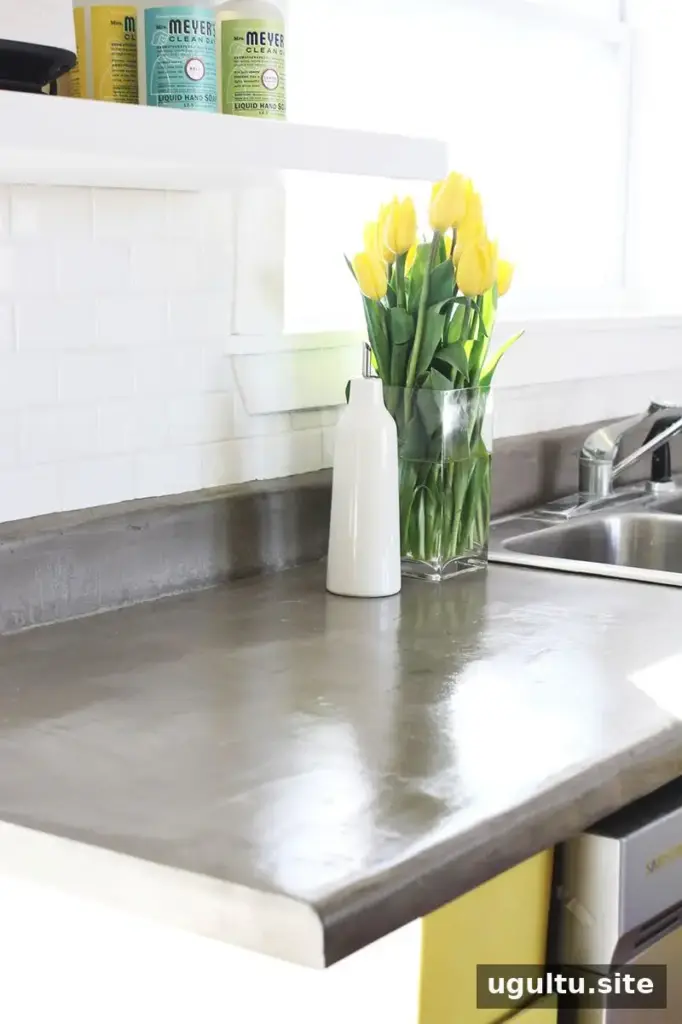
The sealer used for this project was not confirmed as food-safe, so cutting boards were used to keep food from contacting the counter. If you plan to prepare food on the surface, check the sealer label and manufacturer guidance for suitability; do not assume every concrete sealer is food-safe. Even after sealing, standing water may temporarily darken the surface and the area can lighten again as it dries.
Is a Concrete Countertop DIY Right for You?
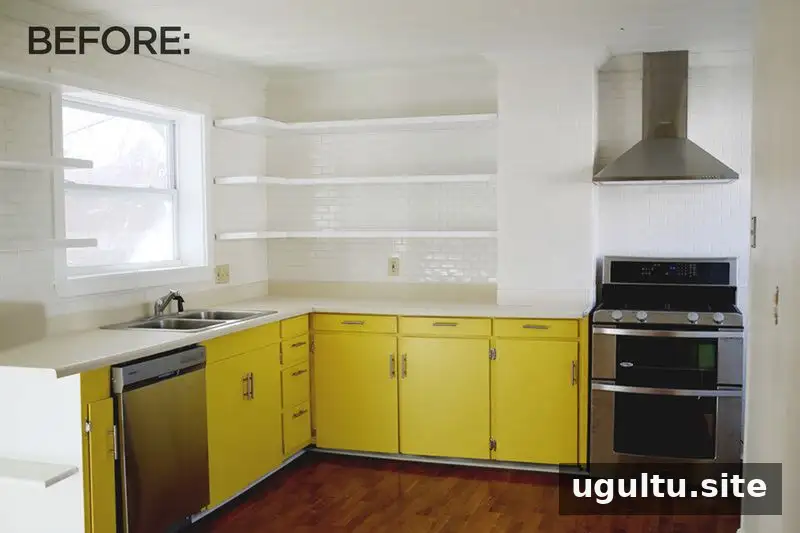
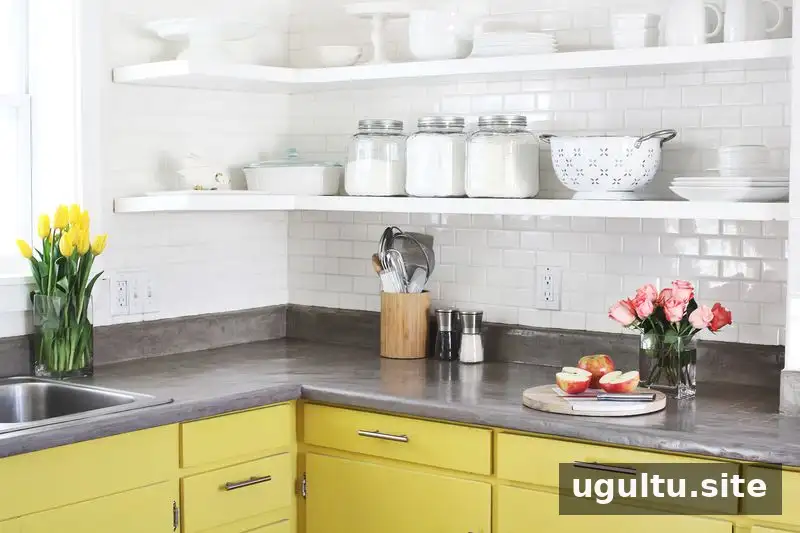
This countertop makeover was reported to cost $99 and produced a gray finish that contrasted with the surrounding shelves, tile, and cabinets. The work is physically demanding, particularly the final sanding, and the project requires patience because each coat needs time to dry. Plan for the preparation, several applications, cleanup, sealing, and the sealer’s full drying time before returning the counter to regular use.
Overall, a concrete countertop DIY can be a practical way to refresh an existing counter when you are comfortable with hands-on work and careful surface preparation. Laura’s project notes describe the process and its results.