admin
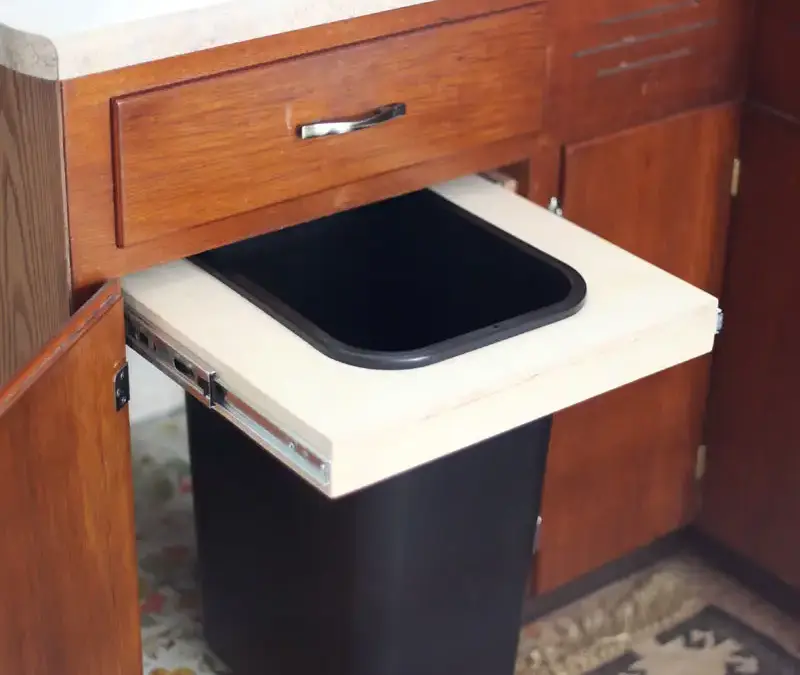
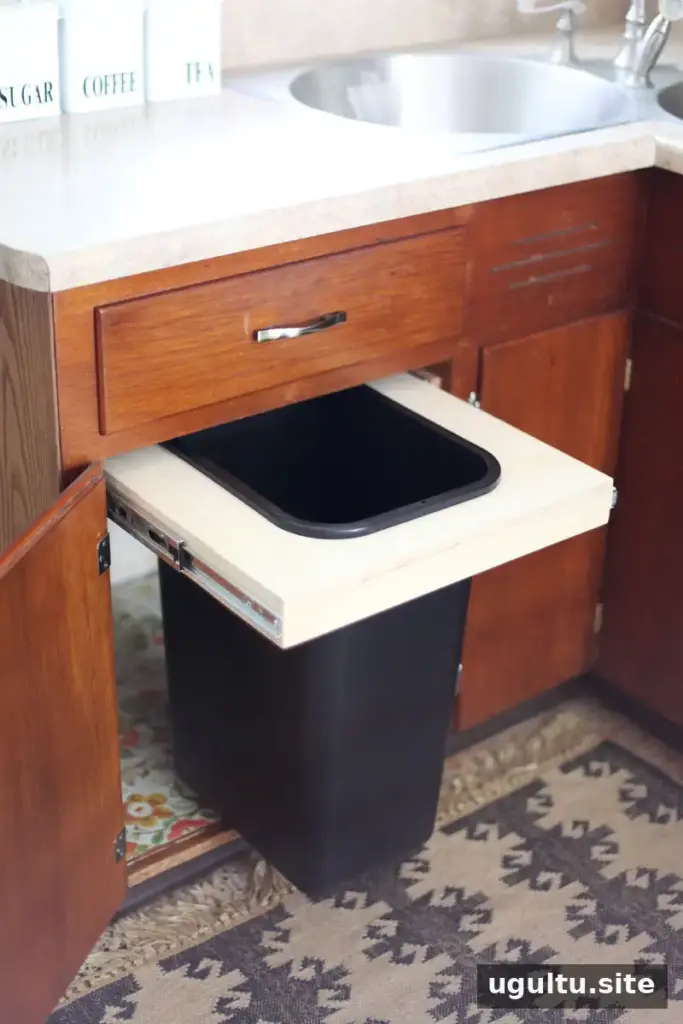
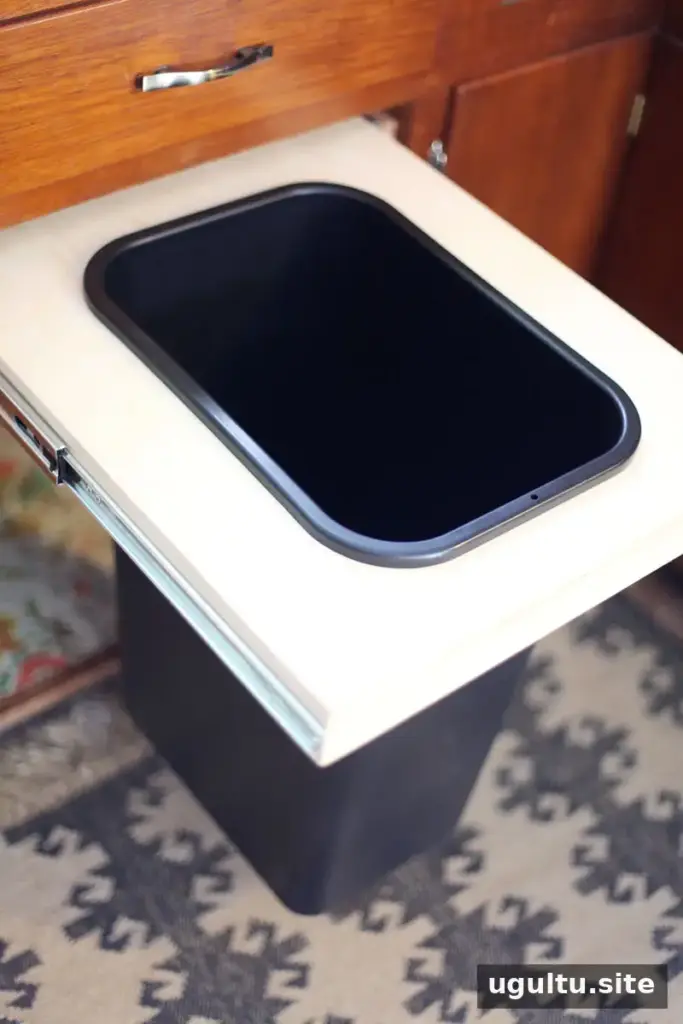
A pull-out trash bin can keep a kitchen waste container out of sight while making it easier to access. This DIY project uses full-extension drawer slides and a plywood platform fitted around the trash can. Before starting, check that the can fits inside the cabinet with room around it, and plan for the cabinet’s interior dimensions and existing shelf construction.
Materials and tools for a pull-out trash bin
Gather the following supplies before you begin. The exact dimensions of the wood and screws depend on your cabinet and drawer-slide hardware.
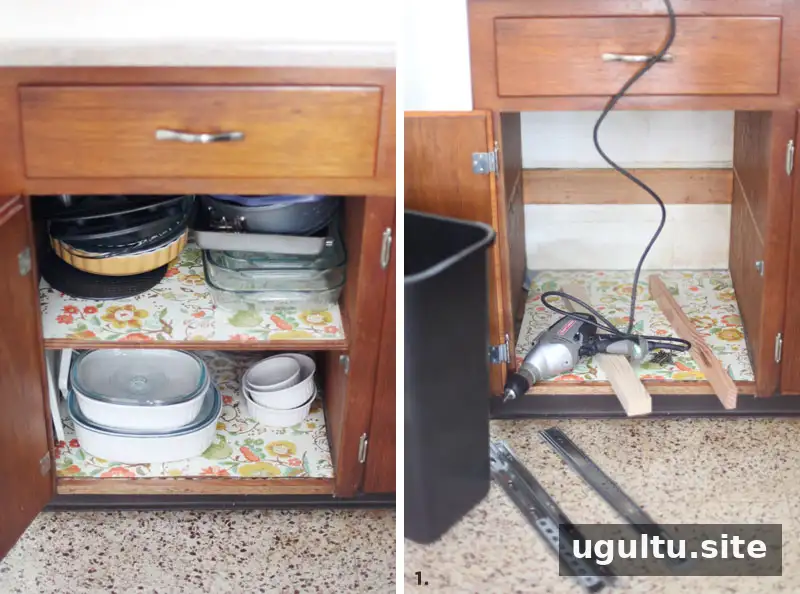
- A trash can with a top lip that fits inside the cabinet, leaving at least a couple of inches of clearance all around
- Full-extension drawer slides, about 1 inch shorter than the cabinet’s depth
- Wood strips for mounting the slides to the cabinet walls
- A 1/2-inch plywood piece, sized for the cabinet
- A jigsaw
- A power drill and drill bits
- Flat screws sized for the combined width of the mounting strips and cabinet walls
- Wood glue
- A level and tape measure
- Two pencils
- Sandpaper
- Optional wood sealer or paint
A table saw is not essential if you arrange to have the lumber and plywood cut to size at a lumber yard or hardware store.
How to build a cabinet pull-out trash bin
1. Remove the cabinet shelf and mark the slide height
Take the shelf out of the cabinet. If it is fixed in place, remove it carefully; the method will depend on how it was installed. Remove or safely deal with any exposed nails before continuing.
Measure the trash can’s height and add 1 inch. From the bottom of each cabinet side, measure up to that height and mark the position. Use a level to extend the mark across the cabinet interior. This line will guide the placement of the wooden slide supports.
Choose support-strip thickness based on how far the cabinet interior sits behind its face frame. For a cabinet recessed less than an inch, 1-by-3-inch lumber was used in this project, cut to the length of the drawer slides.
2. Attach the wooden supports
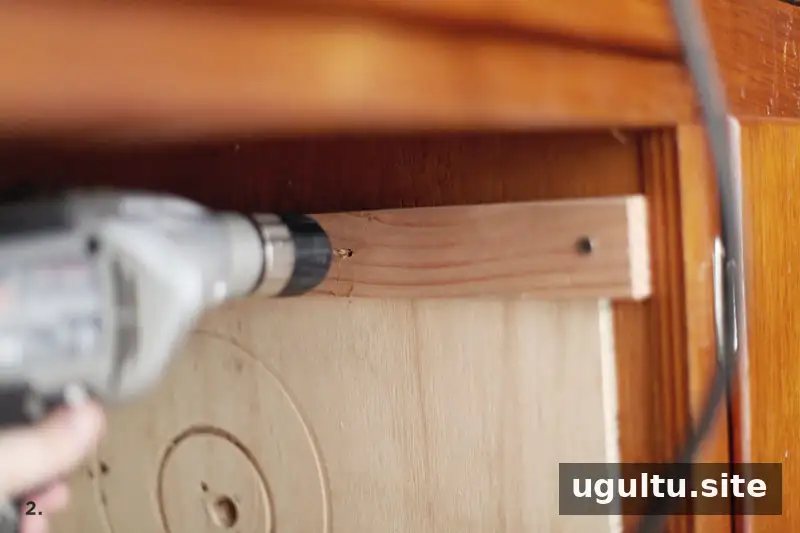
Fasten one wood strip to each inside cabinet wall, with its top edge aligned to the marked line. Four sheet-metal screws were used for each strip. Pilot holes in the wood can help guide the screws; masking tape can temporarily hold the strip in place as you work.
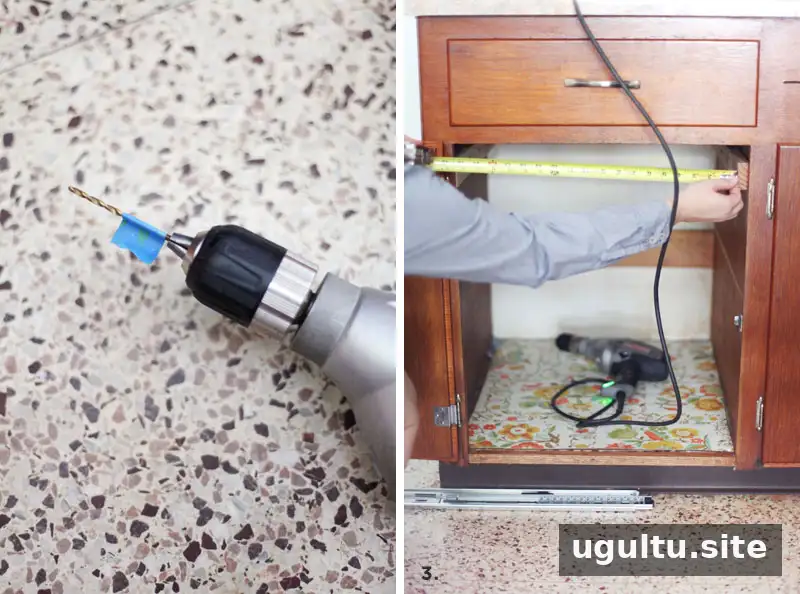
Choose screws shorter than the combined thickness of the cabinet wall and wood strip so their tips do not break through the outer surface. If drilling pilot holes in the cabinet, mark the drill bit with masking tape as a depth guide to avoid drilling through the wall.
3. Measure and cut the platform
Measure the exact distance between the mounted supports. Check the drawer-slide instructions for the space the hardware needs, then subtract that amount from the measured width to determine the plywood platform’s width. The standard clearance is 1/2 inch, but use the measurement specified for your slides if it differs.
Cut the plywood depth to match the slide length. In this project, the slides were about 1 inch shorter than the cabinet depth.
4. Add sides to the platform
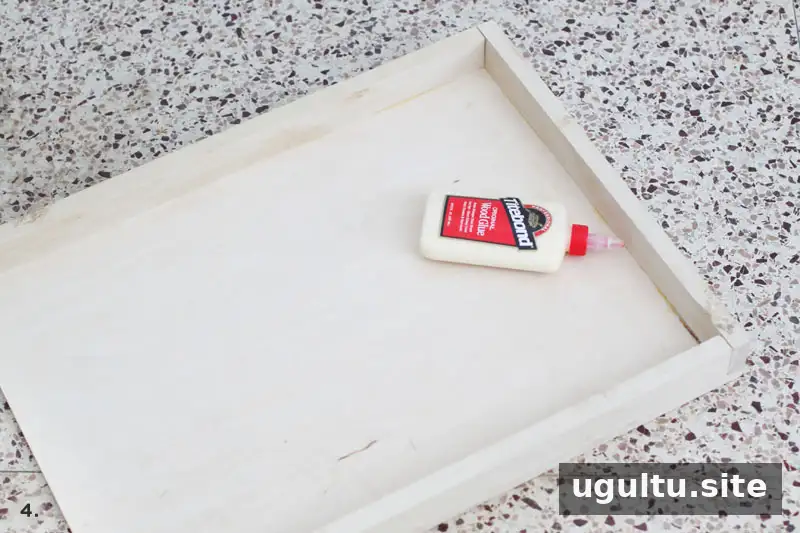
Cut three wood pieces to form a low apron around the platform: one for the front and one for each side. The front piece should match the plywood’s width. Each side piece should be the plywood depth minus the width of the front piece; measure the actual lumber rather than assuming its nominal size.
Glue the pieces onto the plywood, keeping the sides parallel. This apron strengthens the platform and provides a surface for attaching the slide hardware. Clamps can hold the pieces still while the glue dries.
5. Trace the trash can on the platform
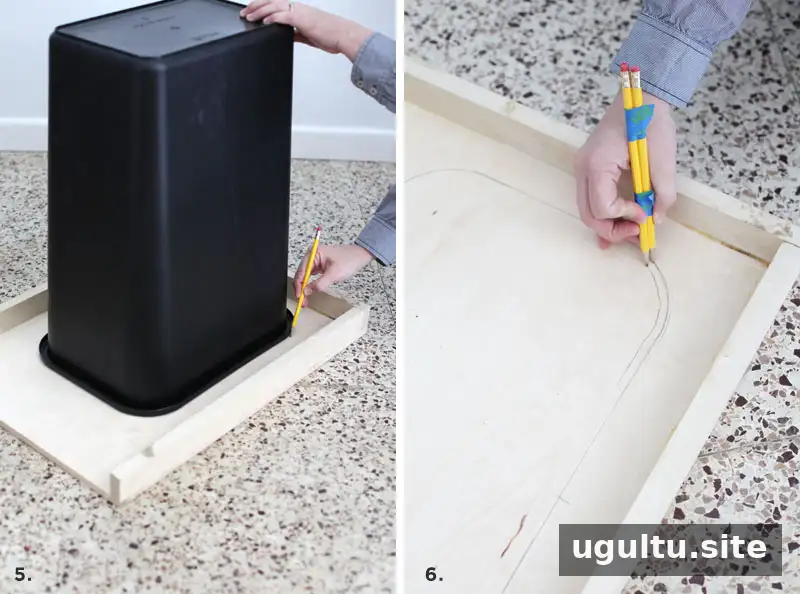
Once the glue has dried, turn the trash can upside down and trace around it on the top of the platform. Tracing on the underside can make it difficult to cut the corners if the apron blocks the jigsaw.
6. Mark a smaller opening
Hold two pencils together and trace around the outline again, keeping the new line about 1/4 inch inside the original. Tape the pencils together if needed to maintain an even gap. This smaller opening leaves a ledge to support the trash can’s top lip and helps prevent the can from falling through.
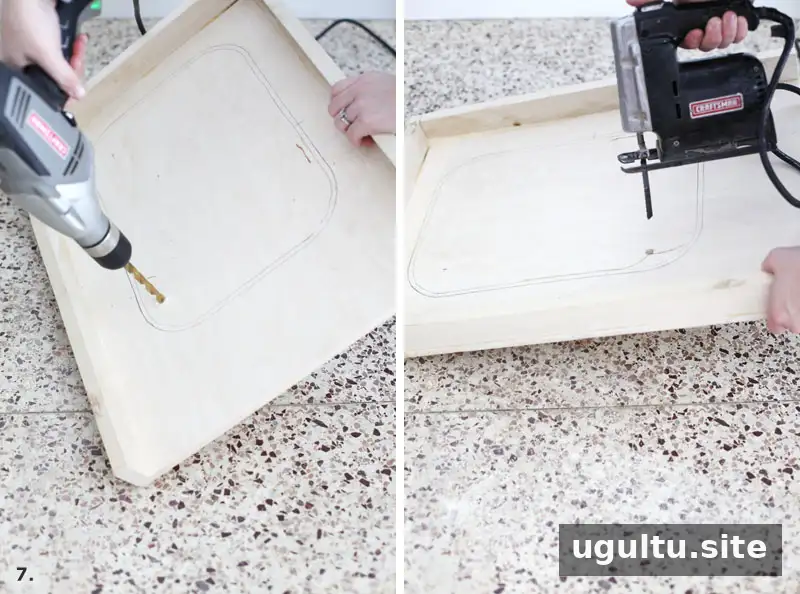
7. Cut out the opening
Drill a starter hole near the inner outline, large enough for the jigsaw blade. Cut carefully along the smaller line. Avoid cutting beyond it, since an oversized opening may not support the trash can. If you are unsure about the fit, test the tracing and cut on scrap cardboard first.
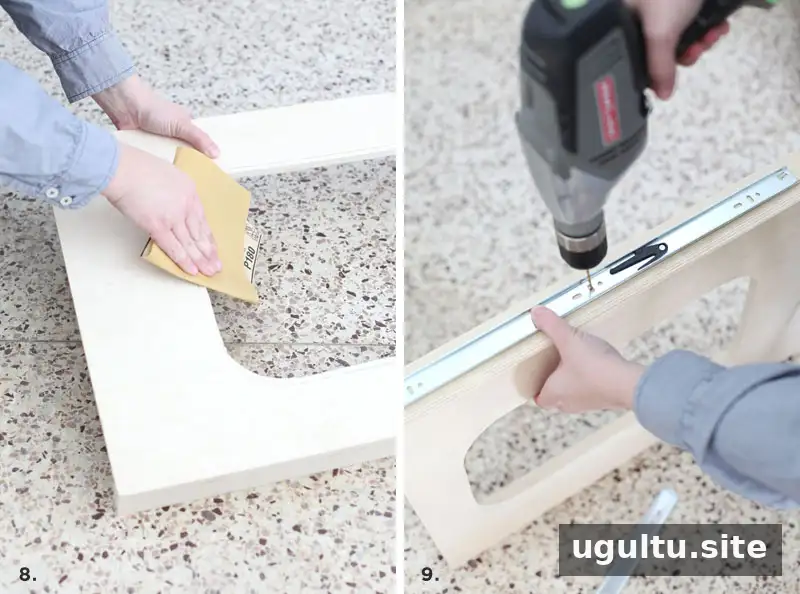
8. Sand and finish the platform
Sand the cut edge and smooth any sharp corners. Apply wood sealer or paint if desired, following the product’s directions and allowing the finish to dry before installing the platform.
9. Attach the slide hardware to the platform
Center the inner portions of the drawer slides on the platform’s side edges and fasten them in place. Where the hardware has elongated mounting holes, using those holes can allow for small position adjustments during fitting.
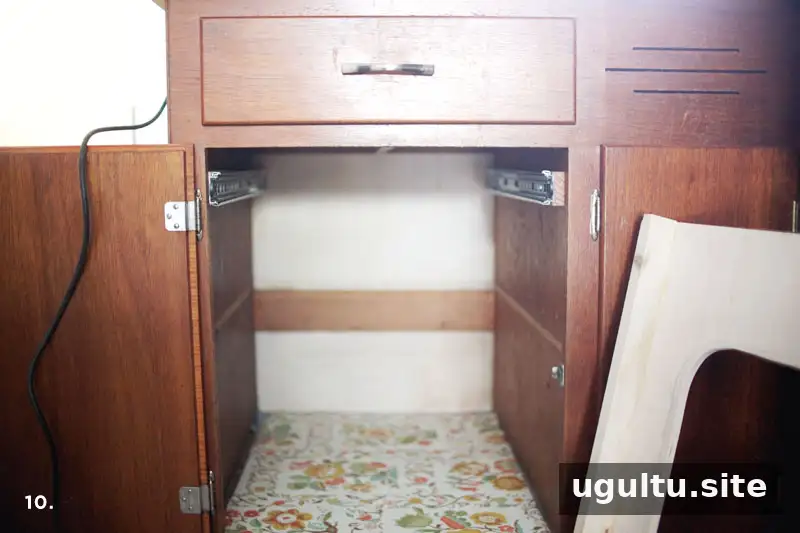
10. Install the slides and test the fit
Before installing the outer slide sections on the cabinet supports, check that the supports are parallel and that their screws sit flush. Protruding screw heads can obstruct the slides; countersink holes if needed so the screws do not stick out.
Use a level to position the outer slide sections, then fit the platform into the cabinet. If it does not move smoothly, remove it and check for misaligned supports, protruding screws, or platform sides that are not parallel. Make small adjustments and test the movement again.
Optional cabinet-door attachment
The cabinet door can remain separate, so you open it before pulling out the bin. Another option is to attach the door to the platform, allowing both to move together. If choosing this setup, account for the existing hinges and confirm the door and platform can move without hitting the cabinet frame. Plan the attachment carefully, particularly if cabinet painting or other renovation work is already scheduled.
Final tips for your pull-out trash bin
Measure the can, cabinet, supports, and slide clearance before cutting. Keep the mounting strips and platform sides parallel, and test the platform before loading it with the trash can. These checks can help the pull-out trash bin slide smoothly and make practical use of otherwise hidden cabinet space.
— Mandi