
 admin
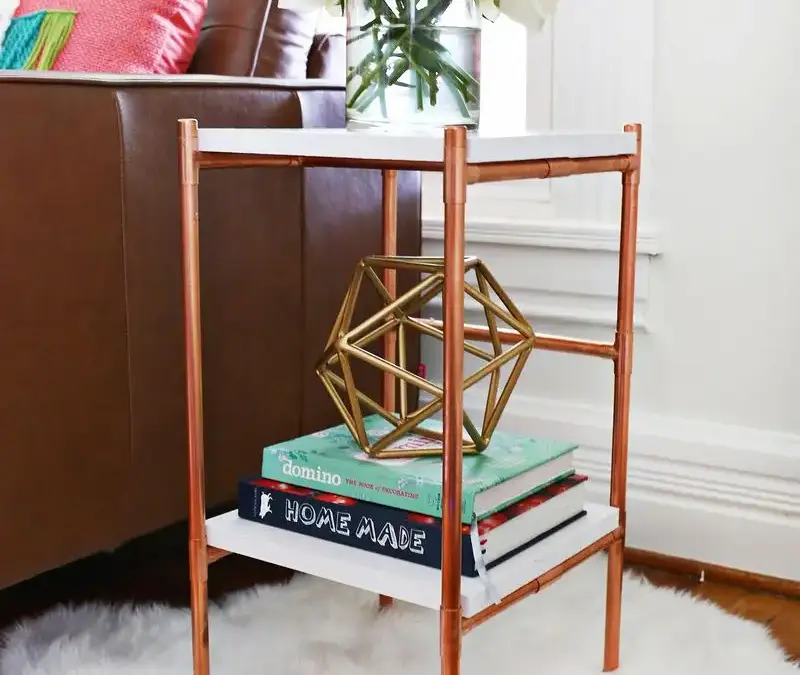
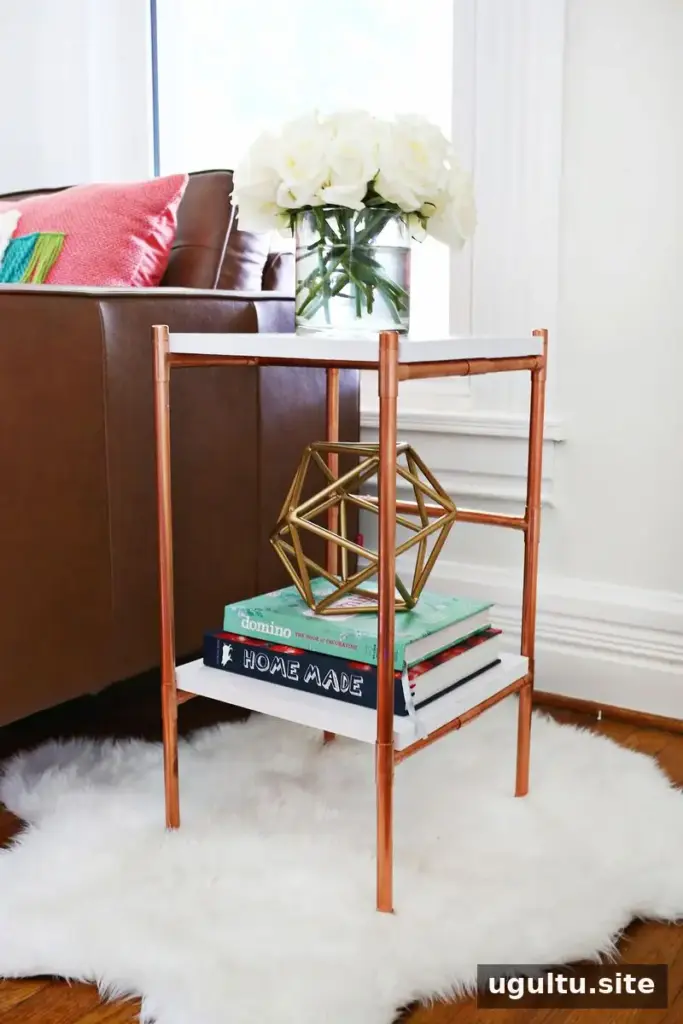
A copper pipe side table can add useful surface space and a warm metallic accent beside a sofa, bed, or favorite reading chair. This two-tier design pairs a copper pipe frame with two wood boards, creating room for everyday items or decorative objects. The pipe lengths are planned out below, so you can prepare the pieces before assembling the stand.
Materials for the Copper Pipe Side Table
Gather the supplies before cutting. Check that the pipe cutter is suitable for 1/2-inch copper pipe, and measure each piece carefully to keep the frame balanced.
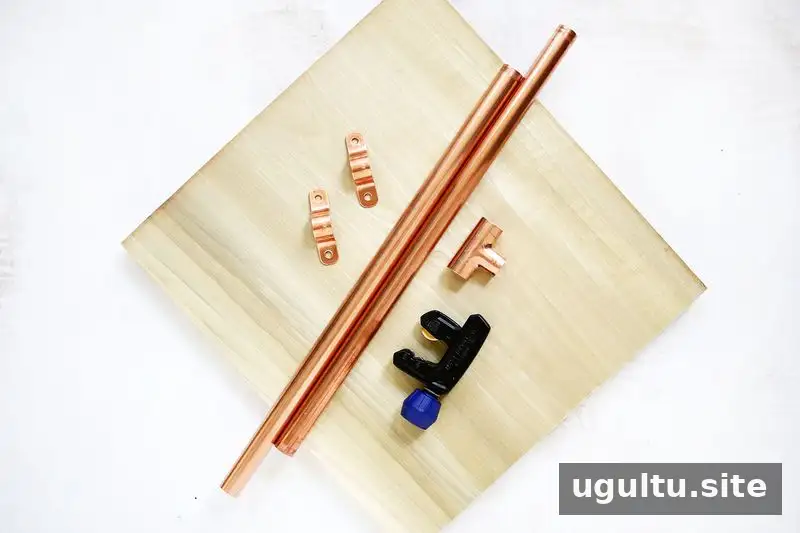
Supplies:
- 20 feet of 1/2-inch copper pipe
- Four 1/2-inch pipe straps
- Eight 1/2-inch copper caps
- Fourteen 1/2-inch copper tee fittings
- Pipe cutter
- Two wood boards, each cut to 12 inches by 11.25 inches from a 12-inch-wide board
- Super glue or epoxy glue
Measure and Cut the Copper Pipe
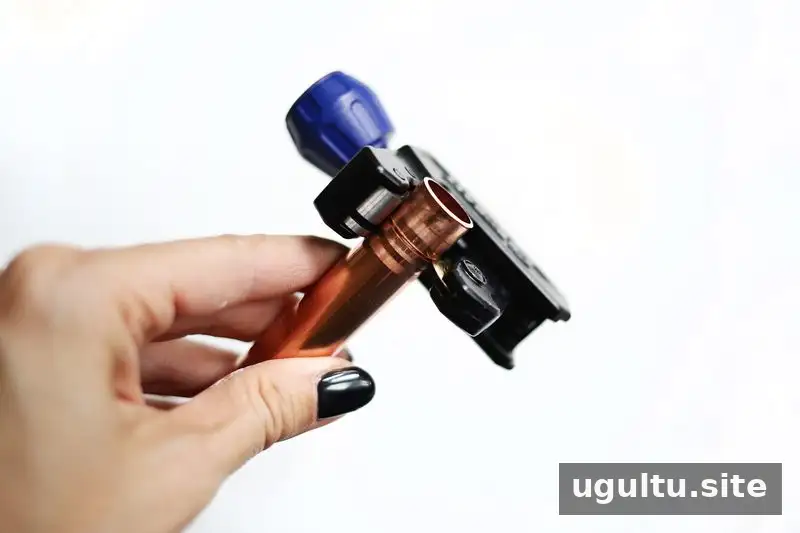
A pipe cutter is designed to make controlled cuts in pipe. If it is new to you, the accompanying video can help explain the cutting process.
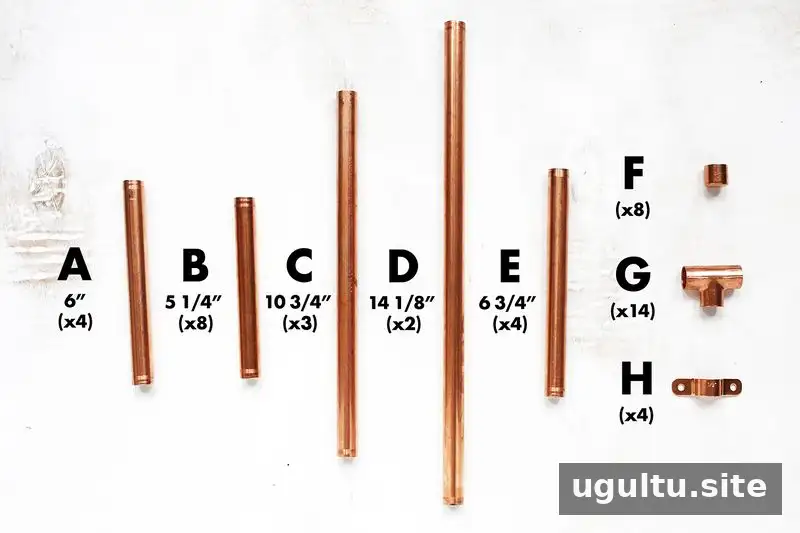
The parts diagram labels the required pipe lengths A through E and shows their quantities. It also identifies the caps, tee fittings, and pipe straps as F through H. Use the diagram alongside the materials list, and keep each cut piece grouped by its label. Cutting takes time, so working through one size at a time can help prevent mix-ups.
Assemble the Table Frame
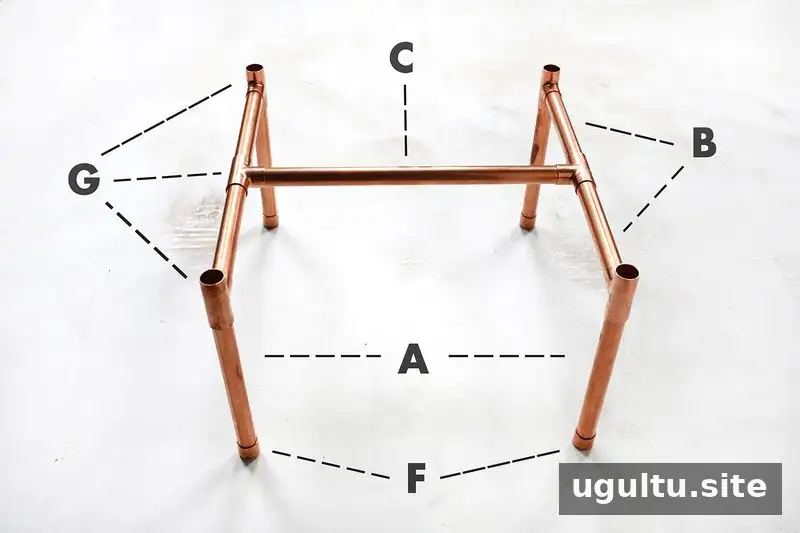
Begin with the bottom section of the stand, following the diagram. The left and right sides mirror one another: whenever a pipe section is labeled B on one side, use the same B section in the matching position on the other side. Lay the pieces out before connecting them so you can check that the frame is symmetrical.
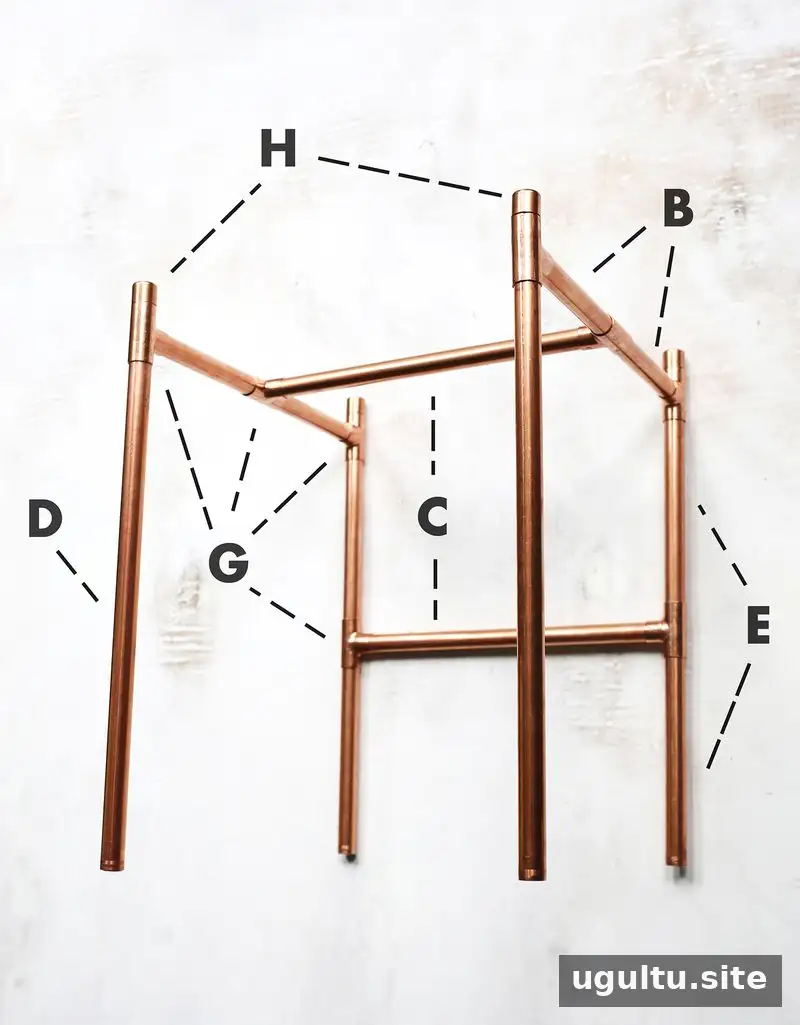
Build the top half in the same way. In addition to the labeled parts, cut four pipe pieces to 1 inch long. These short connectors join the finishing caps (H) to the four corner pieces (G). The caps and corner pieces have the same diameter, so the short pipe sections are needed to connect them.
Dry-fit the components before applying glue. This gives you an opportunity to check the lengths and alignment; if a cut is slightly off, you can address it before the joints are secured.
Secure the joints
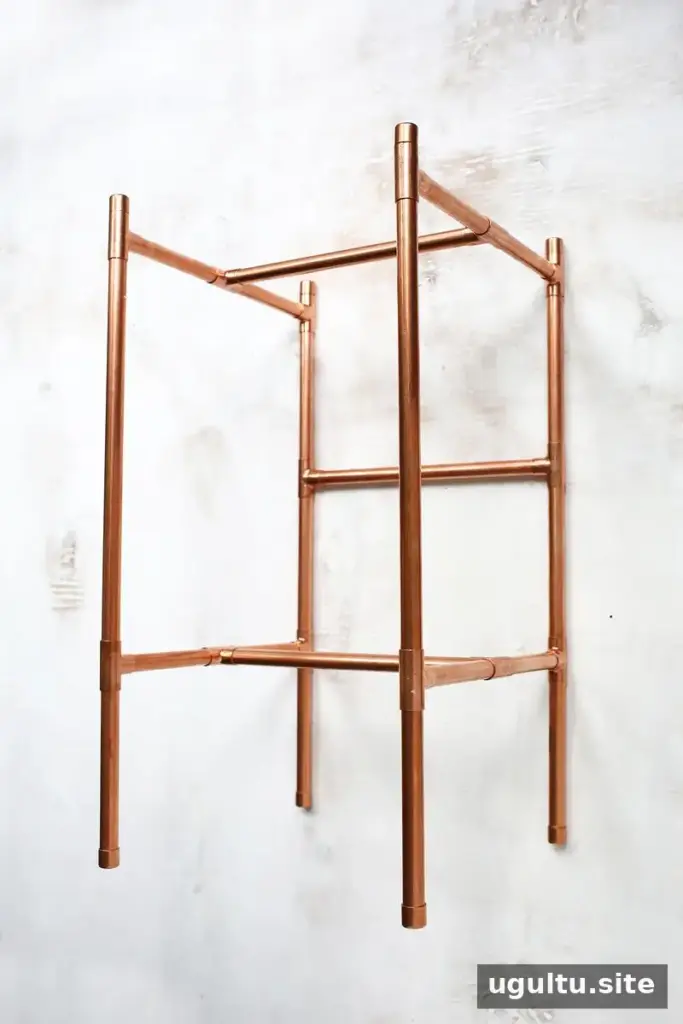
You can use a small dab of super glue or epoxy as you connect the pipes, or assemble the frame first and glue the joints after confirming that the parts fit. The second approach makes it easier to catch an incorrect cut before the frame is fixed in place. Follow the adhesive’s directions and allow it to set before putting the table to use.
Attach the Wooden Shelves
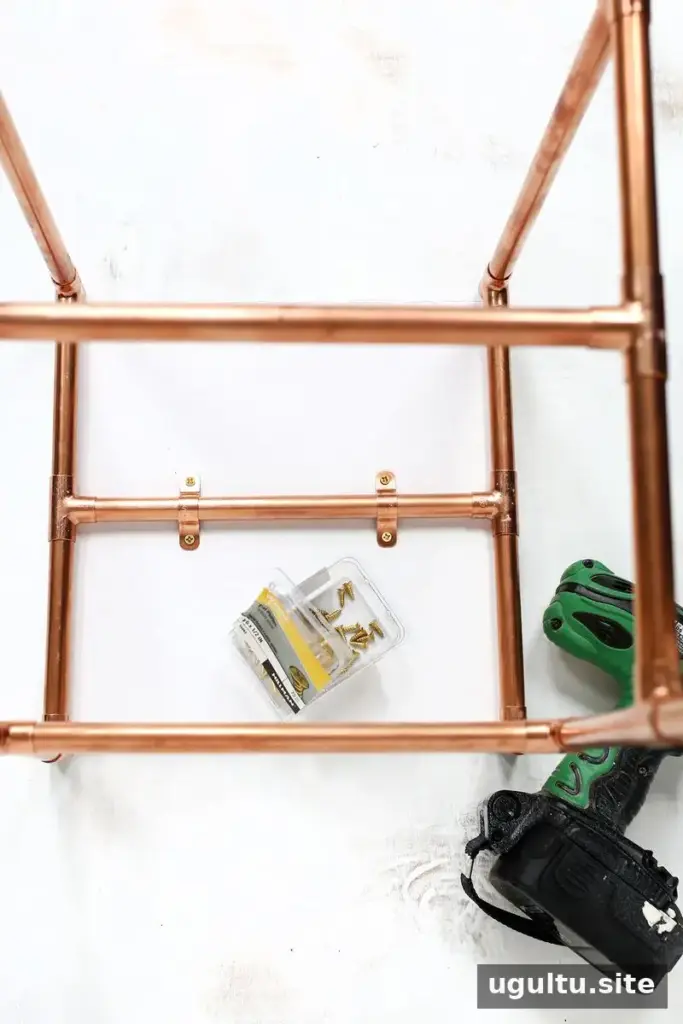
Stain or paint both wood boards, allowing the finish to dry according to its product instructions. Use the pipe straps to secure one board to each level of the frame from underneath. Check that both boards sit evenly and that the completed stand rests steadily on a level surface before arranging items on it.
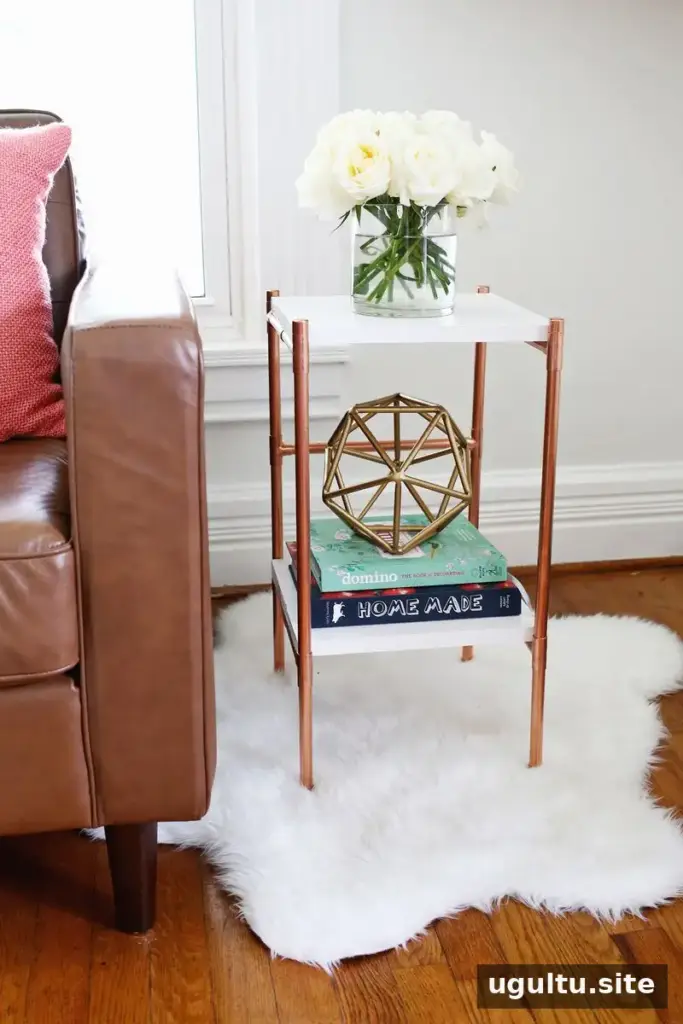
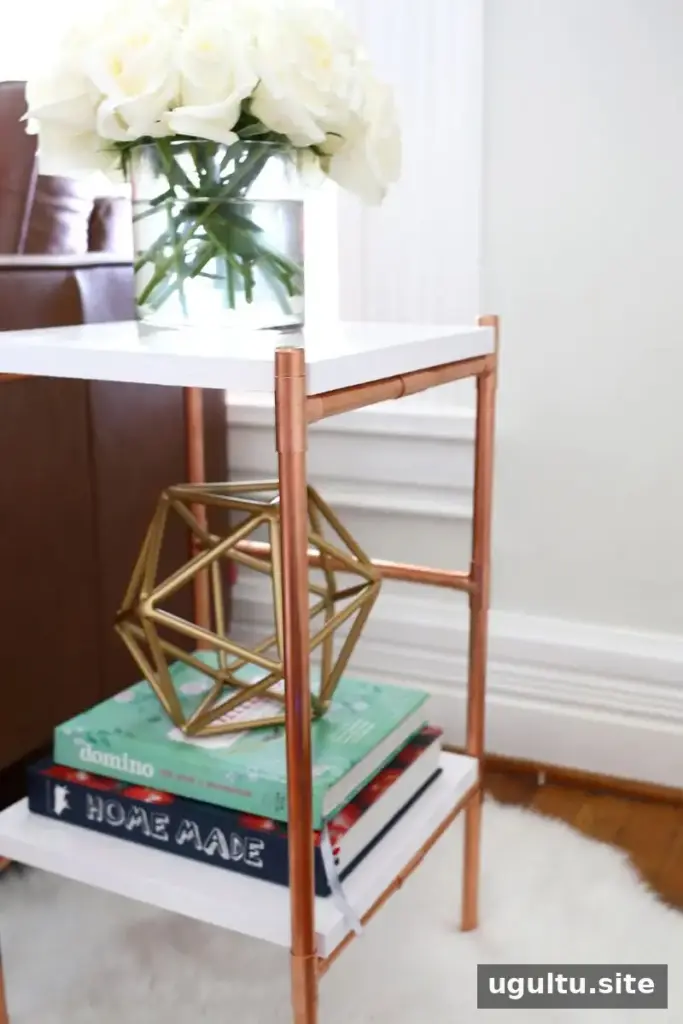
Finishing the Copper Pipe Side Table
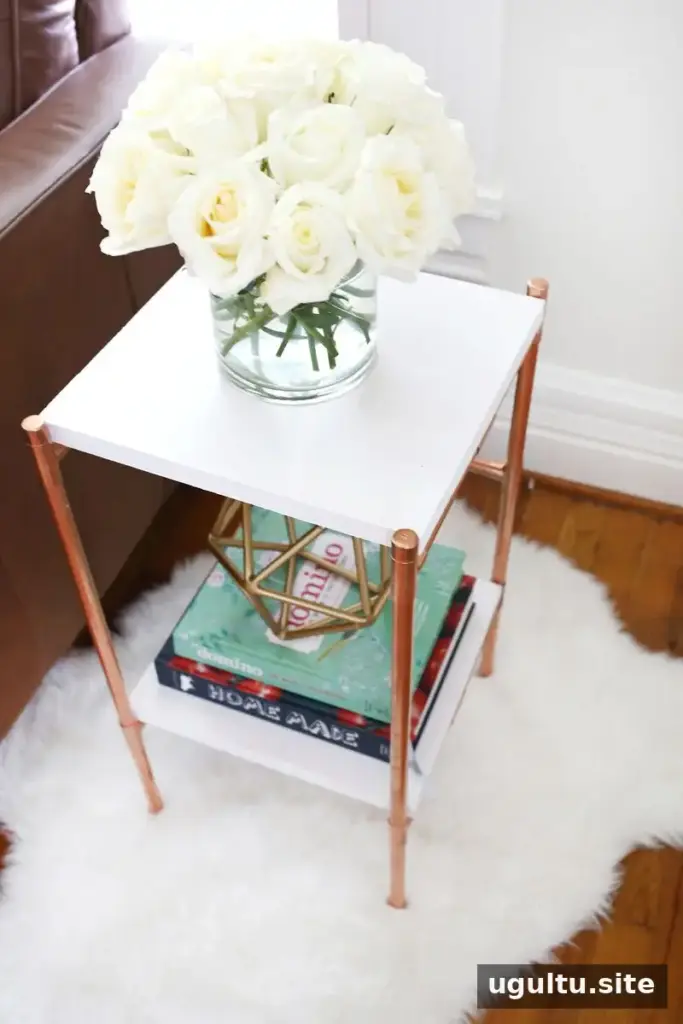
The two-tier layout provides more display and storage space than a single-surface side table, while keeping the project compact. Use the shelves for lightweight everyday essentials or decorative pieces, and avoid overloading the stand. Project notes by Laura.
More side table projects:
- How to Make Mirrored Side Tables
- DIY Terrarium Coffee Table
- DIY Lightweight Cement Side Tables
A copper pipe side table is a practical way to combine a metal frame with finished wood surfaces. Measure the pipe sections accurately, assemble the frame symmetrically, and check its stability before use.


