
 admin
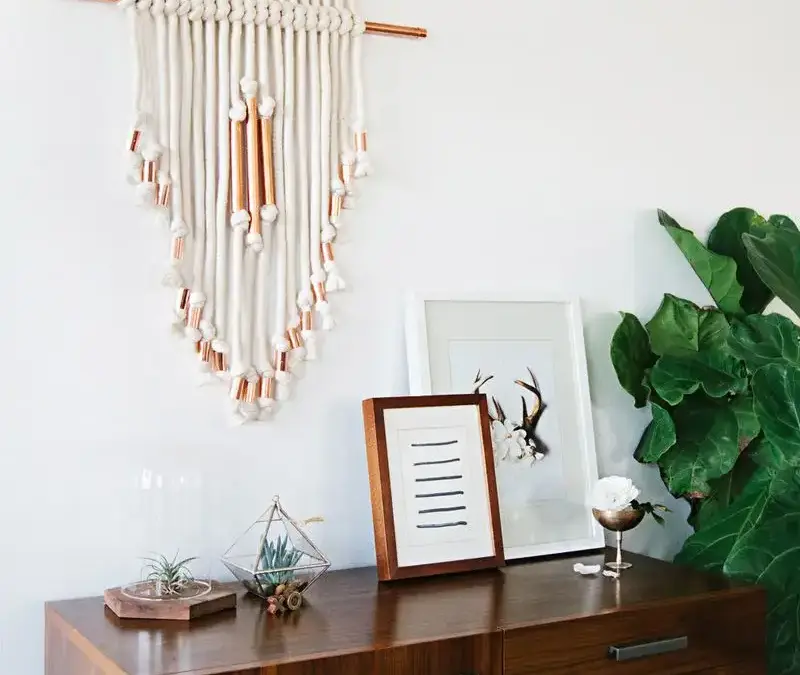
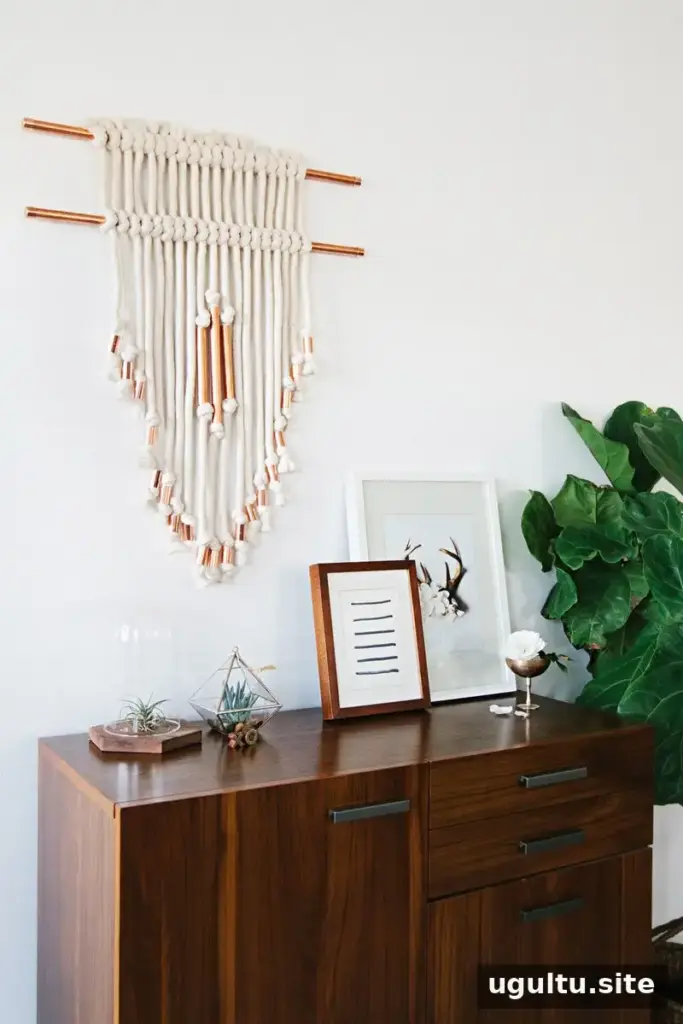
A copper pipe wall hanging adds texture and a subtle metallic accent to a room without requiring complex weaving techniques. This project combines cotton piping with copper pipes, couplings, and caps to create a geometric, fringe-like design. It can be adjusted to suit your space, and the straightforward knotting pattern makes it a practical handmade gift idea.
Designed and written by Sarah Sherman Samuel.
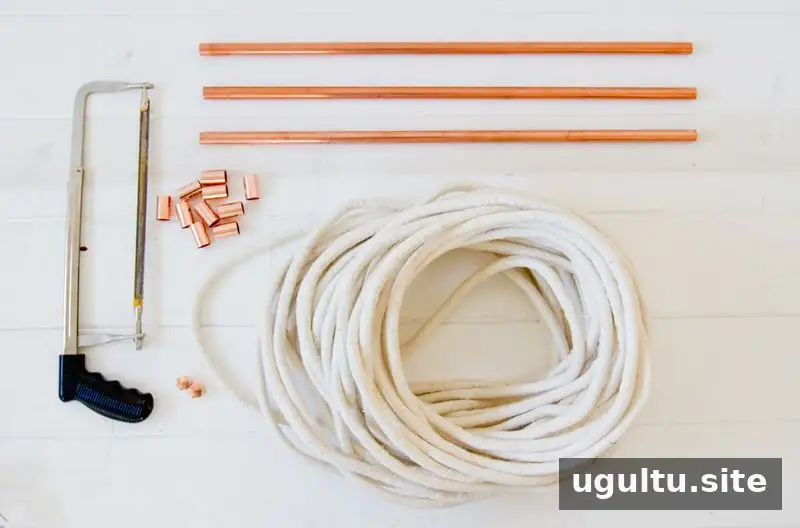
Materials for the Copper Pipe Wall Hanging
Gather the following supplies before you begin. Check that the pipe fittings match the stated size so they fit the copper pipes.
- 25 yards of 1/2-inch (size 5) cotton piping
- 3 copper pipes measuring 1/2 inch x 2 feet
- 19 copper couplings, 1/2 inch
- 4 copper tube caps, 1/2 inch
- Scissors
- Hacksaw
- File
How to Make a Copper Pipe Wall Hanging
Attach the first lengths of cotton piping
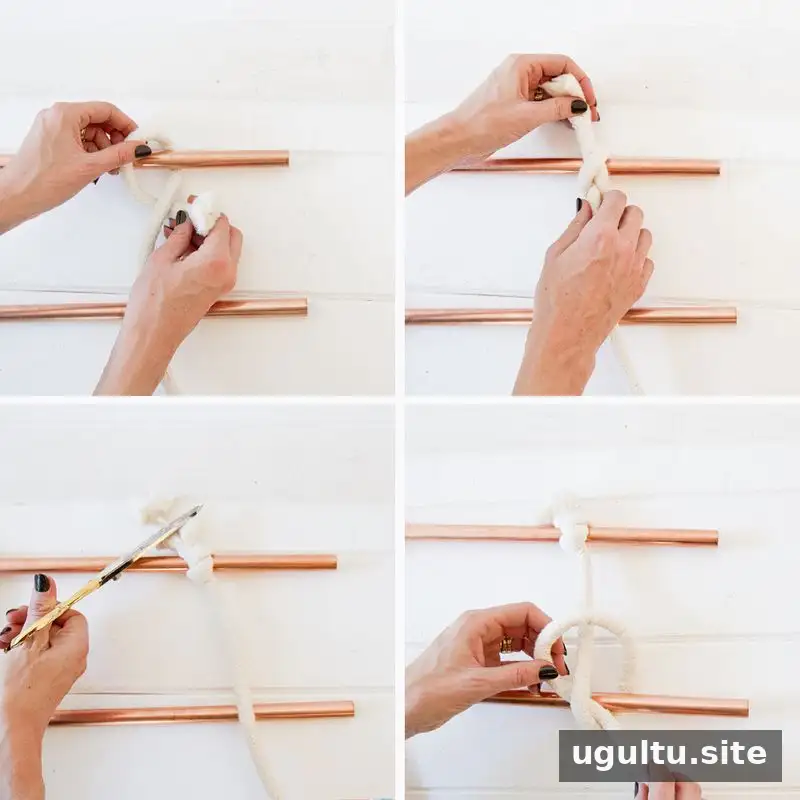
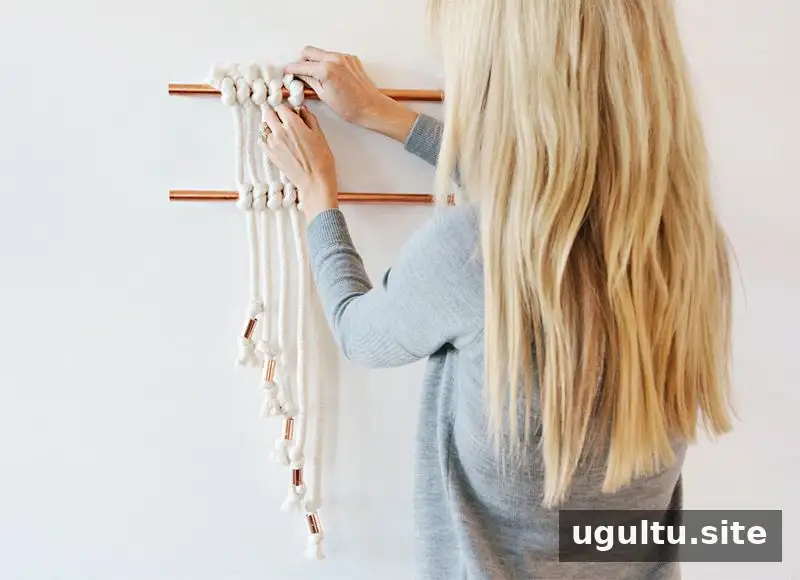
Cut an 18-inch length of cotton piping. Tie it around one copper pipe, positioning the knot approximately 4 inches from one end. Trim the short tail to about 3/4 inch. Tie the other end of the same piping around the second copper pipe, keeping the two pipes about 6 inches apart.
Next, tie another knot 6 inches farther along the cotton piping. Add a copper coupling, then secure it with a knot directly beneath it. Trim the lower tail to about 3/4 inch, matching the top. Keep the knots snug and the tails similar in length for a neater finish.
Build out the hanging pattern
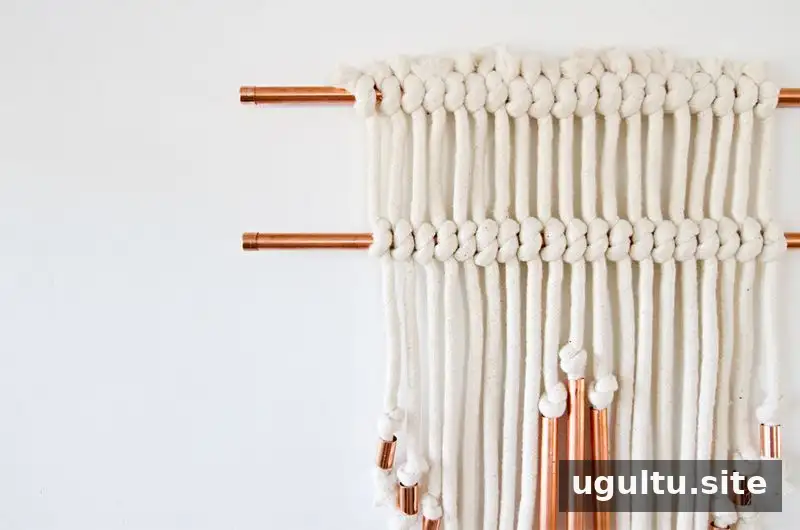
Repeat the knot-and-coupling steps to create each following row. Increase the length of the cotton piping by about 3 inches with each row until you reach the center. From the center onward, decrease the length by about 3 inches per row, mirroring the other side. Laying the work flat as you go can help you check the spacing and keep the pattern balanced.
Cut and finish the copper details
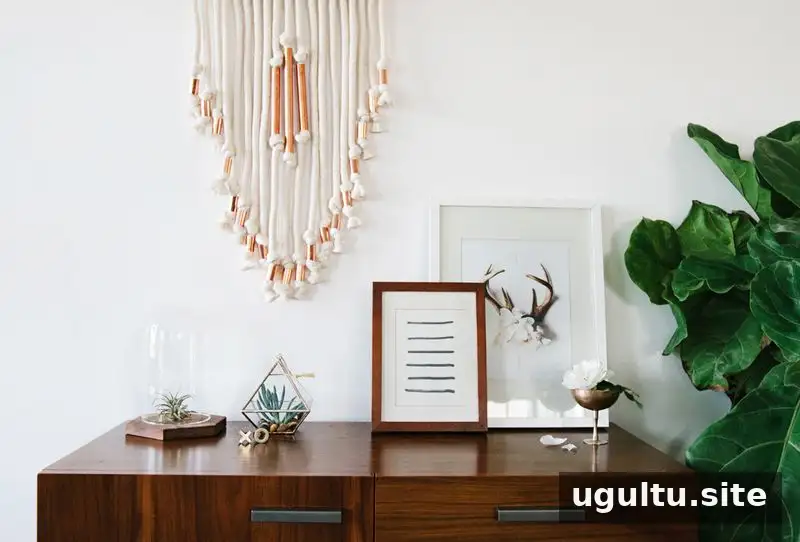
Use the remaining 1/2-inch x 2-foot copper pipe to make three center pieces: two pieces measuring 5 inches long and one piece measuring 7.5 inches long. Cut the pipe carefully with a hacksaw. Smooth every cut edge with a file before handling or assembling the pieces; freshly cut metal may have sharp edges.
Fit the tube caps onto the ends of the two copper pipes, then arrange the pieces to complete the design. Check that the fittings are secure and that no rough edges are exposed before hanging the finished decoration.
Finishing Tips and Gift Ideas
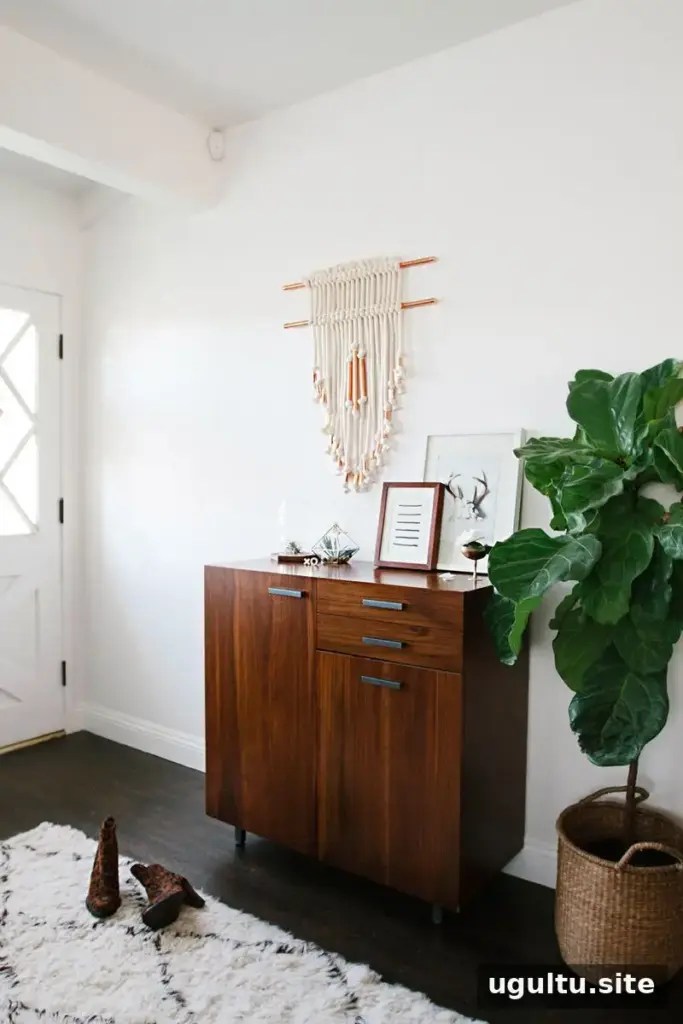
The contrast between white cotton piping and copper creates visual interest while keeping the overall look light. This wall hanging can work in an entryway or another indoor space where its shape and materials can be appreciated. For a gift, keep the finished piece protected during wrapping so the pipe edges and fittings do not catch on fabric or paper.
Conclusion
This copper pipe wall hanging uses simple knots, measured rows, and a few copper details to create a textured piece of home décor. Follow the 3-inch increases and decreases to form a balanced shape, and take care to file cut pipe edges smooth before assembly. The result is a distinctive DIY project that can also make a thoughtful handmade gift.


