admin

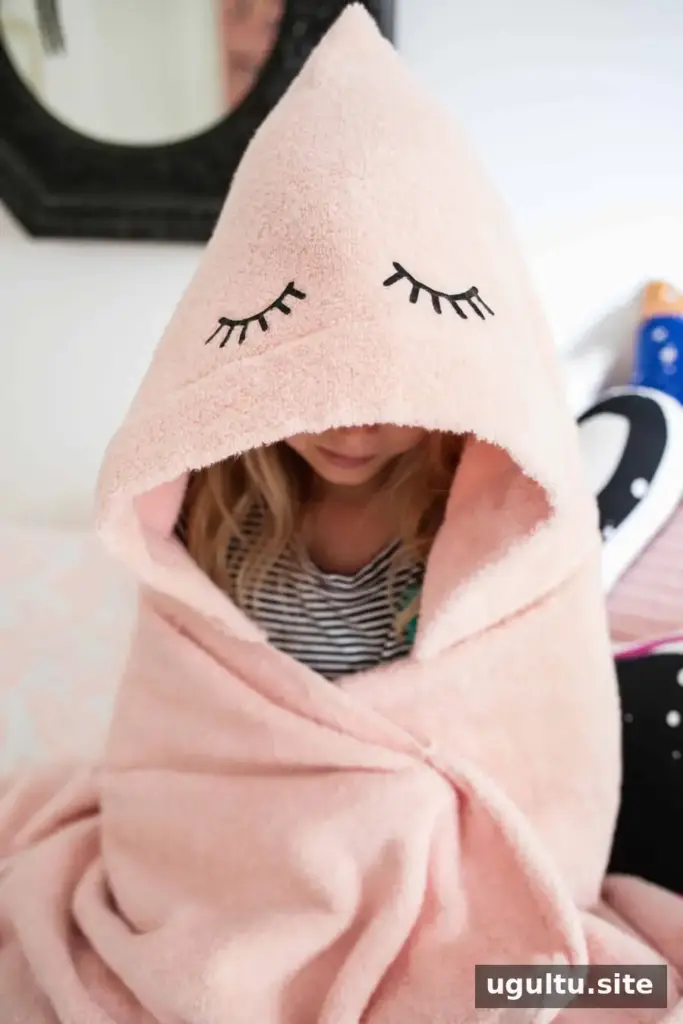
A hooded bath towel DIY project turns basic towels into a cozy, personalized wrap for after bath time or a trip to the pool. This version combines a standard bath towel, a hand towel for the hood, and a washcloth for handy corner pockets. Add iron-on patches or letters to customize the hood, or keep it simple with a soft, plain finish. The project is suitable for beginner sewers who are comfortable using a sewing machine.
Materials for a Hooded Bath Towel DIY
Gather the materials before you start so you can measure, pin, and sew without interrupting the project. Choose towels with a similar weight if possible; this can make the seams easier to manage.
- One standard bath towel
- One standard hand towel
- One standard washcloth
- Iron-on patches or letters, such as 2.5-inch eyelash transfers
- Iron and a cotton pressing cloth
- Sewing machine and thread
- Straight pins and scissors
- Embroidery thread to match any letters or patches that need extra stitching

Personalized towels can make a practical handmade gift for a child or a useful addition to a pool bag. If you are sewing with a child, let them help choose the colors or patch design, while an adult handles the iron and sewing machine.

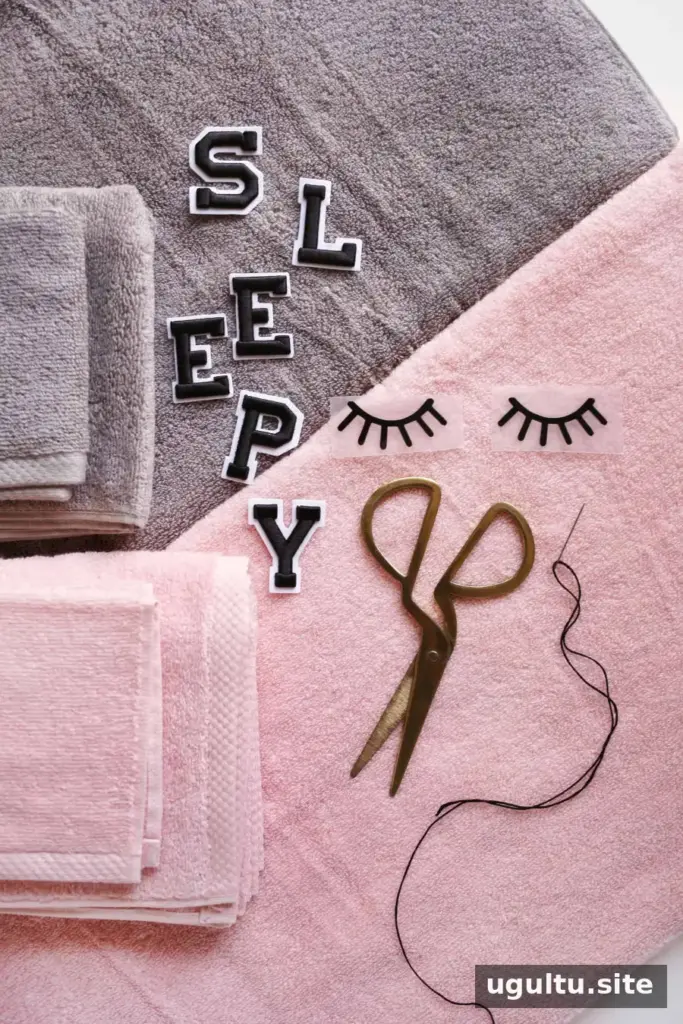
Before cutting, check that the hand towel is large enough to form a hood and that the bath towel is laid flat. Use sharp fabric scissors and keep pins away from the sewing-machine needle as you work.
How to Sew the Hood
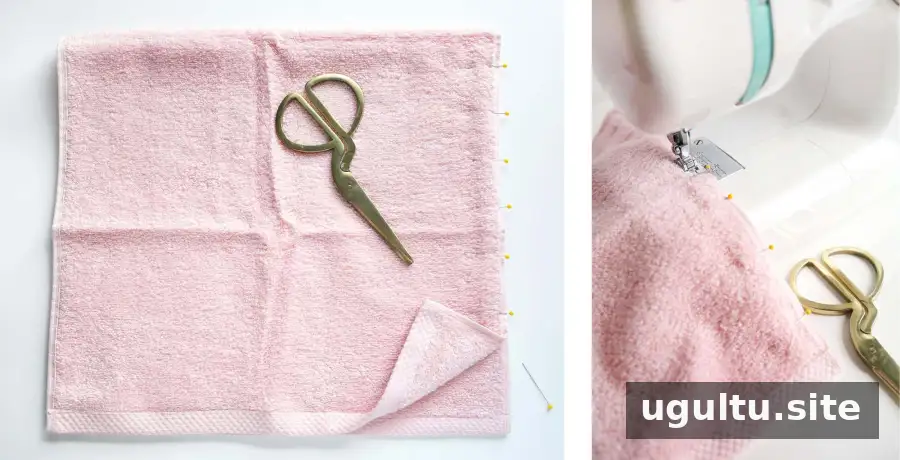
1. Shape and sew the hand towel
Fold the hand towel in half to create a square shape. Align one of the long sides and pin the layers together. The finished towel is intended for children around ages 3–9, depending on their size. For a child aged 3–5, you may trim about 2 inches from the long side before pinning to make the hood shallower.
Sew along the two pinned long sides, about 1/4 inch from the edge. Backstitch at the beginning and end, then remove the pins. If you cut the towel, sew a zigzag stitch near the cut edge to help limit fraying during washing.
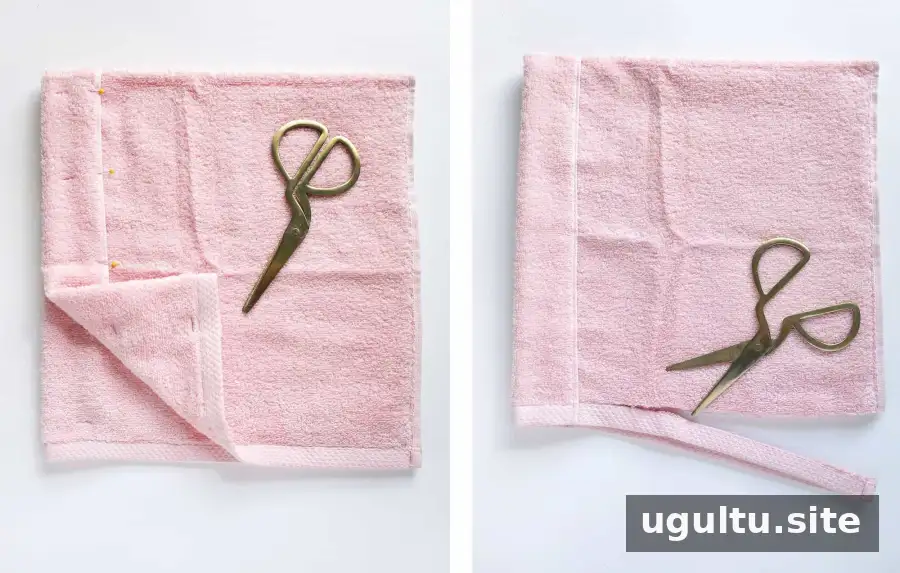
2. Finish the front edge
On the opposite side of the hand towel, fold the edge back about 2 inches and pin it in place. Open the towel and stitch along the fold where the finished edge sits. Remove the pins, then trim the bulky seams from the short ends of the towel.
3. Attach the hood to the bath towel
Open the hand towel and center its trimmed edges along the middle of one long edge of the bath towel. Place the wrong side of the hood—the side with the seams showing—against the bath towel. Pin the layers together and sew across the hood about 1/2 inch from the edge. Backstitch at both ends.
Remove the pins and fold the hood upward. Turn it right side out so the first seam is inside the hood.
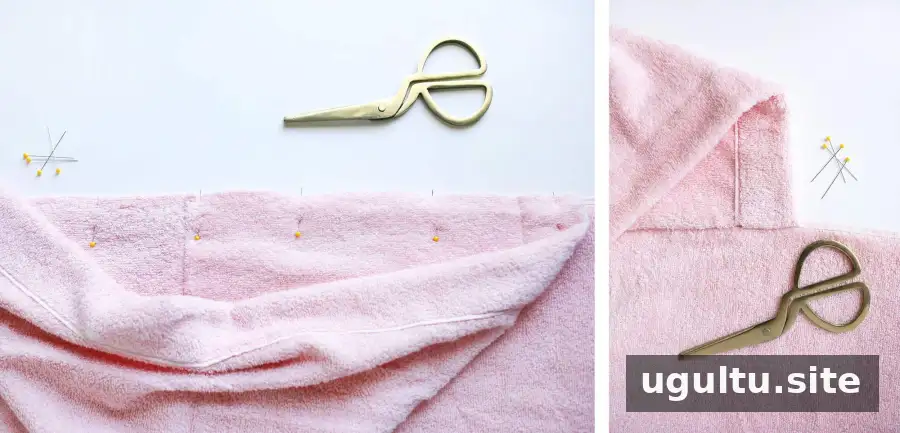
Turn the towel over while keeping the hood above the body. Push the new seam toward the hood and pin it flat; press carefully with an iron if needed. Sew from one side of the hood to the other along the finished edge of the bath towel. This second seam covers the raw edge. Remove the pins and trim loose threads.
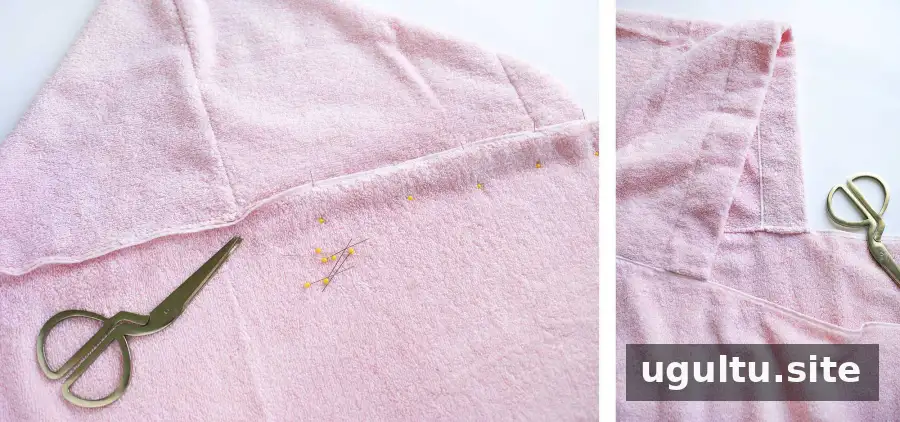
Add Washcloth Hand Pockets
Cut the washcloth in half. Lay the open hooded towel with the inside of the bath towel facing up. Pin one half of the washcloth to the back of a top corner, using its finished edge as the opening of the pocket. The fabric will be turned right side out in the next step.
Sew along the two sides of the pocket, rounding the corner slightly. Backstitch at the beginning and end, then remove the pins. Trim away excess fabric around the seam, taking care not to cut through the stitching.
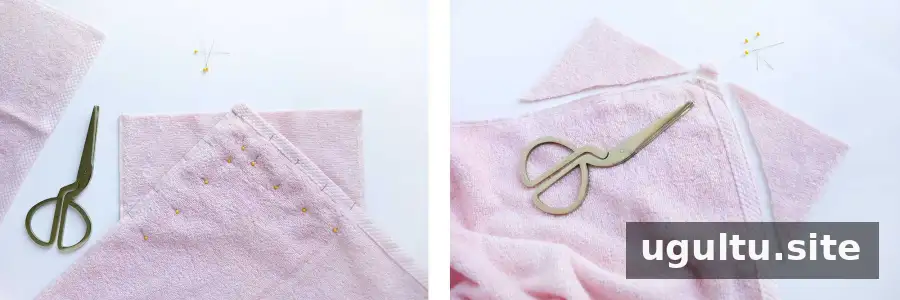
Turn the pocket to the front and gently push out the rounded corner. Pin the two finished edges in place and stitch about 1/2 inch at each corner to secure them. Repeat with the other half of the washcloth on the opposite corner if you want a matching second pocket.
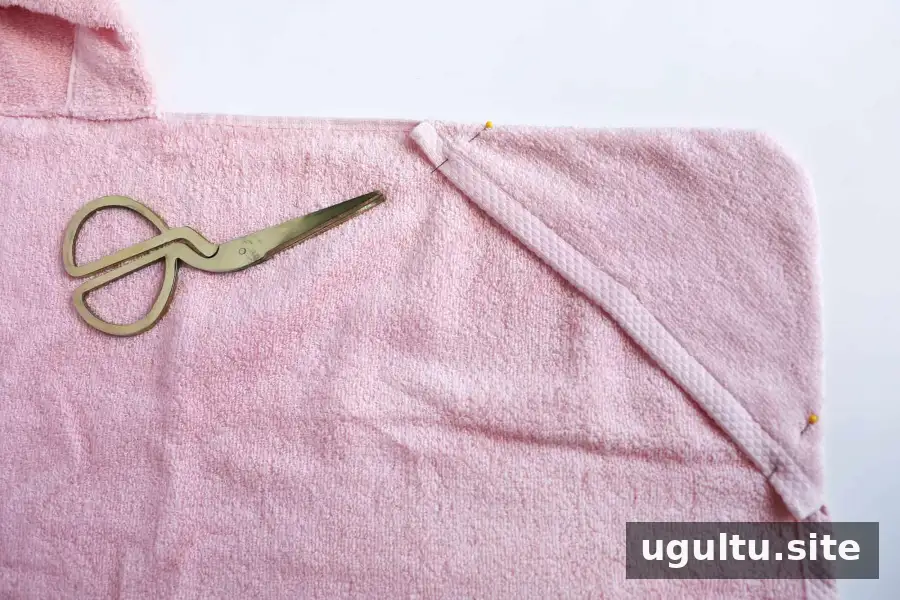
Personalize and Secure the Decorations
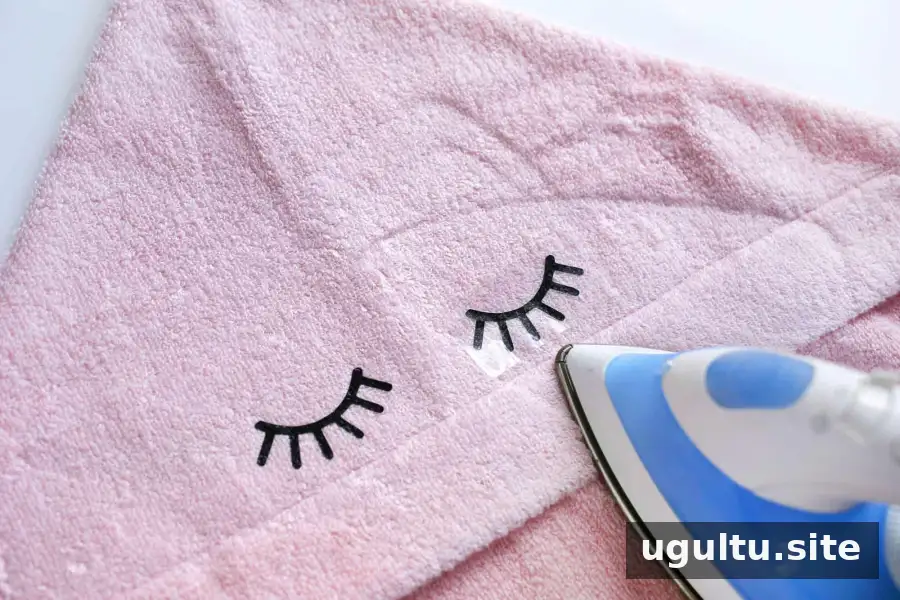
Center the iron-on patches or letters on the hood and follow the instructions supplied with the transfers. Use a pressing cloth between the iron and any patch when directed, and avoid moving the iron back and forth if the product instructions call for pressing in place.
Some decorations may benefit from additional stitching, especially letters that could lift with repeated washing. For extra support, hand-sew through the patch with matching embroidery thread, knotting the thread on the inside of the hood. A sewing machine may also work for patches that are safe to stitch through. Check the patch instructions first.

Care and Finishing Tips
Before using the towel, check that all seams are secure and that no pins or loose threads remain. Follow the care instructions for the towels and decorative transfers when washing. If the towel will be used at a pool, keep in mind that a wet towel can feel heavy; supervise young children and do not use it as a substitute for appropriate water safety measures.
A handmade hooded towel can be personalized with a name, initials, or a favorite motif, making it a thoughtful birthday gift when paired with a book or another small bath-time item. Choose decorations that suit the recipient and secure them well for regular use.
For a comfortable, useful hooded bath towel DIY, take time to center the hood, finish raw edges, and reinforce any decorations that need it. These small details help the towel feel polished and hold up through everyday use. —Rachel