
 admin
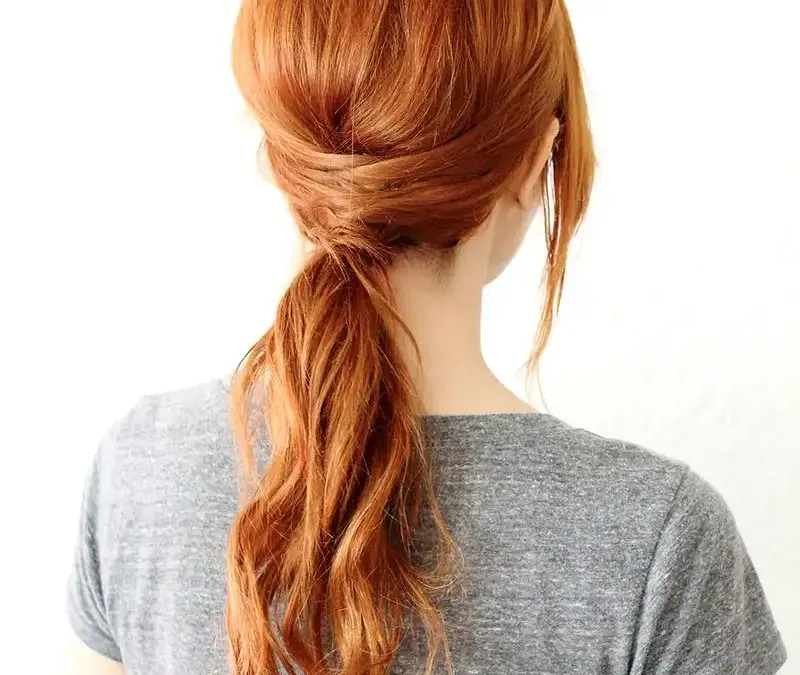
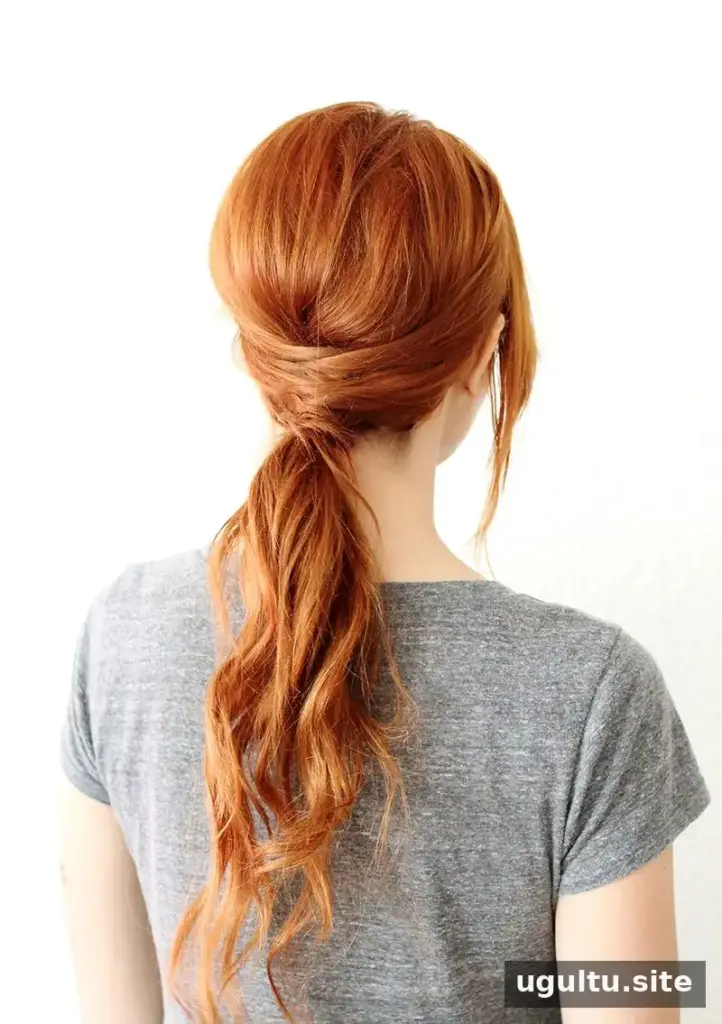
A crisscross ponytail adds a woven detail to a classic tied-back hairstyle without requiring a complicated braid. The look is made by crossing loose sections over the base of a ponytail and securing them with bobby pins. Follow the steps below, working from side to side, to create a neat finish. For easier styling, have a hair elastic and several bobby pins within reach before you begin.
How to Create a Crisscross Ponytail
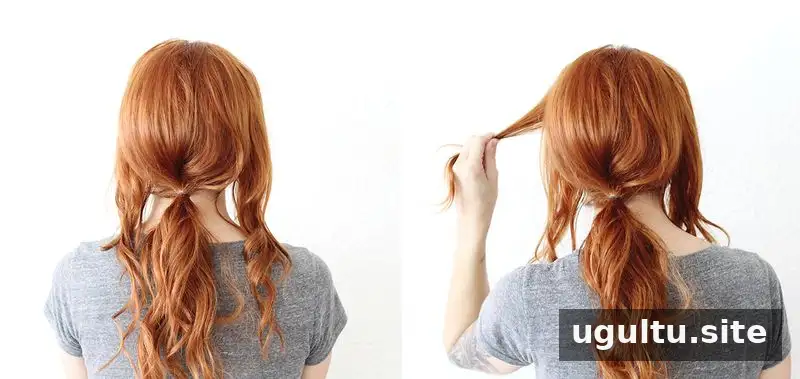
1. Make the ponytail and separate the front sections
Gather most of your hair into a ponytail and secure it with an elastic. Leave a section loose at the front on each side of your head. These two sections will form the crisscross detail, so try to leave a similar amount of hair on both sides.
2. Divide the left section
Separate the loose hair on the left into a top layer and a bottom layer. Hold the top layer aside. Keeping the layers distinct makes it easier to follow the alternating pattern and helps the crossover sit smoothly.
3. Cross the first section
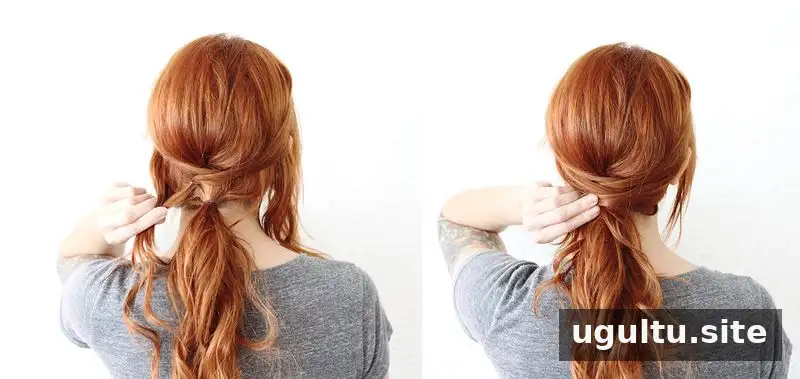
Bring the top left section across the head, above the ponytail, toward the right side. Secure it with a bobby pin. Place the pin close to the ponytail so it is easier to conceal with the next section.
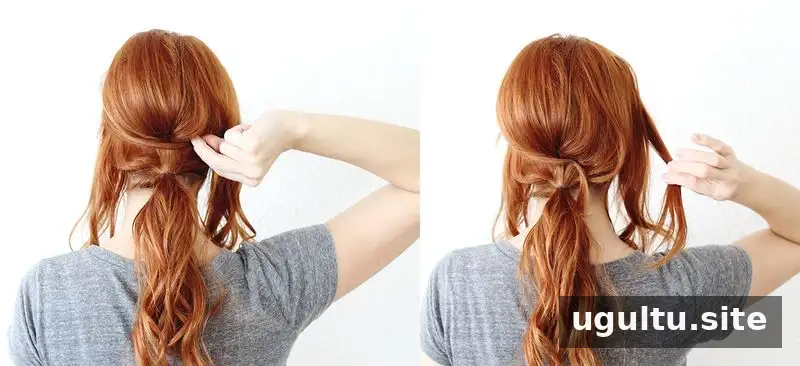
4. Cross the top right section
Take the top section of loose hair on the right and bring it across to the left, over the first piece. As you do this, include the short end left from the first crossover. Pin the section in place.
5. Continue with the remaining left section
Bring the remaining loose section on the left across to the right. Pick up the short end from the previous crossover and incorporate it into this section before pinning. Position the pin just above the ponytail elastic.
6. Cross the remaining right section
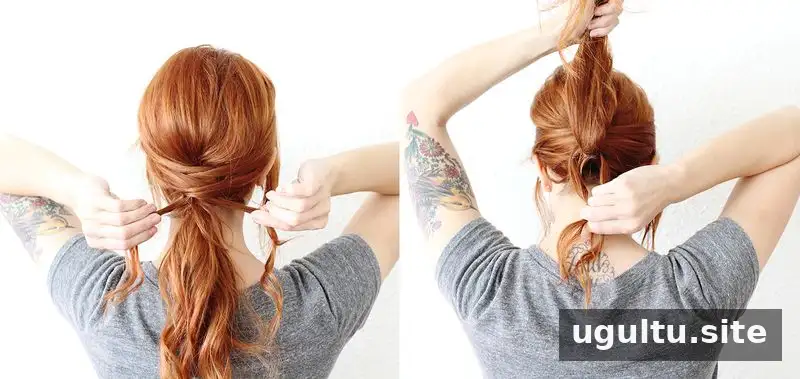
Take the remaining hair on the right and cross it over to the left. If a short tail remains from the previous piece, include it as you cross. Secure the hair with a bobby pin.
7. Conceal any loose ends
If the final crossover leaves a short end, tuck it underneath the ponytail and pin it discreetly. If the end is long, take a small section from each side of the ponytail and wrap them around the elastic to cover it. Pin the wrapped hair in place.
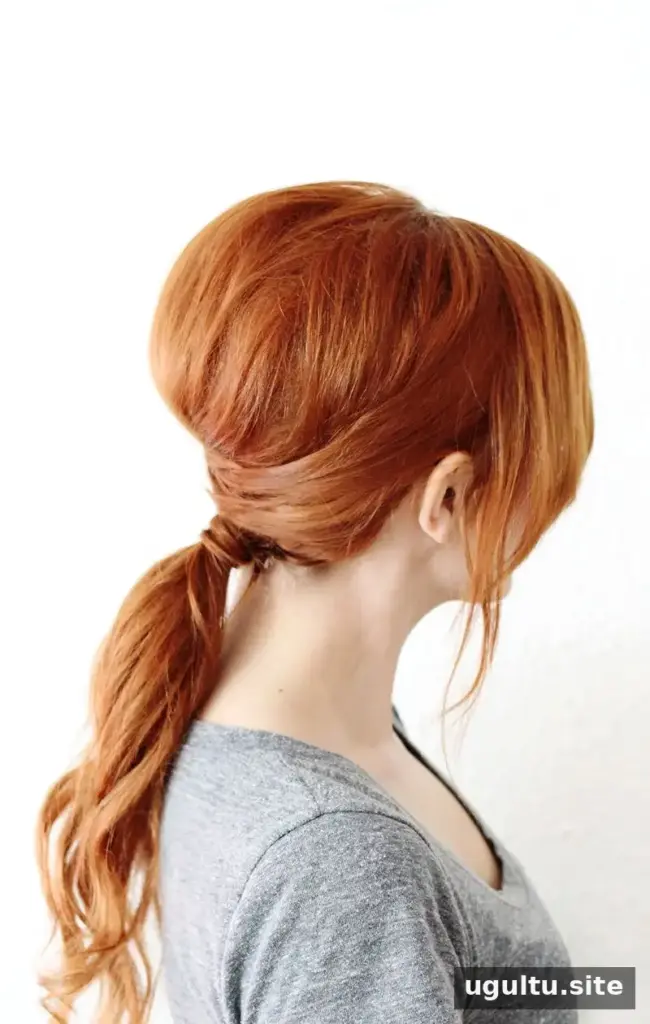
Finishing Tips for a Neat Crisscross Ponytail
- Keep the sections smooth as you cross them, but avoid pulling so tightly that the style feels uncomfortable.
- Use bobby pins where the crossed sections meet the ponytail, then check that the pins are secure and covered by hair.
- If you are new to the technique, take your time with each crossover. The pattern alternates from left to right, and the short ends are folded into the following sections.
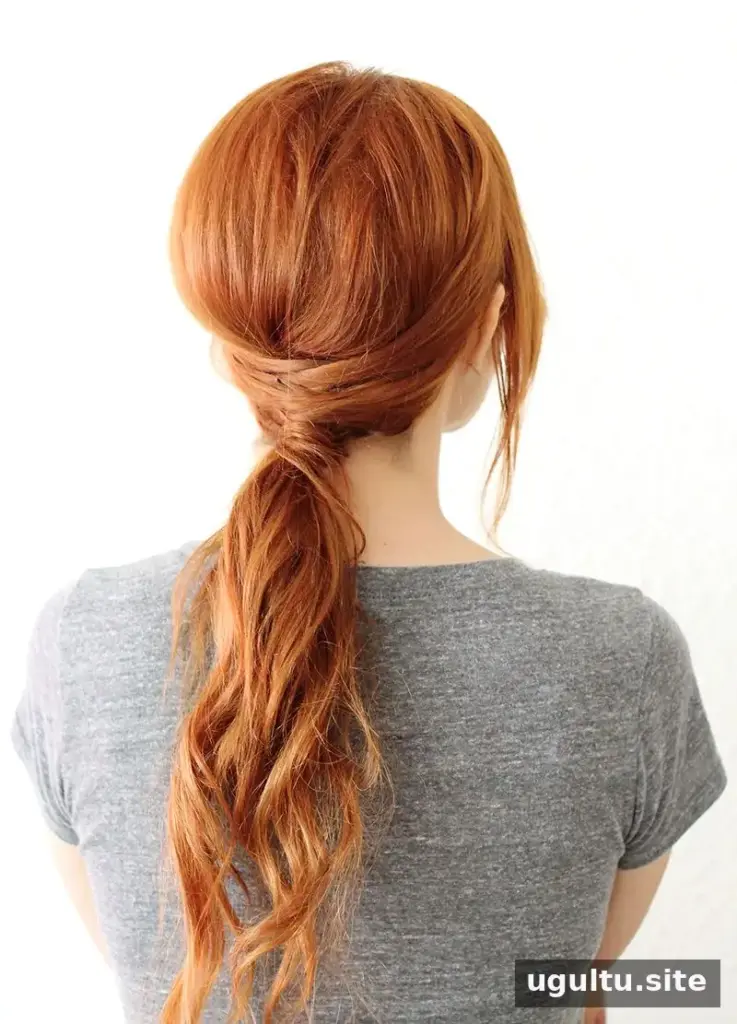
Once the sequence feels familiar, the style is easy to remember: make a ponytail, then cross the sections from side to side. This simple variation gives an everyday ponytail a more detailed appearance while keeping the hair secured away from the face.
Tutorial by Katie.


