
 admin
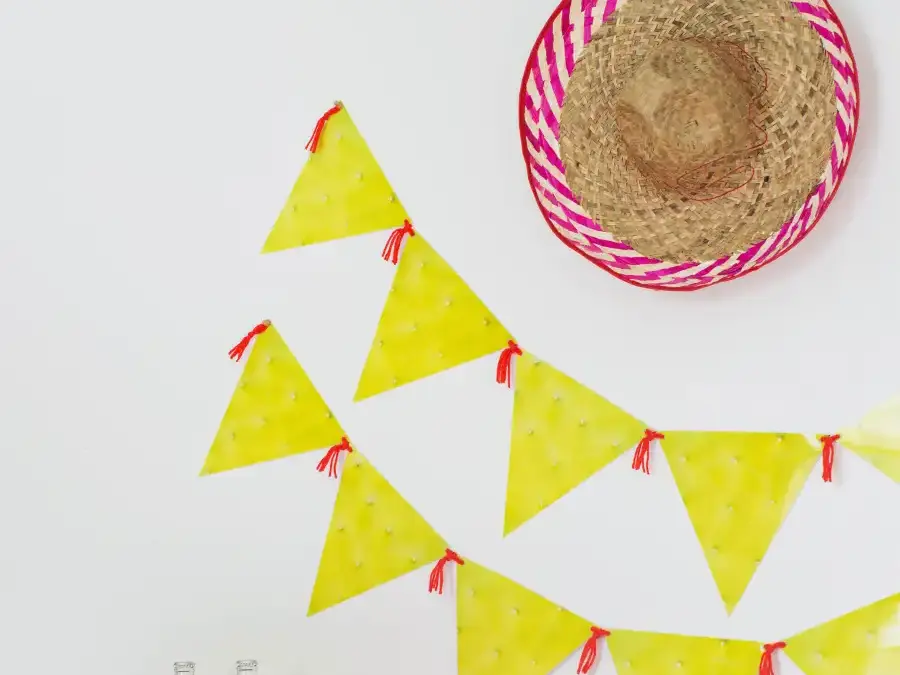
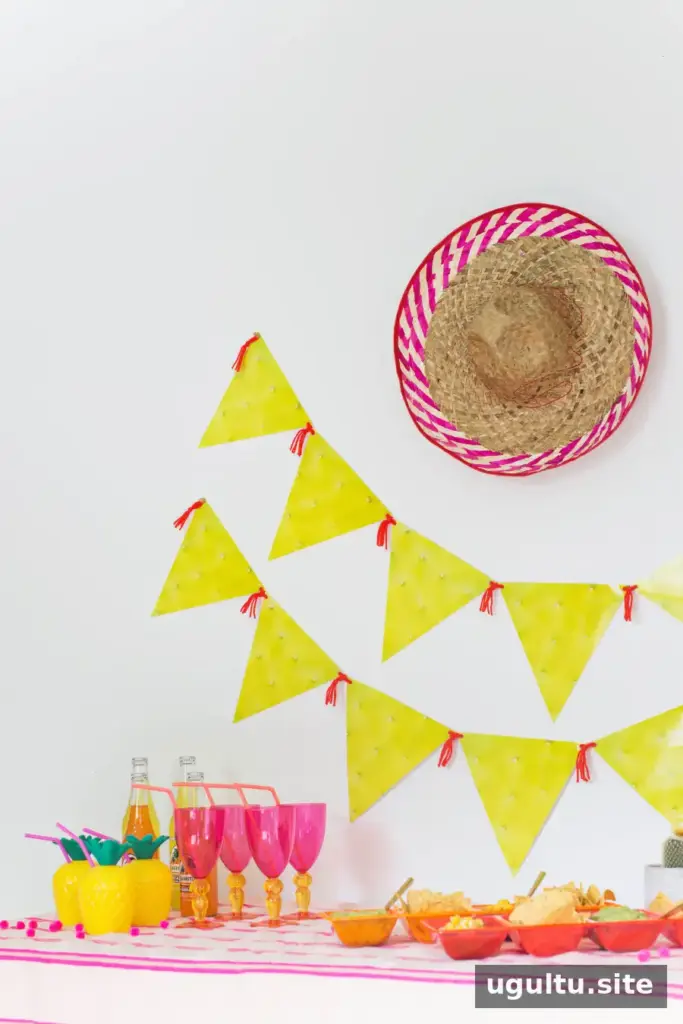
A DIY photo garland is a simple way to add color and a personal touch to a party, family gathering, or everyday celebration. Choose an image that suits your theme, print it on glossy photo paper, and turn it into a strand of decorative triangles. The project uses basic supplies and can be adapted to different colors, occasions, and garland lengths.
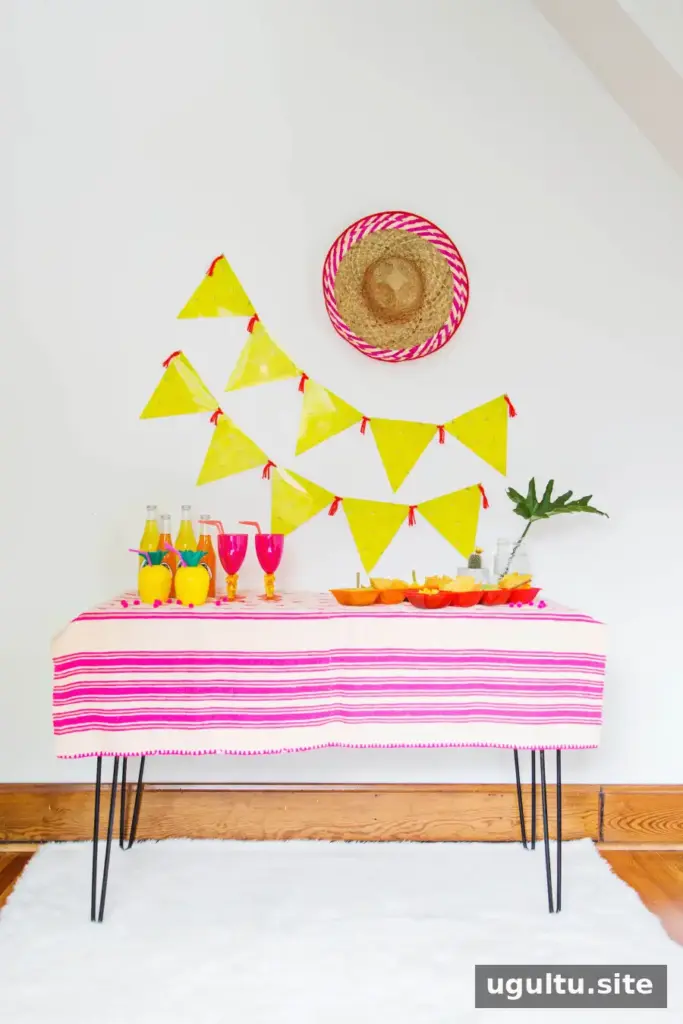
Photo garlands work well as a backdrop or as decoration above a table. Planning your image and triangle size before printing helps reduce wasted paper and makes it easier to create a coordinated display.
DIY Photo Garland Supplies
Gather these materials before you begin. A photo printer that supports 13 × 19-inch paper can be useful for making larger pieces, but choose paper and a printer that work together.
- Glossy photo paper, such as Photo Paper Pro Platinum in 13″ × 19″ sheets
- A photo printer, such as the PIXMA iP8720
- Paper scissors or a paper cutter
- A hole punch
- Yarn in one or more colors
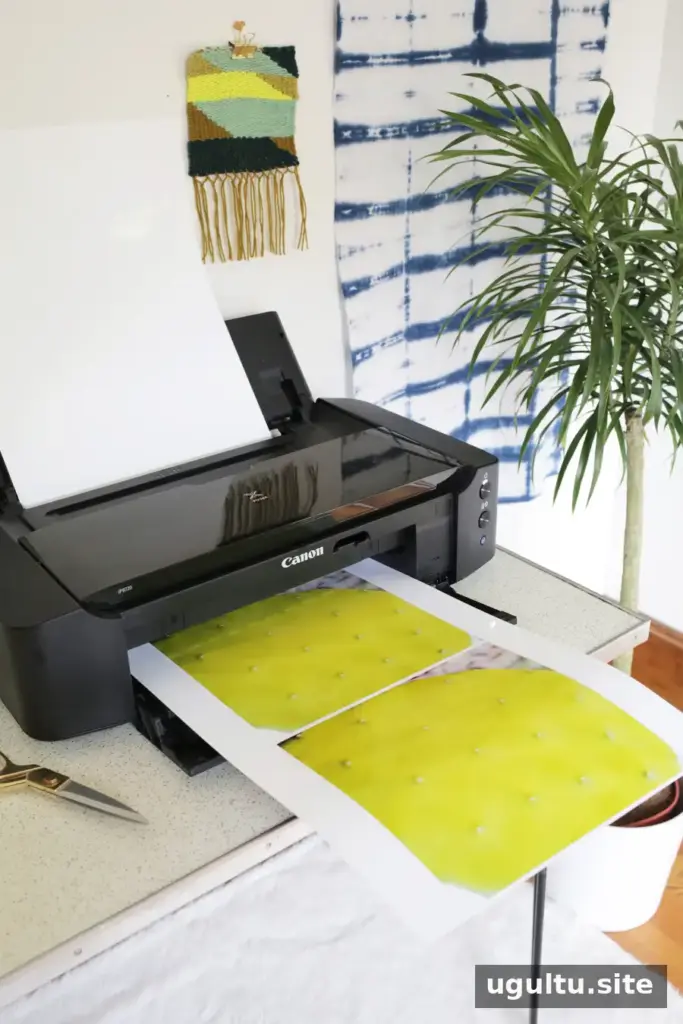
Before printing, check that your printer settings match the paper size and finish. Print a test page if you are unsure how the colors will look; this can help you adjust the image before using the full-size sheets.
Choose and Print an Image
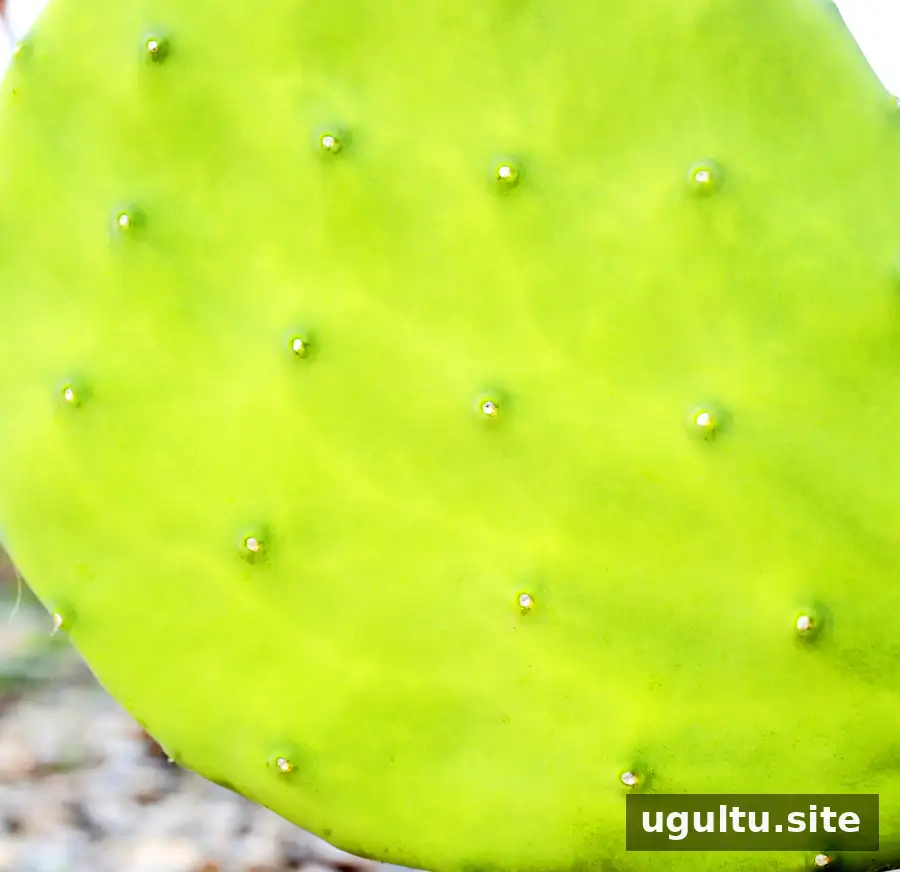
Select a photograph or pattern with strong colors that will remain clear when cut into triangles. For a Taco Tuesday theme, for example, a close-up cactus image can add color without distracting shadows. Other options include a serape pattern, a pile of limes, or overlapping fringed garland. Images that fill the frame with color tend to make the finished decorations more noticeable.
Crop and edit the image using photo-editing software, then arrange it on the page before printing. The original project printed two images per 13″ × 19″ sheet. Depending on the triangle dimensions and how the image is laid out, a full-bleed print on a sheet of that size may provide enough material for up to four triangles. Print as many sheets as needed for your planned garland length.
Cut and Assemble the Garland
Once the prints are ready, cut out the triangles with scissors or a paper cutter. Keep the pieces a consistent size if you want a uniform strand. A ruler or paper template can help make the cuts more even, especially when preparing several copies.
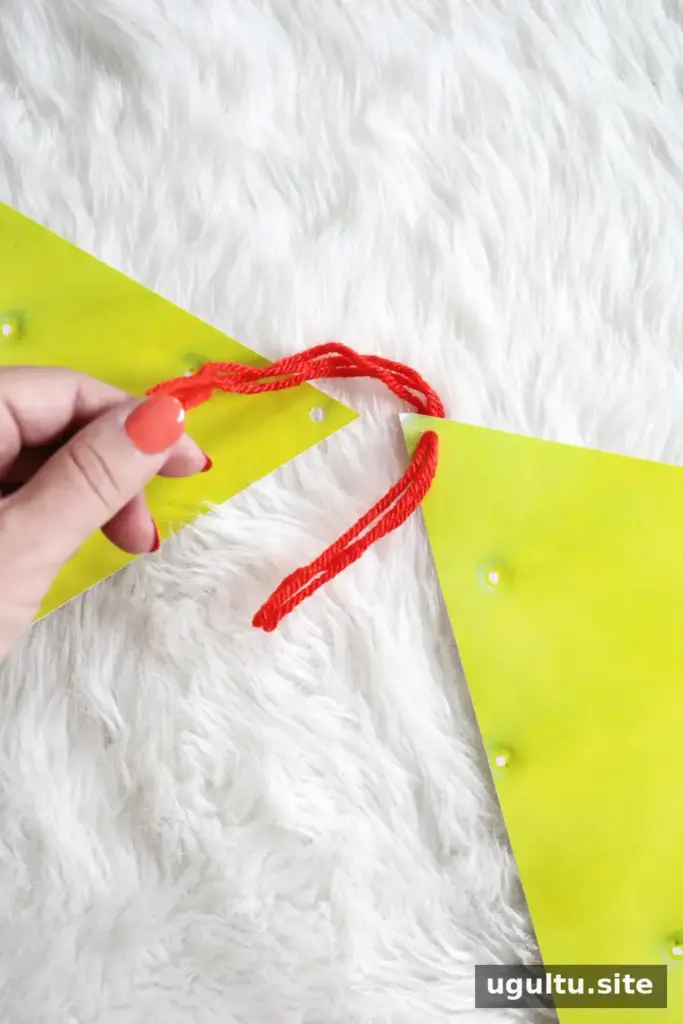
- Punch one hole near each of the two upper corners of every triangle.
- Thread three strands of colorful yarn through the holes to connect the pieces.
- Tie the yarn in a knot and trim the ends to create a tassel effect.
- Add an extra set of tassels at the ends of the garland if desired.
Leave enough yarn at both ends to hang the decoration securely. Handle the printed pieces gently around the punched holes, since narrow edges can tear if the yarn is pulled too tightly.
Display and Customize Your Photo Garland
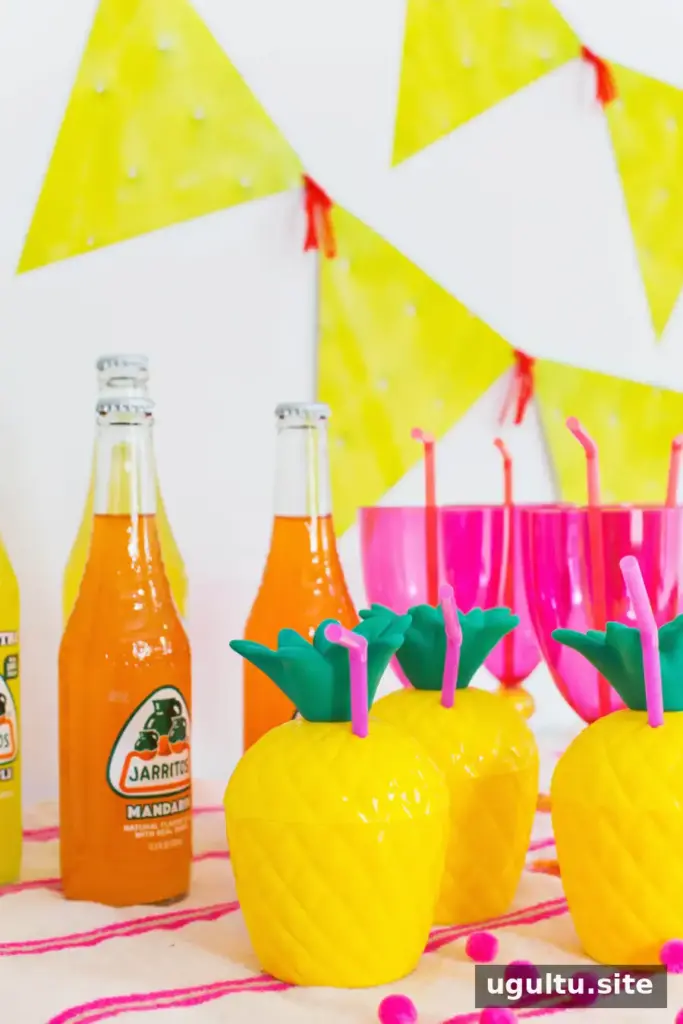
Hang the finished garland where it can be seen without obstructing walkways or placing it too close to heat sources. It can bring a festive touch to a summer gathering, a birthday table, or a themed brunch. If using it outdoors, consider the weather and bring the paper decoration inside if it may get wet.
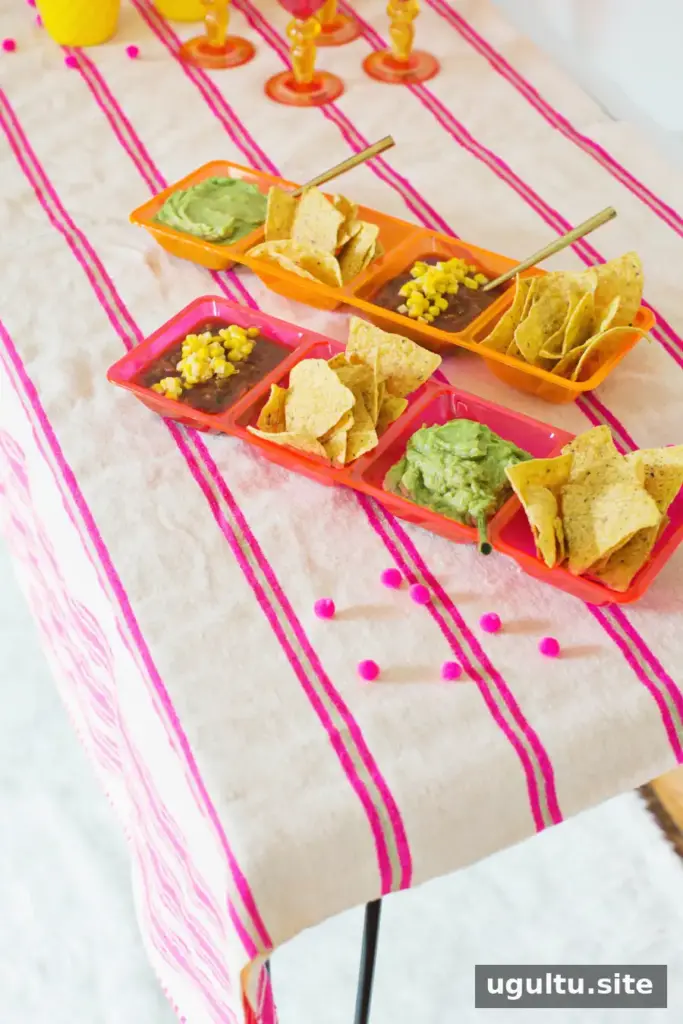
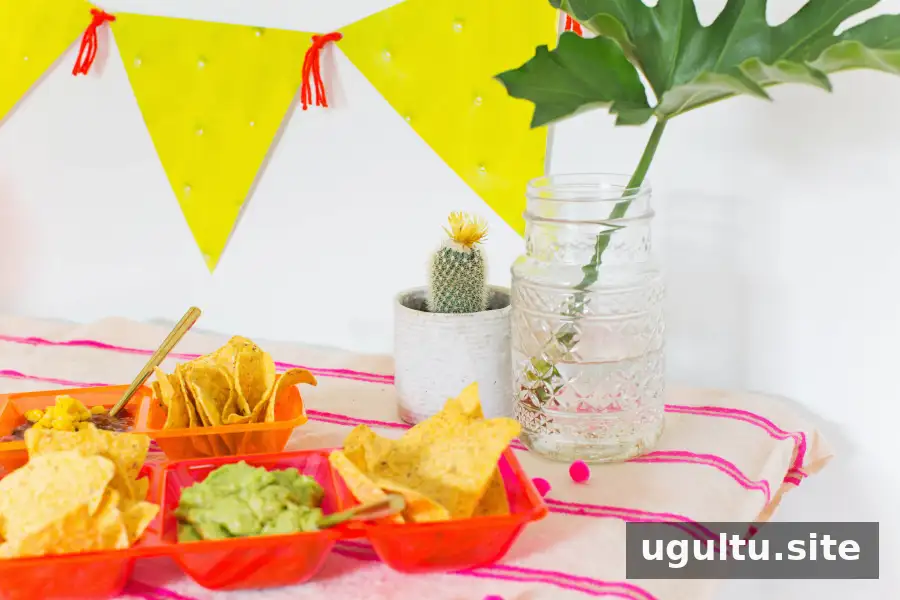
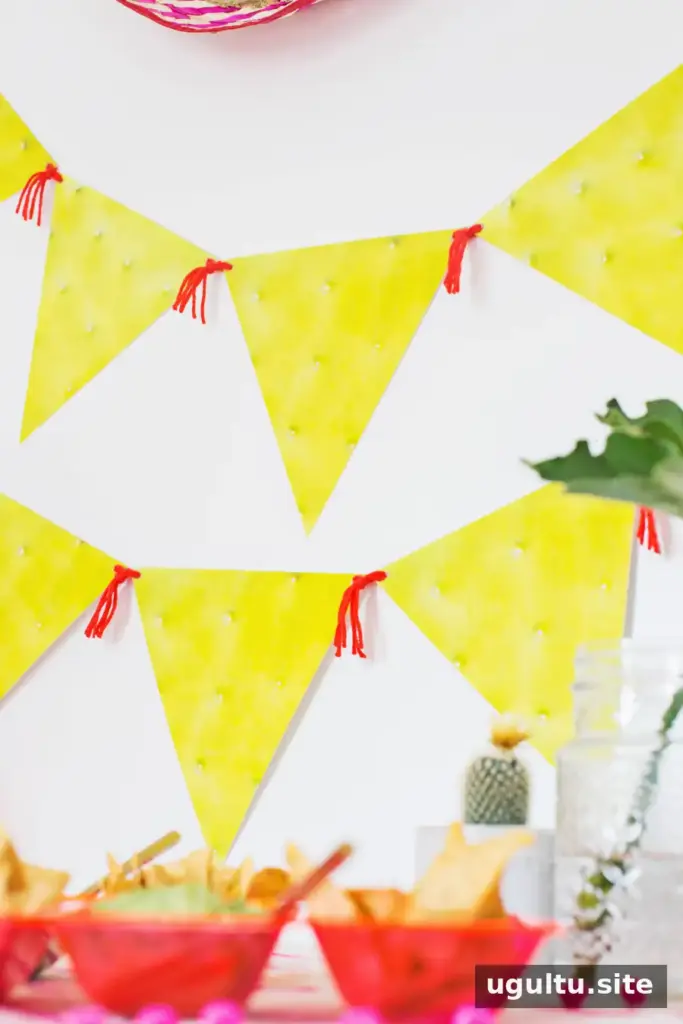
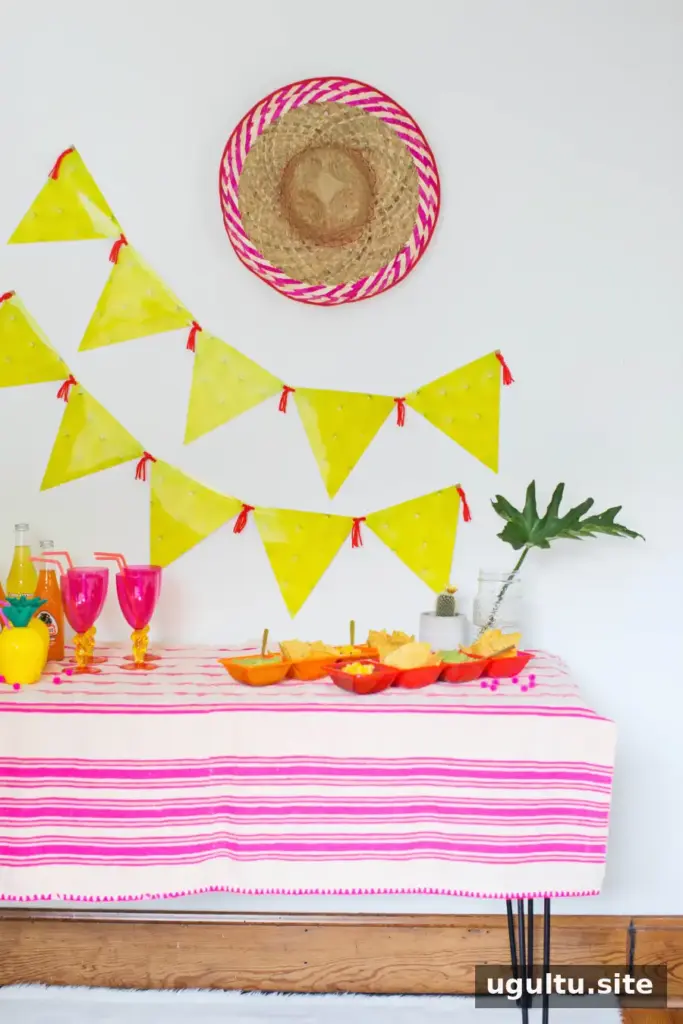
The design can be changed to suit many occasions. Try colorful sprinkles for a donut brunch, bright confetti for a birthday party, or a photograph that reflects the season. For a more coordinated look, choose yarn that picks up one of the colors in the image and test the spacing before tying every piece in place.
A DIY photo garland is an approachable way to make party decor feel personal using printed images and simple craft materials. With a suitable image, careful cutting, and secure yarn ties, you can create a decoration in the length and style your event needs. – Rachel


