
 admin
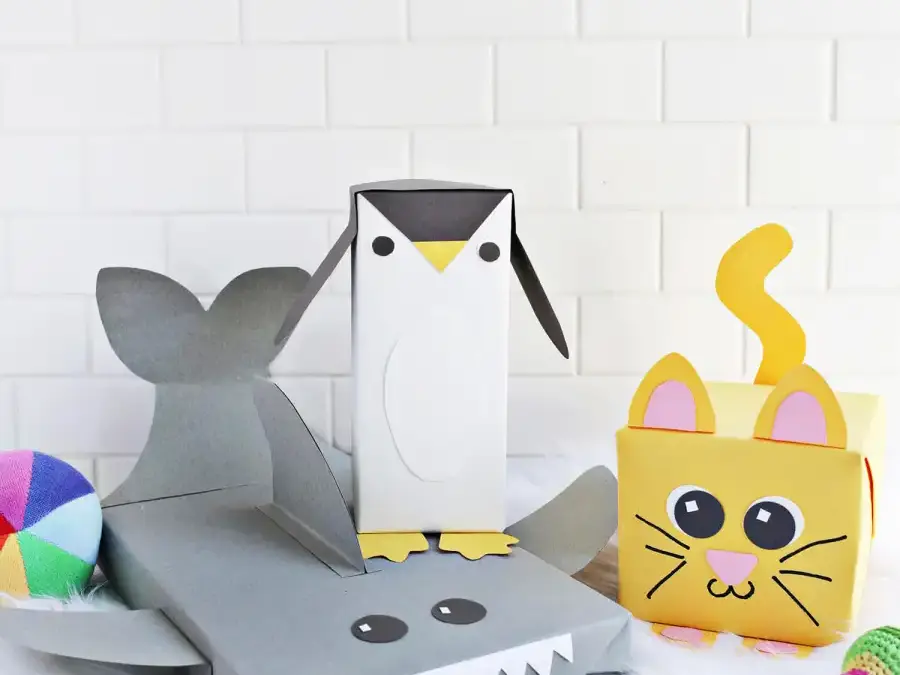
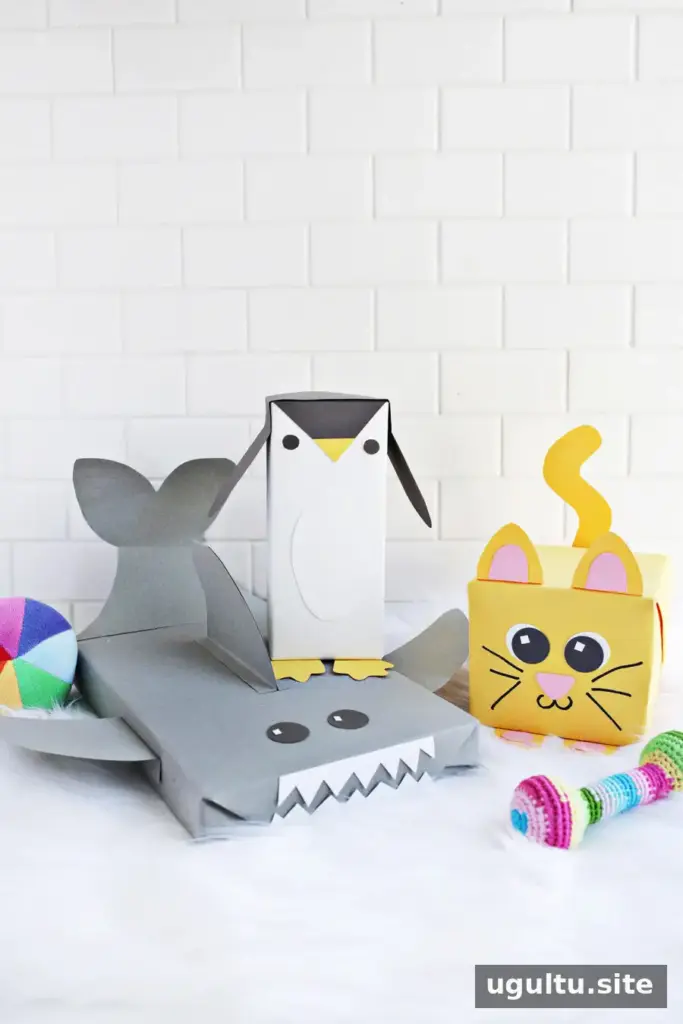
Cute animal wrapping paper can make a birthday or baby shower gift feel extra special without requiring complicated crafting skills. With colored paper, scissors, and glue, you can turn an ordinary box into a playful cat, penguin, or shark. The instructions below are flexible, so you can adjust the shapes to fit the size of the gift box you have on hand.
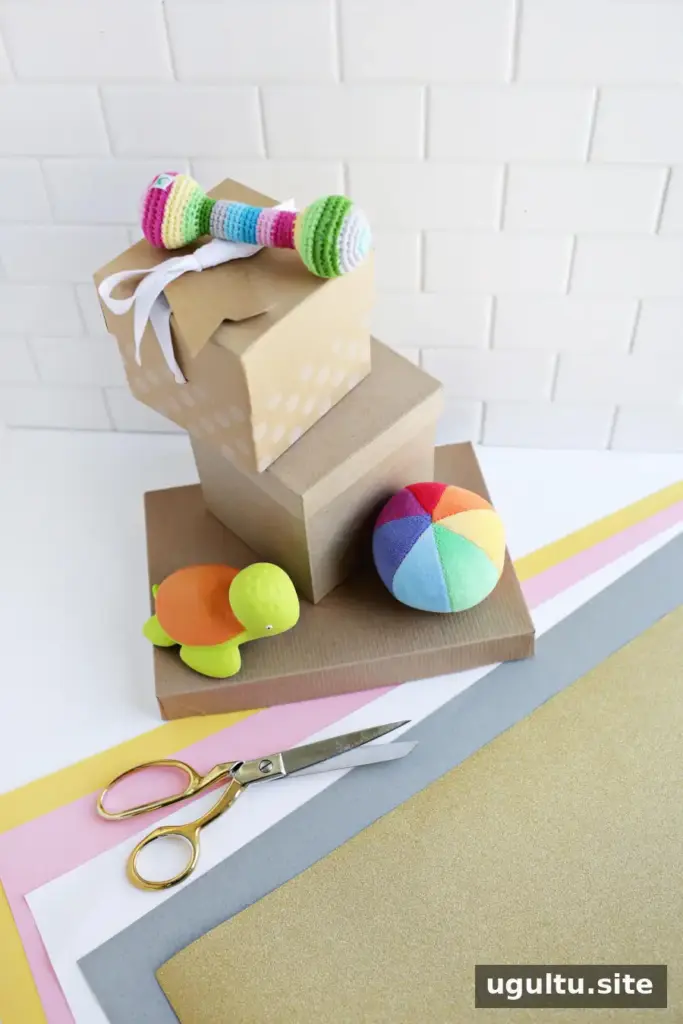
Supplies for Cute Animal Wrapping Paper
Choose paper that is easy to cut and sturdy enough to hold its shape. Thin colored craft paper is often a good option; compared with standard wrapping paper, it can be easier to use for raised details such as ears, fins, and paws.
- Large sheets of thin colored paper
- Scissors
- Tape
- A hot glue gun or paper glue
- A small hole punch, optional
Before cutting, measure the box and test your paper shapes against it. If using hot glue, take care around the tip and allow glued pieces to cool before handling.
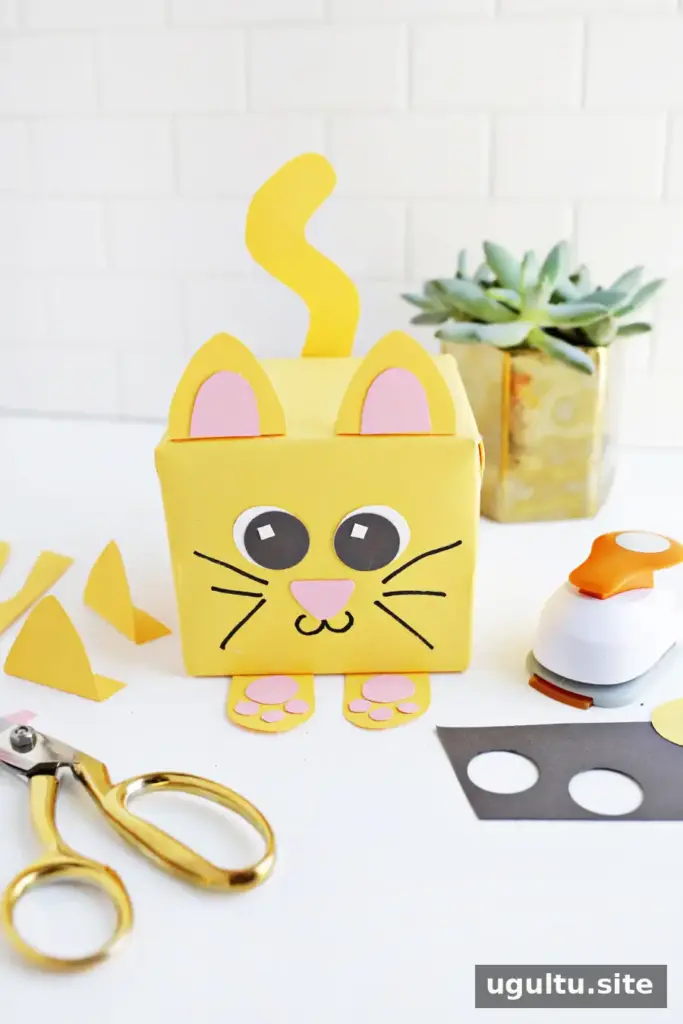
How to Make a Cat Gift Box
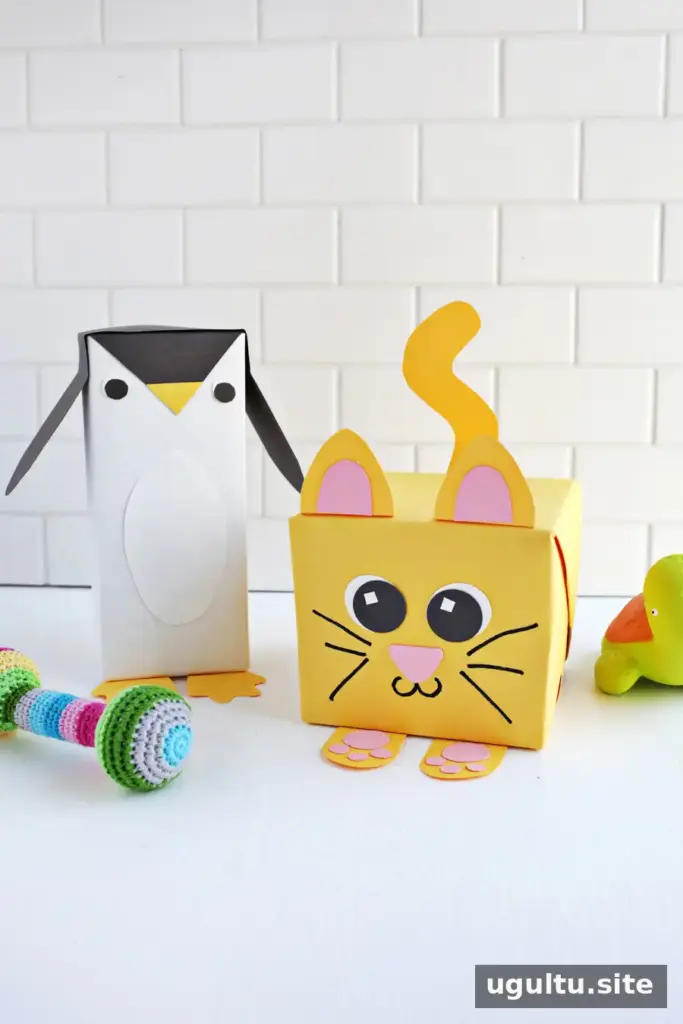
Wrap the box in a solid color of paper. Cut two large triangles for the ears, leaving a short strip at each base to fold into a tab. Make smaller pink triangles for the inner ears, align them near the base of the larger pieces, and glue them in place. Attach the ears to the top of the box.
For the paws, cut two long U-shaped pieces and add one medium pink circle and three smaller circles to each as paw pads. Glue the details on, then tuck the paws beneath the front edge of the box and secure them. Cut a thick, wavy strip for the tail and attach it at the back so it stands up. Finish the face with a pink triangle nose, black-and-white circle eyes, and a marker-drawn mouth and whiskers. Paper stripes on the body or tail can suggest a tabby or calico pattern.
How to Make a Penguin Gift Box
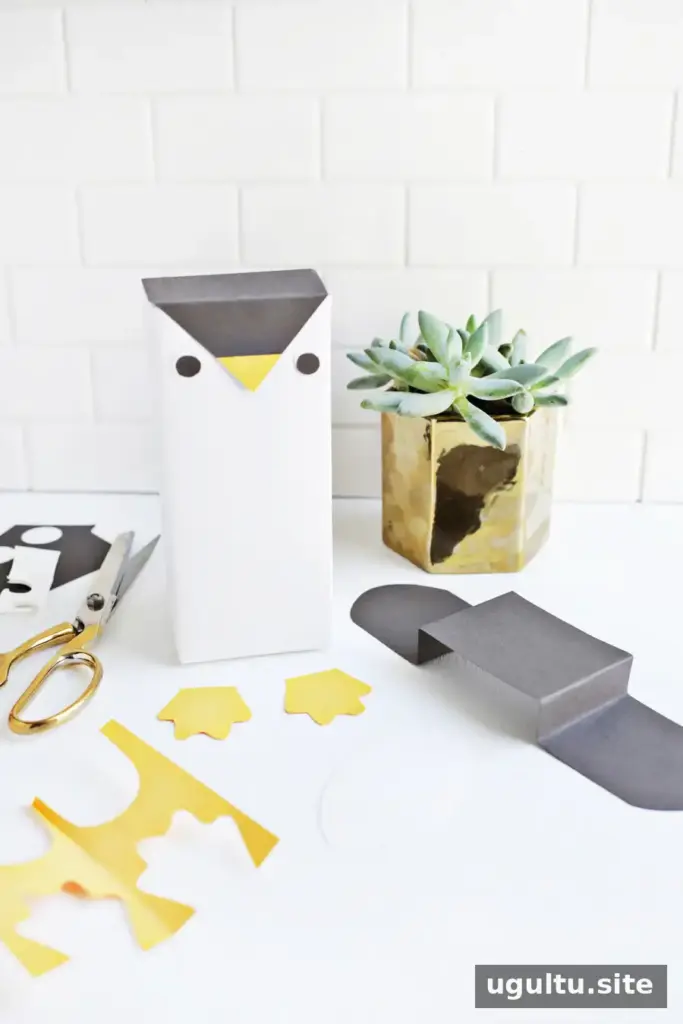
Wrap the box in white paper. Cut a gray shape as wide as the top of the box, with a pointed section that extends down the front to create the face area. Glue it in place and add a yellow paper beak near the point.
To make wings, cut a long gray rectangle deep enough to cover the top and reach halfway down the sides. Round both ends, crease the center to fit over the box, and angle the wings slightly away from the body. Glue the piece in place. Add yellow webbed feet beneath the lower edge, small black-and-white eyes, and an optional white oval on the front for a belly.
How to Make a Shark Gift Box
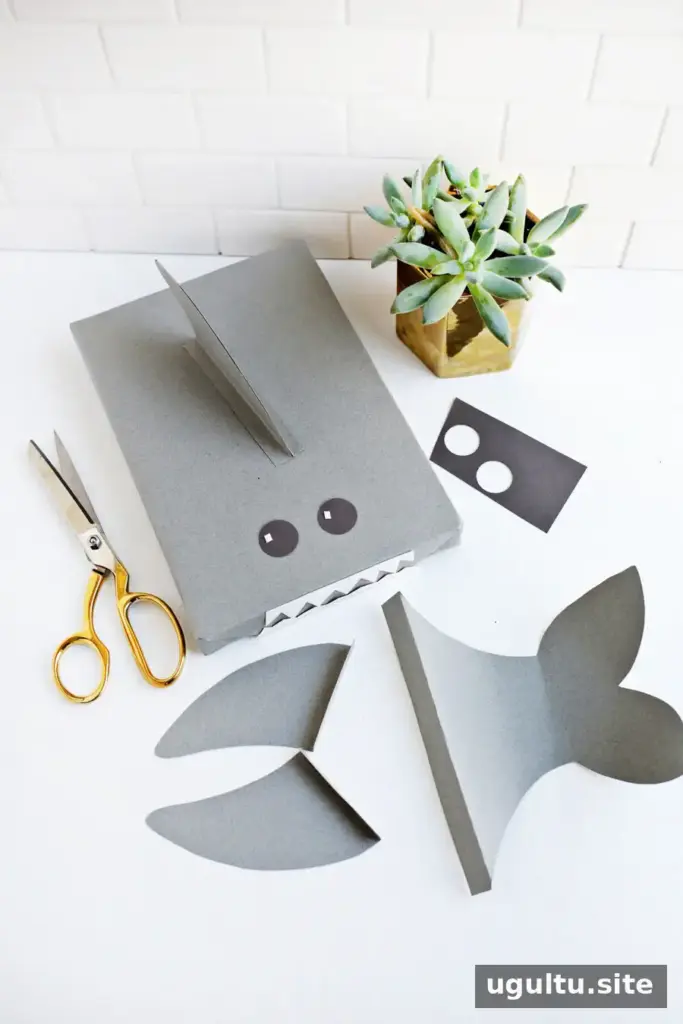
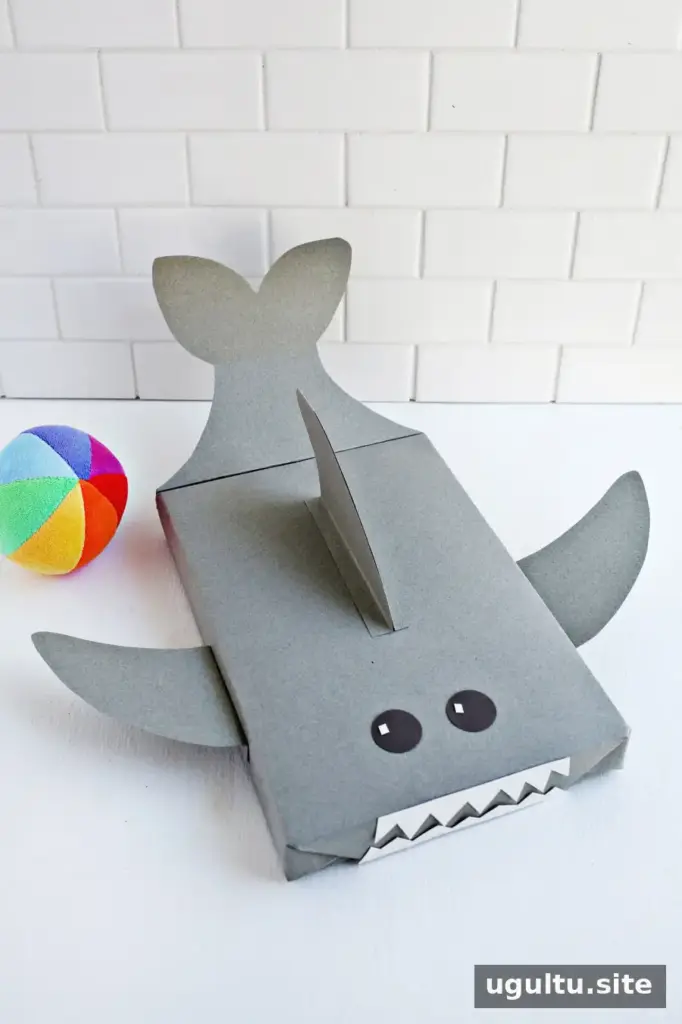
Cover the box in solid gray paper. Cut two matching side fins and fold about 1/2 inch at the bottom of each to form an attachment tab. For the top fin, fold a piece of gray paper in half, cut the fin shape, and fold the two bottom tabs in opposite directions so it can stand upright. Glue the fins to the box.
Cut a tail with a tab wide enough to attach across the back of the shark. Curl the tail upward gently before securing it. Add black eyes and two rows of pointed paper teeth along the front edge. Check that the fins and tail are firmly attached before giving the gift.
Finishing Your Animal Gift Wrap
These designs can be adapted to different box sizes: keep the main features proportional, and make attachment tabs wide enough to glue securely. If the box is unusually small, simplify the face or use fewer details so the paper pieces remain easy to handle. Cute animal wrapping paper is a practical way to personalize a present for a baby shower or children’s birthday, and small changes to the colors and markings can give each animal its own look.
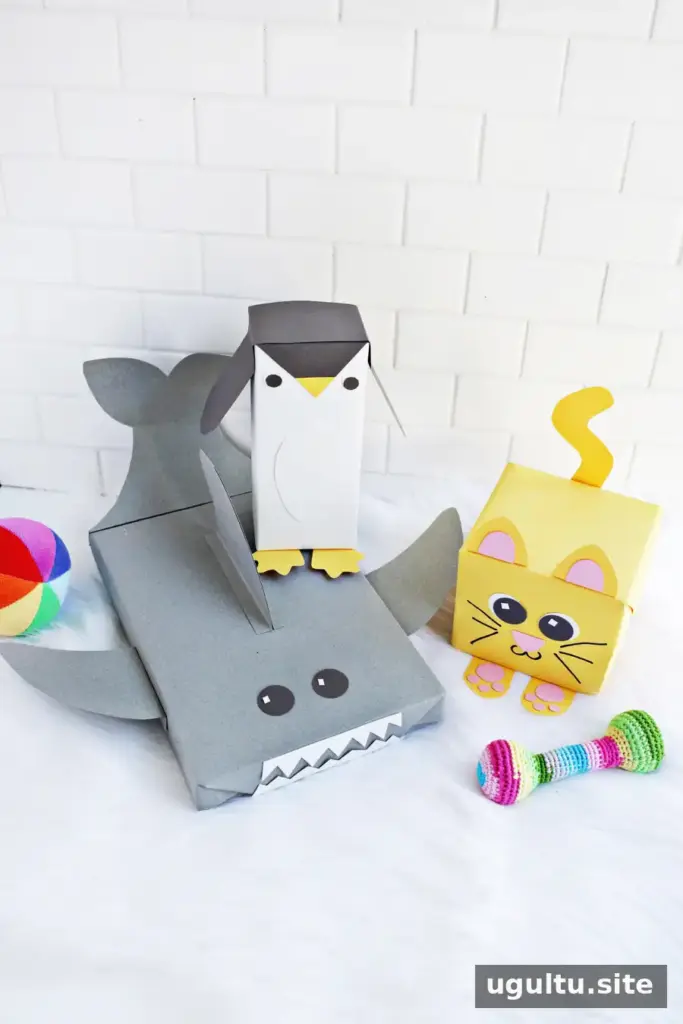
Choose the animal that best suits the occasion, then arrange the finished box so its face and details are visible. With a little planning and carefully attached paper shapes, cute animal wrapping paper can turn a simple present into a cheerful part of the celebration.
By Laura


