
 admin
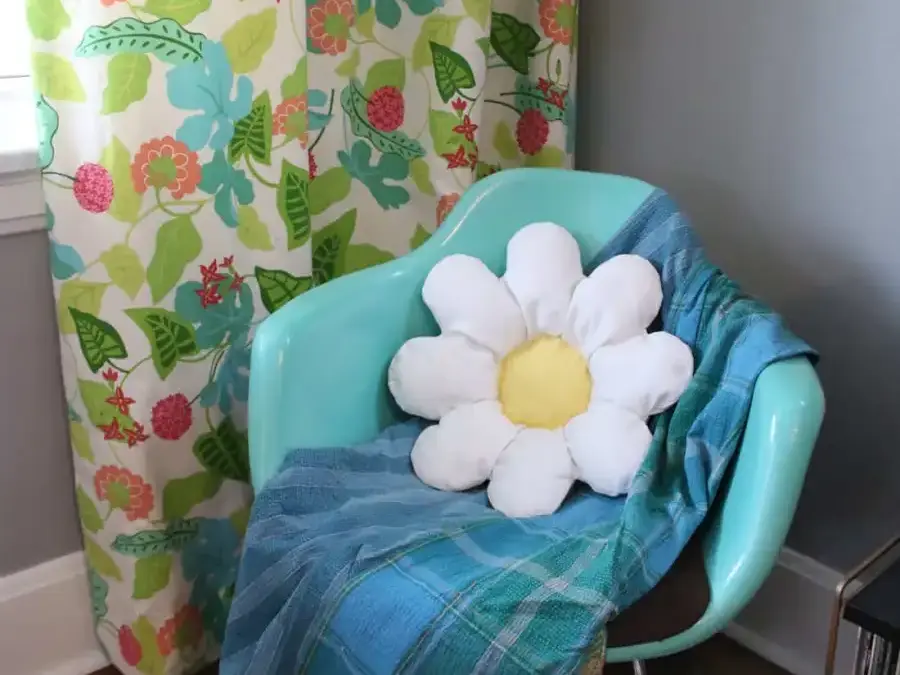
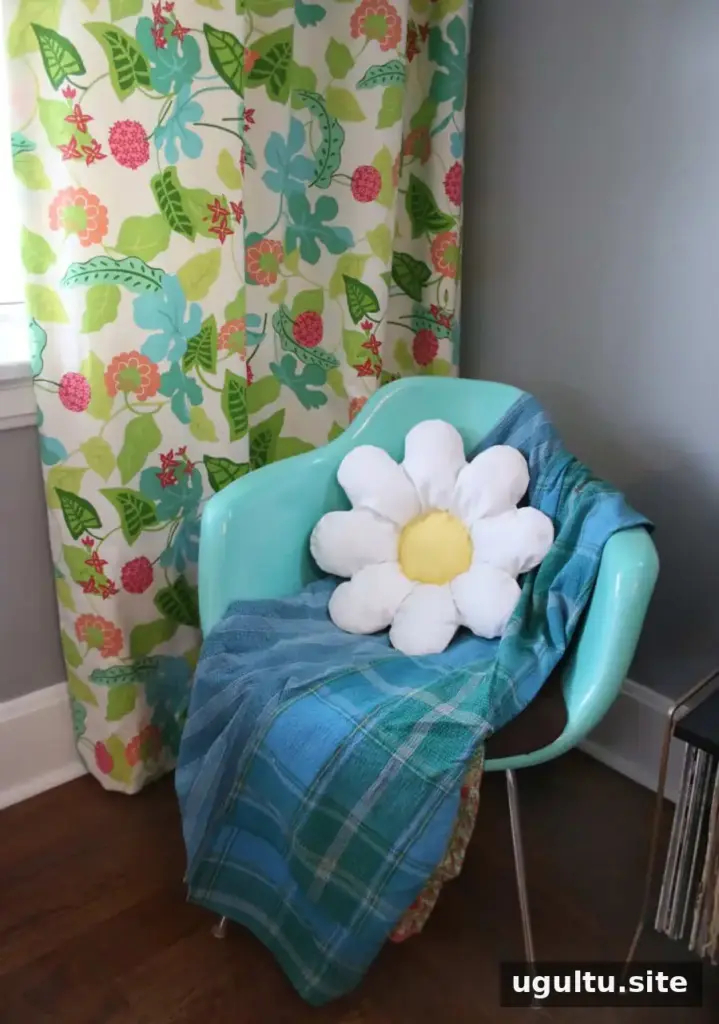
This Daisy Pillow DIY turns white upholstery fabric and yellow cotton into a cheerful flower-shaped cushion. The project uses basic sewing techniques and a few simple templates, making it a useful way to add a bright accent to a chair or sofa. Read through the steps before cutting, and check that your fabric and tools are ready.
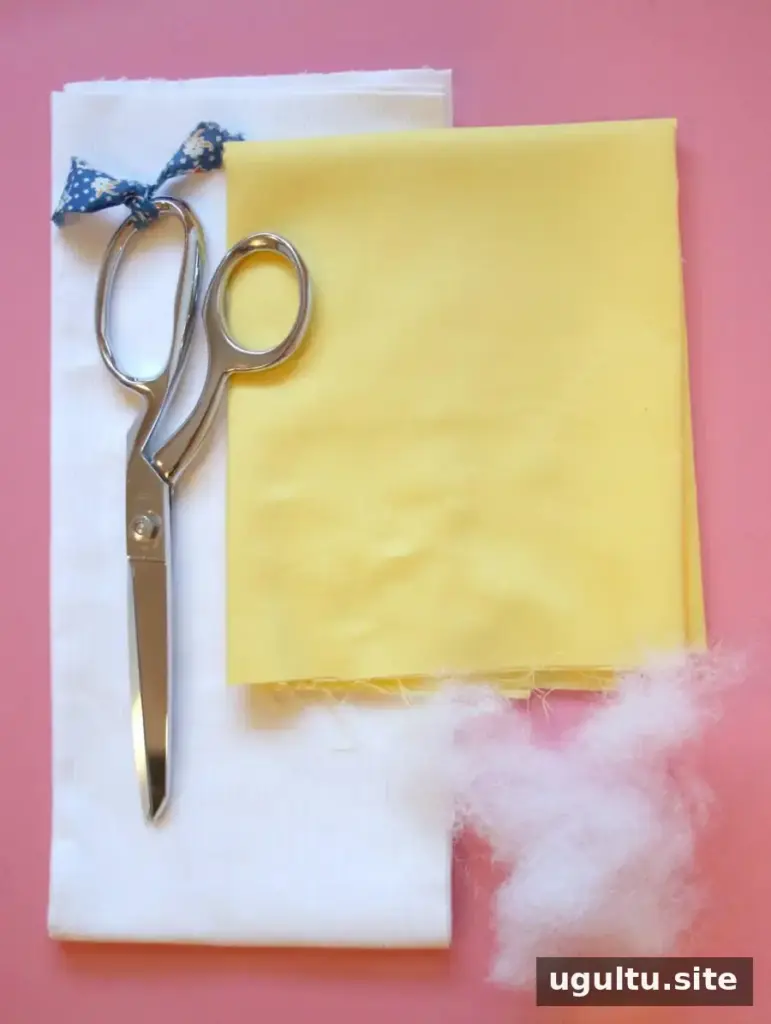
Materials for the Daisy Pillow DIY
Gather the following supplies before starting:
- 3/4 yard of white upholstery fabric
- 1/4 yard of yellow cotton fabric
- Stuffing
- Fabric scissors or a rotary cutter
- White and yellow coordinating thread
- An iron-erasable pen
- A clear quilting ruler
- A fabric marker
Use a cutting mat if working with a rotary cutter. Before marking the fabric, test the iron-erasable pen and fabric marker on a small scrap, and follow their manufacturers’ instructions for removal.
Cut and shape the white petals
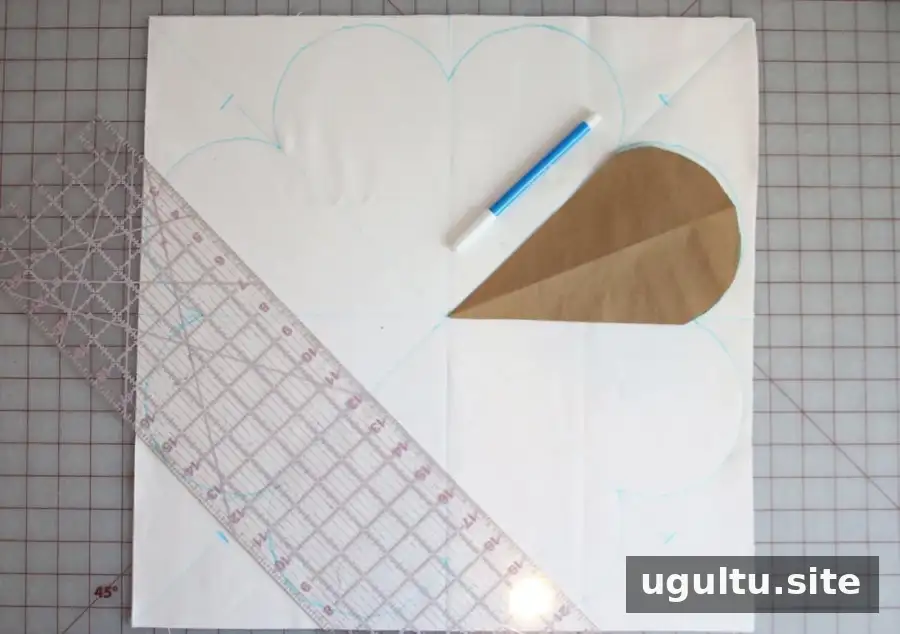
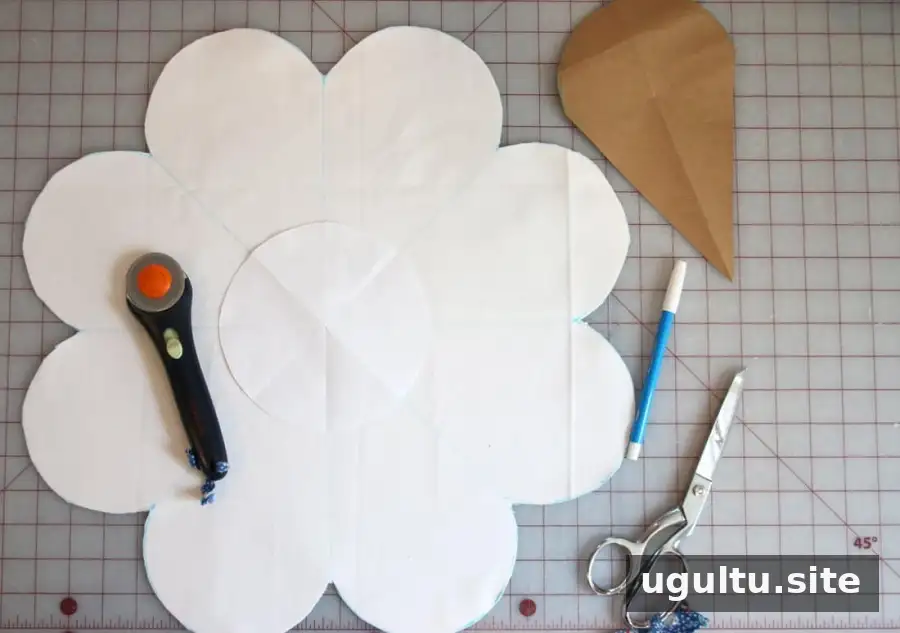
Cut two 20-by-20-inch squares from the white upholstery fabric. With a disappearing fabric marker, divide each square into eight equal sections. Make a paper template for one section, rounding its outer end to create a petal shape. Trace the rounded shape onto the fabric and cut along the marked edges.
Keep the two fabric pieces aligned while marking so the petal shapes match when the pillow is sewn together. Cut slowly around the curves to help create an even outline.
Make the yellow flower centers
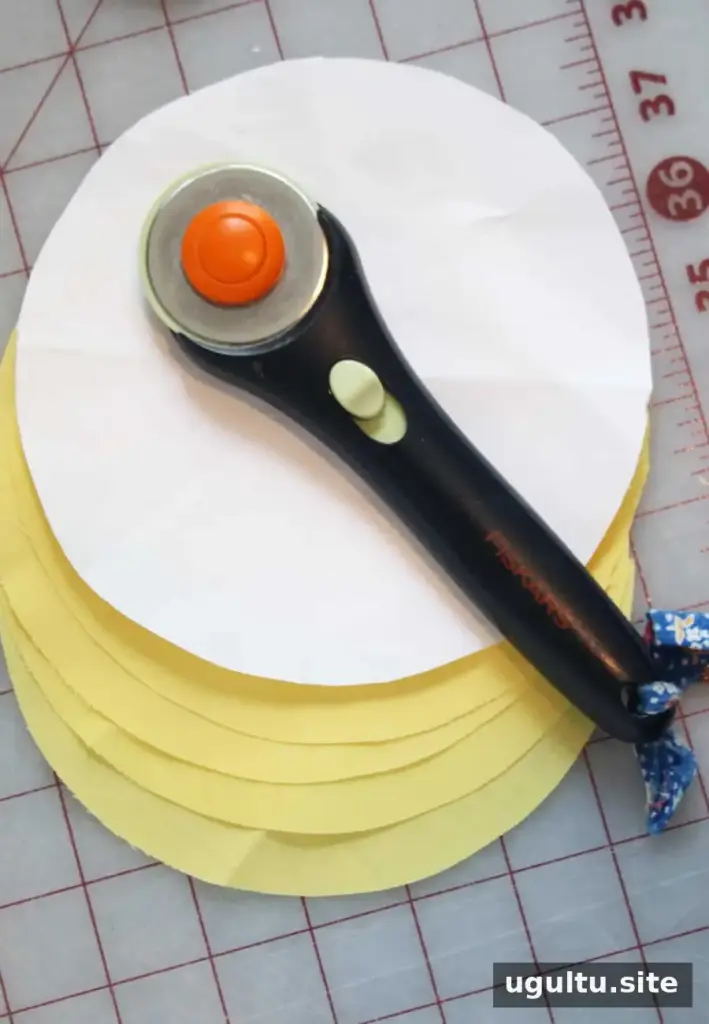
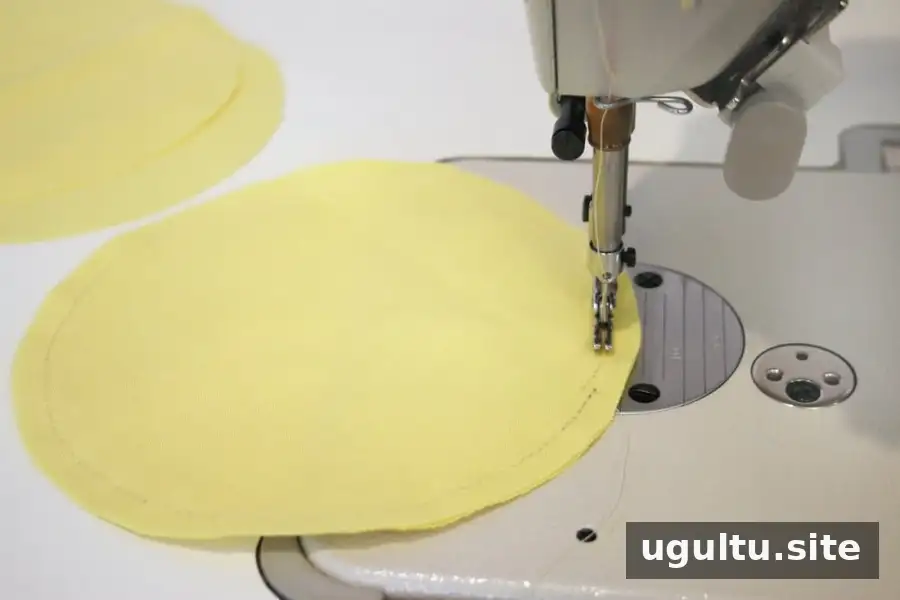
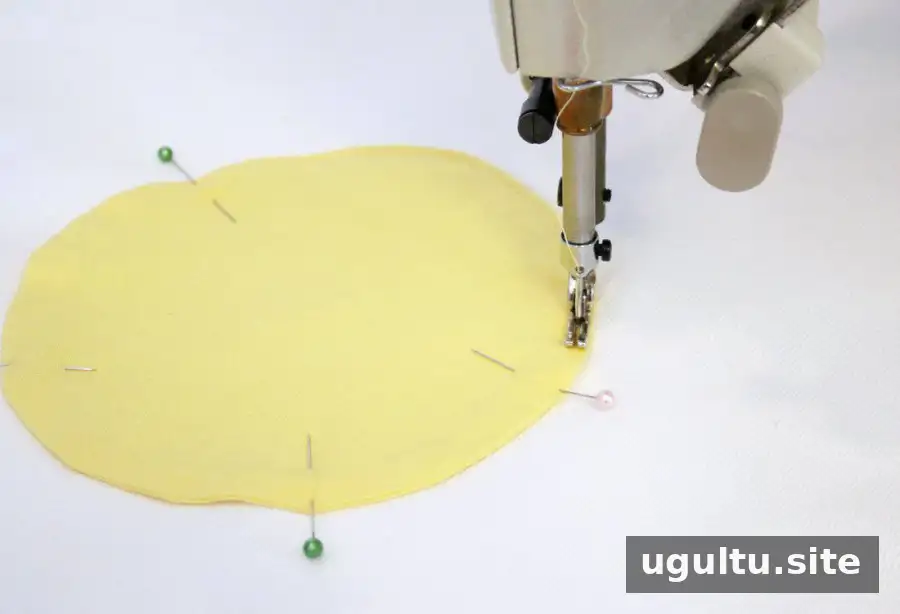
Cut an 8-inch circle from paper to use as a template. Trace and cut four circles from the yellow cotton. Pair the circles, then sew each pair together with a 1/4-inch seam allowance. You will have two sewn circle pieces.
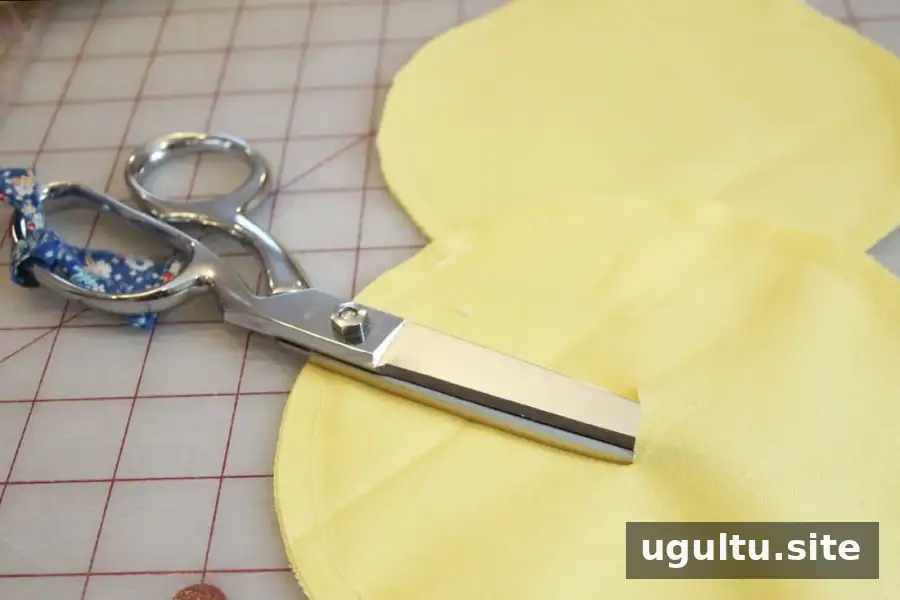
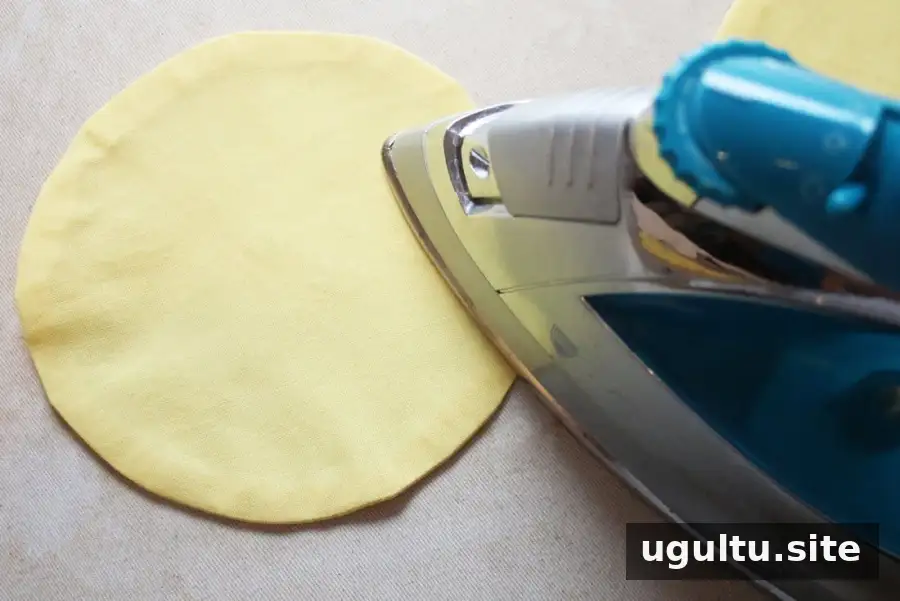
Carefully cut a slit about 1 inch long in the center of one fabric layer of each piece, taking care not to cut through the other layer or the stitching. Pull the uncut side through the slit to turn each circle right-side out. Roll the fabric gently toward the seam with your fingertips, then press the edge with an iron as you work.
Assemble the daisy pillow
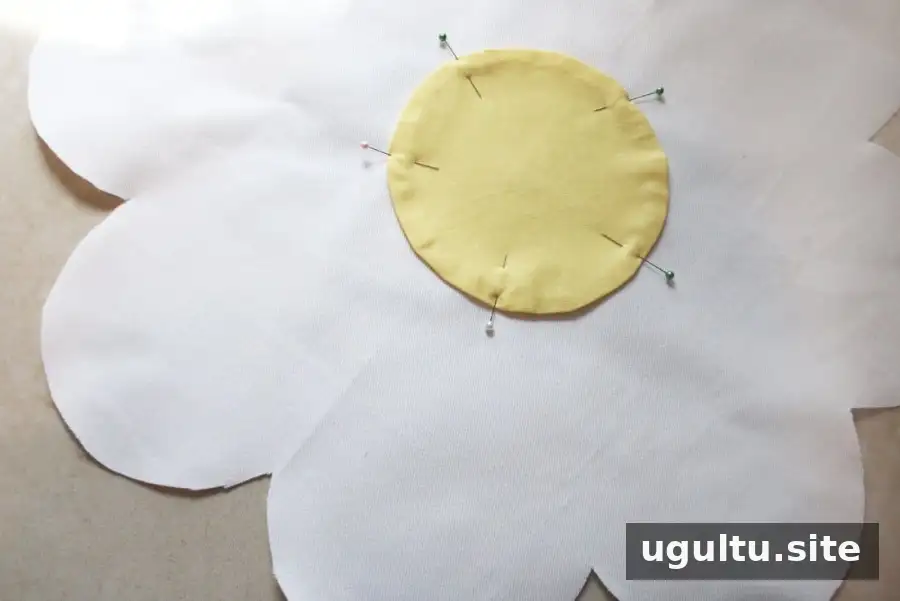
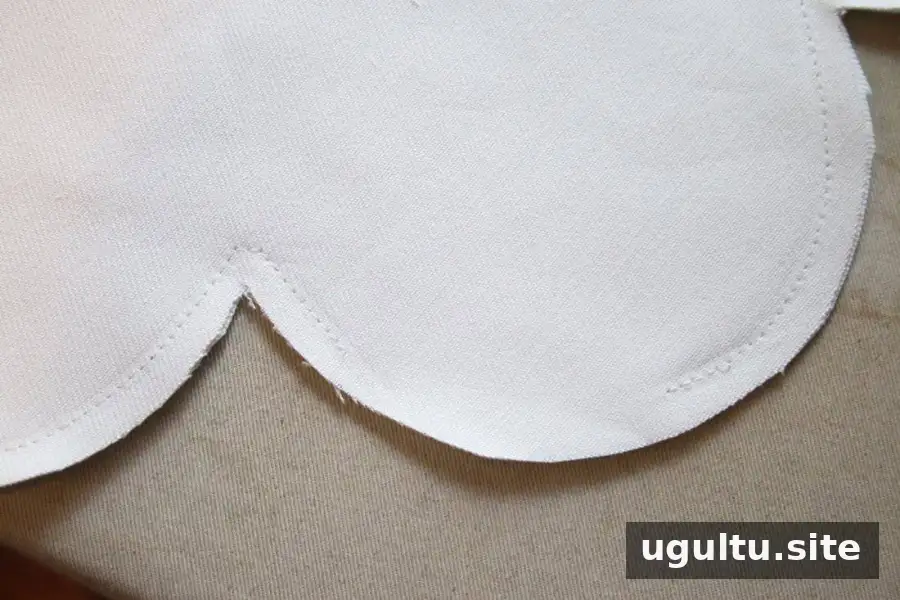
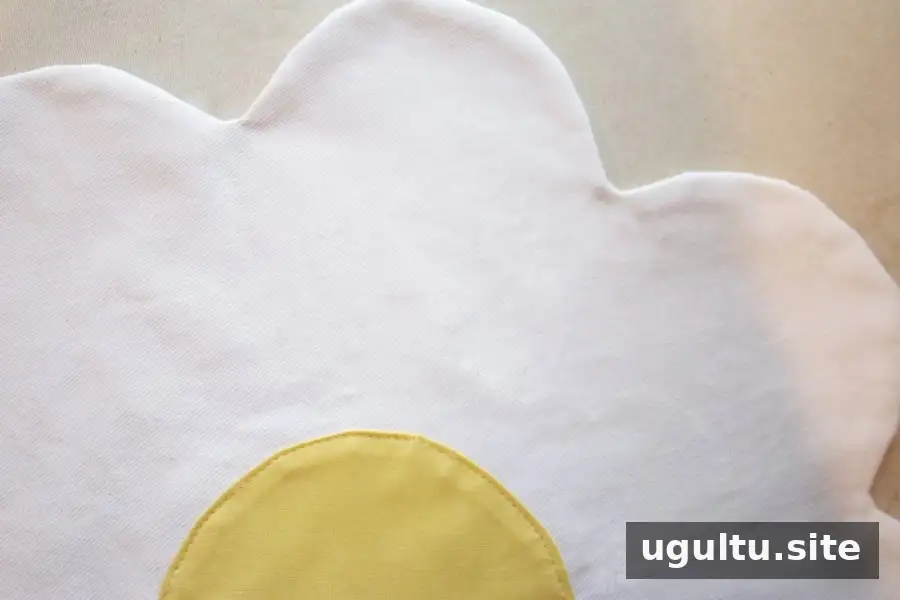
Sew one yellow circle to the center of each white flower-shaped piece. Position the two white pieces with their right sides facing each other, then sew around the shape using a 1/2-inch seam allowance. At each inward curve, sew two stitches across the indent to help the shape hold its definition after turning.
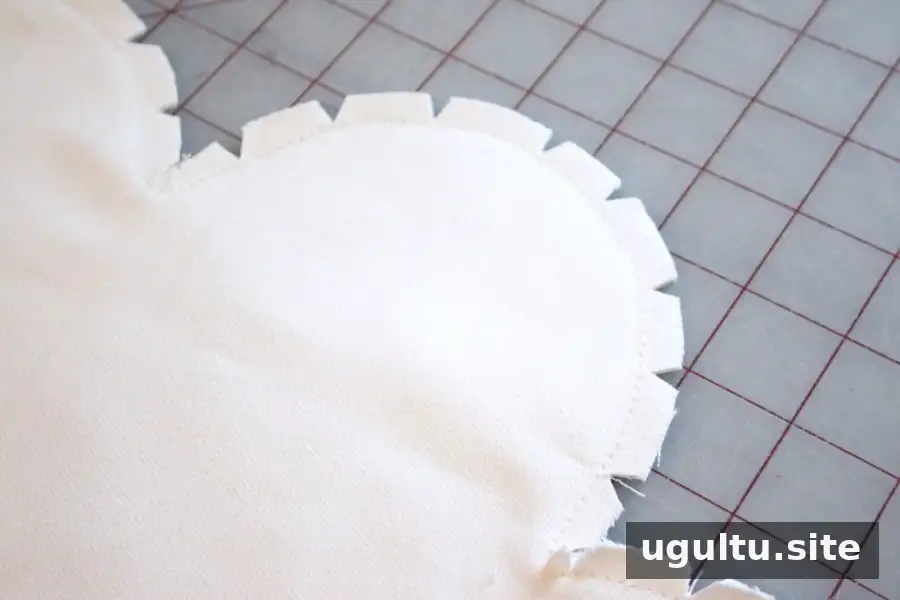
Leave an opening a few inches wide for turning and stuffing. Trim the seam allowance around the curves without cutting the stitching. Turn the pillow right-side out through the opening, then press the edges outward with an iron.
Stuff and finish
Make small tack stitches every few inches around the yellow center, sewing through all layers. Leave gaps between the stitches so the pillow can still be filled. Add stuffing loosely throughout the pillow; avoid overfilling, as too much stuffing can make the fabric buckle. When the shape is filled to your preference, hand-sew the opening closed.
Final tips for your Daisy Pillow DIY
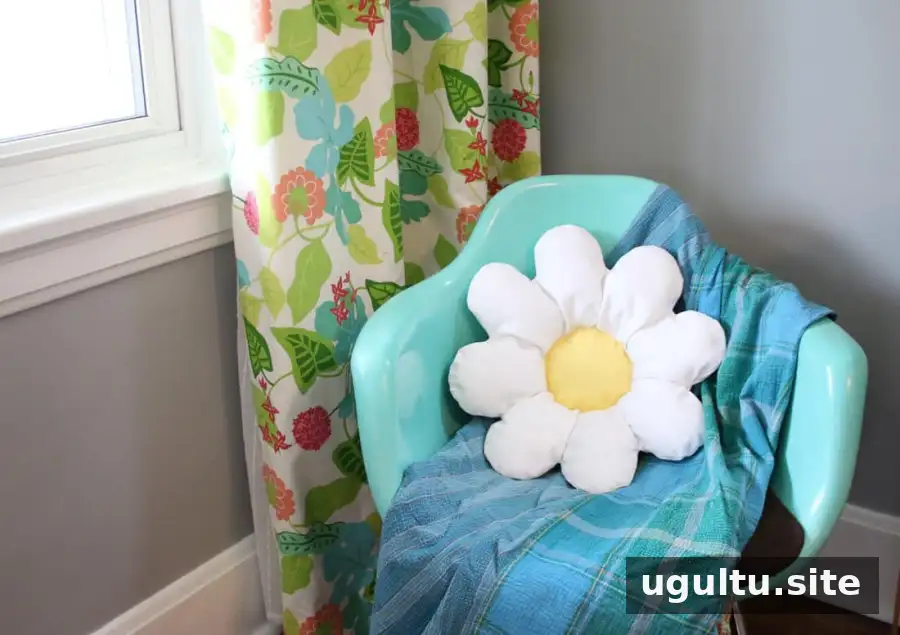
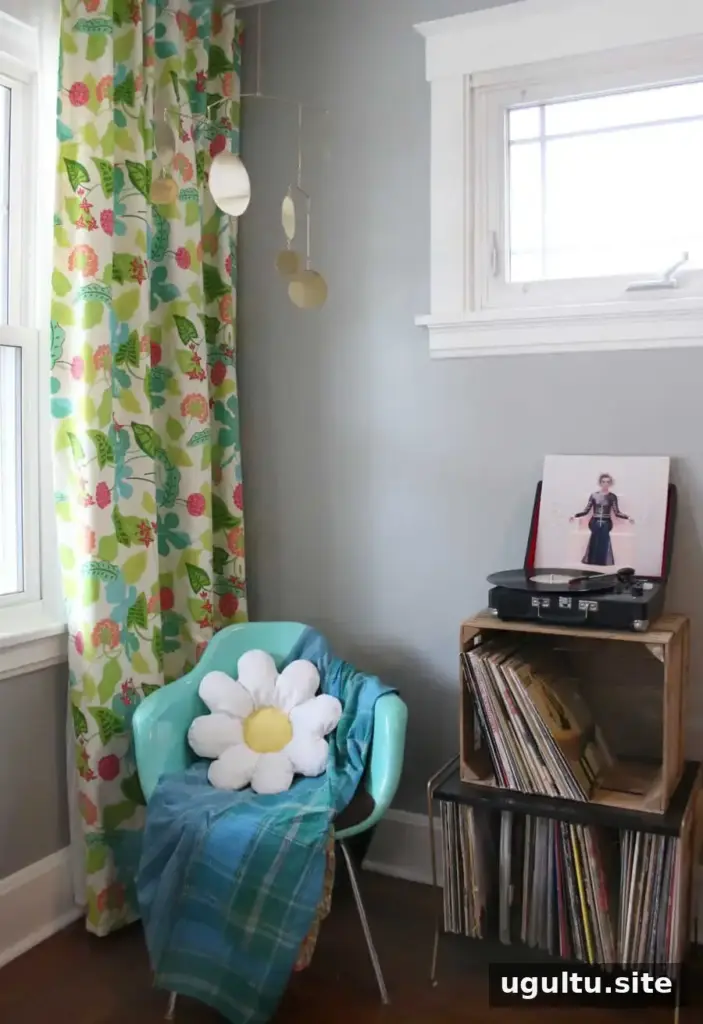
Before displaying the finished cushion, check that the opening is securely closed and that the petals are evenly filled. The flower shape works well as a decorative accent on a chair or couch. Mallory created the project; the drapes were made with the same fabric, and the sheer curtains are from IKEA.


