admin
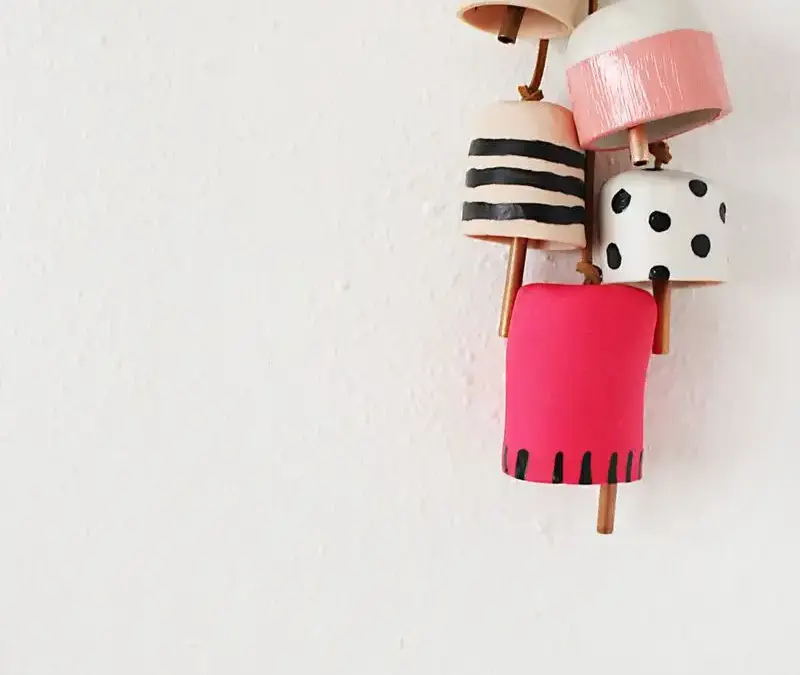
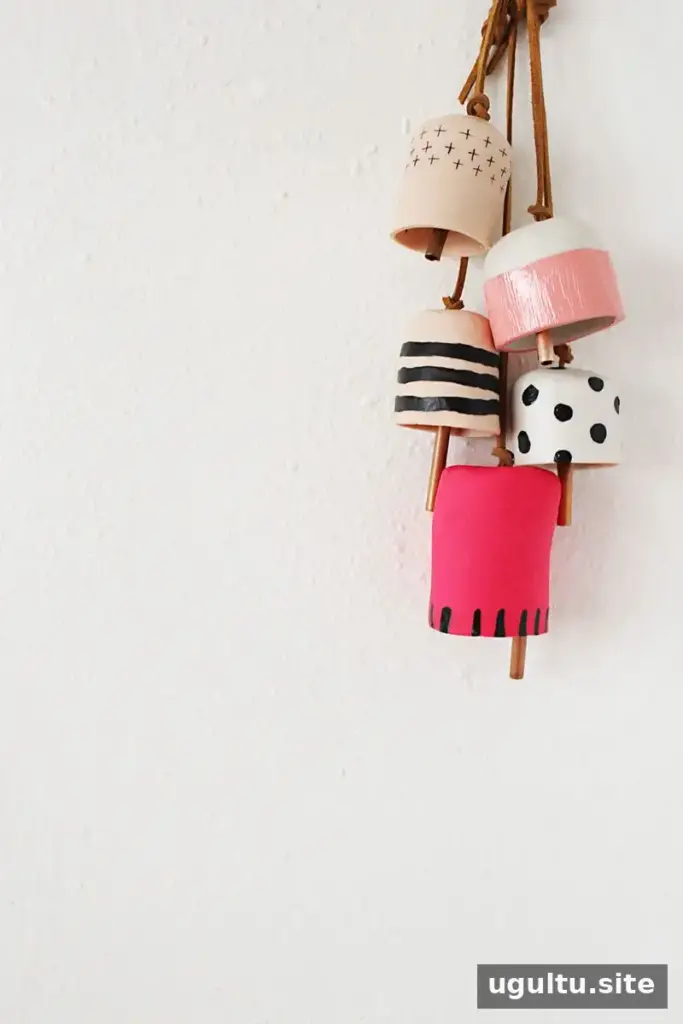
A Decorative Clay Bell DIY project is a simple way to create a bell-shaped accent for a wall, hook, or seasonal display. These bells are designed for decoration rather than sound, so they will not ring like hand-thrown ceramic bells. Choose clay and paint colors to suit your space, or add metallic details for a holiday-inspired finish.
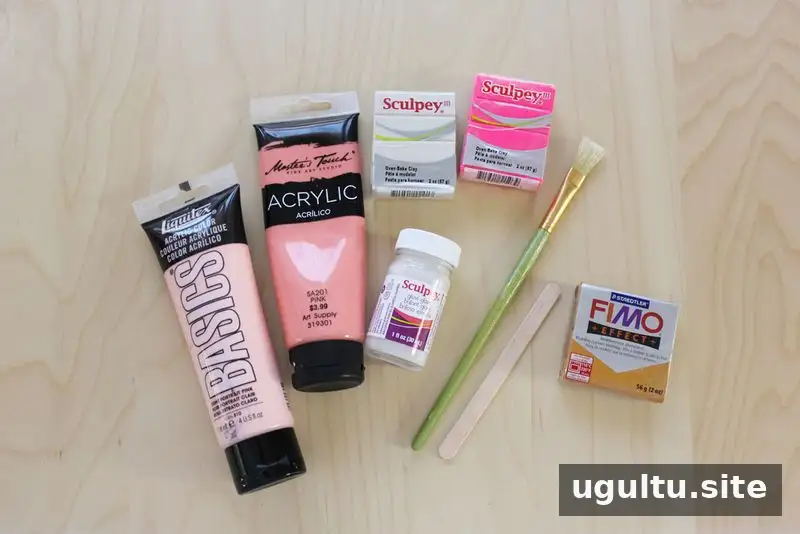
Materials and tools
Materials:
- Oven-bake clay. Sculpey is softer and easier to shape than FIMO, according to the original project notes. Choose a color or use white clay and paint it.
- Acrylic paint and paintbrushes in various sizes
- Gloss paint suitable for oven-bake clay
- Leather cord or another thick cord
- 1/4-inch copper pipe
Tools:
- Copper pipe cutter
- Pliers and scissors
- A flat, straight tool for cutting clay, such as a ruler or popsicle stick
- A smooth roller, such as a glass or rolling pin
- Baking tray and oven
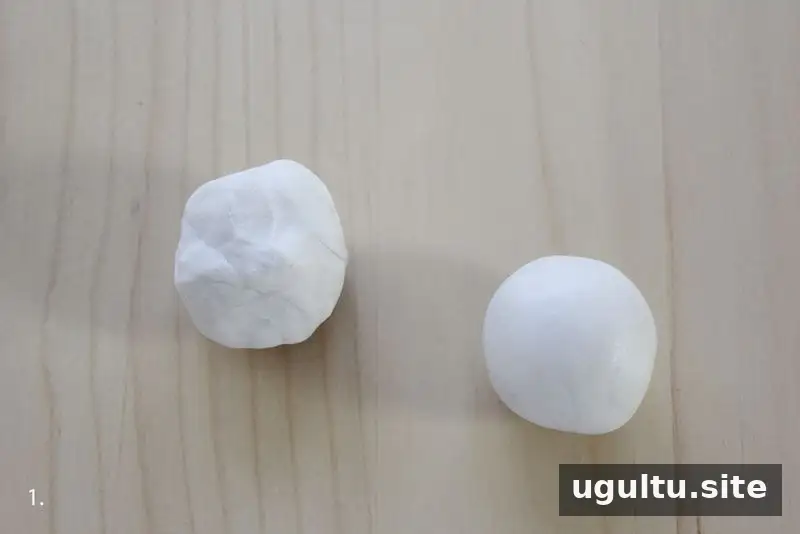
Step 1: Prepare the clay. One block of clay can make one larger bell or two smaller bells. Roll the clay until it is smooth and pliable.
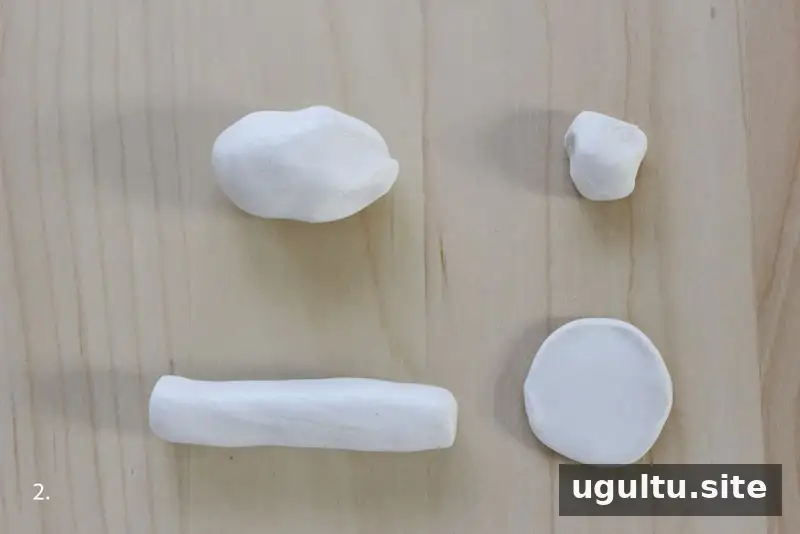
Step 2: Divide and shape the pieces. Separate the clay into a smaller piece for the bell top and a larger piece for the tube. Stretch the larger piece into a long rectangle, then flatten the smaller piece into a circle.
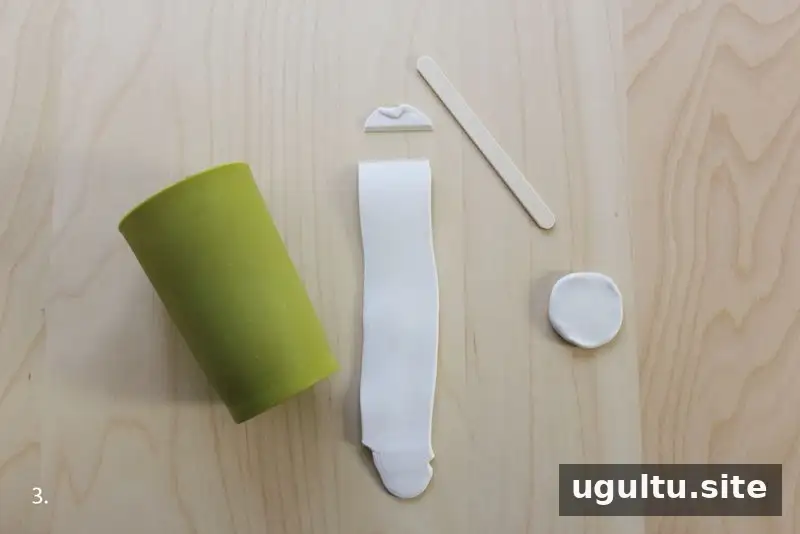
Step 3: Flatten the rectangle. Roll the rectangular piece flat, using a straight edge to neaten its top and bottom. Trim the rounded ends. Aim for a thickness of about 1/4 inch. Keep the extra clay to reinforce the circular top if needed.
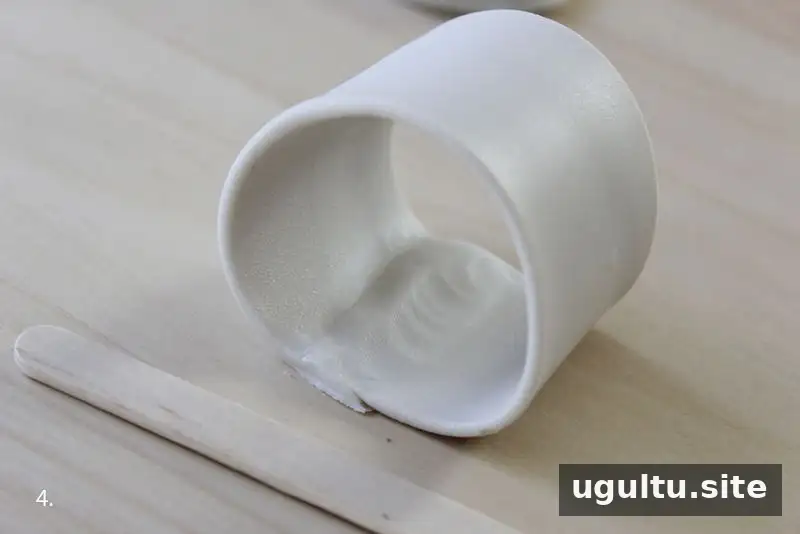
Step 4: Form the bell tube. Roll the rectangle into a tube, overlapping the edges by about 1/4 inch. Press the join together against a flat surface to help keep the outside smooth.
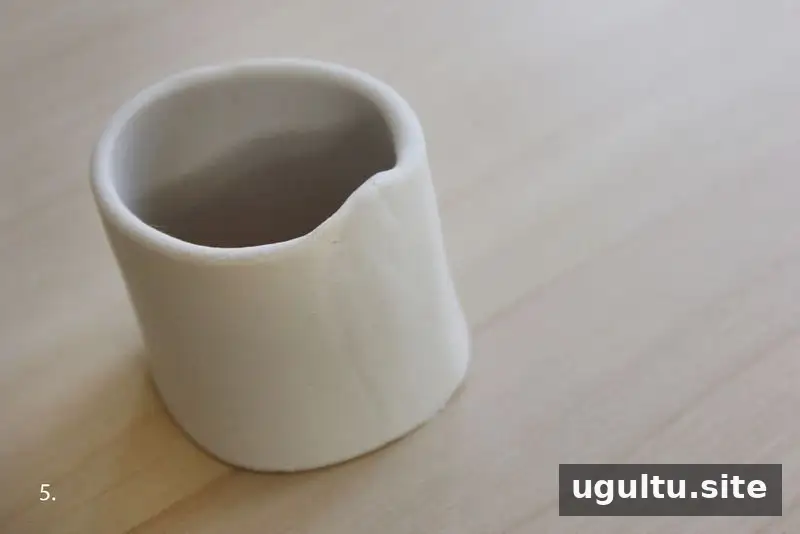
Step 5: Smooth the seam. Gently rub the outer seam until it blends into the surrounding clay. Work carefully to avoid flattening the tube.
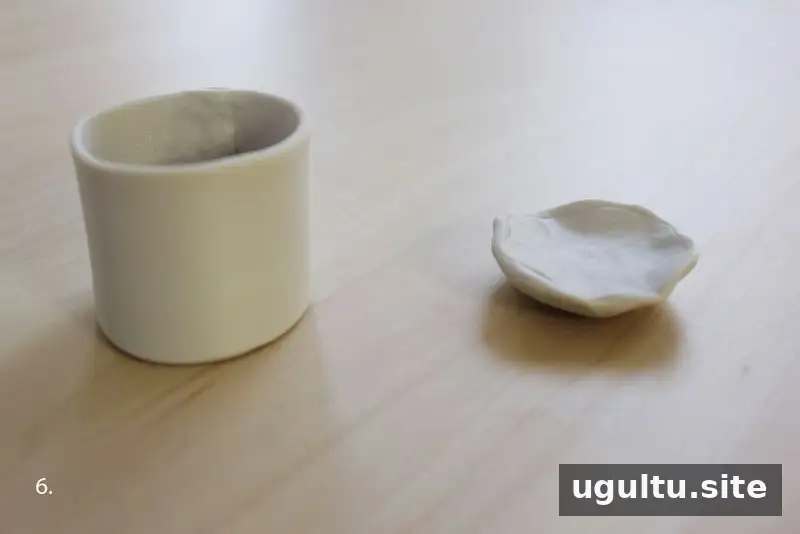
Step 6: Shape the top. Round the edges of the circular clay piece so it can sit neatly inside the tube.
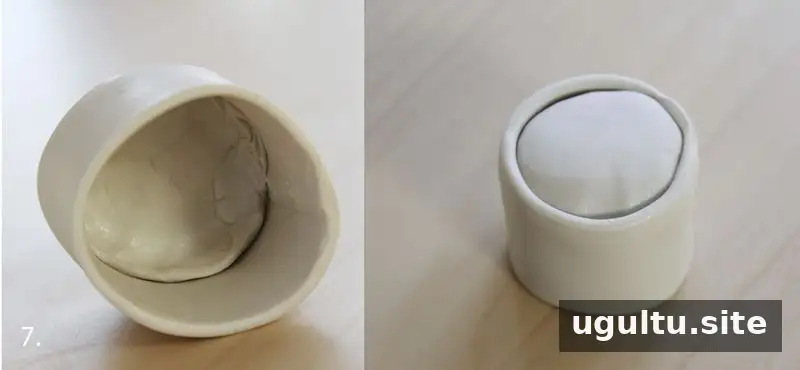
Step 7: Check the fit. Place the circular piece inside the tube. It should fit snugly. If there is a gap, remove it and adjust the shape before joining the pieces.
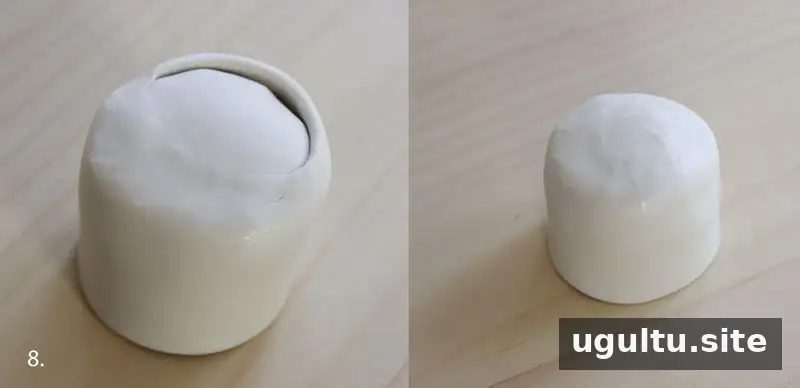
Step 8: Attach the top. Press the tube edges around the circular piece, then smooth the join. If the shape is not quite right, adjust the clay before baking.
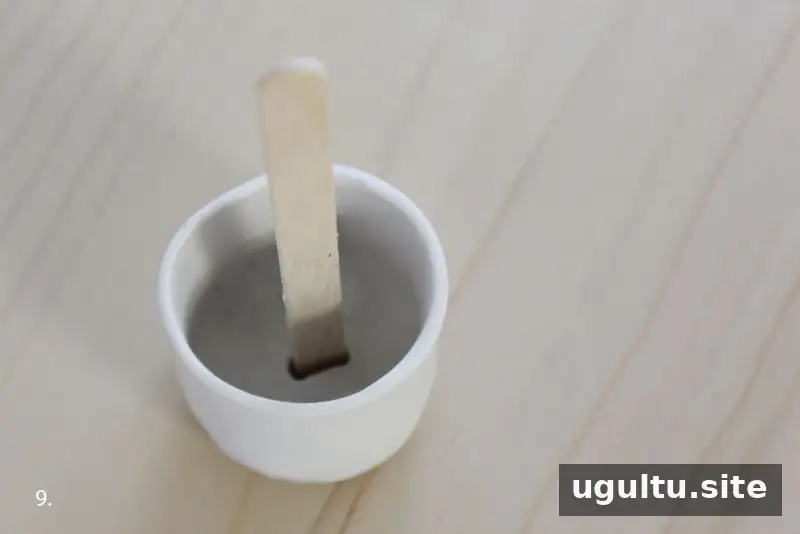
Step 9: Make a hanging hole. Smooth the seams inside the bell, then press a popsicle stick into the top to create a hole for the cord. Match the hole size to the cord you plan to use; yarn or twine may need a different-sized opening.
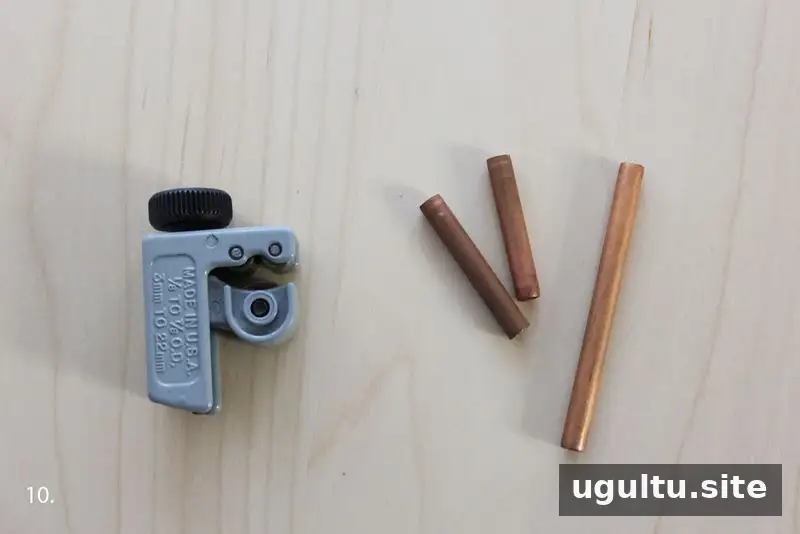
Step 10: Cut the copper pipe. Use a pipe cutter and follow its manufacturer instructions. The example uses pieces measuring 2 inches and 3 inches.
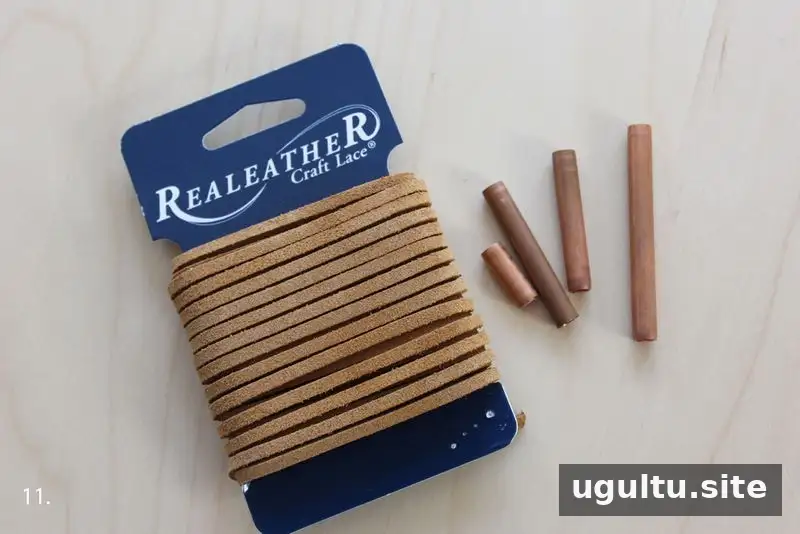
Step 11: Choose the cord. Leather cord is one option; paracord, thick twine, or yarn can also be used. Check that the cord fits through the hole in the bell.
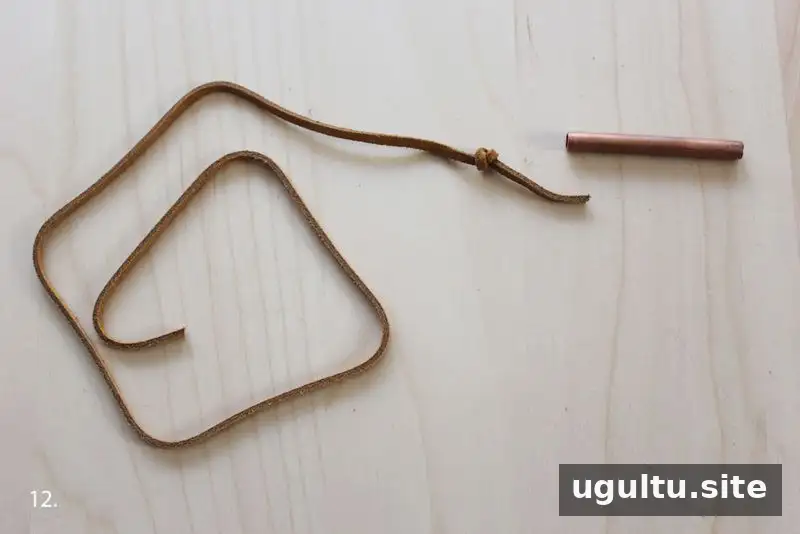
Step 12: Cut and knot the cord. Cut about 15 inches of cord and tie a knot approximately 2 inches from one end.
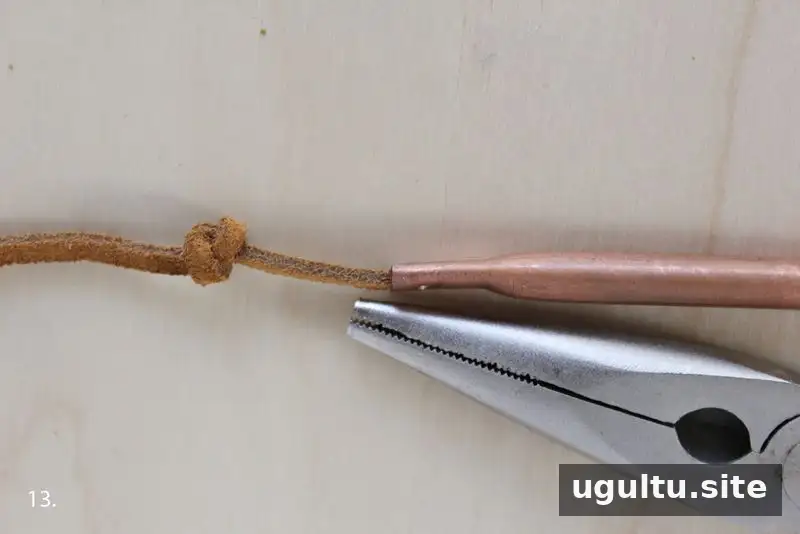
Step 13: Add the copper detail. Slide the copper pipe over the short end of the cord and use pliers to press it flat around the cord. Set the cord aside.
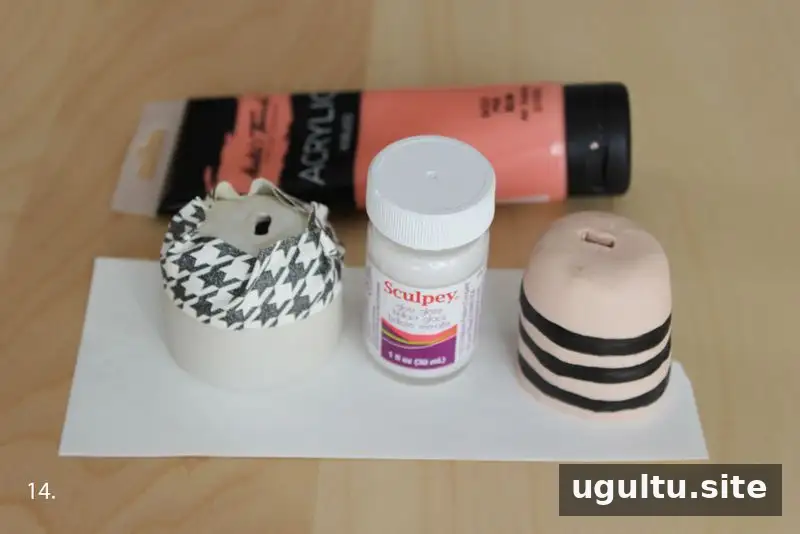
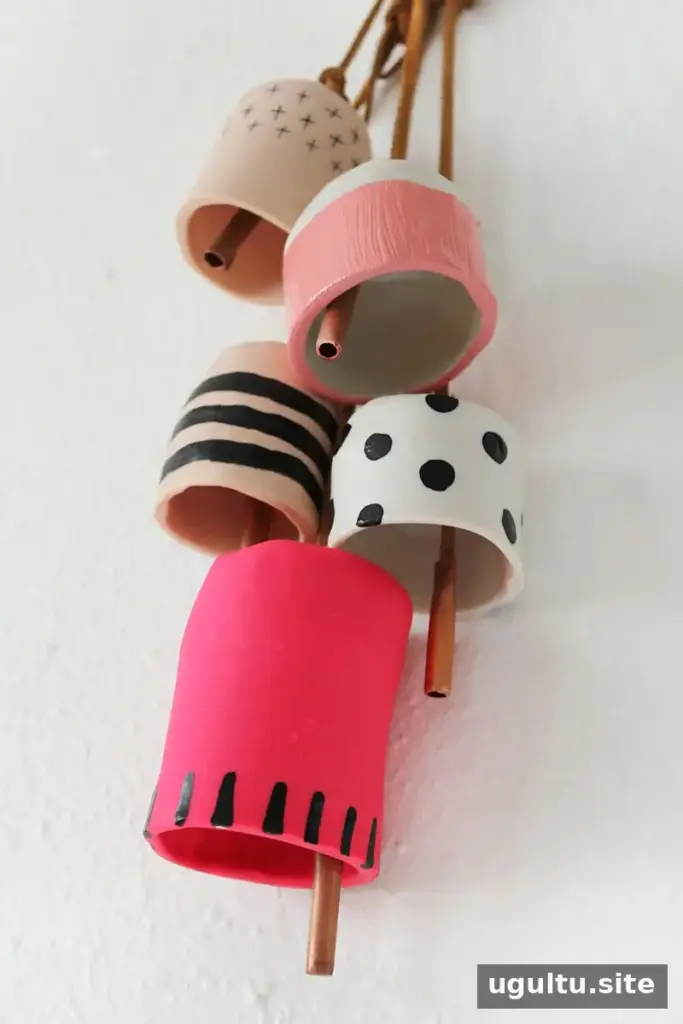
Step 14: Bake and decorate. Place the bells on a baking tray and bake according to the clay manufacturer’s directions. In the example, the clay required 15–20 minutes at 275 degrees. Let the pieces cool fully before painting. Use masking tape for a crisp painted edge, or add stripes and simple designs by hand. Once the acrylic paint is dry, apply gloss paint suitable for oven-bake clay for a ceramic-inspired finish.
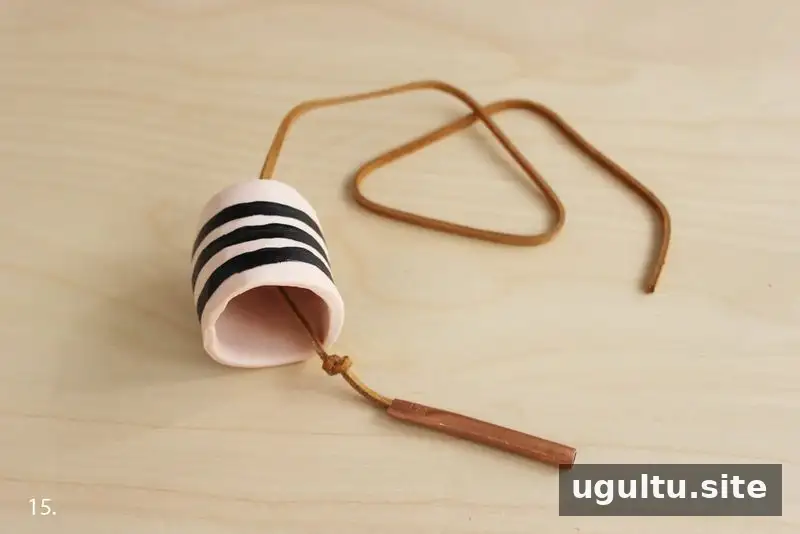
Step 15: Thread and hang. Feed the cord through the bell and tie a gentle knot above it to hold it in place. Make a loop knot for each bell, or gather the cords into one larger knot.
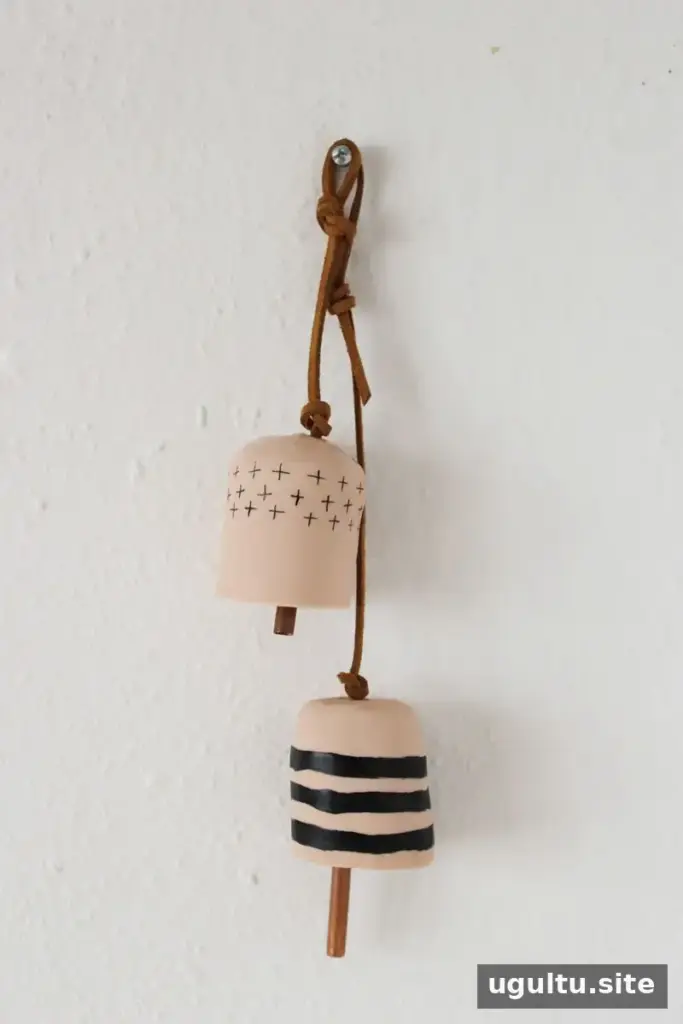
Displaying your decorative clay bells
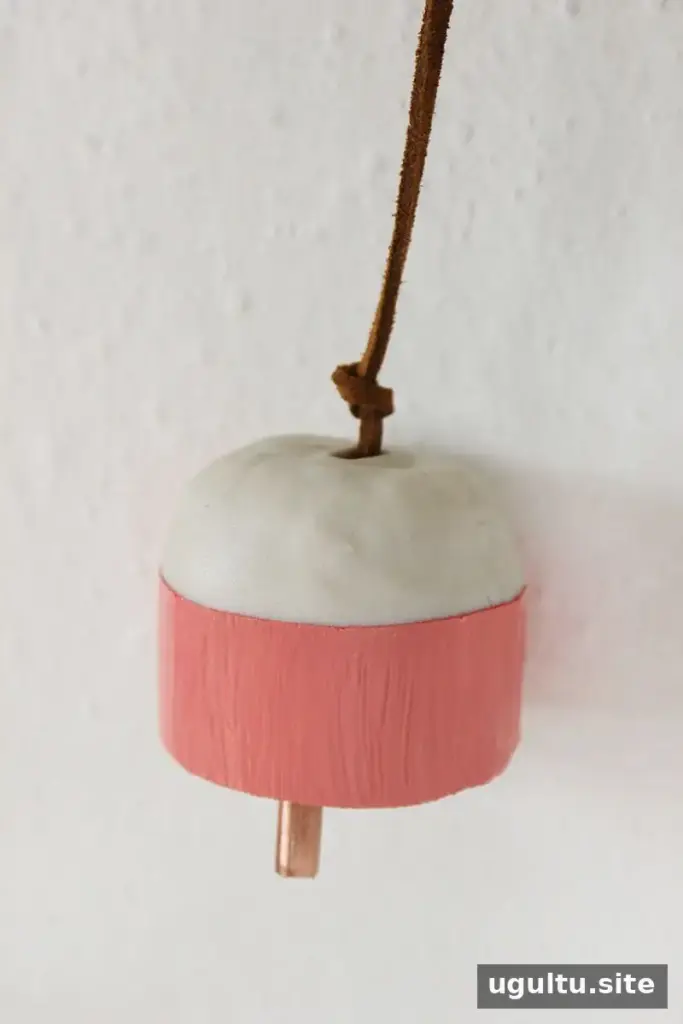
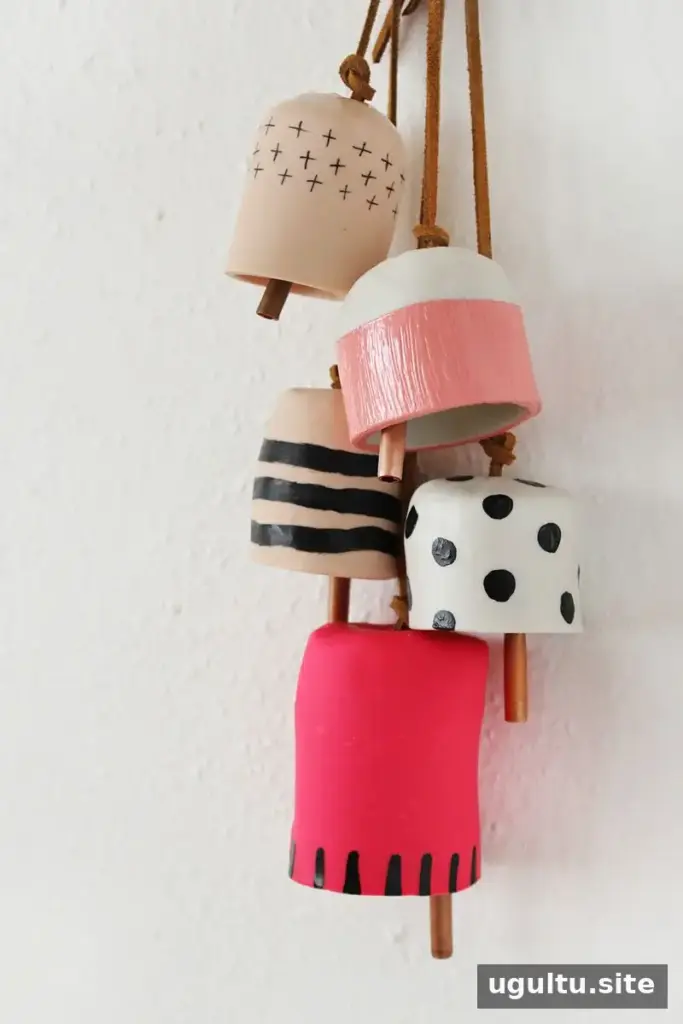
Adjust the cords to different lengths and tie them together at the top, or hang them in groups of three from a decorative hook or an unused door handle. These ornaments can tolerate gentle handling, but they are best kept away from frequently used doors where repeated movement or impact could damage them.
Final tips for a Decorative Clay Bell DIY
These handmade bells can make a thoughtful gift or a seasonal decorating accent. Before baking, check that the clay pieces fit together and that the hanging hole is large enough for your cord. Always follow the product label for baking and finishing instructions, since requirements can vary by material. The finished bells are decorative and do not produce the sound of working ceramic bells.
— Rachel