
 admin
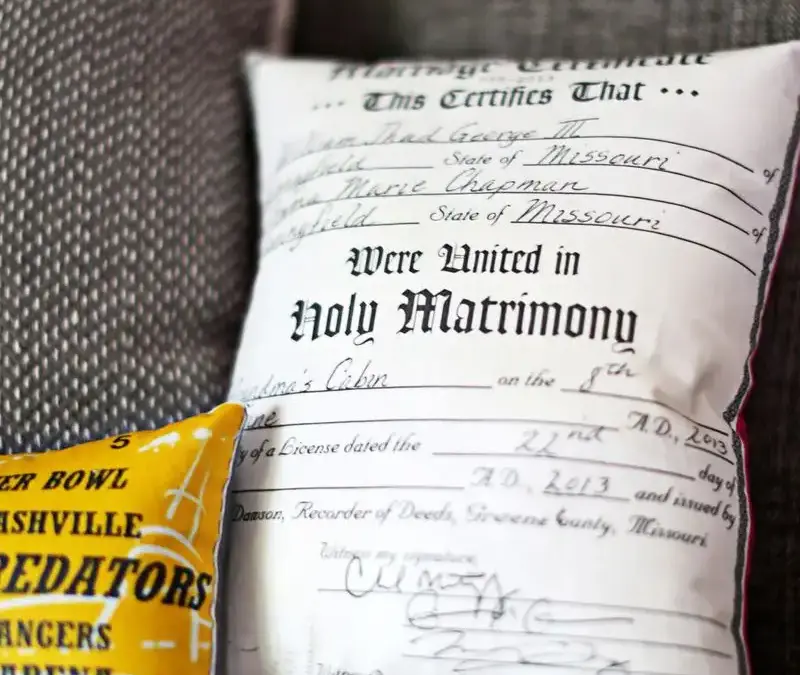
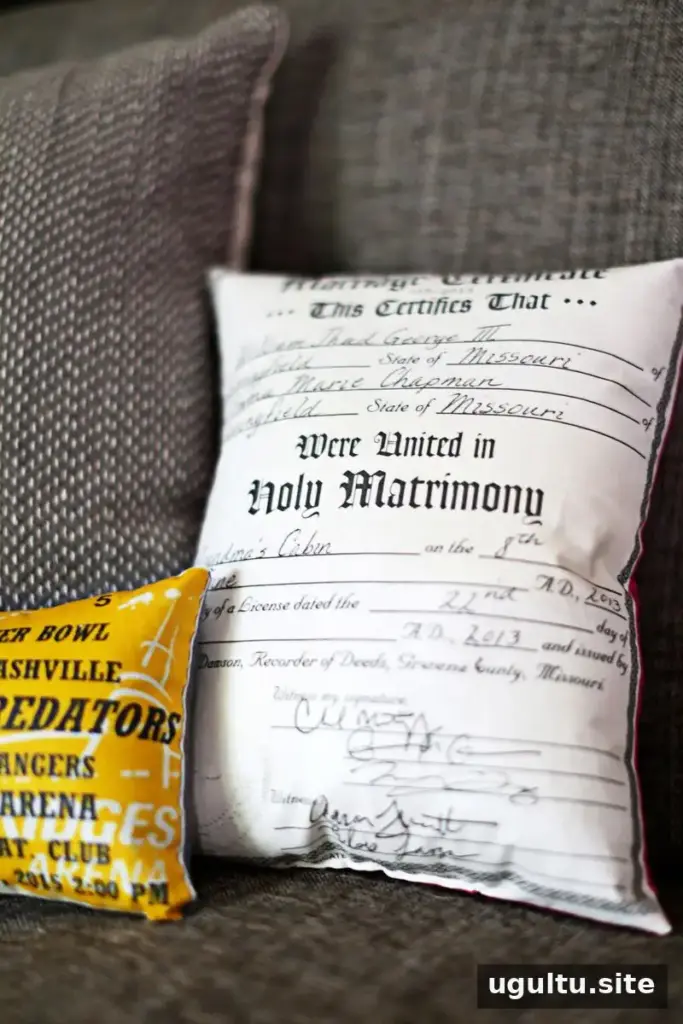
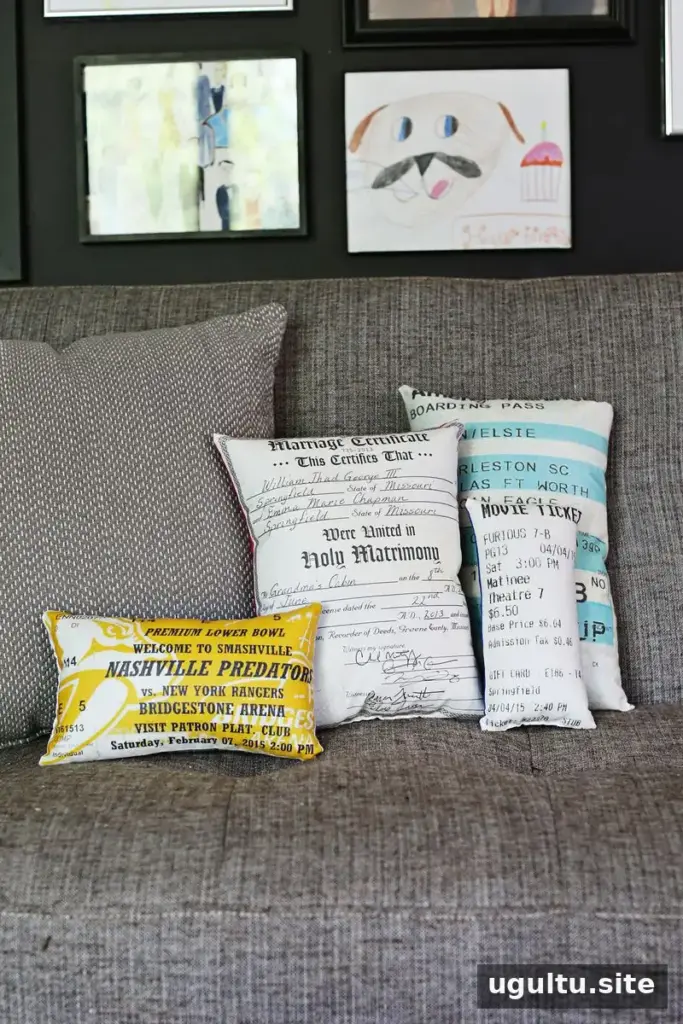
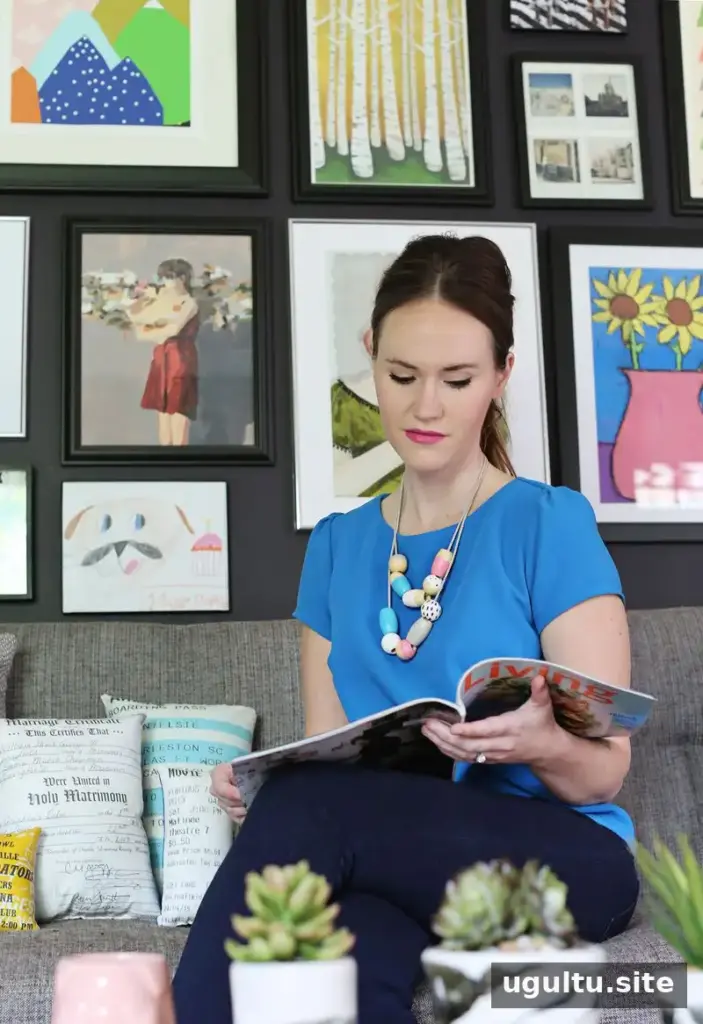
Document plush pillows offer a creative way to turn meaningful paper keepsakes into soft, decorative accents. Marriage licenses, movie tickets, plane tickets, and event stubs can all inspire a custom design. With a scanner, fabric transfer sheets, and basic sewing supplies, you can make pillows that preserve the look of your original papers while giving them a new purpose.
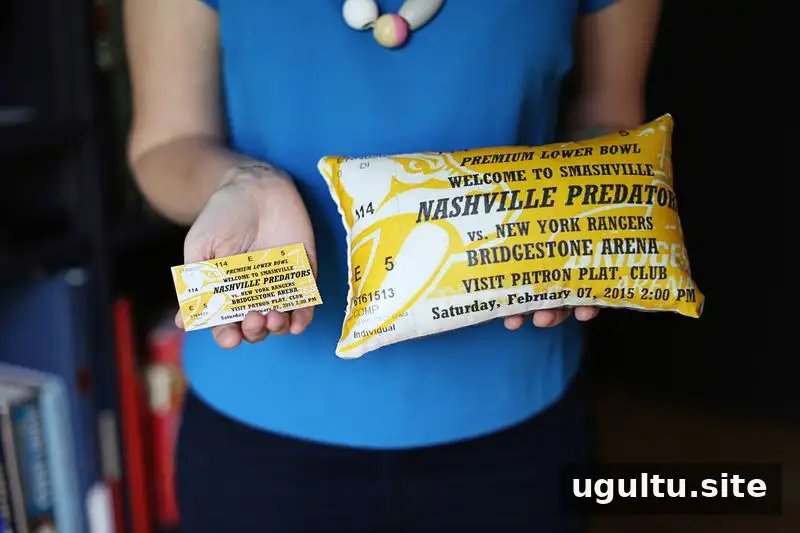
Supplies for Document Plush Pillows
Gather your materials before you begin. The project uses paper items as the design, so choose pieces that will fit the finished pillow or can be enlarged or printed across multiple sheets.
- Found papers, such as legal documents or ticket stubs
- Fabric transfer sheets
- Scissors
- Cotton fabric
- An iron
- A sewing machine, or a needle and thread for hand-stitching
- Poly-Fil stuffing
- A printer and scanner
The four-pillow project described here cost around $28, not including tools. Costs can vary depending on the fabric, transfer sheets, and supplies you already have. For personal documents, consider using copies or scans rather than handling an original more than necessary.
How to Make Document Plush Pillows
1. Scan and prepare the documents
Scan each paper item, then use image-editing software to adjust its size to suit your pillow. Enlarging a scan can create distortion or pixelation, especially when the original is small. That effect may suit a keepsake design, but preview the image at its intended print size before transferring it.
For the transfer method used in this project, flip the design horizontally before printing. This creates a mirrored image so that the text reads in the correct direction after it is transferred onto the fabric. Check the instructions included with your transfer sheets, as products can have different requirements.
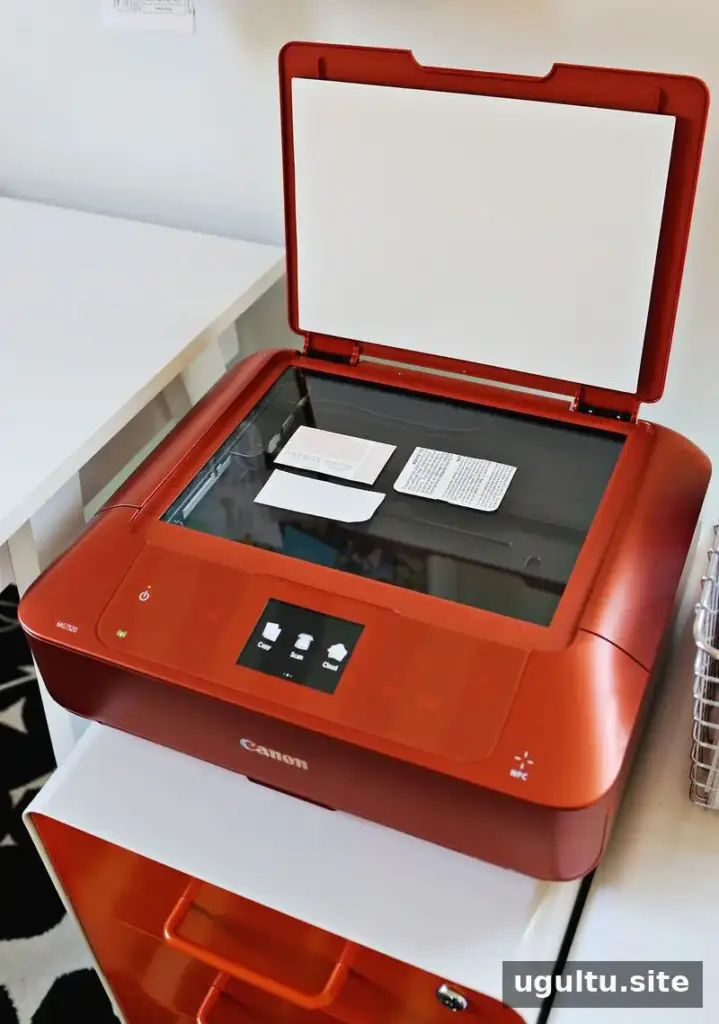
2. Print and trim the image
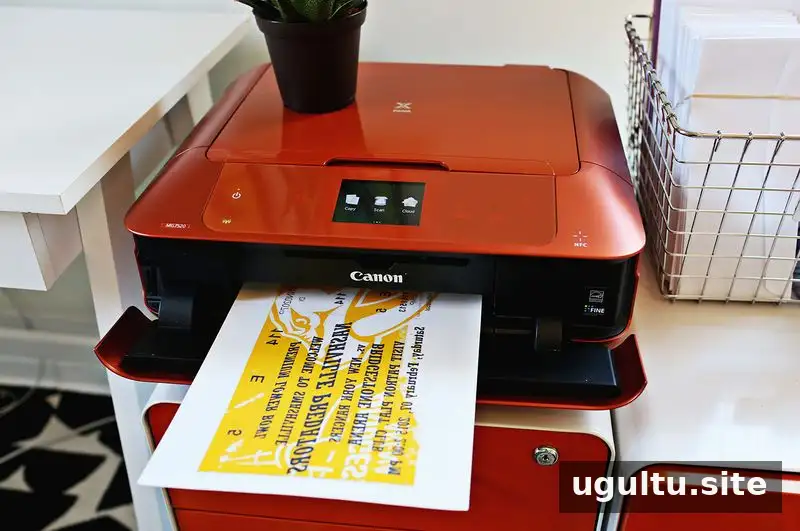
Print the prepared design onto a fabric transfer sheet and trim around it. Slightly rounding the corners can help the transfer lie flat when applied. Leave enough fabric around the design for sewing; trimming too close to the printed area may leave insufficient seam allowance.
If the design is larger than a standard 8.5 × 11-inch transfer sheet, divide it across two or more sheets and print the sections separately. Choose a less detailed area for the join when possible, as that can make alignment easier.
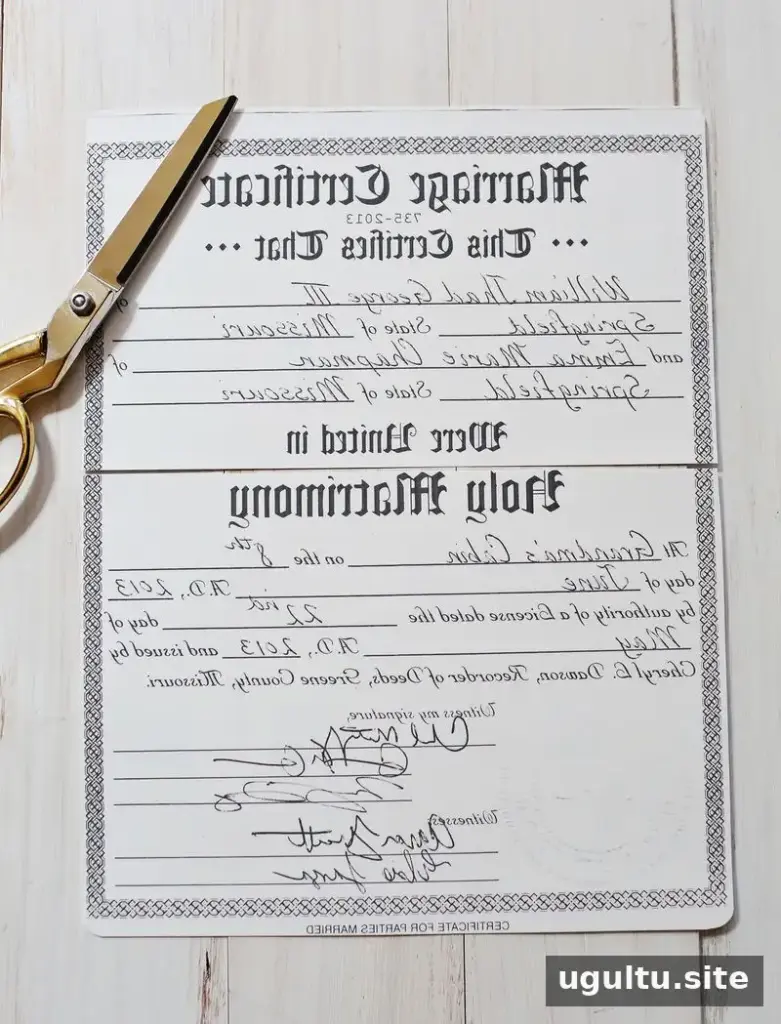
For a larger marriage-license design, the image was divided and printed on two sheets. Before ironing, arrange the sections together and check that the edges line up as intended.
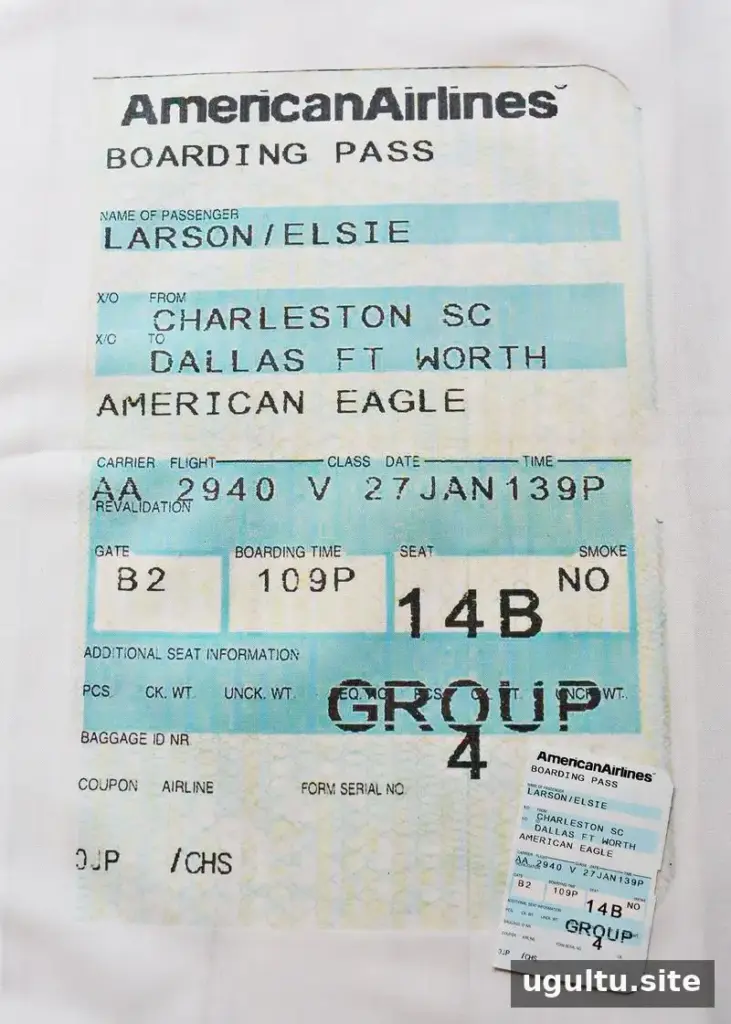
3. Transfer the image to fabric
Follow the transfer-sheet directions to iron the image onto cotton fabric. Pay attention to the recommended temperature, pressing time, and whether the sheet should cool before you remove its backing. Leave a generous border around the design so there is room to stitch the pillow together.
Enlarged details may become more noticeable after printing. For example, faint colored lines on a ticket can appear stronger at a larger scale, so review the print before applying it to the fabric.
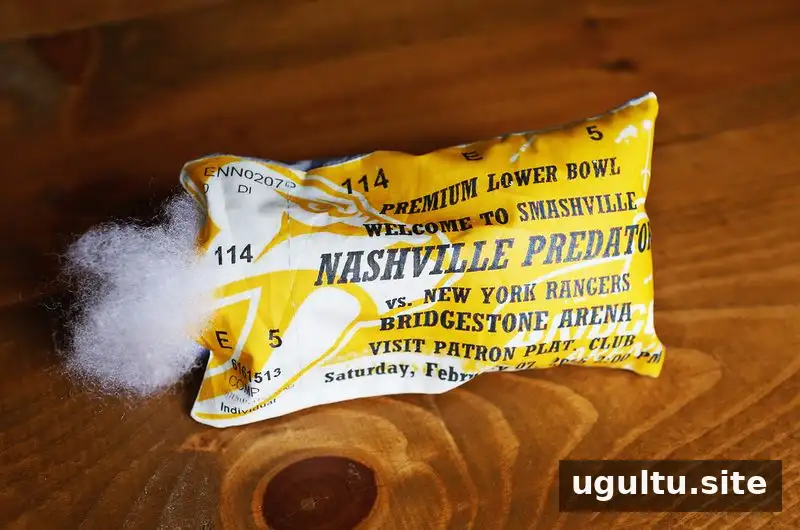
4. Sew and fill the pillow
Place the printed fabric together with a second piece of cotton fabric, keeping the design protected on the inside while sewing. Stitch around the edges, leave an opening for turning and stuffing, then turn the pillow right side out. Fill it with Poly-Fil and close the opening with a needle and thread. Rectangular and square designs are generally straightforward to sew, while unusual shapes may need more careful trimming and stitching.
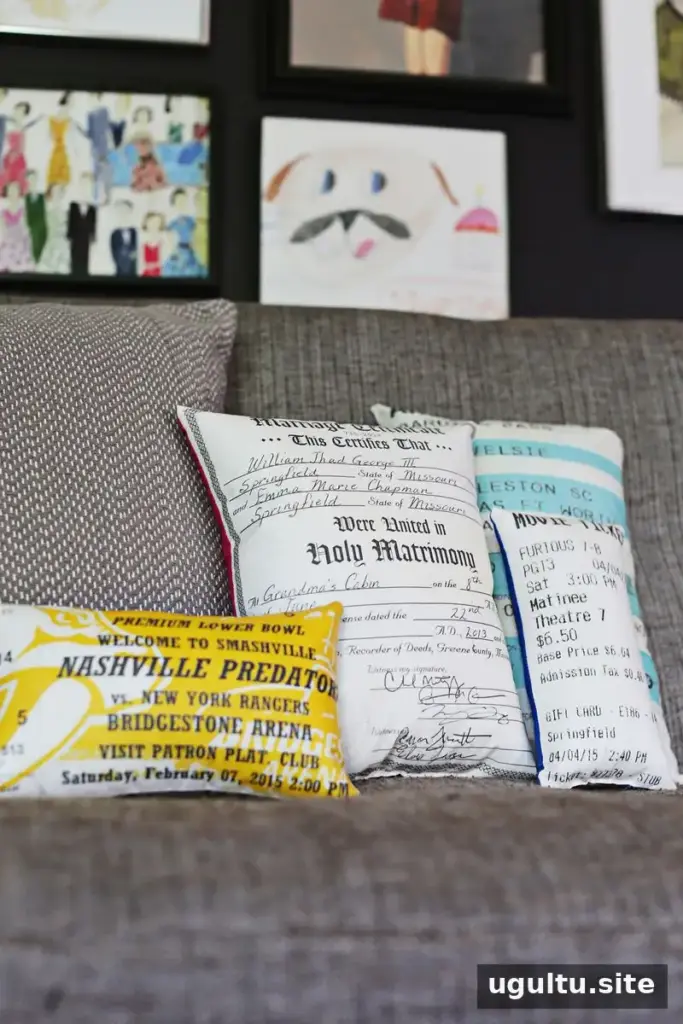
Display and Care Tips
These personalized pillows can add character to a couch and make keepsakes easier to display. Because transfer materials and fabrics can respond differently to heat and washing, follow the care guidance provided with your transfer sheets. If the paper contains private information, keep the finished pillow in a place where those details are not exposed to unintended viewers.

Conclusion
Document plush pillows combine scanning, fabric transfers, and simple sewing to transform paper memorabilia into handmade decor. Choose meaningful papers, check the mirrored design before printing, and allow enough fabric for seams. With these steps, ticket stubs and other keepsakes can become distinctive pillows while retaining the details that make them special.


