
 admin
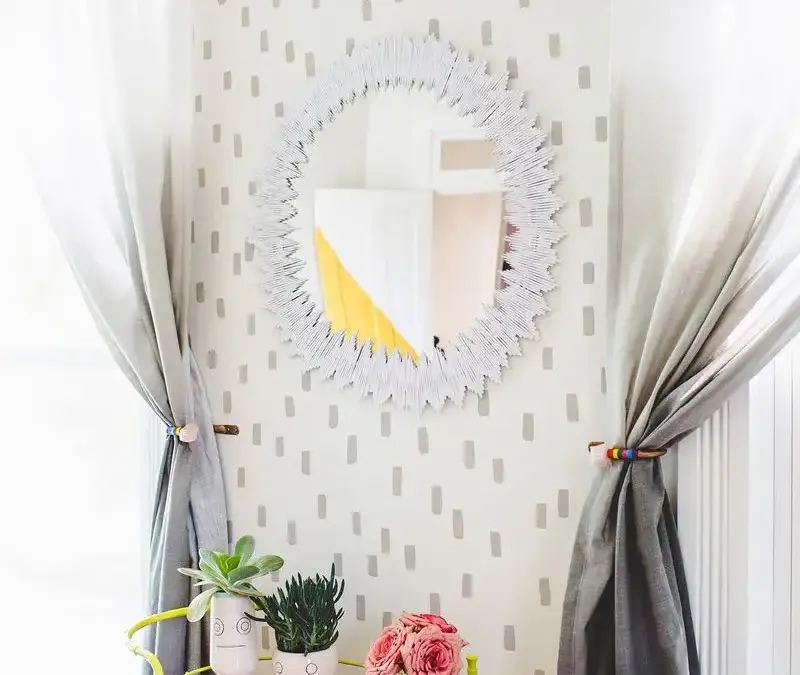
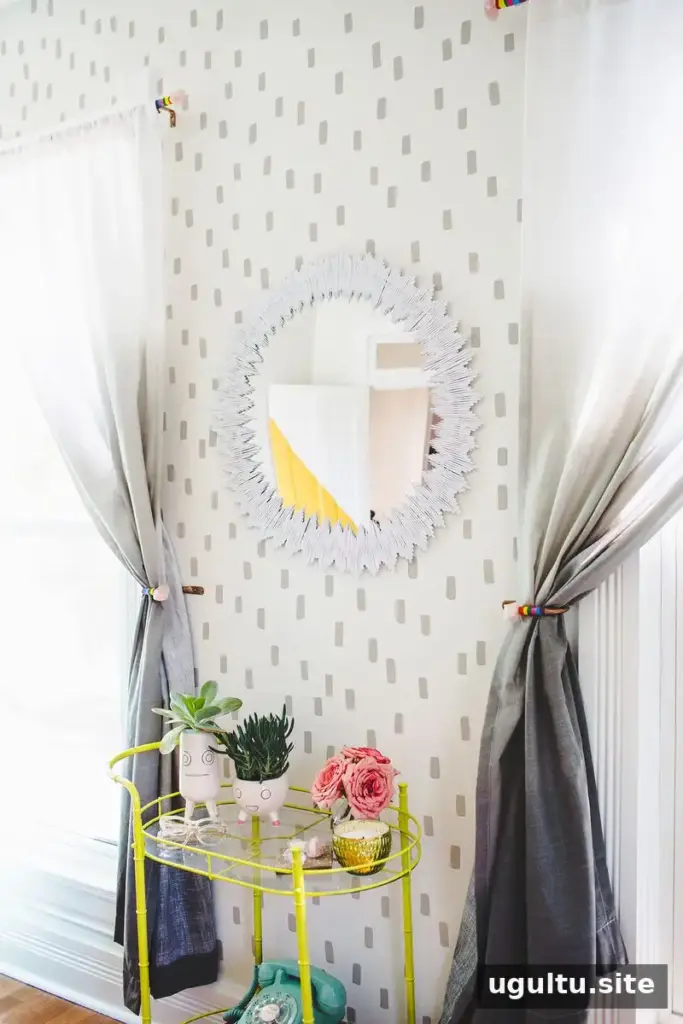
A Delicate Sunburst Mirror DIY is a simple way to add texture and a light-reflecting accent to a room. Small wooden craft sticks create a fine, scalloped frame around the mirror, while spray paint gives the finished piece a coordinated look. The design can be arranged by eye for an informal pattern or measured for a more regular appearance.
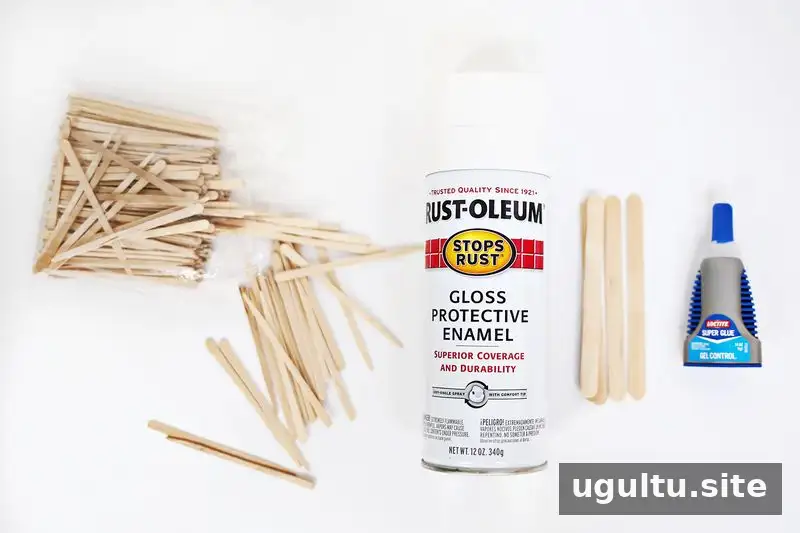
Supplies:
- Spray paint
- A mirror; the example uses a 24″ x 24″ safety mirror
- Small match craft sticks that are thinner at one end
- Popsicle sticks
- Wood glue for securing the support sticks
- Super glue or epoxy for attaching the mirror to the frame
- Painter’s tape
- Wax paper and a large piece of cardboard or foam board
Choose a flat work surface and protect it before starting. Check that the craft sticks are similar in size so the frame sits evenly around the mirror.
Make the sunburst pattern around the mirror
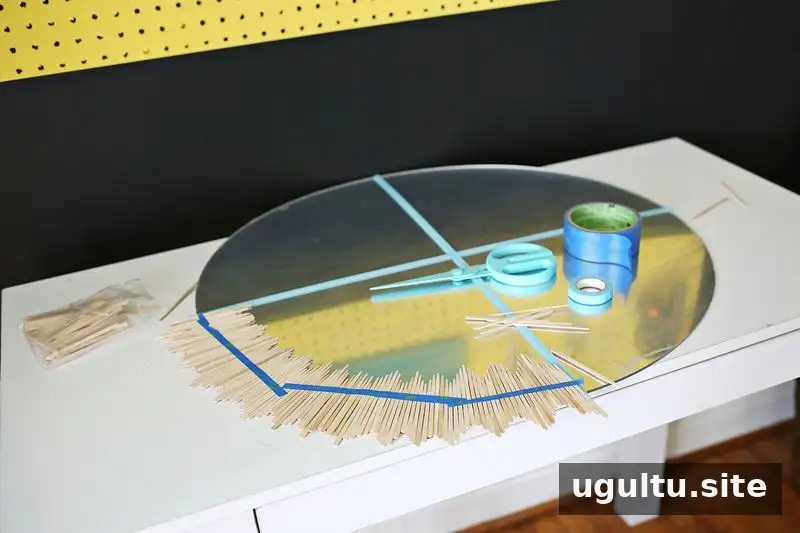
Begin by placing painter’s tape across the mirror in an X shape. This divides the surface into four sections and provides visual guides as you work around the edge. Point the thinner ends of the craft sticks toward the center. Since one end of each stick is narrower, their angle can gradually shift if you do not check the alignment as you go.
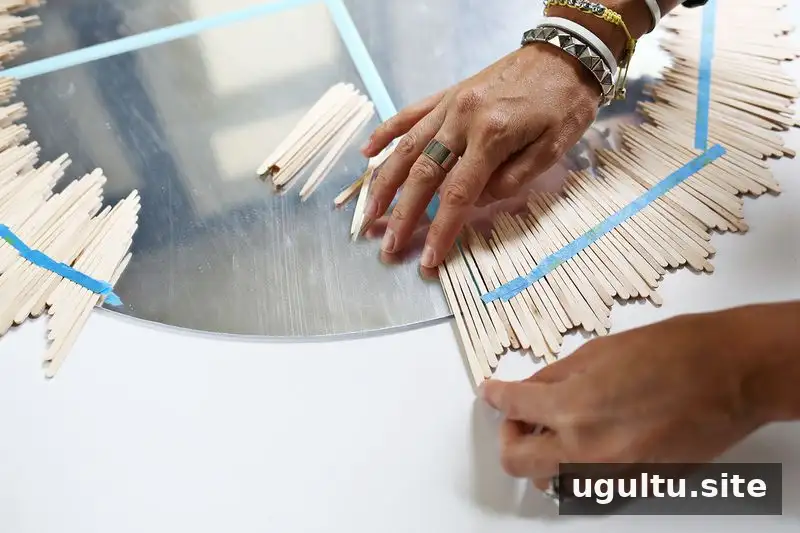
Arrange the sticks around the mirror in a semi-random pattern, adjusting some closer to the center and others farther out to create a scalloped outline. For a relaxed, handmade finish, arrange them by eye. For a more uniform look, count the sticks in each scallop and repeat the same arrangement around the frame.
After lining up about 10–15 sticks, hold them together with a narrow strip of painter’s tape. Keep the tape toward the inner edge so it does not cover the middle area where the support sticks will be attached. Continue adding and taping groups, checking from time to time that the sticks still point toward the center.
Secure and paint the frame
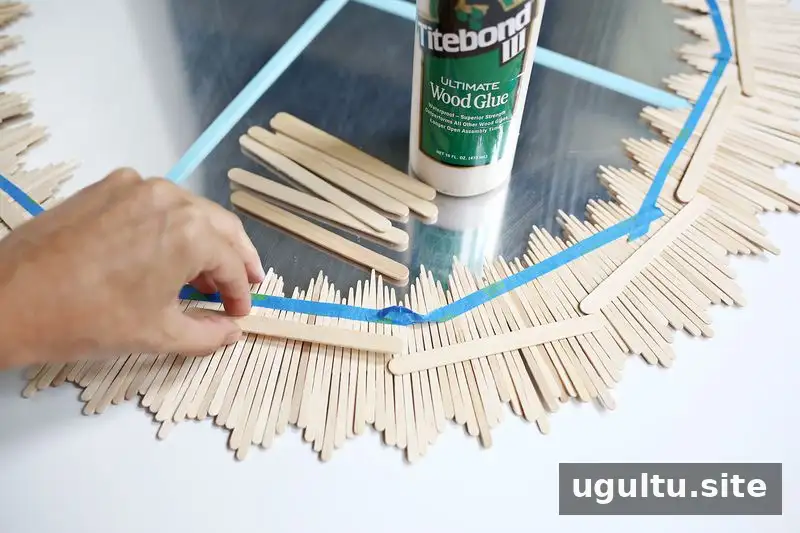
Lay wax paper over a large piece of cardboard or foam board. Carefully slide the taped arrangement off the mirror and onto the protected board. Apply wood glue to the back of the popsicle sticks, then lay them across the center of the smaller craft sticks to hold the frame together. Overlap the ends of the popsicle sticks so they support all the smaller sticks beneath them.
It is important to move the frame onto the wax paper before gluing. Glue can seep through the gaps and stick the frame to the mirror, making it difficult to lift in one piece. Add more popsicle-stick supports if needed to secure the frame.
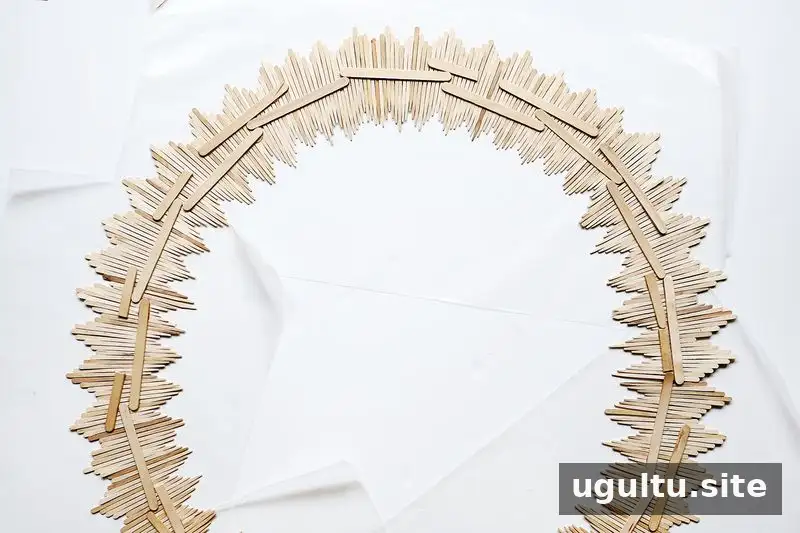
Allow the glue to dry. Place another board covered with wax paper on top of the frame, sandwich the layers together, and carefully flip them so the frame faces up. Ask someone to help if the boards are large or difficult to handle.
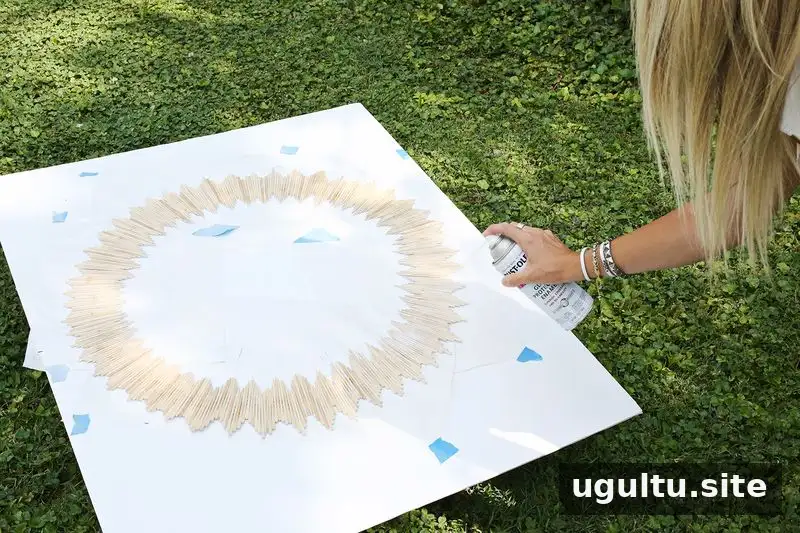
Apply spray paint in as many coats as needed, allowing adequate drying time between coats. Follow the paint label’s directions and work in a well-ventilated area. Let the paint dry fully before attaching the mirror.
Attach the mirror and hang it safely
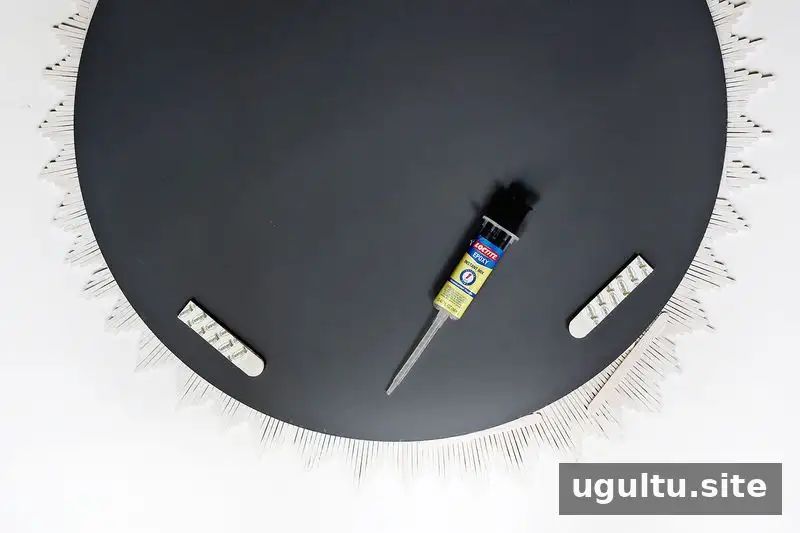
Use the boards to turn the frame over again, then attach the mirror to it with super glue or epoxy. Follow the adhesive manufacturer’s instructions and allow the bond to cure as directed. Some mirrors have hangers on the back; if yours does not, choose a wall attachment suitable for both the mirror’s weight and your wall type. The example used Velcro Command strips with a lightweight safety mirror, but always check the product’s weight limits before hanging.
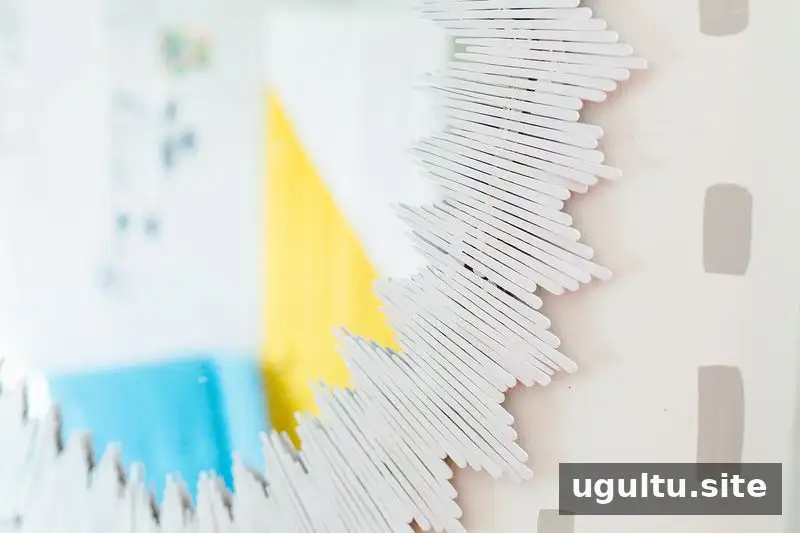
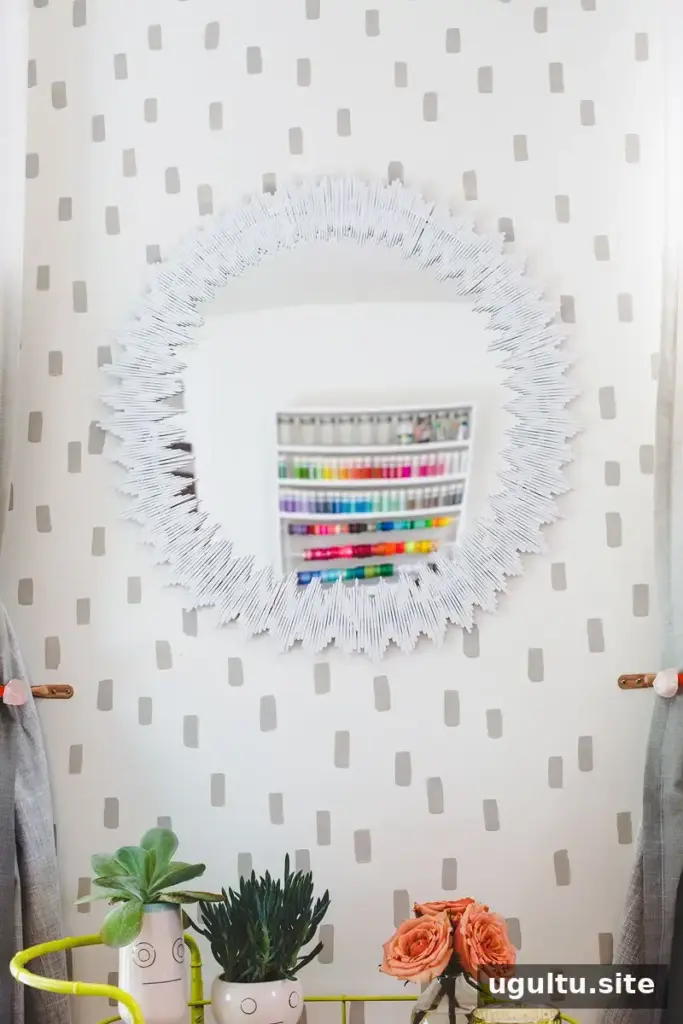
Finishing tips for a delicate sunburst mirror DIY
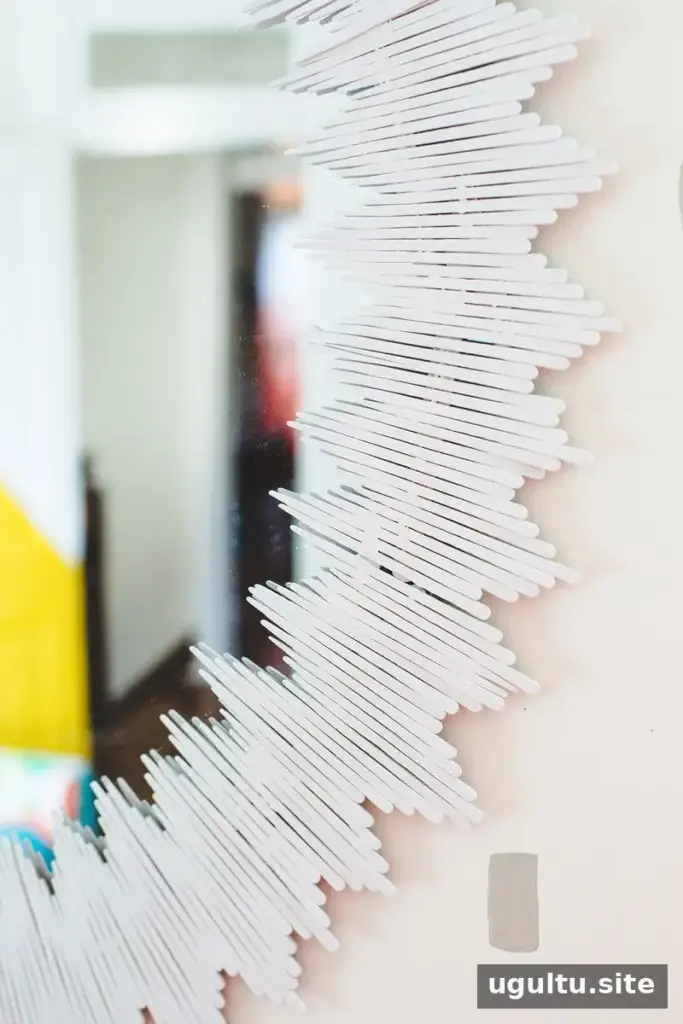
The narrow sticks create a delicate outline that can contrast nicely with a bolder wall pattern. A safety mirror can be lightweight, though its reflection may look slightly distorted from some angles. If a clear, undistorted reflection is important, consider using a standard glass mirror instead.
This style can work in an office, entryway, or another space where a decorative mirror would be useful. Before hanging it above furniture, confirm that the wall hardware is secure and appropriate for the surface. — Laura


