
 admin
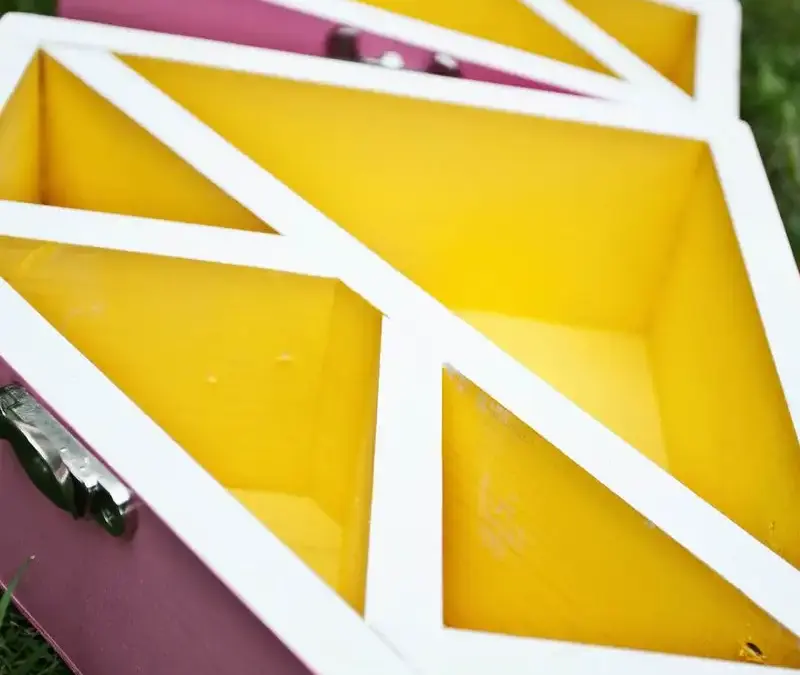
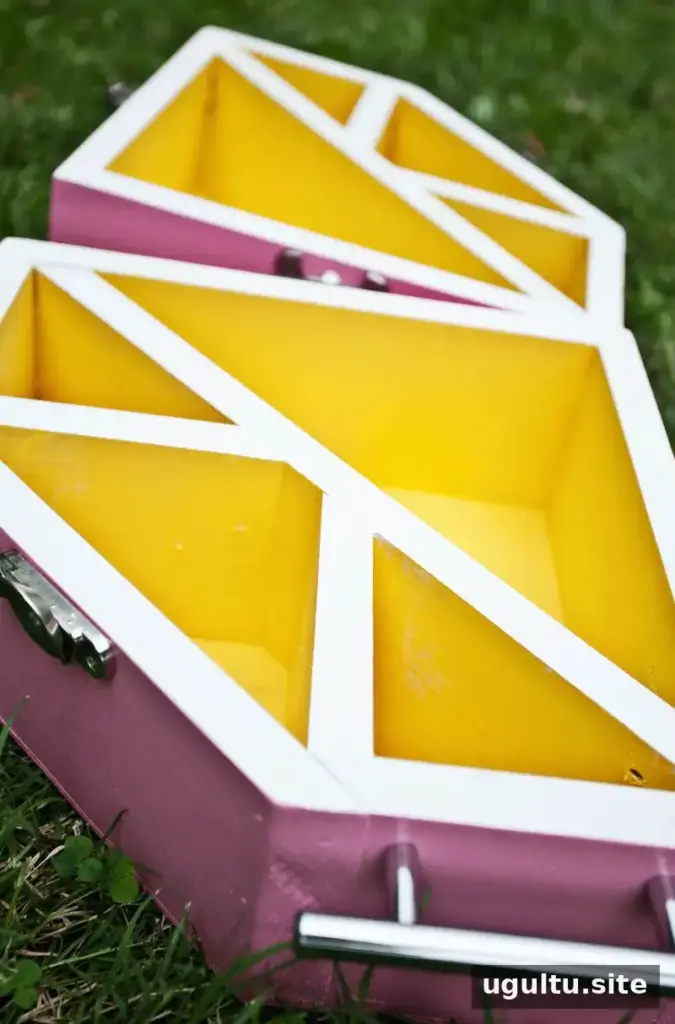
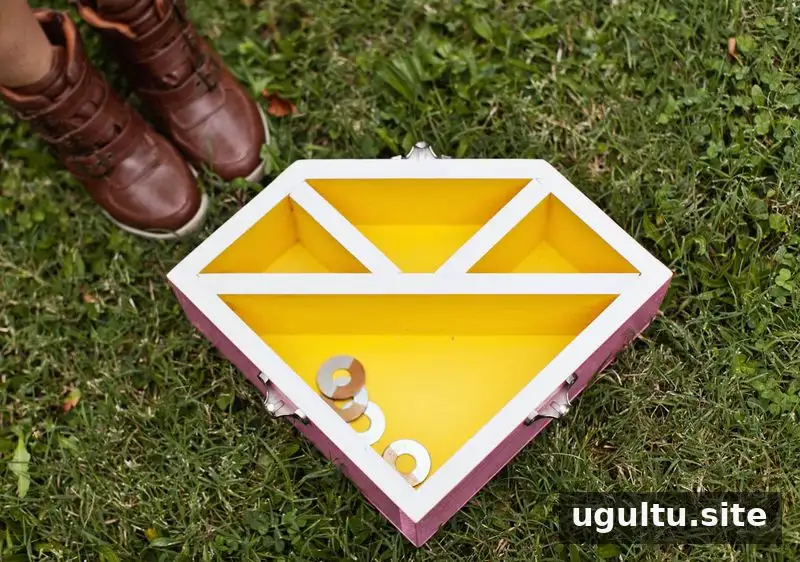
A diamond washer game is a simple backyard activity that is easy to make and fun to play with friends. Players toss metal washers toward a divided target from about 20 feet away. The larger compartment scores one point, while the smaller center sections score three points each. This DIY version is designed as a portable case, with an optional handle and latches to make it easier to carry and store.
Materials and tools
Gather the following supplies before starting:
- About 4 feet of 1 x 10-inch pine, or scrap plywood cut to 10 inches wide
- 1/8-inch plywood for the backing
- A handle and locking hardware, if desired
- Six washers measuring at least 2 inches across
- Paint or stain; polyurethane is optional
Useful tools include a miter saw, drill, measuring tape, and pencil. A table saw is optional, as are a jigsaw or hand saw for cutting the backing. Wear eye protection when cutting or drilling, and follow the safety instructions for each tool.
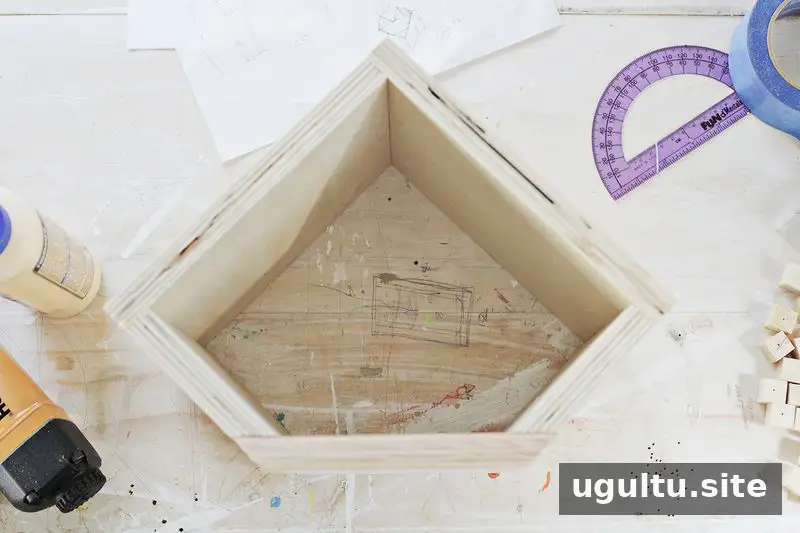
Step 1: Assemble the diamond frame
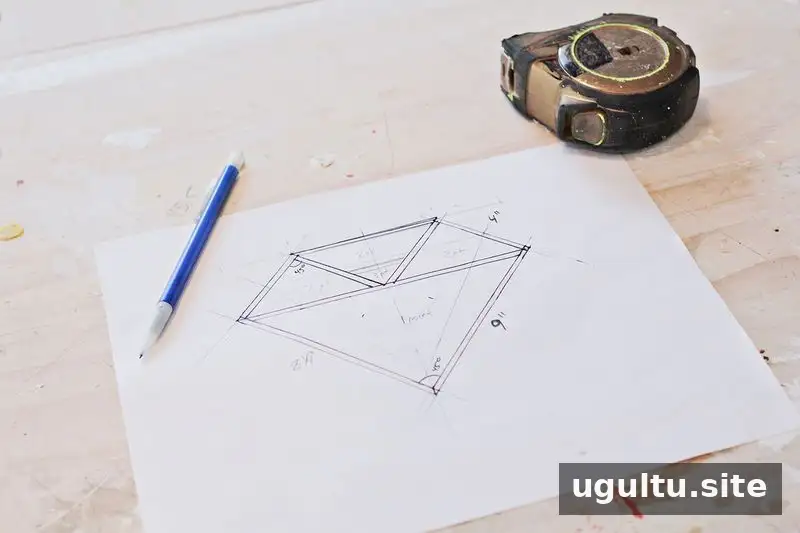
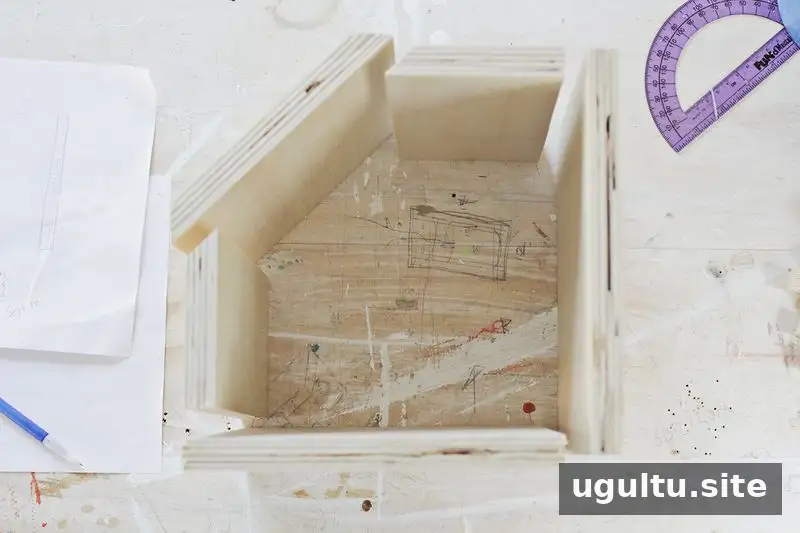
Start with the two longest pieces: cut one to 12 inches and the other to 11.25 inches. Arrange them as the base of the diamond, then measure the remaining pieces against the frame rather than relying on a set of complicated calculations. The next two pieces are about 5 inches long; each has one straight end and one 45-degree end. The final piece has 45-degree cuts at both ends. Mark each cut against the assembled layout so the joints fit together.
All angled cuts are 45 degrees. Once the pieces fit, glue the joints and reinforce them with screws or nails. If you plan to cut the completed diamond into two halves, mark the center line first and keep fasteners away from that line.
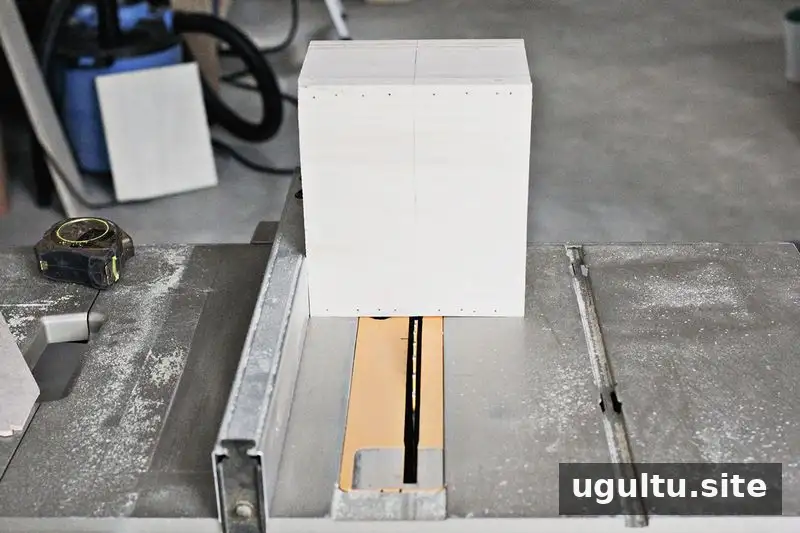
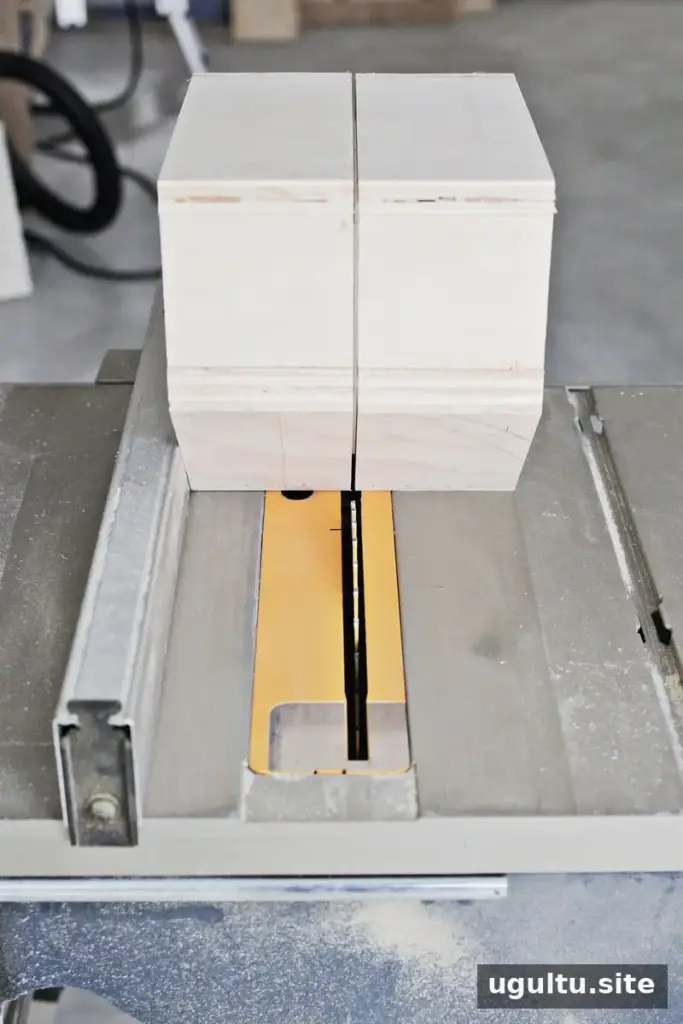
Step 2: Divide the frame
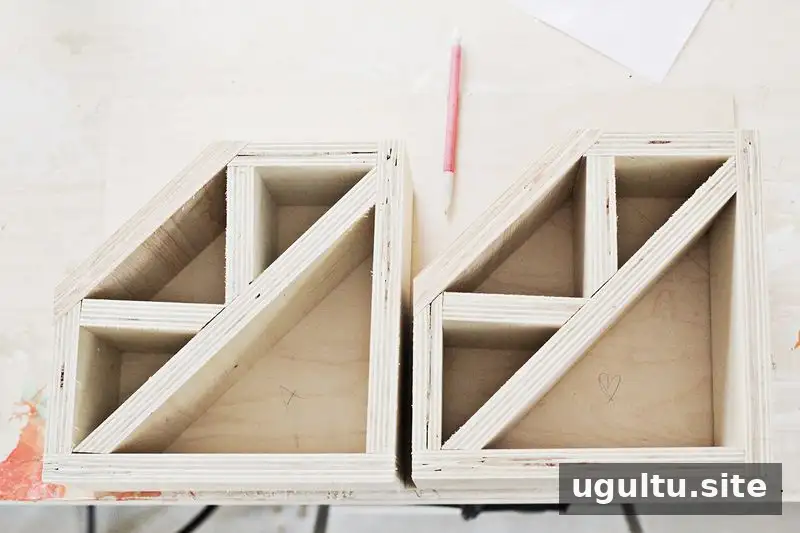
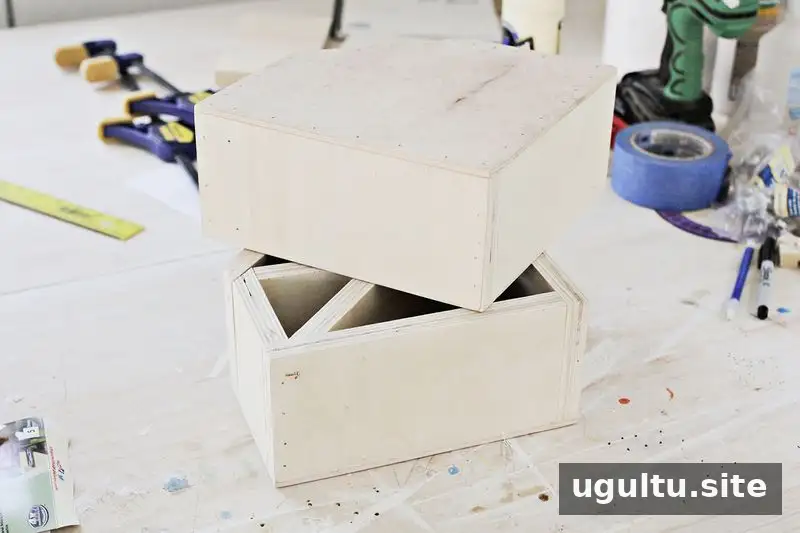
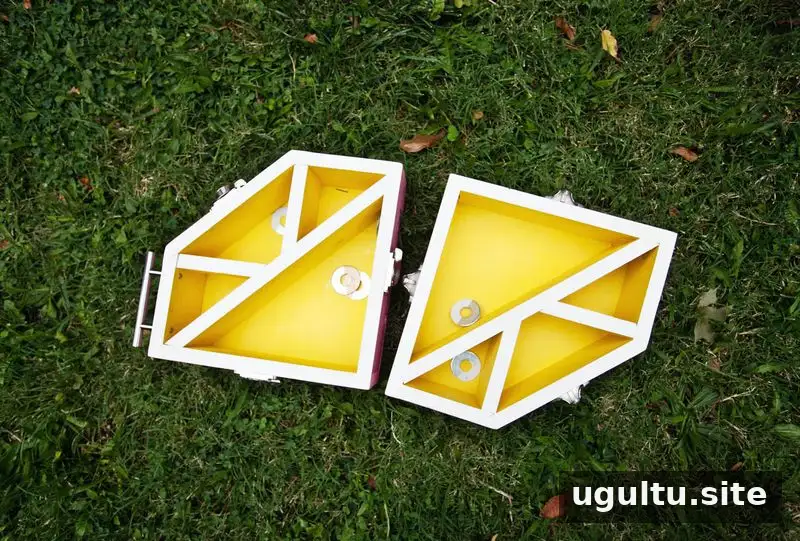
Use a table saw to cut the assembled diamond into two halves. Set the blade higher than the width of the wood, and use appropriate saw safety practices. If you do not have a table saw, make two separate halves instead; this avoids the need for the center cut.
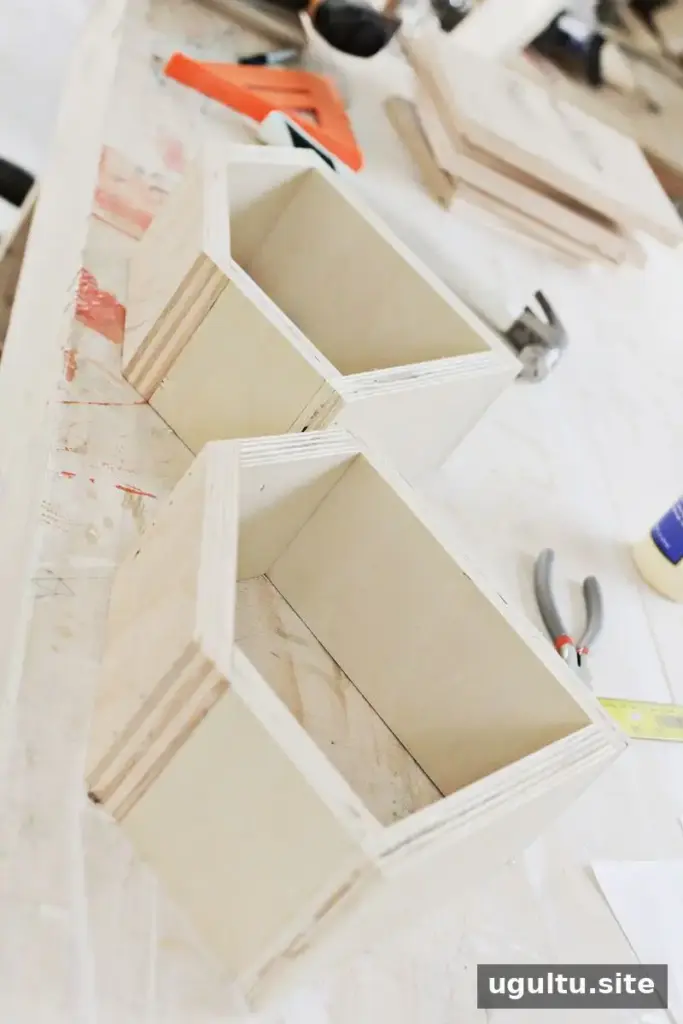
After cutting, check that the two sides sit evenly. A quick dry fit before attaching the backing can help reveal any rough edges that need attention.
Step 3: Add the dividers and backing
Cut the smaller interior pieces to fit the compartments. Hold each piece in place, mark its length, and use 45-degree angles where needed. Glue the dividers into the frame, then place the assembled target on the 1/8-inch plywood and trace its outline. Cut out the backing with a hand saw or jigsaw and attach it with glue; nails or screws are optional.
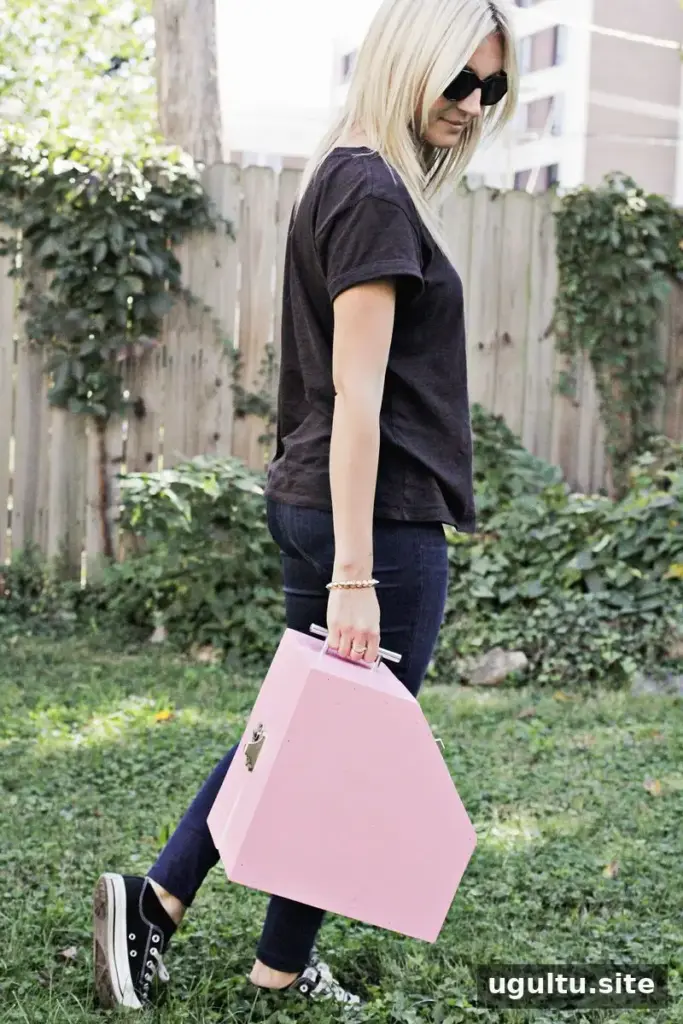
At this stage, you can add a handle and latches if you want the game to be easier to transport. Finish the wood with paint or stain, and apply polyurethane if you want an additional protective coating. Let any finish dry according to its product directions before playing.
How to play the diamond washer game
Place the target on a stable, level surface and agree on a throwing line about 20 feet away. Players take turns tossing washers toward the compartments. Score one point for landing a washer in the large section and three points for landing one in a smaller section. Before the first round, make sure everyone understands the scoring and that the play area is clear of people and breakable objects.
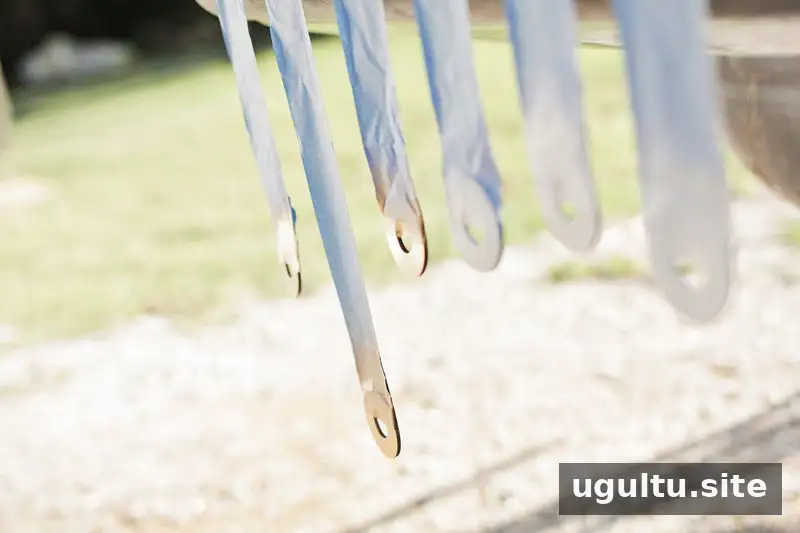
To distinguish the two sets, paint three washers gold and leave the other three silver or paint them white. The original build also uses a half-gold, half-white finish for the washers, making it easier to tell the teams apart during play.



Enjoy your diamond washer game
With a few pieces of lumber, six washers, and basic tools, you can build a diamond washer game for backyard gatherings or porch parties. Measure the frame pieces against one another for a closer fit, keep fasteners clear of the center if you will cut the frame in half, and add optional hardware only after the backing is attached. Once the finish is dry, set a throwing distance, review the one-point and three-point scoring, and start playing.


