
 admin


A well-planned closet can make everyday storage simpler and more efficient. This divided built-in closet project adds a central support board, shelves, and clothing rods to create two organized sections in a shared space. Adjust the shelf heights and layout to suit your closet dimensions and the items you plan to store.
The original closet had uneven, loose shelves and numerous rod brackets that made it difficult to slide clothes along the rail. The new design uses a vertical board to separate the closet and support long shelves and rods. Because the closet opening was offset, the divider was aligned with the opening rather than the exact center, leaving one side slightly wider.
Supplies for a Divided Built-In Closet
- 12-inch x 3/4-inch board cut to the ceiling height for the central divider
- 12-inch x 3/4-inch boards for deeper shelves
- 10-inch x 3/4-inch boards for shallower shelves
- 1-inch x 2-inch support boards
- 1-inch x 3-inch trim boards
- 1-inch x 2-inch trim boards for a smaller shelf-front detail, if desired
- Closet rods and rod brackets; use a hacksaw to cut the rods to length
- White paint, caulk, wood filler, wood screws, and screws with anchors
- Countersink bit, miter saw, and sandpaper
Measure the closet before buying materials, and check that the boards will fit through the doorway. Use eye protection when cutting or drilling, and secure boards before making cuts.
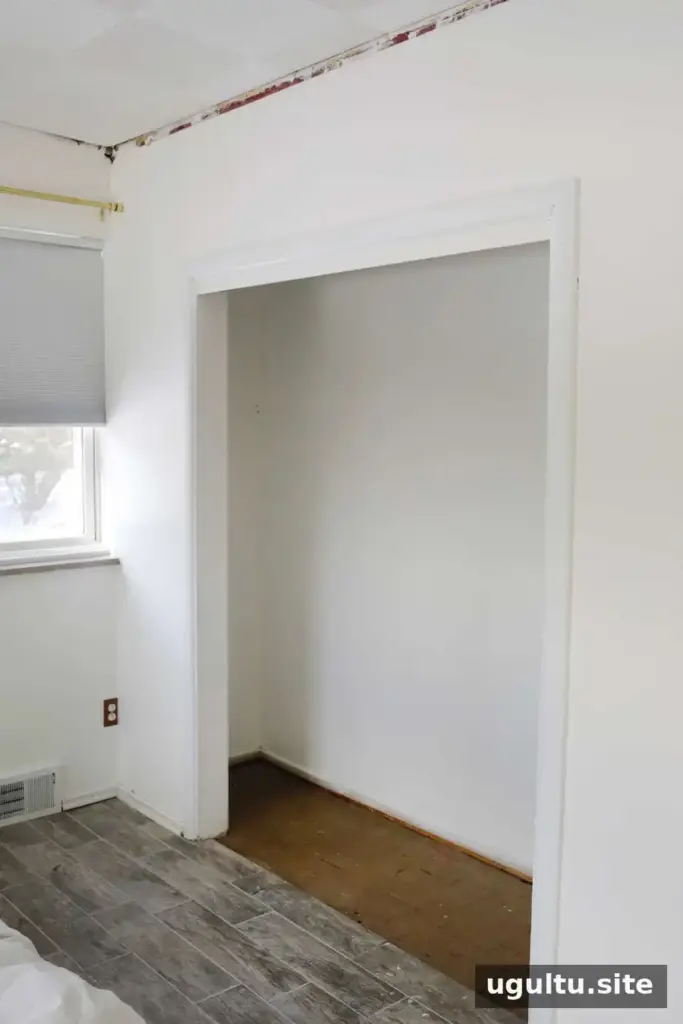
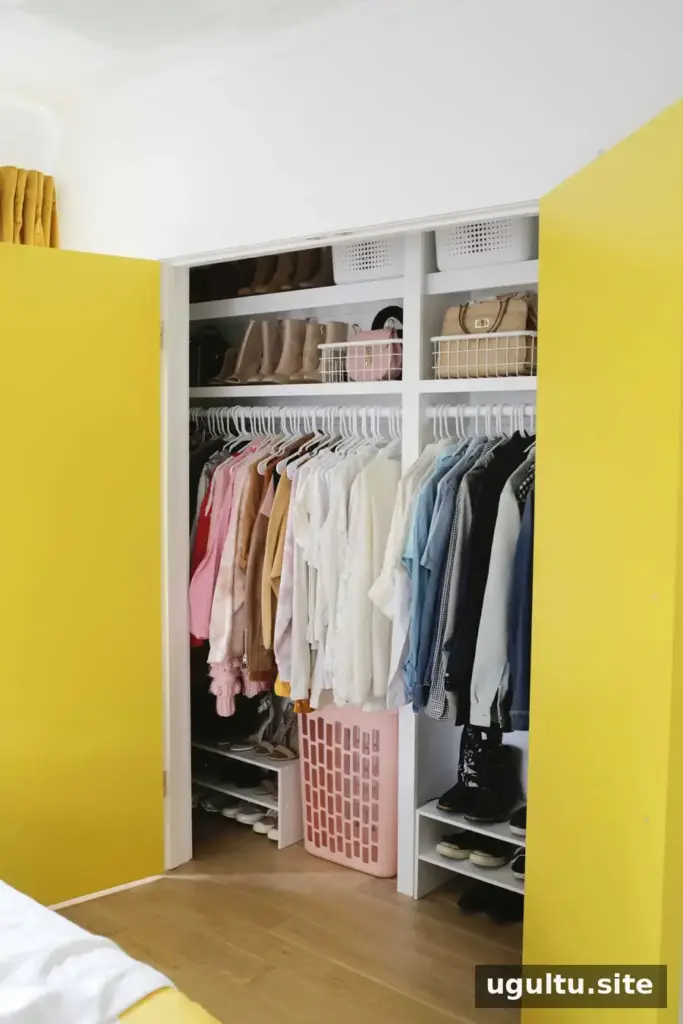
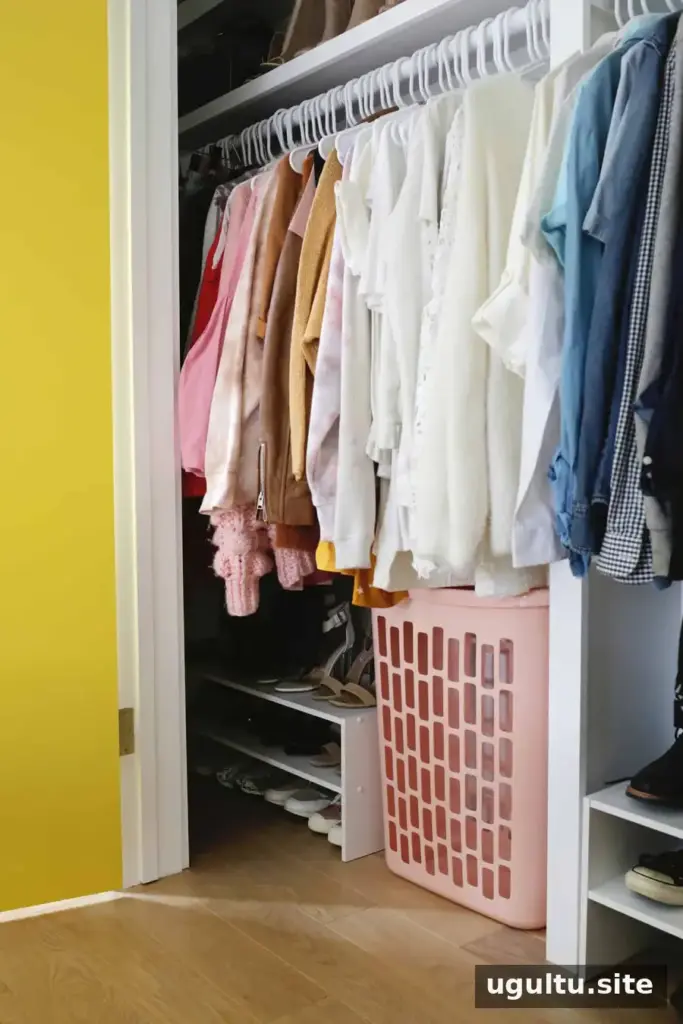
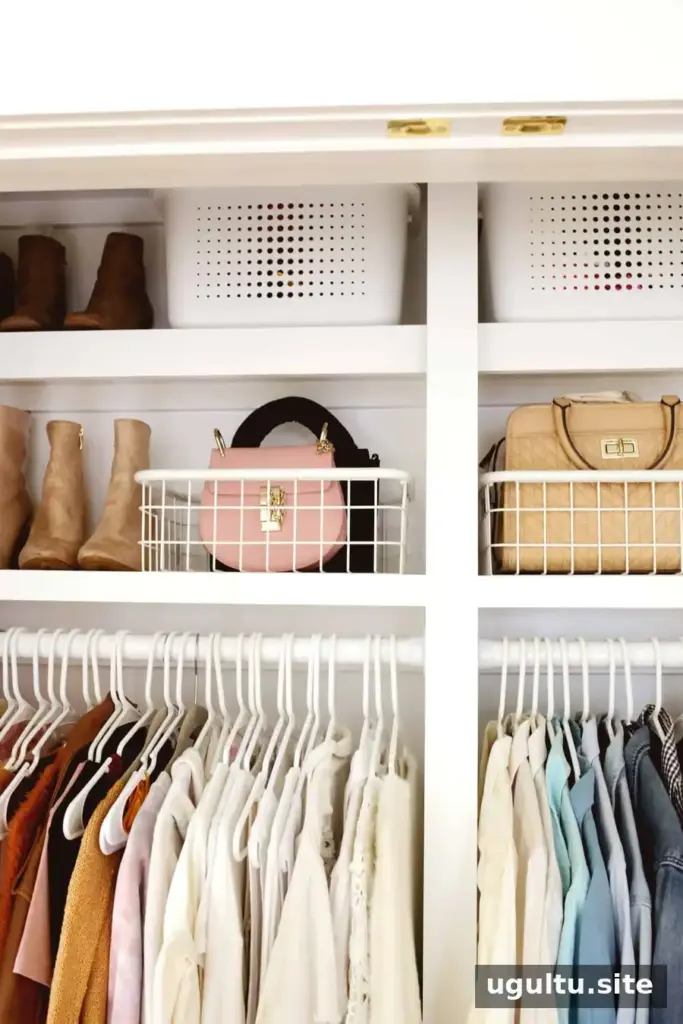
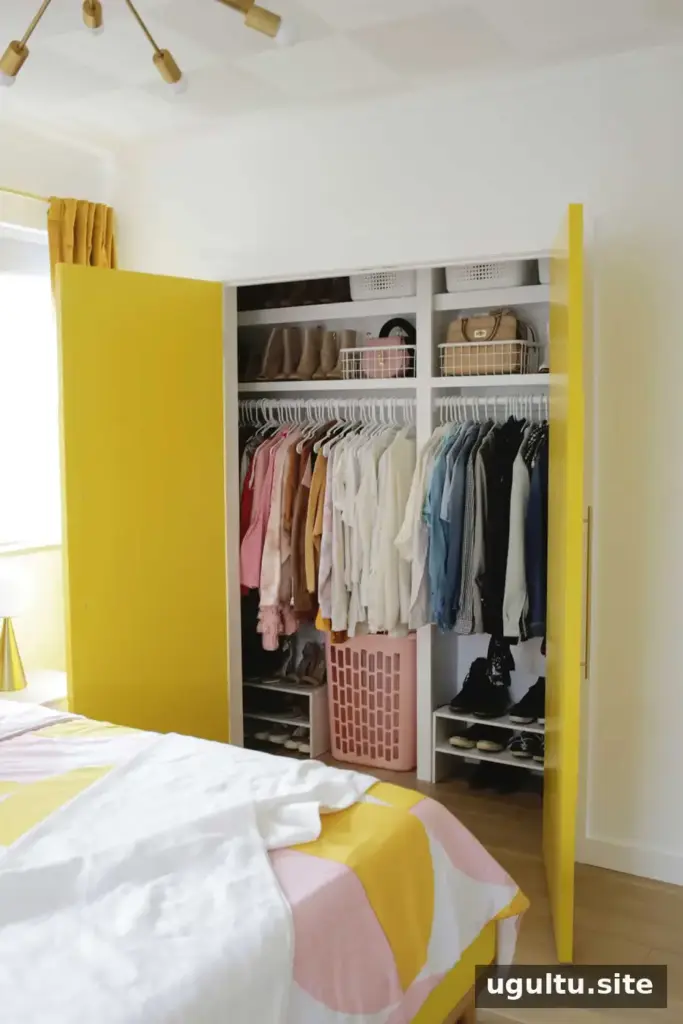
The project follows a straightforward sequence: plan shelf heights, attach support rails, install the center divider, and finish the shelves, trim, paint, and rods. The images and video accompanying the guide can help illustrate the arrangement.
How to Build a Divided Built-In Closet
1. Mark the shelf locations
Decide where each shelf should go, then use painter’s tape to mark the proposed heights on the walls. Check each line with a level so the shelves will sit evenly. Shelf spacing can be changed to suit your needs; a higher shelf can be useful for items used less often, while frequently used storage should remain easy to reach.
Measure the closet and mark the planned location of the vertical divider. It can sit at the true midpoint or be positioned to create sections of different widths. Keep the door opening and access to both sides in mind when choosing its location.
2. Install the support rails
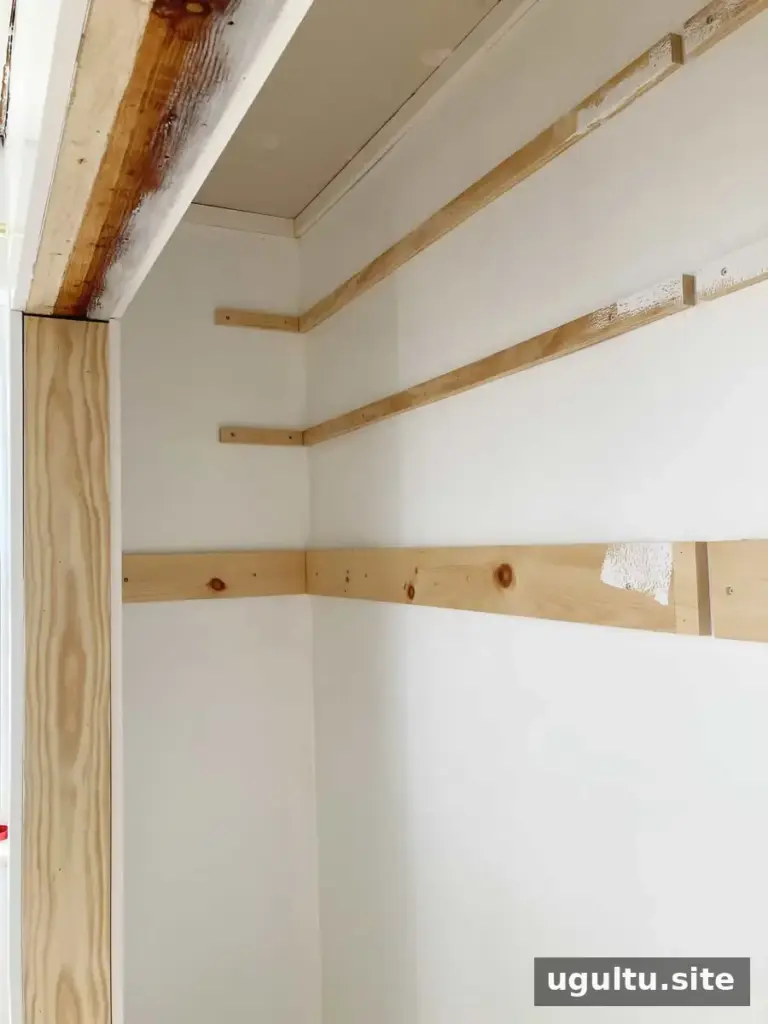
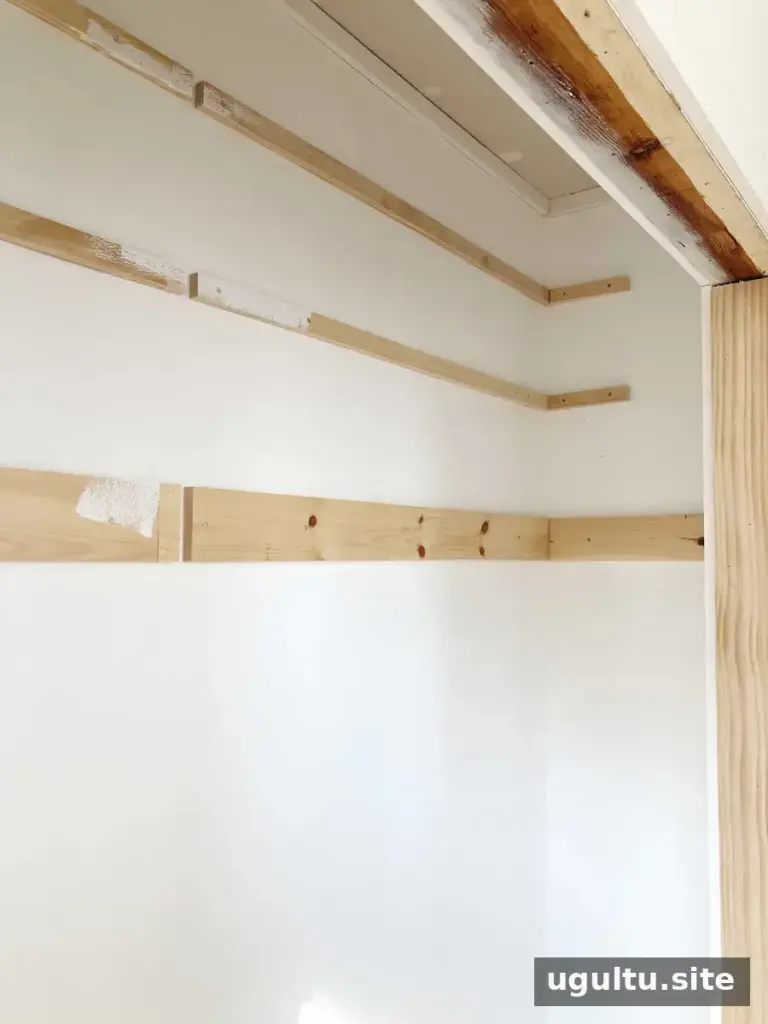
Measure the back wall and cut the support boards to fit, leaving a 3/4-inch gap where the central divider will sit. Locate the wall studs and mark their positions on the painter’s tape. Whenever possible, fasten the rails into studs. If a stud is not available at a fastening point, use a suitable drywall anchor.
Hold each board in position and mark the screw locations directly on it. Remove the board, pre-drill the holes, and use a countersink bit so the screw heads sit slightly below the surface. This leaves room to fill the holes smoothly later. Align the rails with the level marks and fasten them securely.
Repeat the process for the side rails. Their depth should account for the thickness of the back-wall support board. For a 12-inch-deep shelf with a 3/4-inch back rail, cut the side rails to 11 1/4 inches so the shelf finishes flush at 12 inches from the wall.
If the wall where a rod bracket will attach is damaged or weak, add a wider support surface in that area before installing the rod. Check the wall condition and fastening points rather than relying on a bracket attached to crumbly drywall.
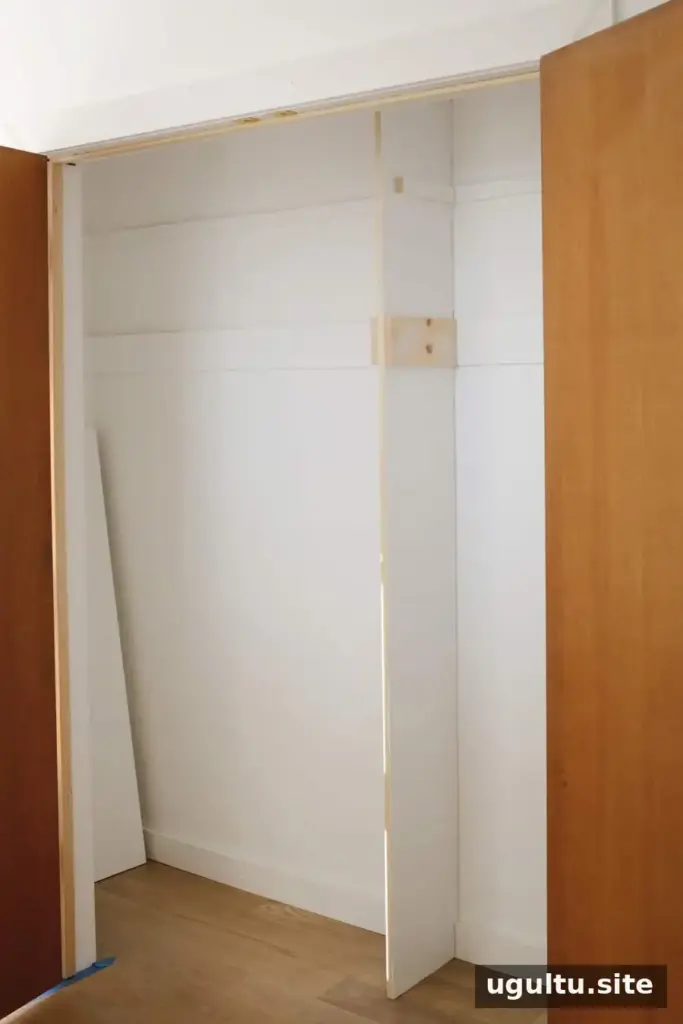
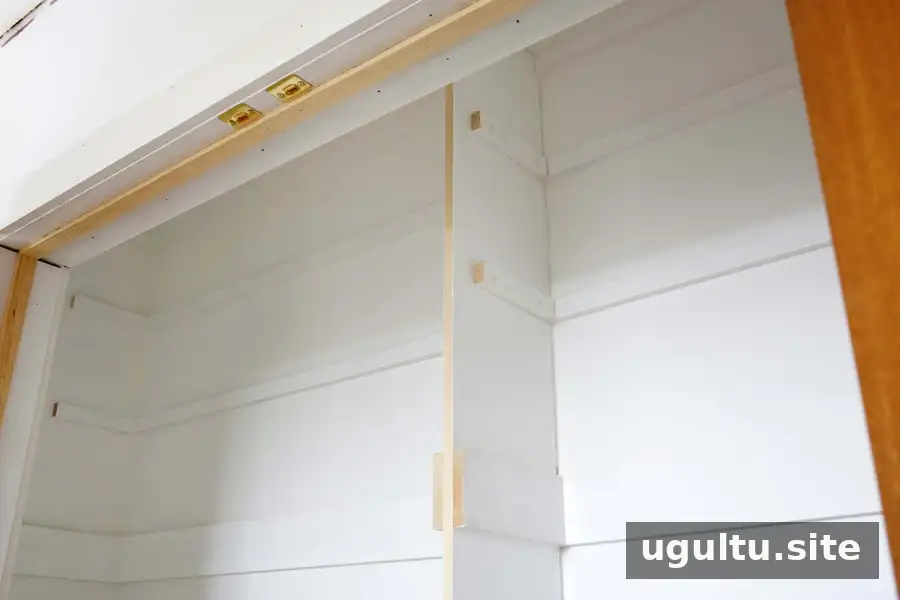
3. Fit the vertical divider
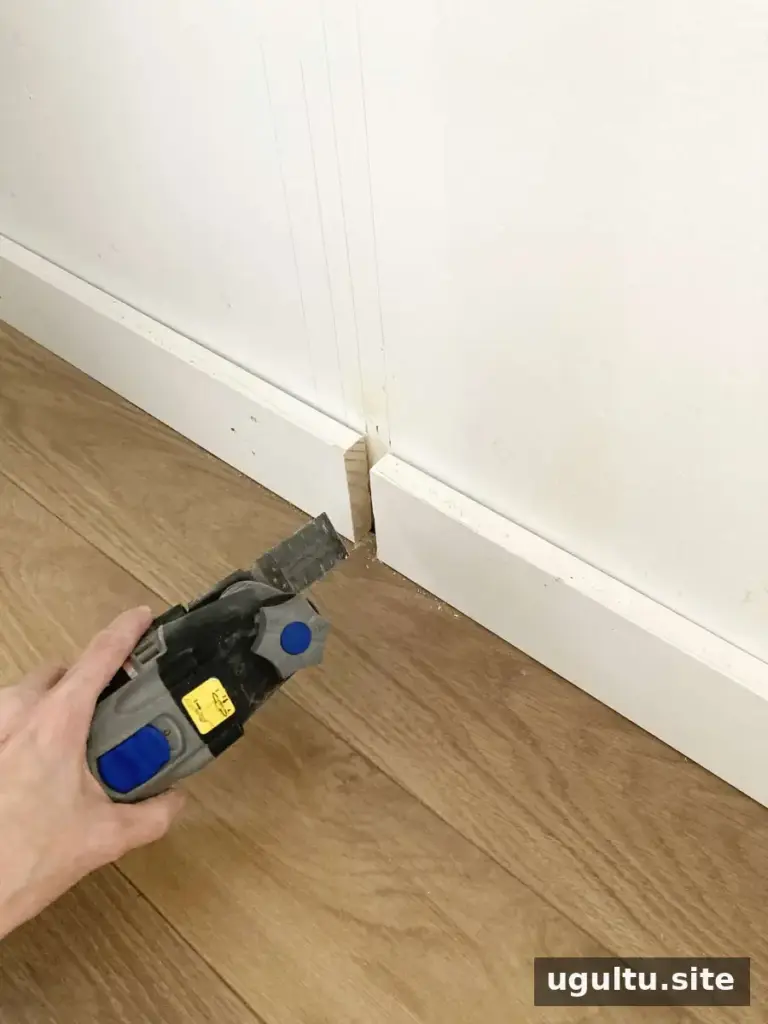
Measure carefully between the support rails and cut the central board to fit snugly. If the baseboard prevents the board from sitting flush against the wall, either notch the back of the divider to fit around it or remove a matching section of baseboard.
Cut the board slightly long if needed, then trim it gradually until it fits. A rubber mallet can help ease a close-fitting board into place; avoid forcing it if it is binding. Secure the top of the divider to the ceiling with a nail gun or a pocket-hole jig and screws. The original build was stable without fastening the divider to the floor, but the right method depends on the closet structure and materials.
Once the divider is secure, attach the center support rails at each shelf height. These rails connect the shelves to the vertical board.
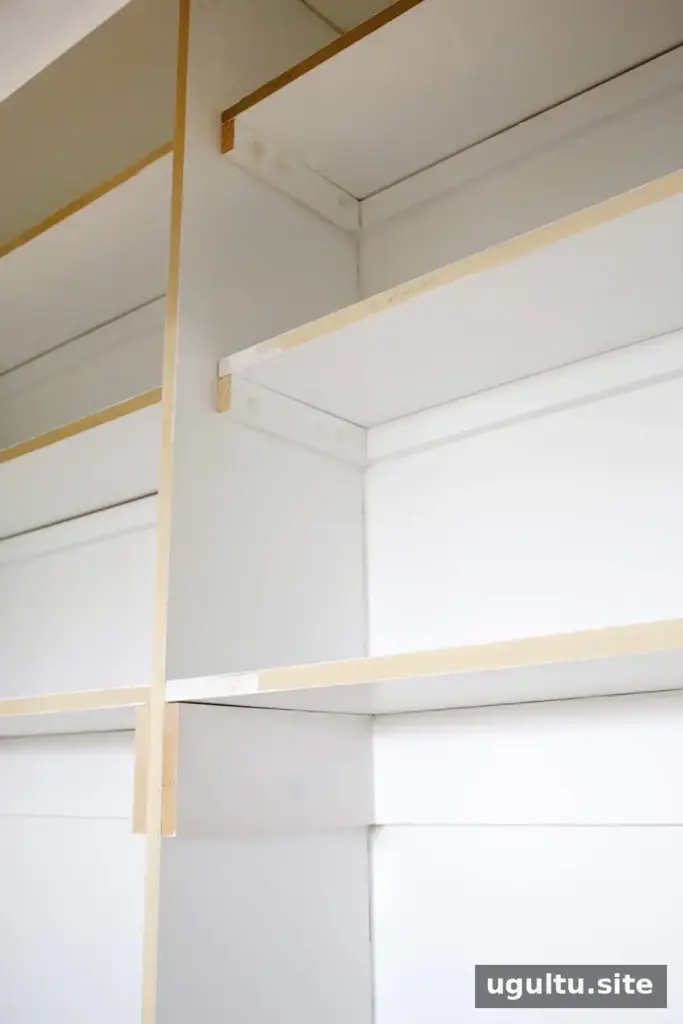
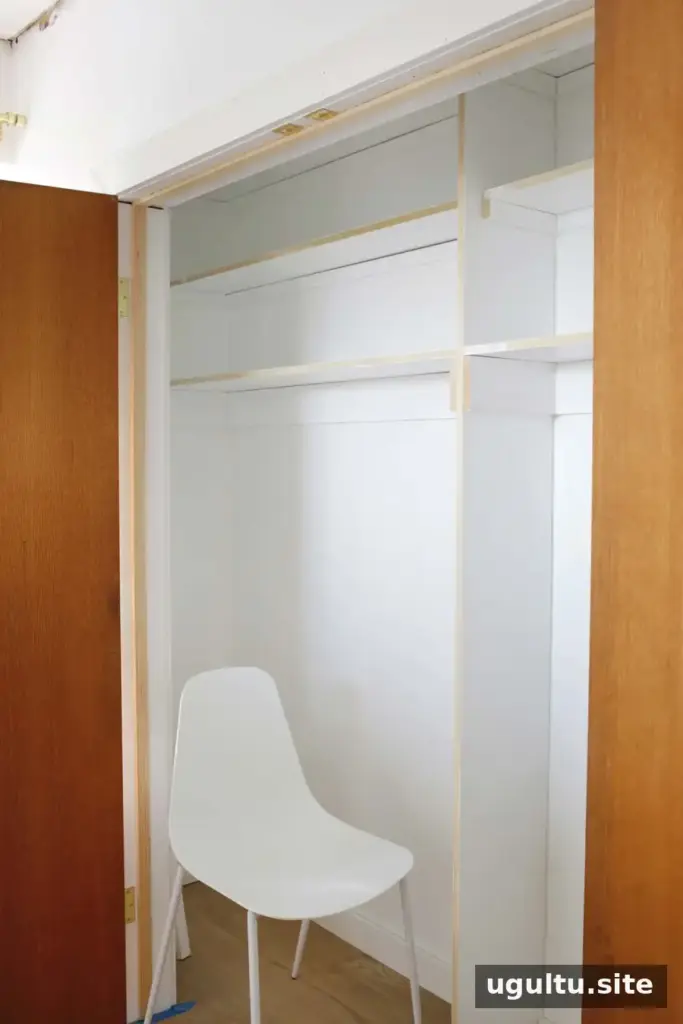
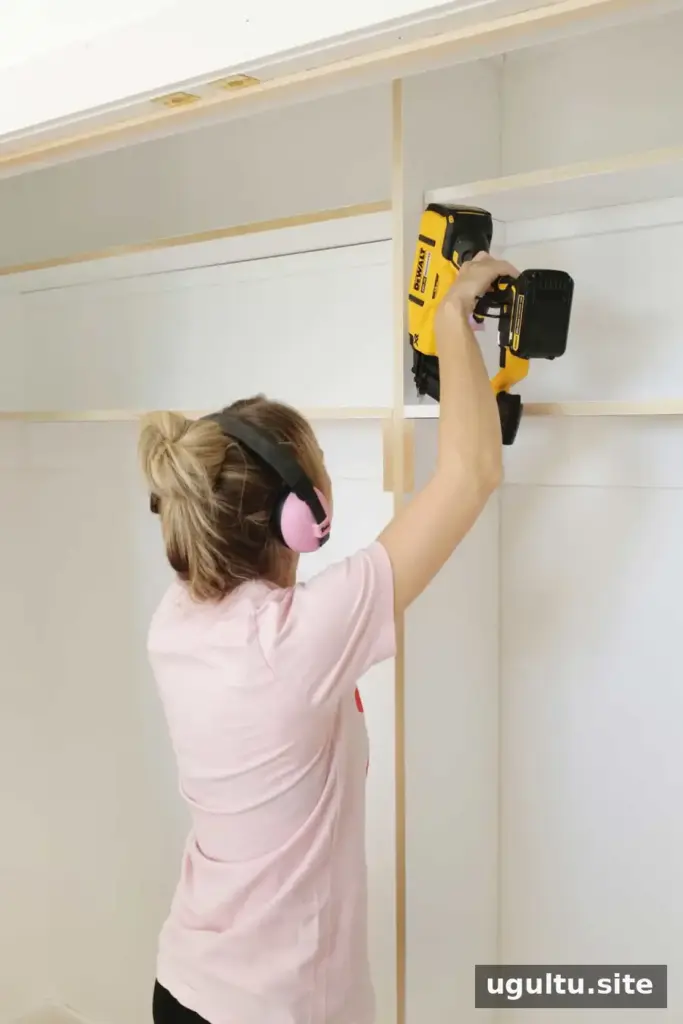
4. Attach the shelves
Measure each closet section separately and cut the shelf boards slightly narrower than the available opening. A small clearance makes installation easier; minor gaps can be caulked during finishing. Set the boards on the support rails and fasten them with brad nails or screws. If using screws, pre-drill to reduce the chance of splitting the wood. Wood glue along the rails can provide additional bonding.
The upper shelves can be made shallower than the lower shelf to leave more room for lifting boxes in and out. If the closet is deep enough, the shelves can instead share the same depth.
5. Add the shelf trim
Cut a trim board to cover the front of the vertical divider, then add trim across the front edges of the shelves. Smaller trim on shelves above hanging clothes can help preserve clearance for garments. Brad nails and glue can hold straight trim in place; pre-drilled screws may be useful where a board is bowed and needs stronger pressure to sit flat.
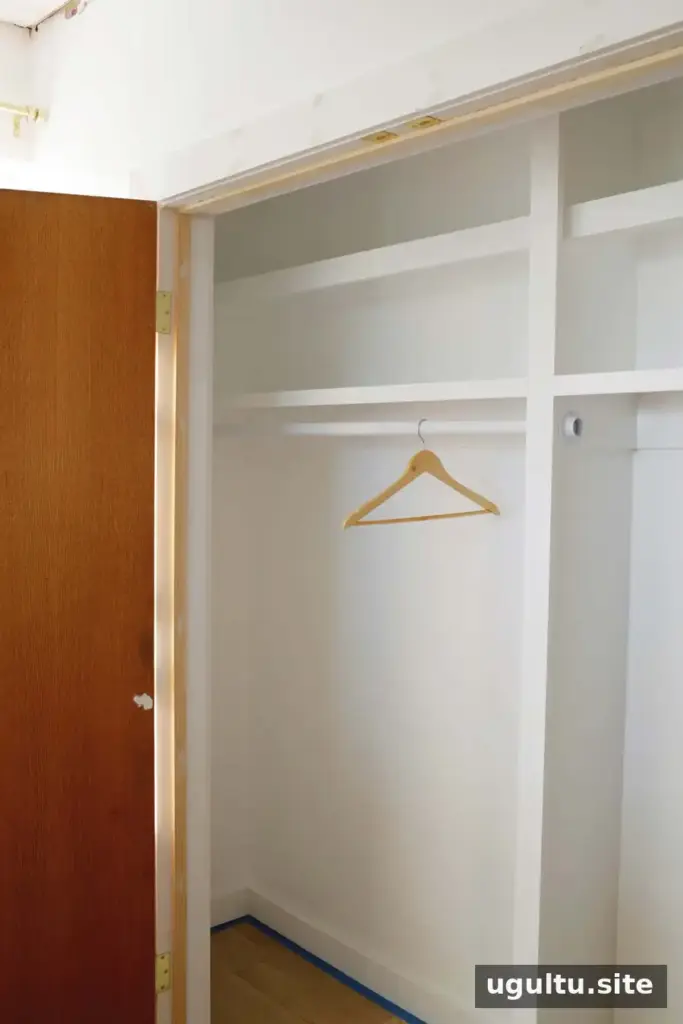
6. Fill, caulk, and paint
Caulk gaps between boards and along the wall. Fill nail and screw holes with wood filler, allow it to dry, and sand the surfaces smooth. Paint the wood with semi-gloss paint and let it cure fully before loading the shelves. Painting boards before installation, where practical, can make it easier to reach edges inside a narrow closet.

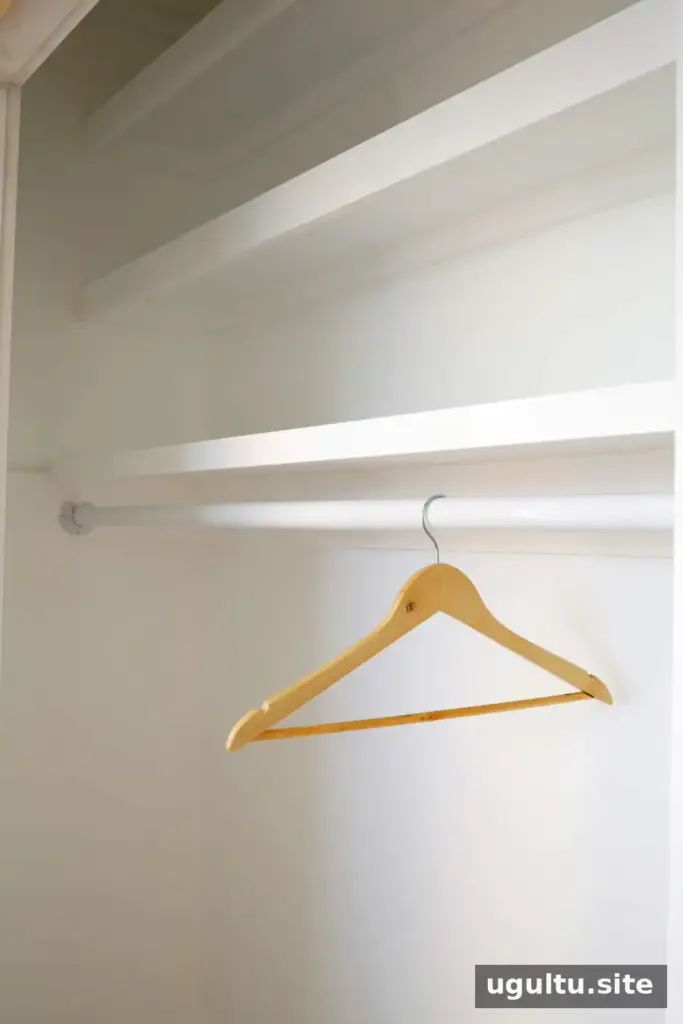
7. Install the closet rods
Plan rod height and distance from the wall based on the clothes being stored and the available space. Measure both sections before cutting the rods, then install the brackets into secure support points. Allow the paint to dry before hanging clothing or placing items on the shelves.
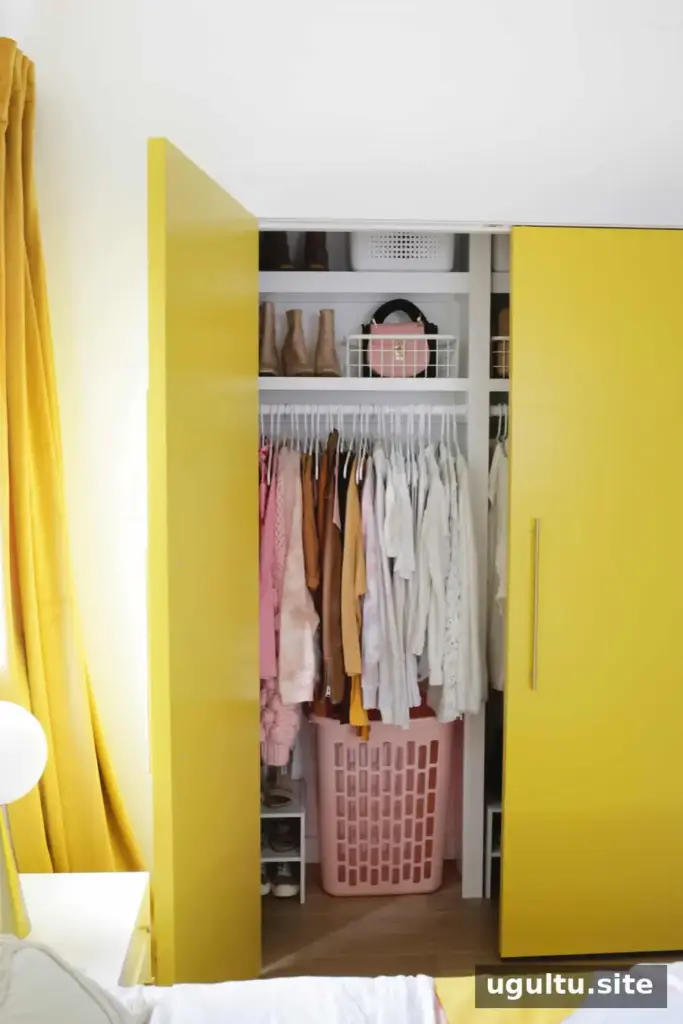

Finishing and Organizing the Closet
After the installation is complete, use the lower area for shoes or other items that are convenient to access. Baskets, clear bins, and lidded boxes can help group smaller belongings and keep upper shelves tidy. Choose containers that fit the shelf depth so they can be removed without disturbing other items.
A divided built-in closet can be adapted over time by changing how each section is used and rearranging storage containers as needs change. Before loading it, check that the shelves and rods feel secure and that the paint has cured. These final checks help protect the finish and make the new storage easier to use day to day.
Article by Laura.


