
 admin
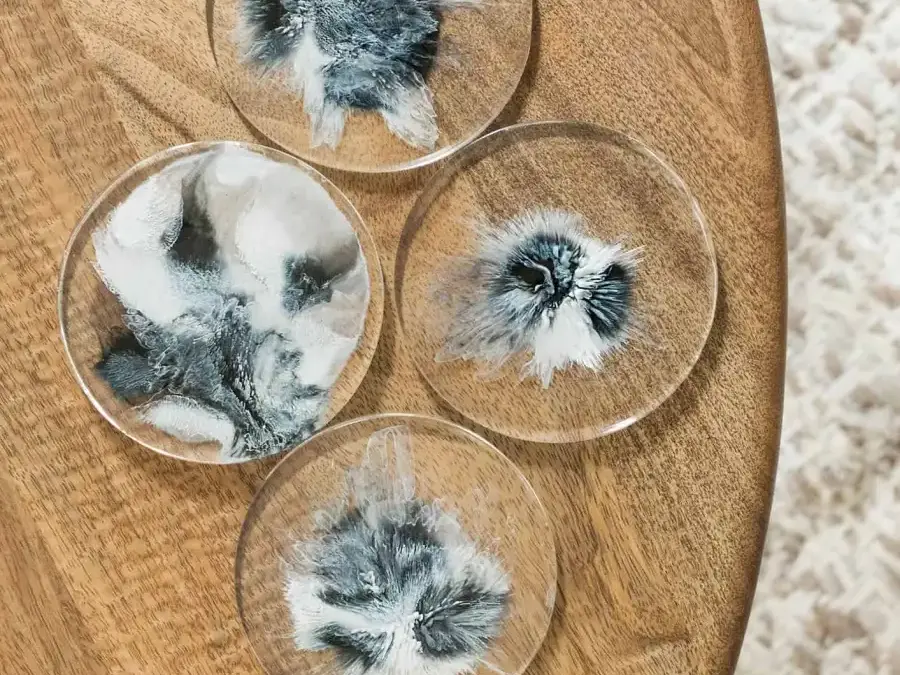
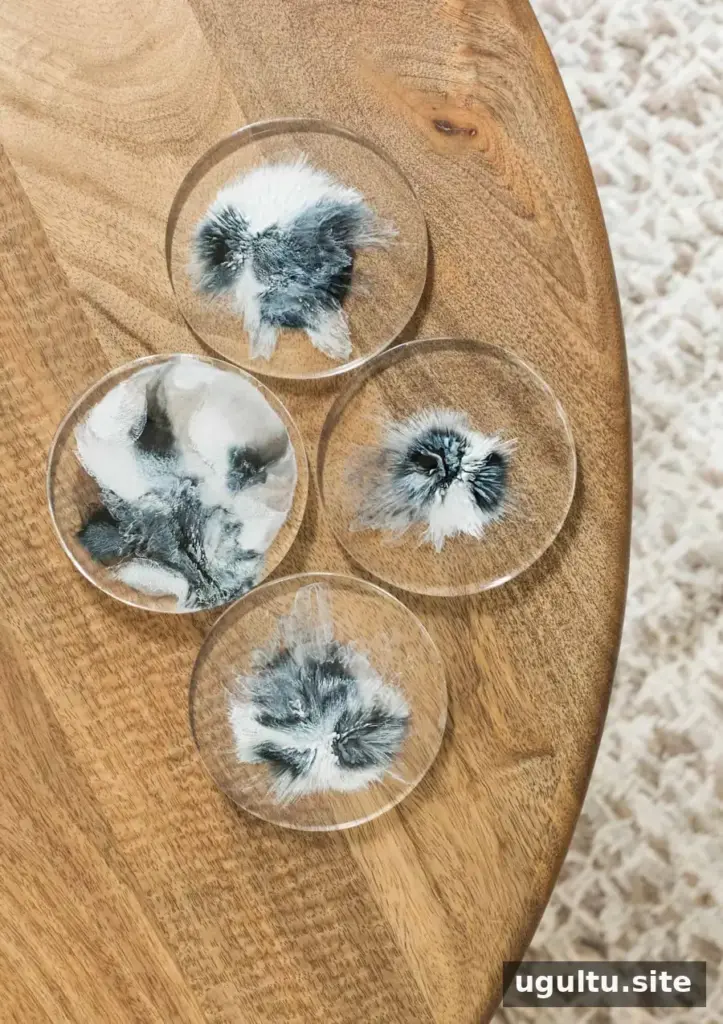
DIY alcohol ink resin coasters combine translucent color with the glossy finish of epoxy resin. The ink moves through the uncured resin in unpredictable patterns, so each coaster develops its own look. A silicone mold and a few basic supplies are enough to get started, and you can choose colors to match your home or create a bold contrast.
What to Expect from Alcohol Ink Resin Coasters
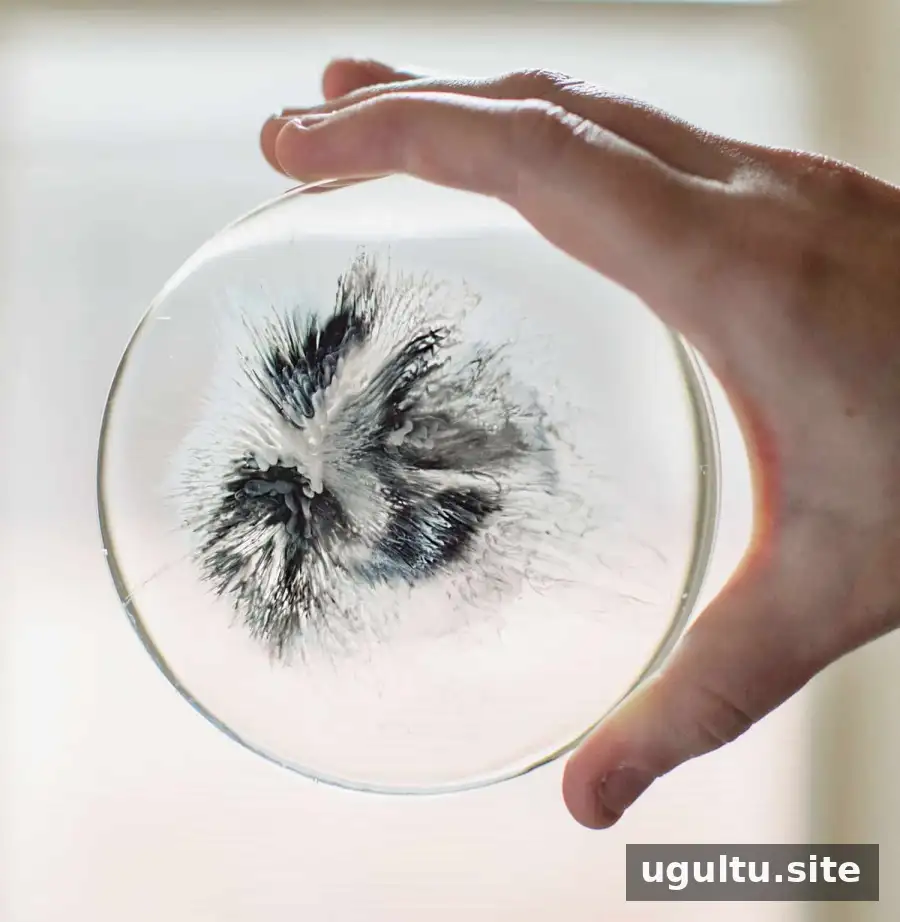
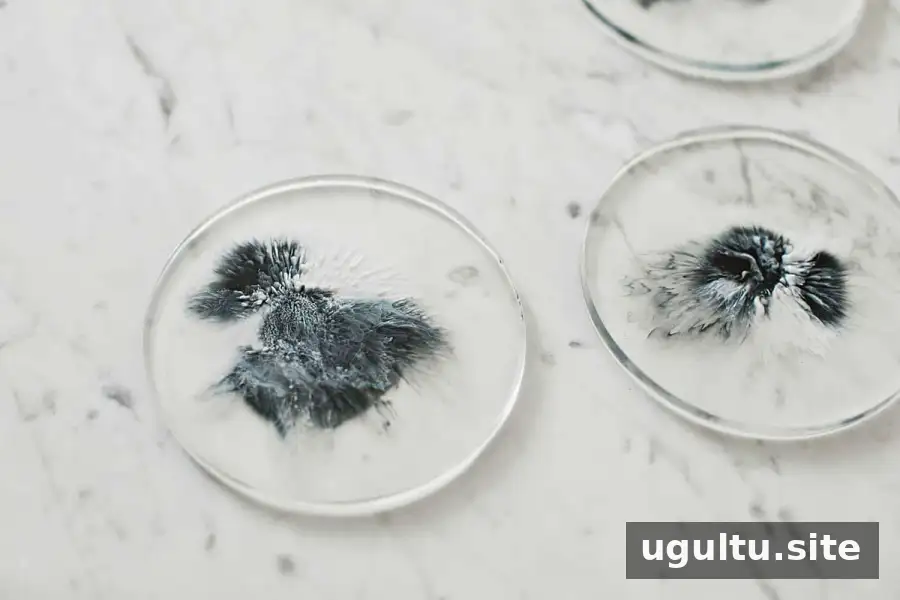
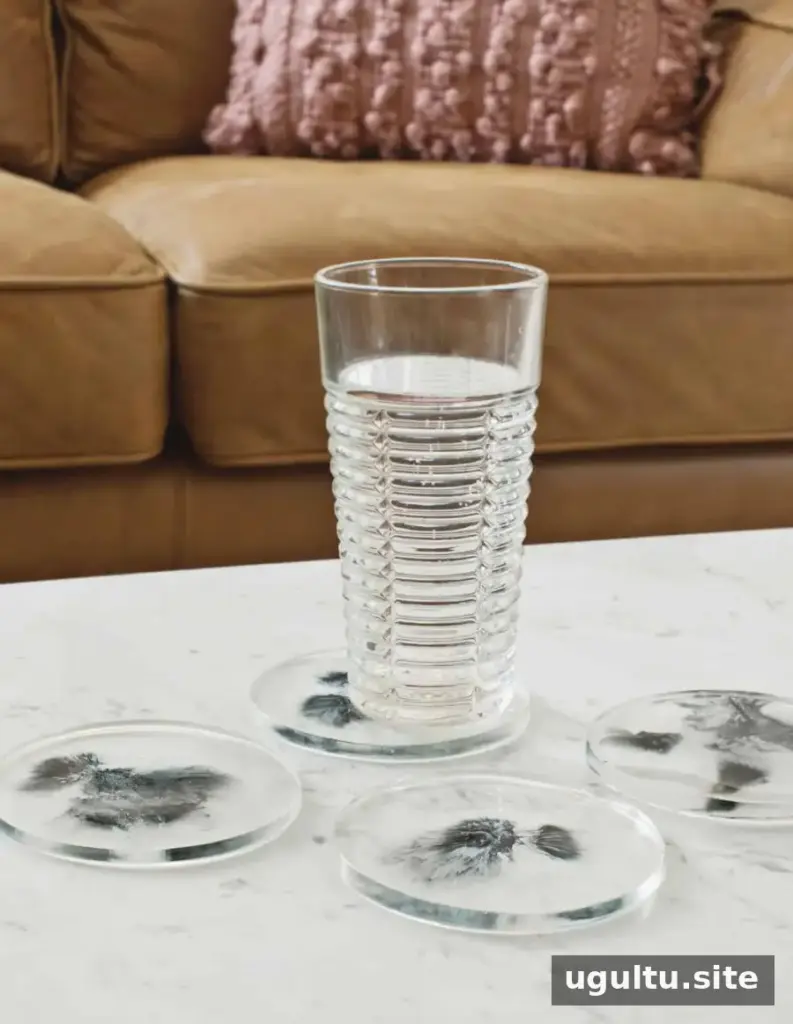
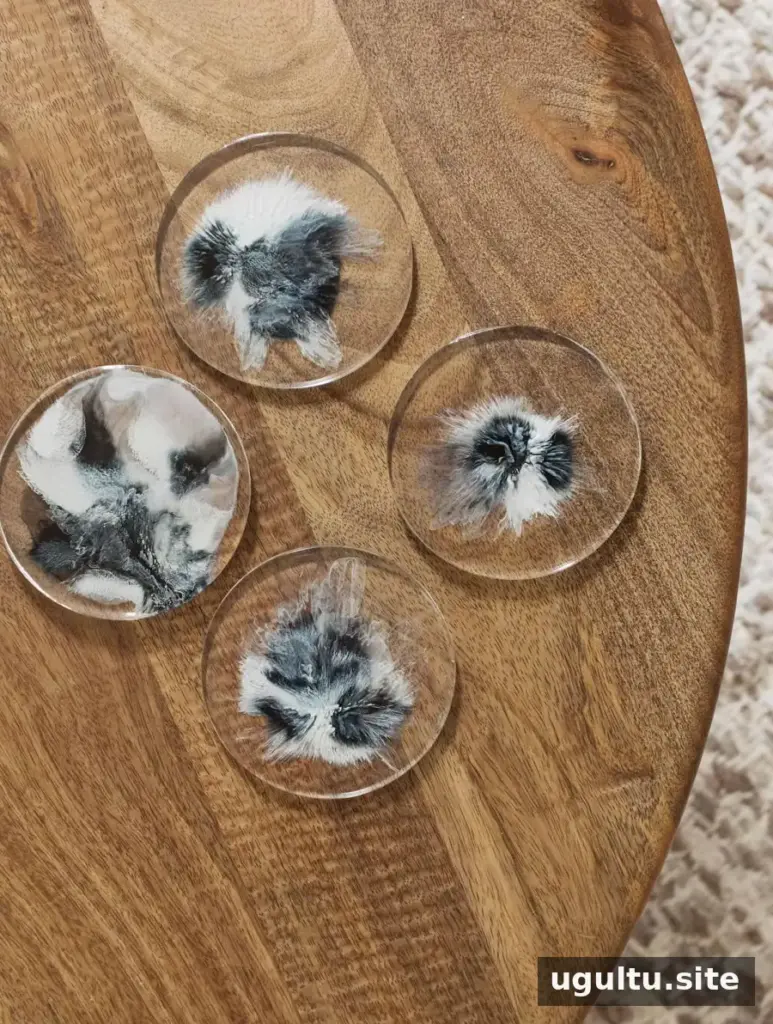
Alcohol ink creates flowing, smoky shapes within the resin. The final pattern depends on the colors you use and how much the resin has begun to set before you add the ink. For a dramatic design, try a limited palette such as black and white; for a brighter result, experiment with several colors.
Because the ink spreads in different ways each time, it helps to treat the first coaster as a test. Add a small amount of ink at first, then observe how it moves before deciding whether to add more.
Supplies for DIY Alcohol Ink Resin Coasters
Gather everything before mixing the resin, since the working time can vary by product. You will need:
- A silicone coaster mold
- An epoxy resin kit
- Alcohol ink
- A drop cloth or parchment paper to protect the work surface
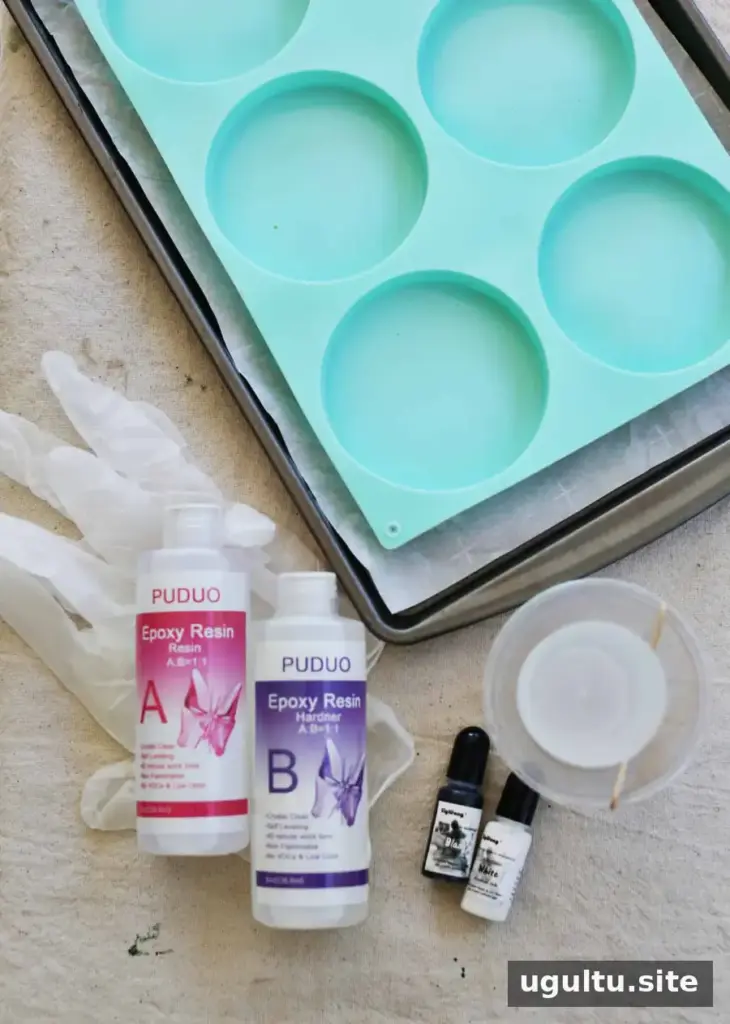
You may also want an empty box to cover the mold while it cures. This can help keep dust, leaves, and other debris away from the resin. Choose a box that does not touch the wet surface.
Safety and Workspace Preparation
Epoxy resin can produce fumes and an odor while you work. Use it in a well-ventilated area and follow the safety directions on the product packaging. Working outdoors can provide fresh air; indoors, open windows and make sure the room has adequate ventilation.
Wear gloves and consider eye protection. Cover the table and nearby flooring, and keep the resin away from children and pets. Check the kit instructions for any additional protective equipment or handling requirements.
How to Make the Coasters
1. Mix and pour the resin
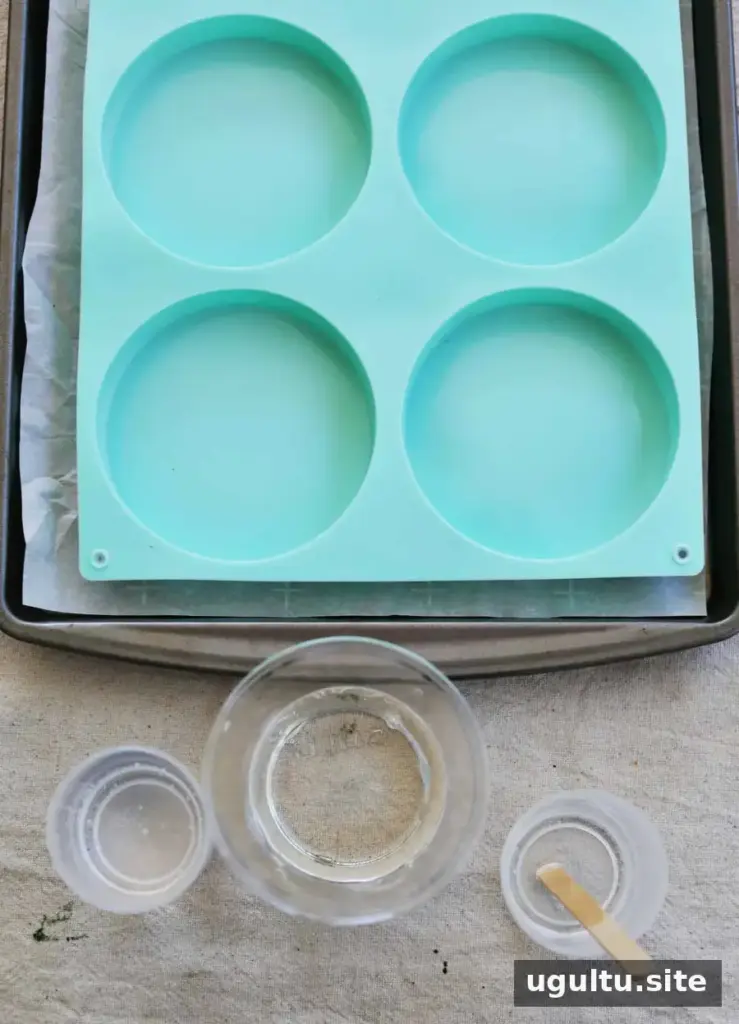
Mix the epoxy resin exactly as directed on its packaging. Pour it into the coaster mold cavities, taking care not to overfill them. Before pouring, place the mold on a stable, level surface so the coasters set evenly.
2. Add the alcohol ink
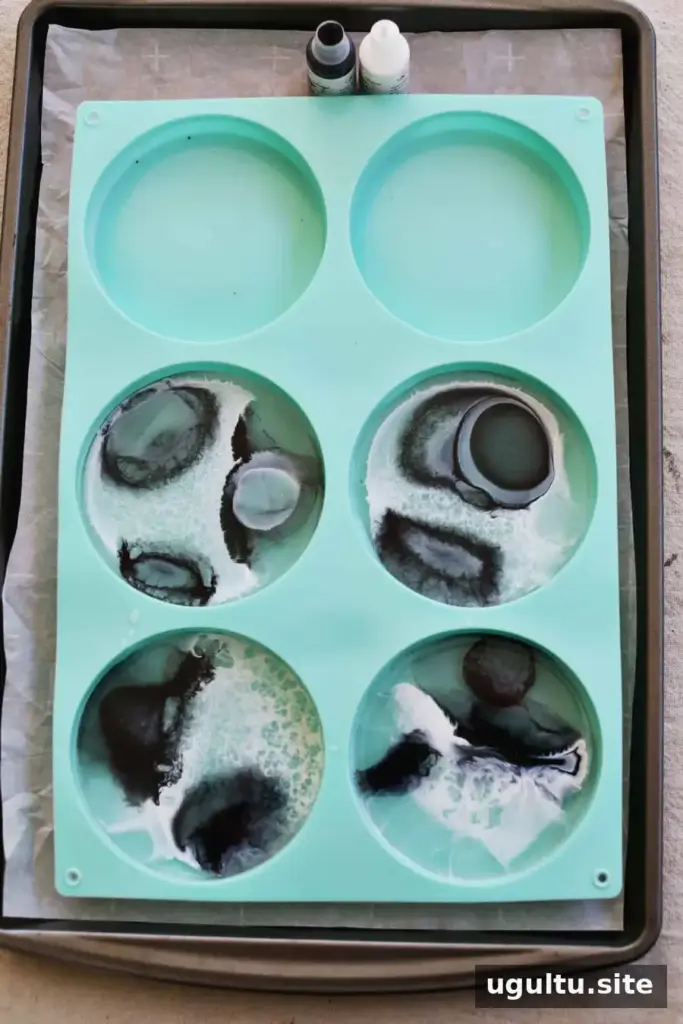
Drip alcohol ink into the wet resin. Start with a few drops and watch the color spread. You can add more gradually to build the design, but keep in mind that the result may differ from one coaster to another. The resin’s setting stage and the amount of ink both affect the pattern.
3. Cover and let the resin cure
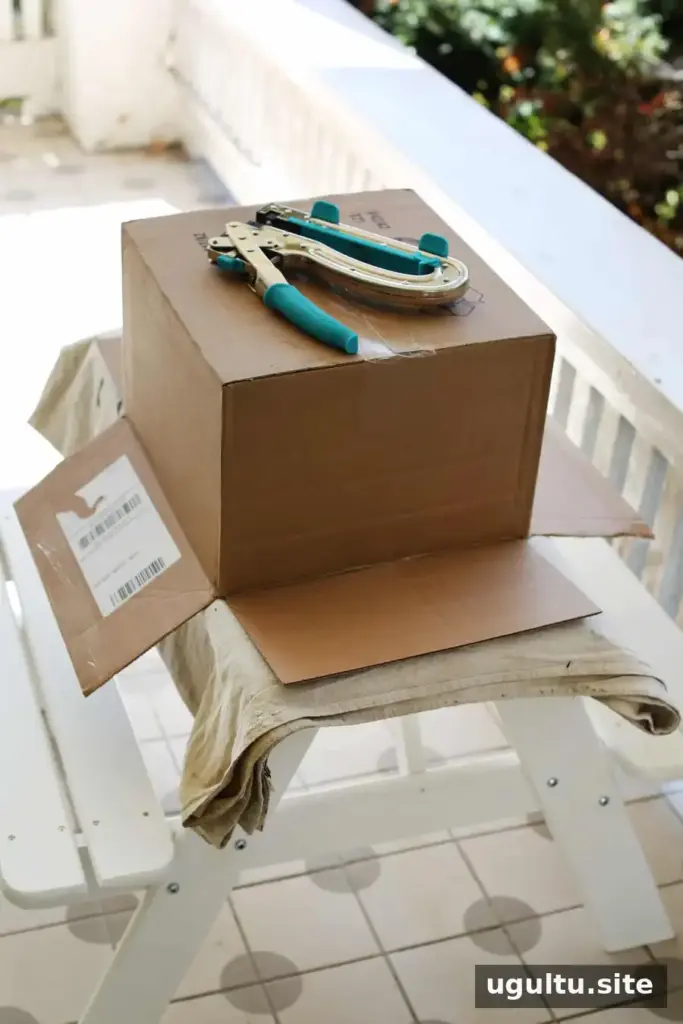
If needed, cover the mold to protect it from debris and leave it undisturbed. Follow the cure time listed on your resin kit; the process may take 10+ hours. Once the resin is fully cured, remove the coasters from the mold as instructed by the manufacturer.
Tips for a Better Finish
Check that your work surface is level before pouring. An uneven table can cause the resin to settle at an angle, leaving the coasters less level. Use a spirit level and adjust the surface with a stable shim if needed. It is also helpful to keep the mold in place throughout curing so it is not accidentally disturbed.
Allow the resin to cure for the full time specified by the manufacturer before handling or using the finished coasters. Keep the work area ventilated during the process and follow the product’s directions for cleanup and disposal.
Personalize Your Finished Coasters
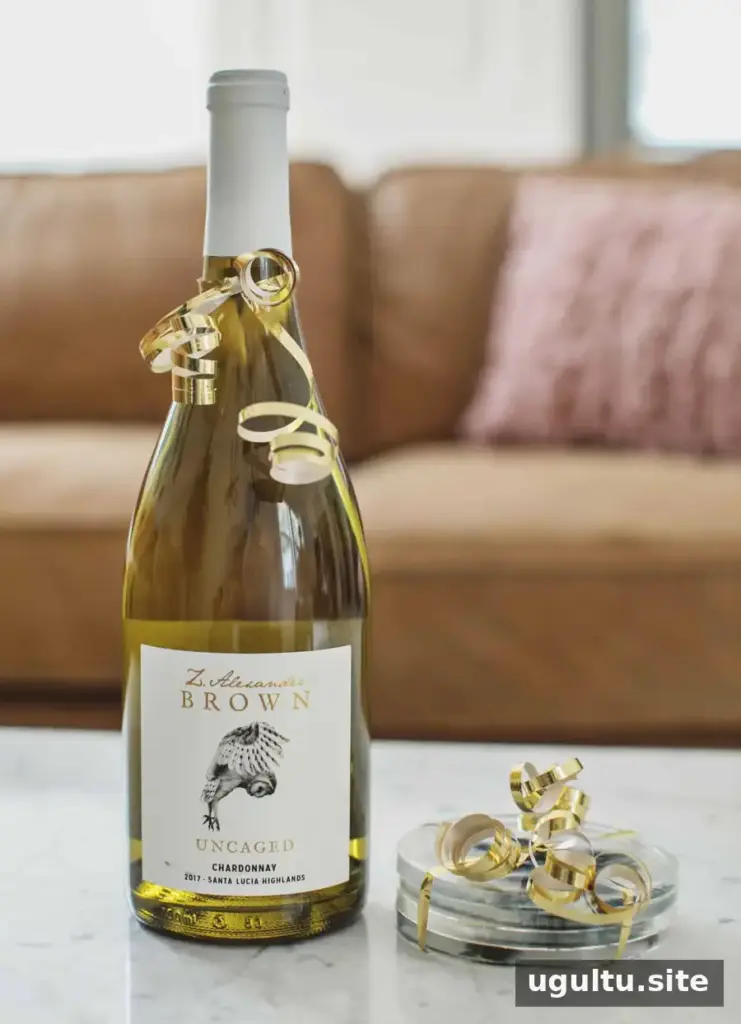
These handmade coasters can be customized with different ink colors and patterns, making them a thoughtful host gift or a decorative addition to a coffee table. Pair the color palette with the recipient’s decor, or make a coordinated set using the same shades while letting each design remain unique. Project by Emma.
Conclusion
DIY alcohol ink resin coasters are a simple way to explore color and create one-of-a-kind home accessories. Prepare a protected, level workspace, follow the resin kit’s safety and curing instructions, and begin with a small amount of ink so you can see how it behaves. With a little experimentation, each coaster can have a distinctive, glossy design.


