admin

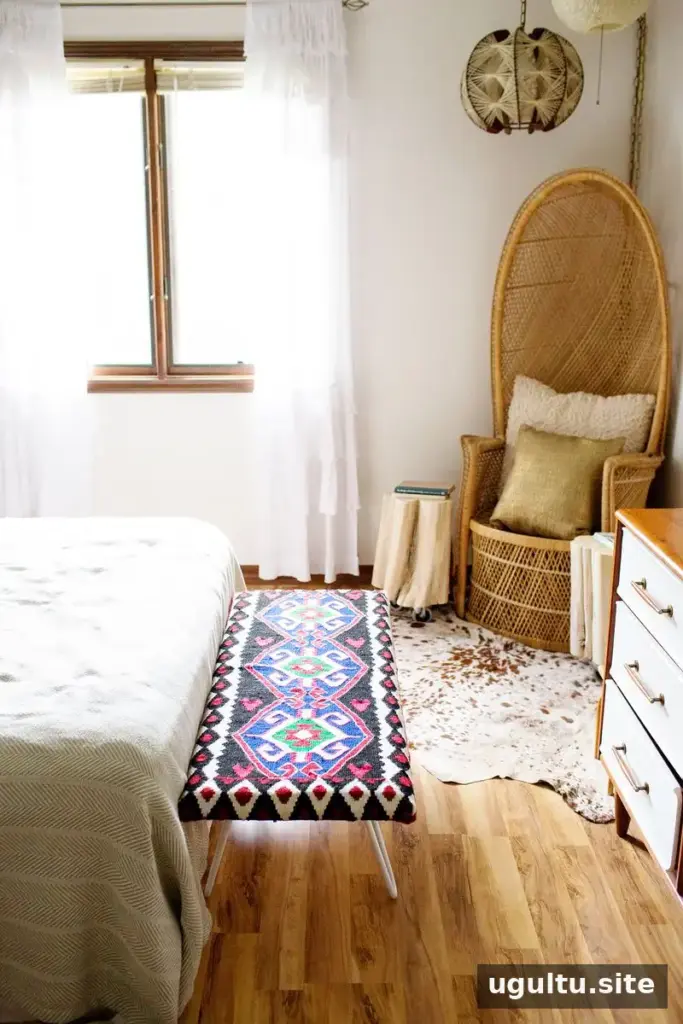
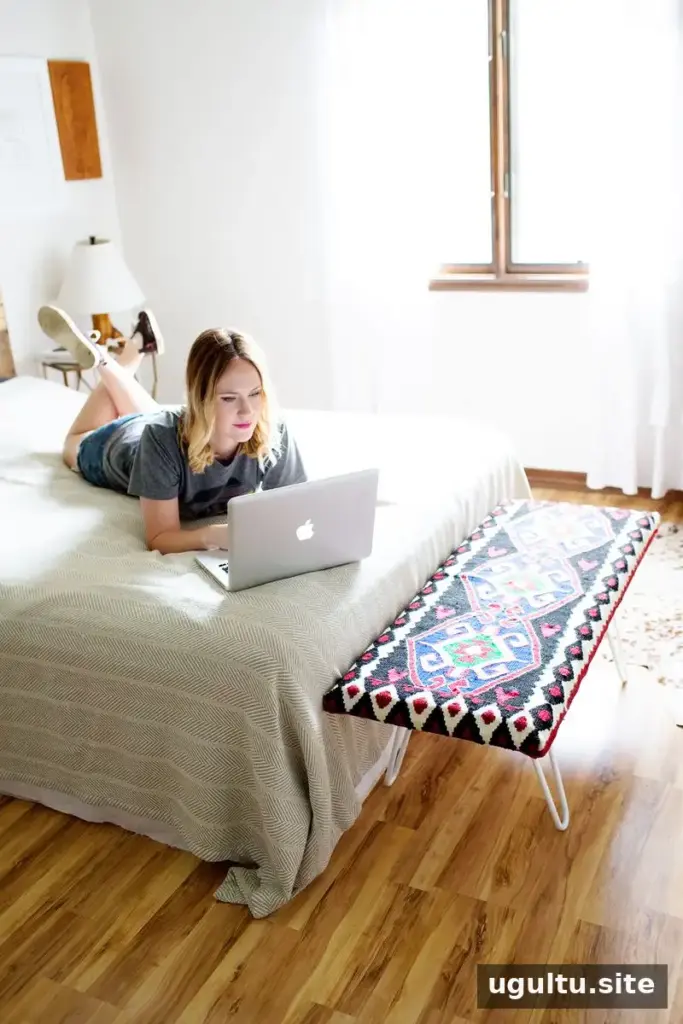
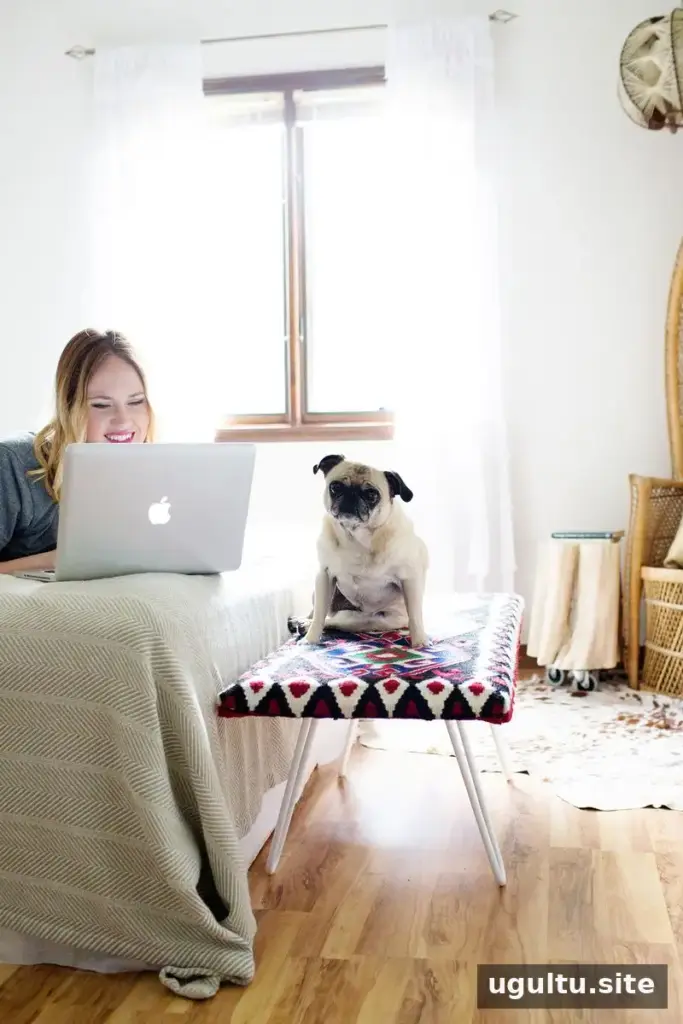
A DIY bedside bench is a practical way to add color, pattern and a useful surface to a bedroom. This simple project uses a plywood base, foam padding, a rug and bench legs, so you can choose a design that suits your room. The example measures 44 x 18 inches and cost $195; the final cost will depend largely on the rug and legs you select.
Choose a rug that is at least 2–3 inches longer and wider than the plywood top. That extra material gives you room to wrap it around the foam and secure it underneath. Before starting, check that the rug’s pattern will sit in the desired direction on the bench.
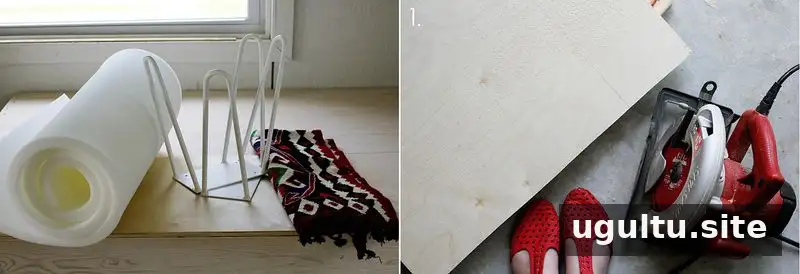
DIY bedside bench: supplies and tools
Materials:
- One 3/4-inch plywood sheet, cut to the desired size; the example uses a 44 x 18-inch piece.
- A rug at least 2–3 inches larger than the bench top on every side.
- Two white combination hairpin bench legs.
- 1-inch foam batting.
- Staples.
- Eight 1/2-inch wood screws.
Tools: A power saw, power drill and staple gun. If you do not have a saw, ask a lumber yard to cut the plywood to size.
Estimated cost: $195 for this project. Your total may vary depending on the rug and leg style.
How to make the bench
1. Cut the plywood
Cut the plywood to the dimensions you want for the bench. If you are having it cut for you, confirm the measurements before leaving the lumber yard. A square, even cut makes it easier to wrap the rug neatly.
2. Trim the foam
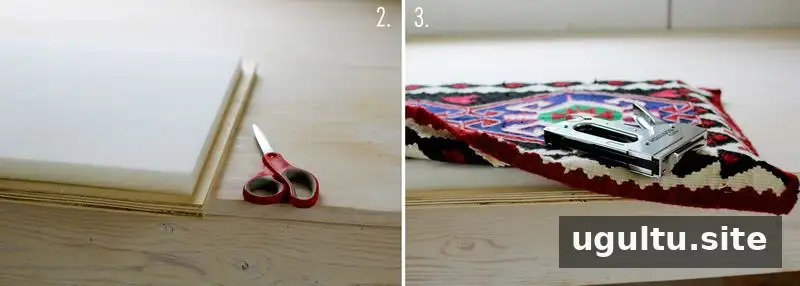
Cut the 1-inch foam batting to fit the top of the plywood, making it about 1/4 inch smaller on all sides. This slight difference helps the rug wrap around the edges without bunching. Center the foam before moving on.
3. Attach the rug
Lay the rug face down and position the plywood and foam on top. Check the pattern and alignment before stapling, since adjustments become harder once the rug is fixed in place. Staple one long side first, pull the fabric smoothly across the top, then secure the opposite long side. A second person can help hold the rug taut while you staple.
4. Fold and secure the ends
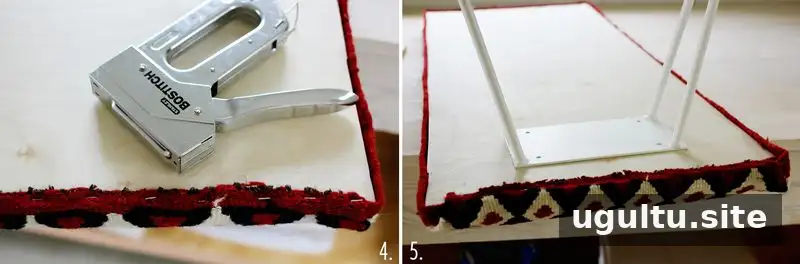
Fold the rug over the short edges, as you would when wrapping a present, and staple it to the underside of the plywood. Keep the corners tidy and avoid pulling so tightly that the pattern shifts. If you need to cut the rug, apply Fray Check or a small amount of glue to the cut edges to help limit fraying.
5. Install the legs
Measure and mark the leg positions so they are centered and evenly placed. Attach the legs with the eight 1/2-inch wood screws, checking that the screws and leg plates are compatible with the plywood. Turn the bench upright and make sure it sits level before placing it in the room.
Using and adapting your DIY bedside bench
A rug with a small blemish or a thick blanket can be a useful way to add texture while making use of material that might otherwise go unused. If using a blanket, check that it is thick enough to cover the foam smoothly and can be stapled securely underneath.
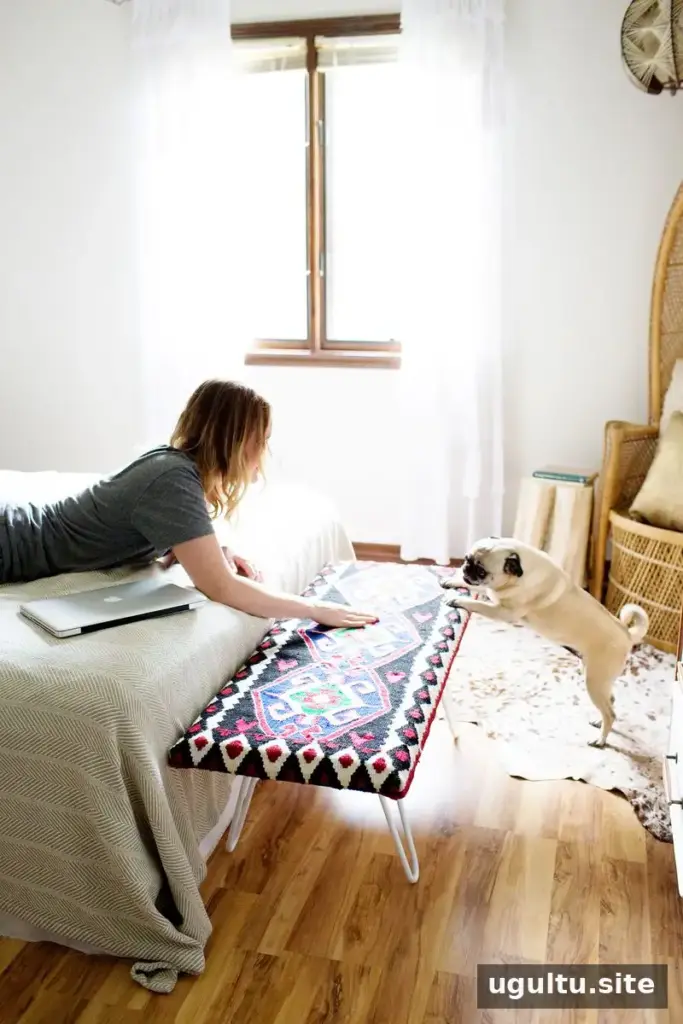
Once the materials are ready, assembly can take less than an hour. This design is primarily decorative; the original version was not built as a sturdy seating bench. If you plan to sit on yours, add suitable support underneath or consider thicker plywood, and make sure the legs and fasteners are appropriate for the intended use.
Conclusion
This DIY bedside bench offers a straightforward way to bring a chosen rug pattern into a bedroom using a few basic materials. Measure carefully, align the design before stapling and treat the finished piece as decorative unless you reinforce it for seating. — Emma