
 admin
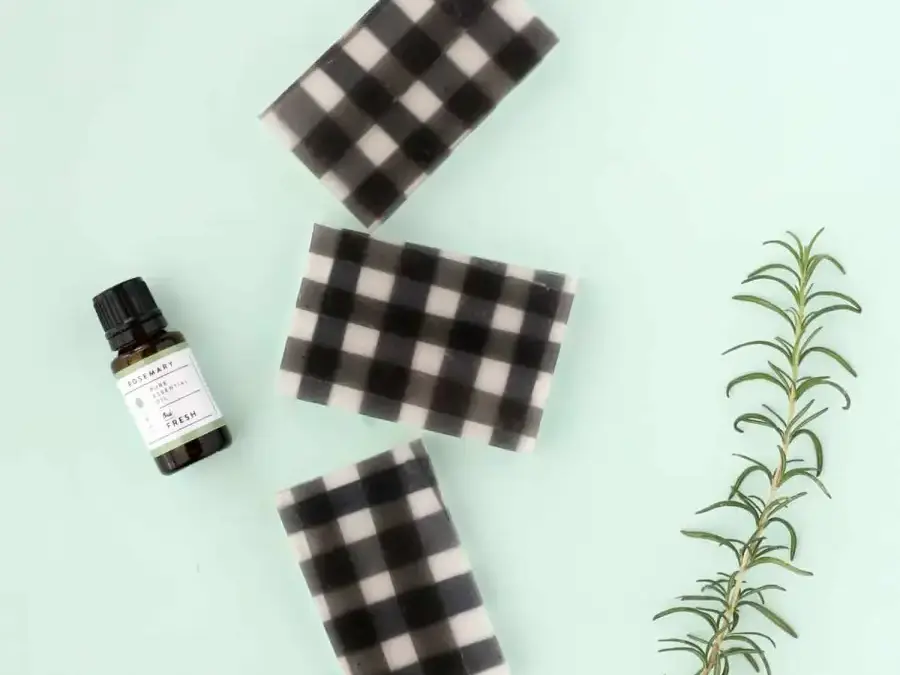
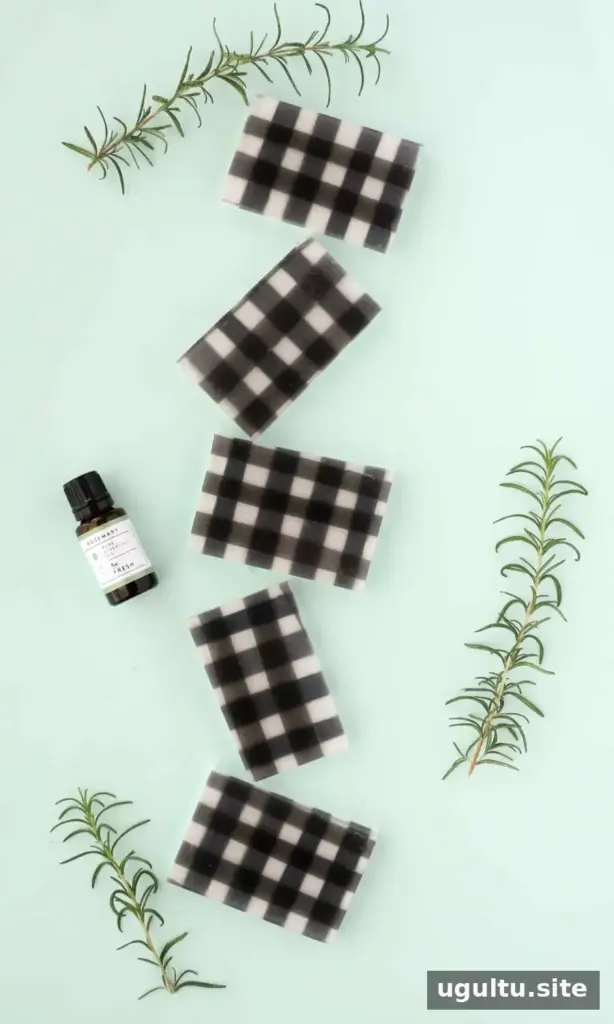
DIY buffalo check rosemary soap combines a classic black-and-white pattern with a fresh herbal fragrance. This melt-and-pour project uses clear and white soap bases to create layered bars that can be made for personal use or packaged as gifts. Allow time for each layer to set before adding the next so the check pattern stays defined.
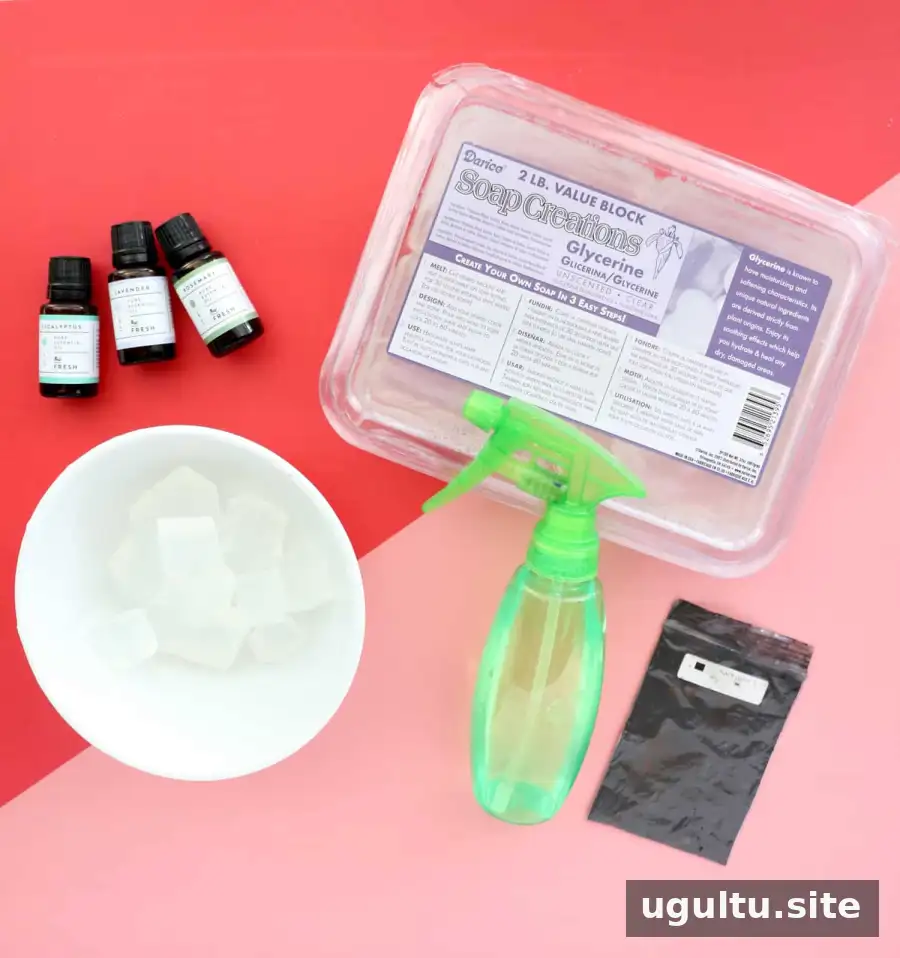
Materials for DIY Buffalo Check Rosemary Soap
- White melt-and-pour soap base
- Clear melt-and-pour soap base
- Rubbing alcohol in a spray bottle, used to reduce surface bubbles and help layers adhere
- Black oxide pigment
- Rosemary essential oil
- Microwave-safe bowl or measuring cup, spoon, and knife
- Square silicone pan
Before starting, check the soap base and essential oil instructions for suitable heating and usage amounts. Use a clean, dry work area, and handle hot melted soap carefully. Rubbing alcohol is flammable, so keep it away from heat and flames.
How to Make Buffalo Check Rosemary Soap
1. Make the tinted soap strips
Cut about 1 cup of clear soap into roughly 1/2-inch to 1-inch pieces. Put the pieces in a microwave-safe bowl and heat on high for 30 seconds. Stir, then heat in additional 10- to 15-second intervals if needed until melted. Avoid overheating.
In a separate small container, mix a little black oxide pigment with rubbing alcohol to make a paste. Stir about 1/4 teaspoon of the paste into the melted soap. Add only enough pigment to tint the soap a translucent gray rather than making it opaque.
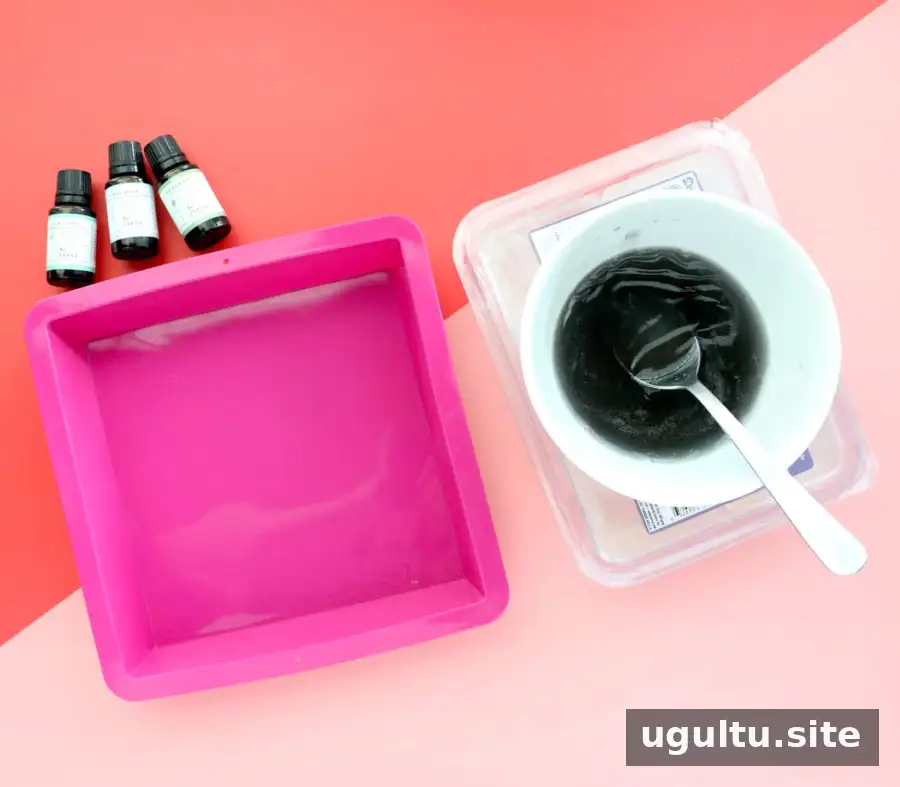
Pour the tinted soap into the square mold. Lightly spray the surface with rubbing alcohol to help release bubbles, then leave the soap until fully hardened.
2. Cut the strips and build the first layer
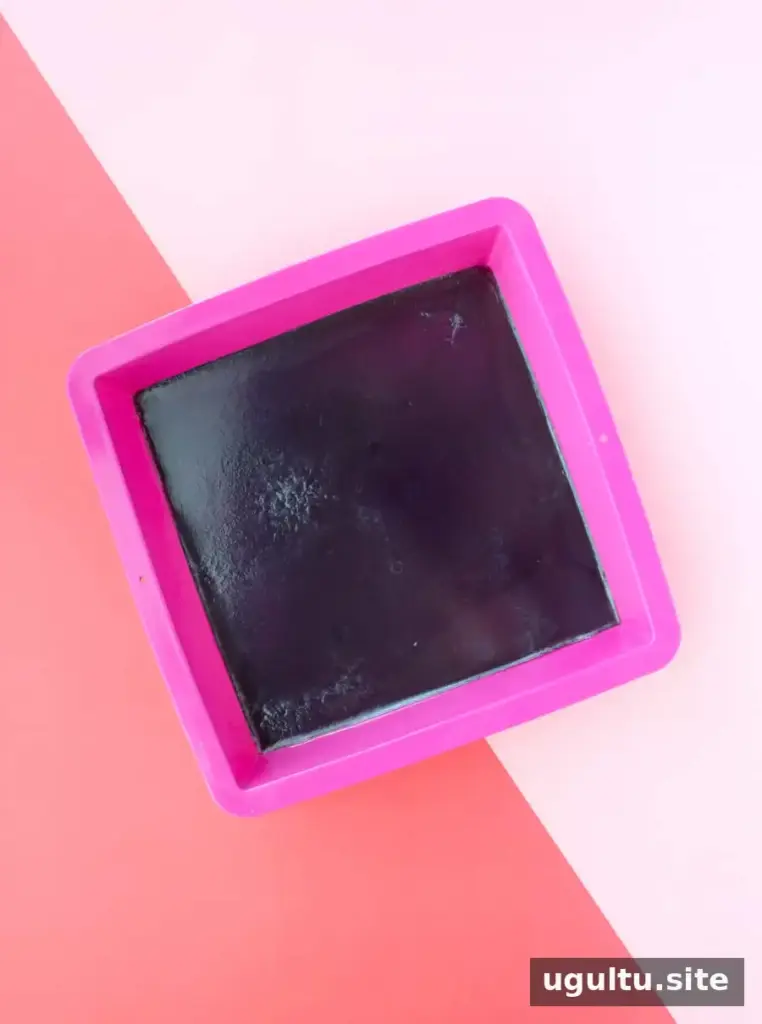
Remove the hardened soap from the mold and cut it into 1/2-inch strips. The strips should remain thin and slightly transparent so the finished pattern has contrast.
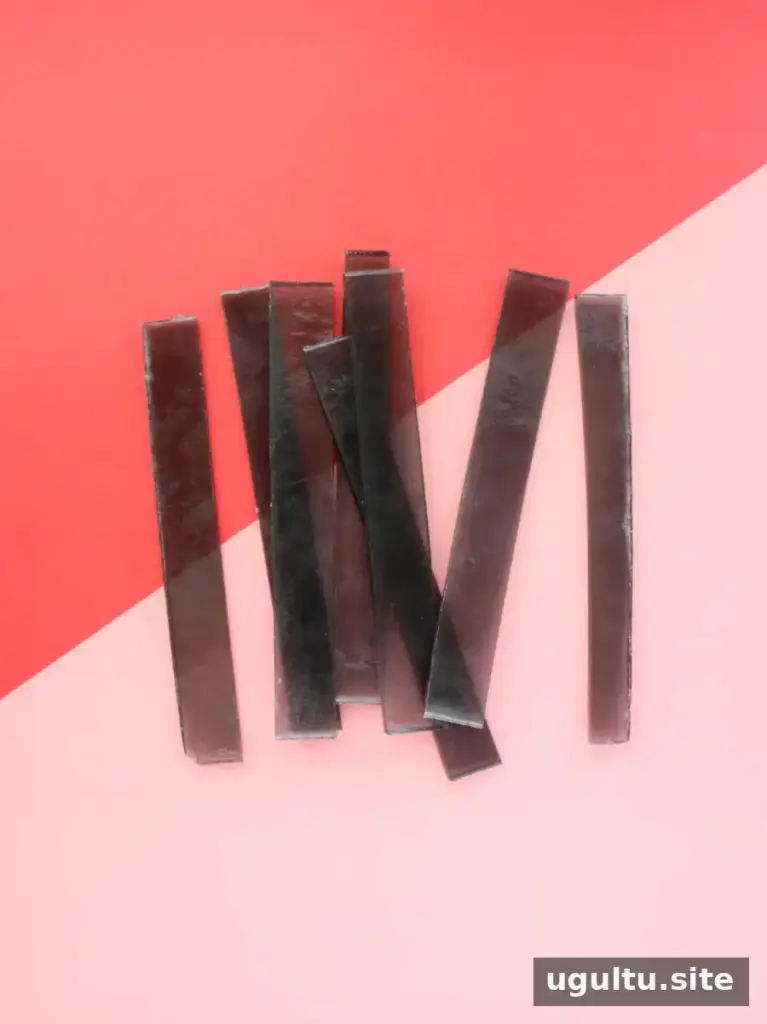
Clean and dry the bowl. Cut 2 cups of clear soap into pieces, microwave for 1 minute, and stir. Continue heating briefly if necessary until melted; do not let the soap boil.
Pour a thin 1/2-inch layer of clear soap into the bottom of the mold. Lightly spray it with rubbing alcohol, then press the black strips into the layer with about 1/2-inch gaps between them. Let this layer cool and set.
3. Add the crosswise strips
Once the first layer has hardened, remelt the clear soap remaining in the bowl, adding more clear soap if needed. Spray the surface in the mold with rubbing alcohol and pour in another 1/2-inch layer of clear soap.
Spray the new layer lightly, then place the second set of black strips across the first set in the opposite direction. This arrangement creates the buffalo check effect. Let the soap cool until the layers are firm.
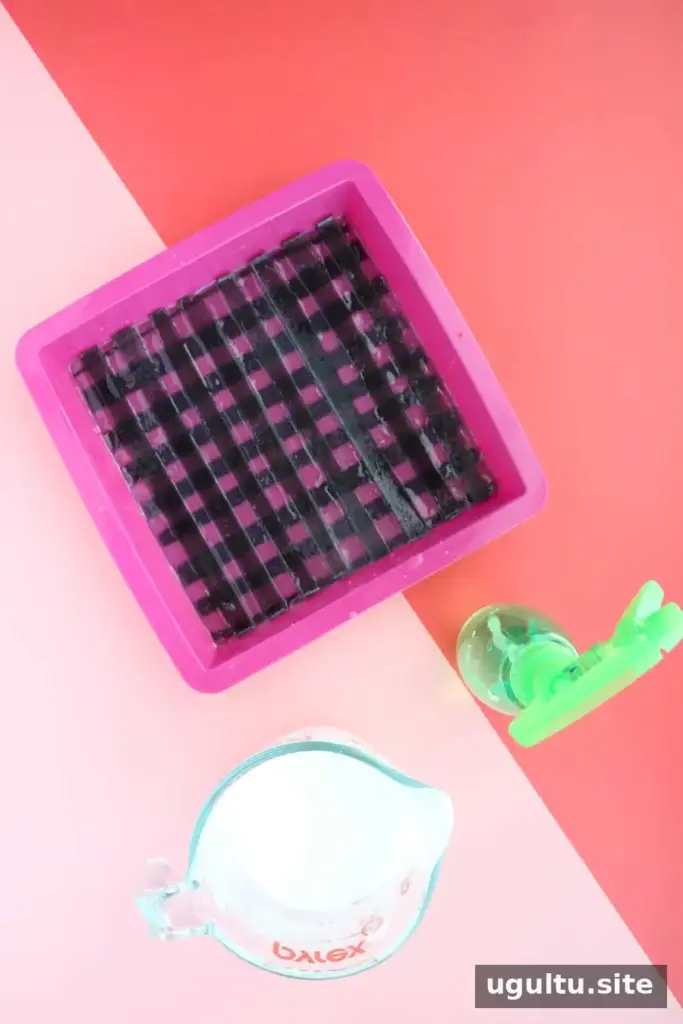
4. Pour the white top layer
Melt about 2 to 3 cups of white soap base using the same careful microwave method. Stir in 3 to 4 drops of rosemary essential oil, following the oil supplier’s guidance for soap use. Lightly spray the surface in the mold with rubbing alcohol, then pour in the melted white soap.
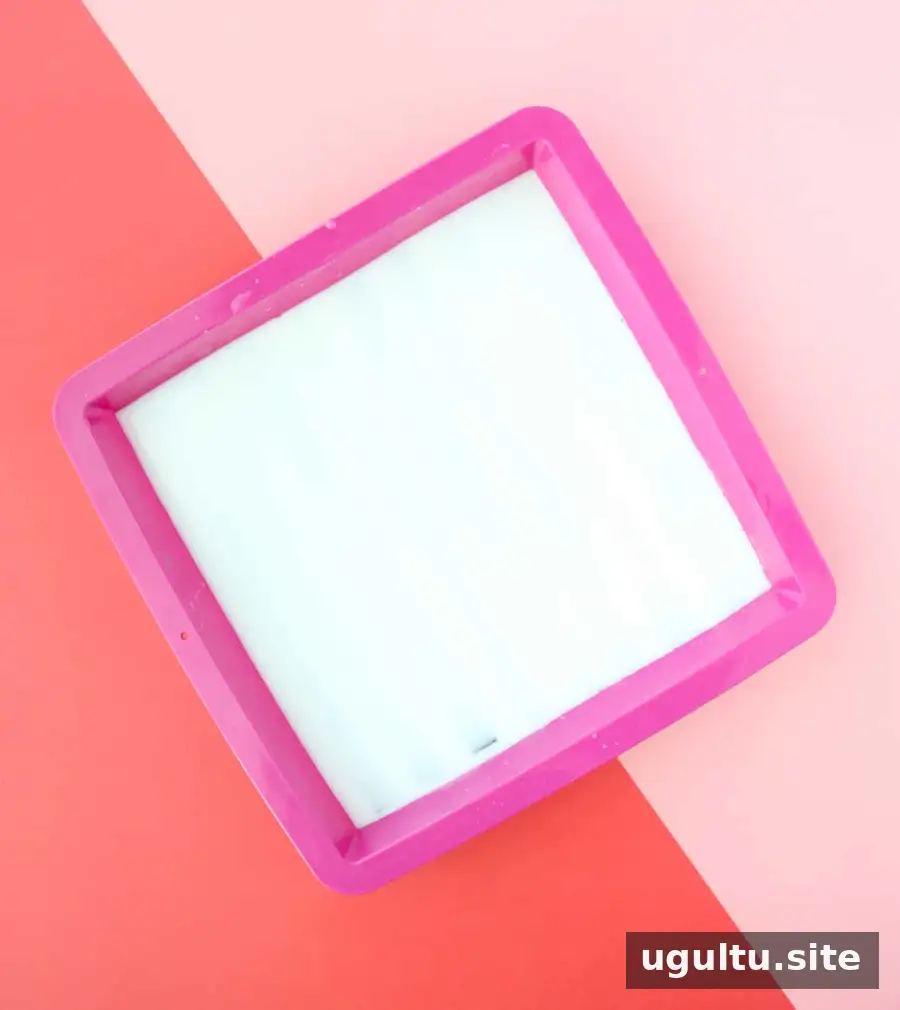
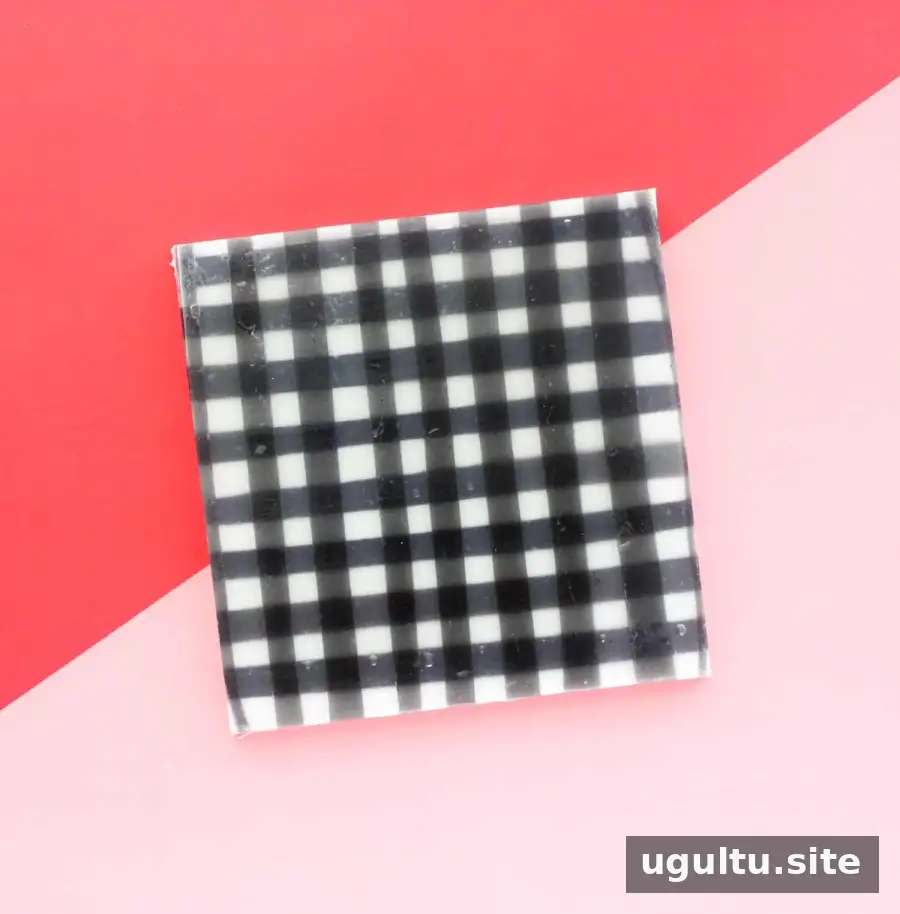
5. Cut and package the bars
When the white layer has cooled and hardened, remove the soap block from the mold. Use a sharp knife to cut it into bars. Cookie cutters can also be used to make shapes such as ornaments, bells, or reindeer.
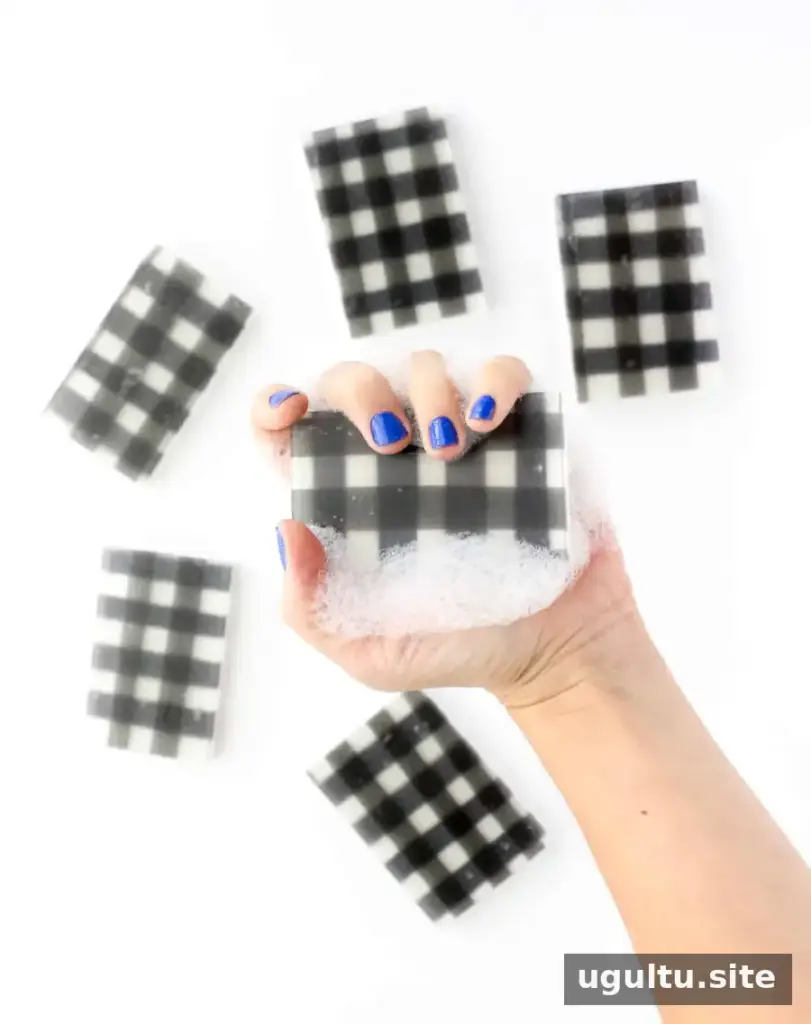
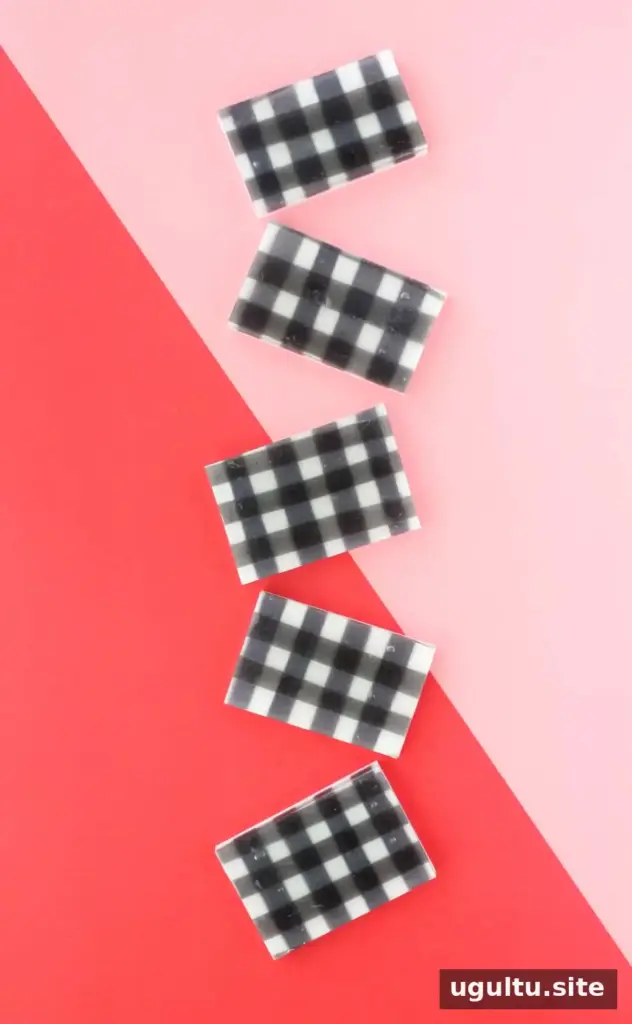
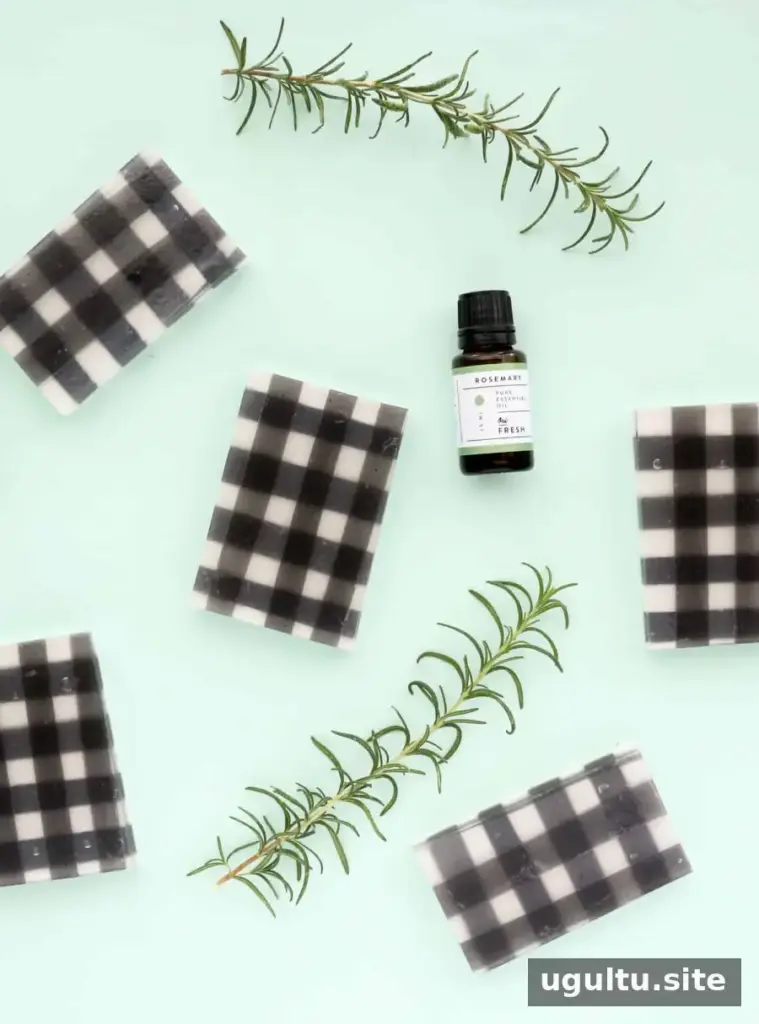
A large square mold can yield about 6 to 8 bars, depending on the mold and how thickly the soap is cut. For gifting, place each bar in a cello bag and finish with a ribbon. Store the bars in a cool, dry place until they are ready to use.
Finishing Your DIY Buffalo Check Rosemary Soap
This layered method makes DIY buffalo check rosemary soap a decorative handmade project with a fresh rosemary scent. For clean stripes, keep the soap layers level, allow them to set between pours, and avoid overheating the base. Project by Kara.


