
 admin
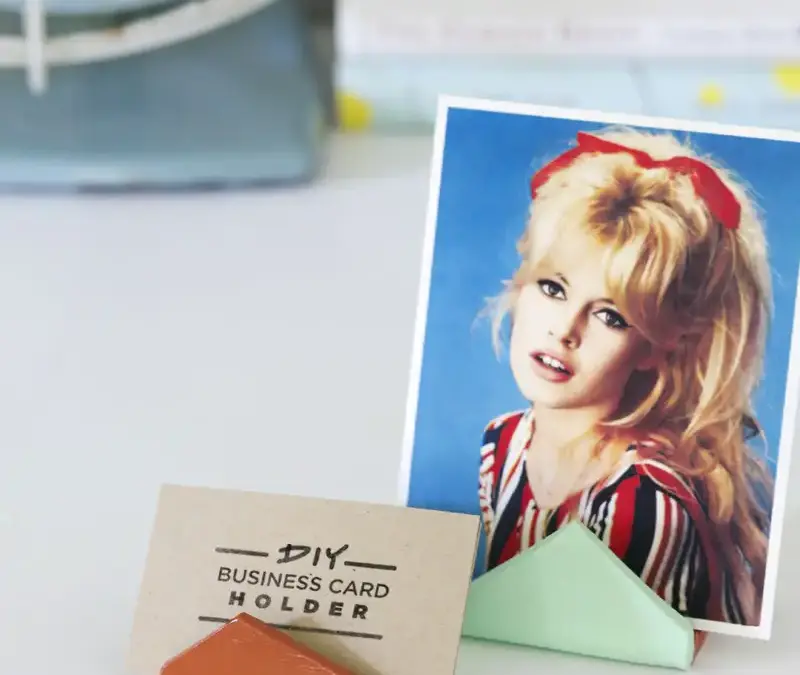
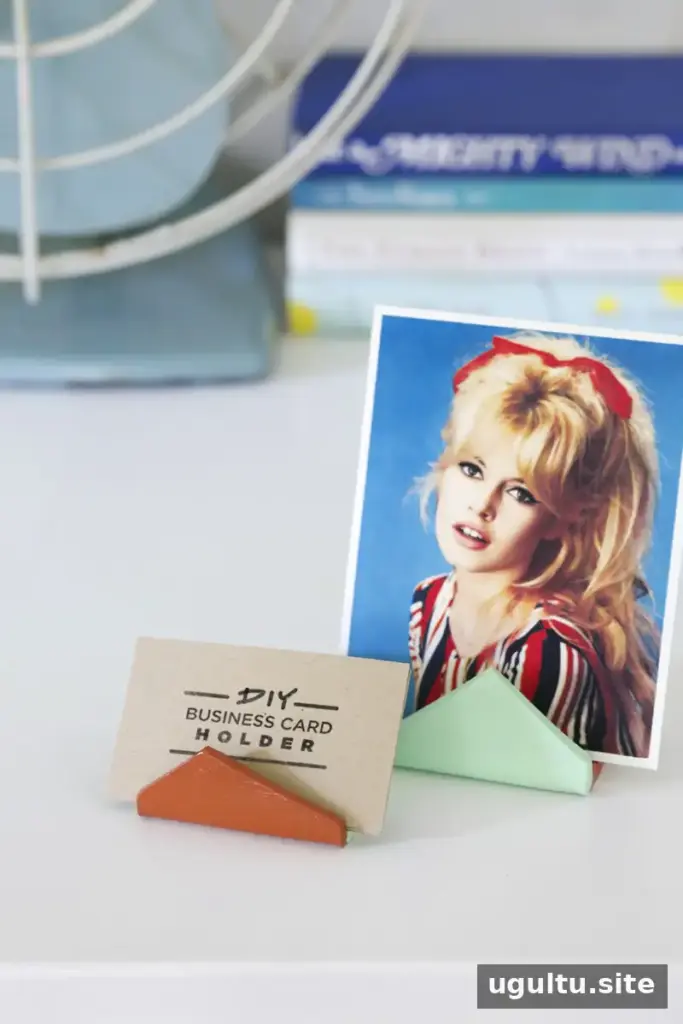
A DIY business card holder made from polymer clay is a simple way to keep cards, photos, or recipe cards upright and easy to see. With a few basic tools, you can shape a holder to suit your desk or take along to events and craft shows. The same design can be adjusted for different small items, as long as the finished piece is wide and sturdy enough to support them.
Materials and tools for a DIY business card holder
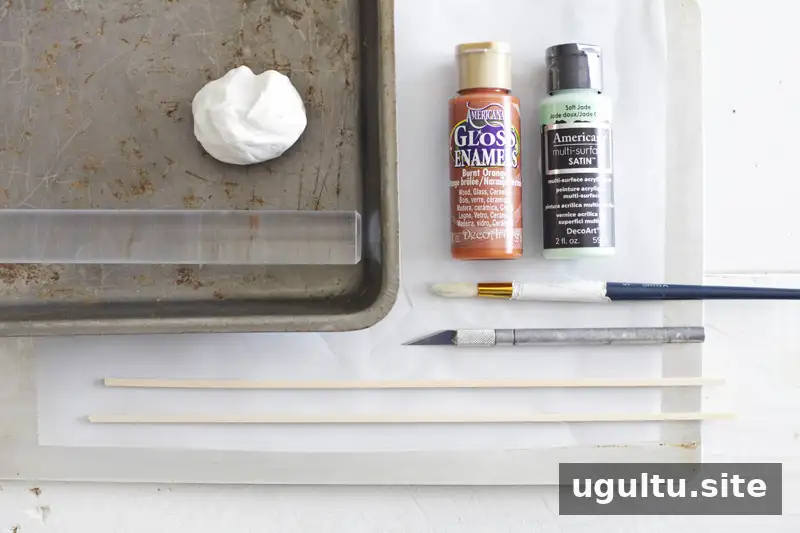
Gather your supplies before shaping the clay. Using parchment paper helps provide a work surface, while square dowels can help roll the clay to an even thickness.
Supplies:
- Polymer clay
- Water-based, polymer-safe paint. The colors used for this project were Americana Burnt Orange and Soft Jade.
Tools:
- Rolling pin
- Square dowels in the thickness you want for the clay
- Parchment paper
- Sharp blade
- Paintbrush
- Baking sheet and oven-safe props
- Oven
Check that the paint is suitable for polymer clay, and follow the clay manufacturer’s instructions for baking. Keep tools and surfaces clean as you work, especially if they are also used for food.
How to make the clay card holder
1. Soften and roll the clay
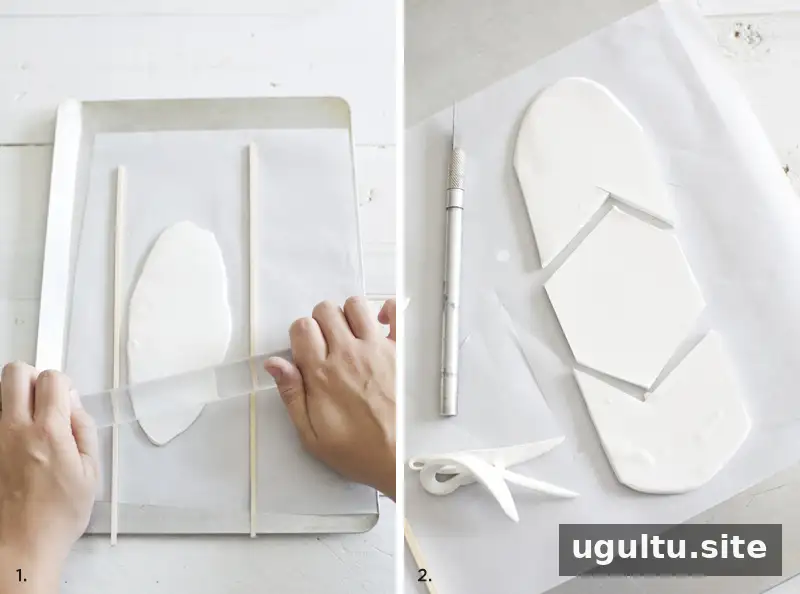
Warm the clay in your hands until it becomes soft enough to shape. Place it on parchment paper and roll it out with the rolling pin. Position the square dowels alongside the clay to help maintain a consistent thickness.
2. Cut the holder shape
Cut a strip of clay to the length you want for the holder. If the first shape does not look right, gather the clay, roll it out again, and make another cut. A longer design with more clay supporting the cards may feel steadier than a smaller shape. In this project, the clay was about 2.75 inches wide.
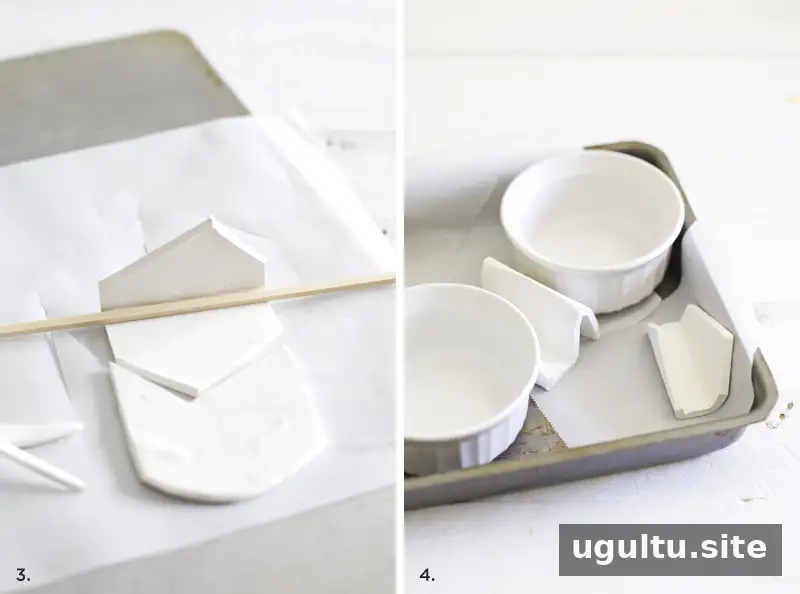
Before cutting, consider what the holder will display. Business cards and photos may need different amounts of support, so leave enough room for the items to lean without tipping.
3. Bend and smooth the clay
Use a dowel to guide the clay into its holder shape. Aim for a flat base so it can sit securely on a desk. Smooth bumps and uneven areas gently with your hands, taking care not to flatten the curved section that supports the cards.
4. Bake according to the package directions
Place the clay on parchment paper on an oven-safe baking sheet. Use oven-safe props to help the holder keep its shape while baking. The Sculpey clay used for this project was baked at 270° for 25 minutes. Baking instructions can vary, so follow the directions on the packaging for the specific clay you use.
5. Cool and paint
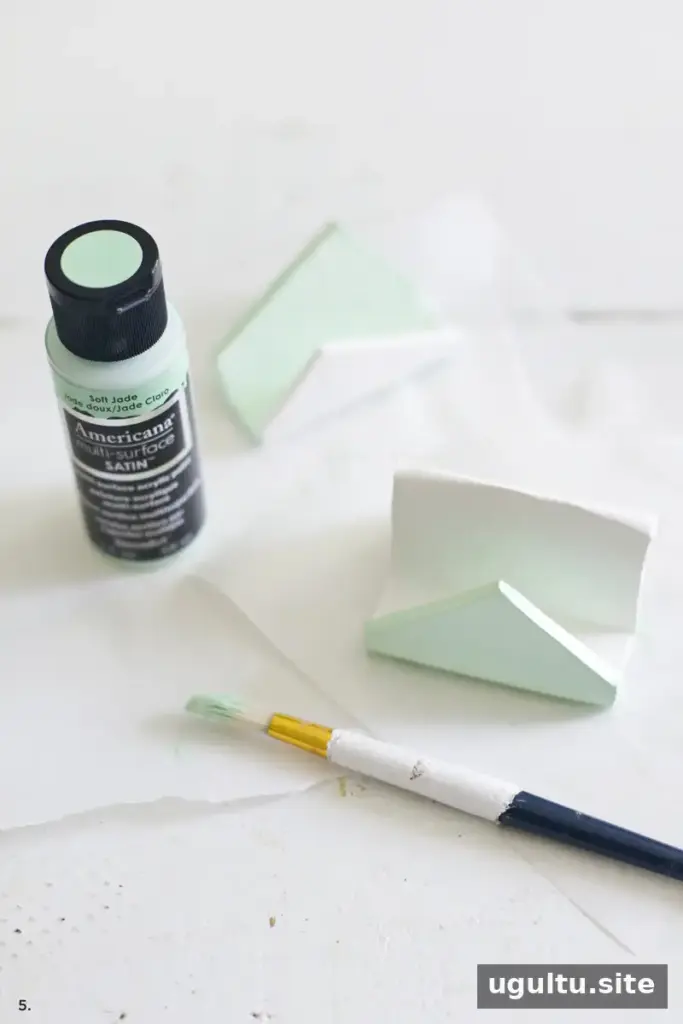
Let the baked clay cool before removing it from the baking sheet. Once it is cool, apply a few coats of polymer-safe paint with a paintbrush. Allow each coat to dry as directed on the paint label. A two-tone finish is one option for adding color, and glossy paint was used on these holders.
Display cards, photos, and small notes
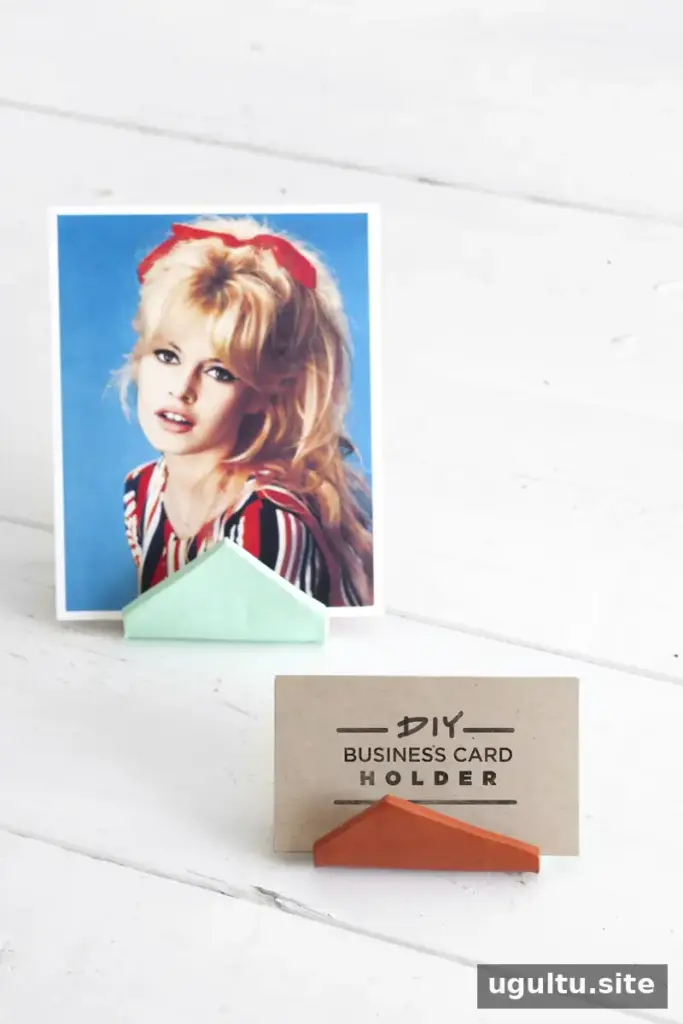
When the paint is dry, place business cards, photos, or recipe cards in the holder. Test it with the items you plan to display and check that the base stays flat and the cards are supported. A small holder can also help keep a few frequently used notes visible near your computer.
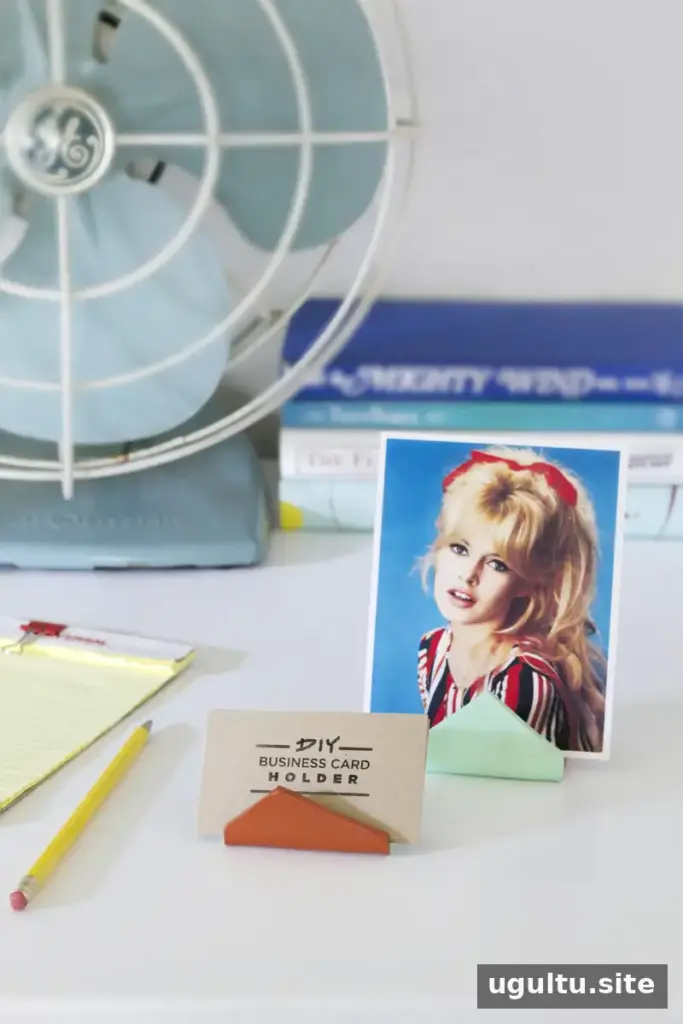
These handmade holders can be used at home or packed for events and craft shows. This project offers a practical way to display cards while adding a personal touch to a workspace. With a suitable shape, a DIY business card holder can also hold photos or other small items upright. —Mandi


