admin
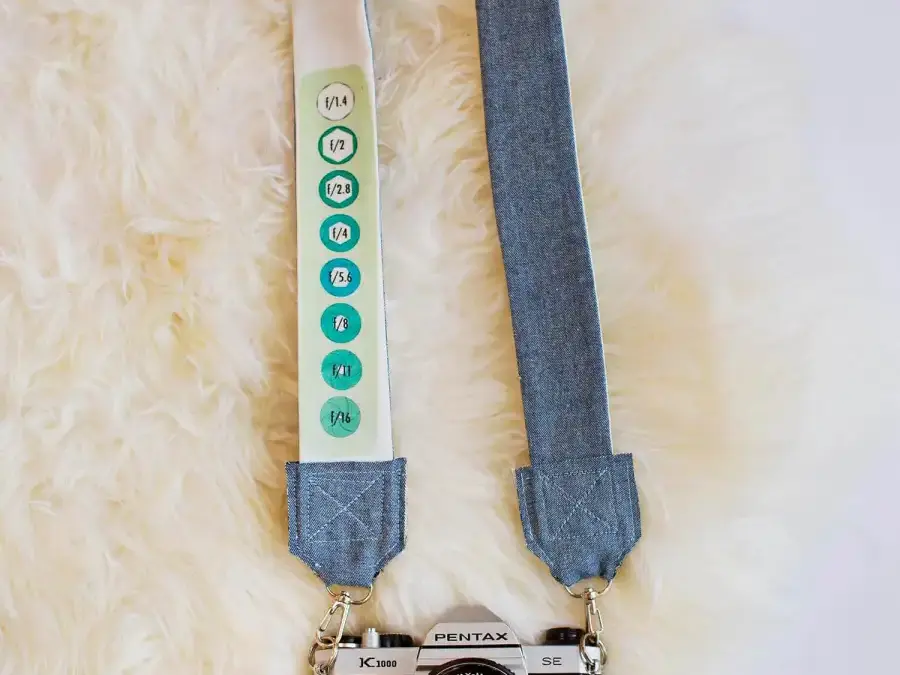
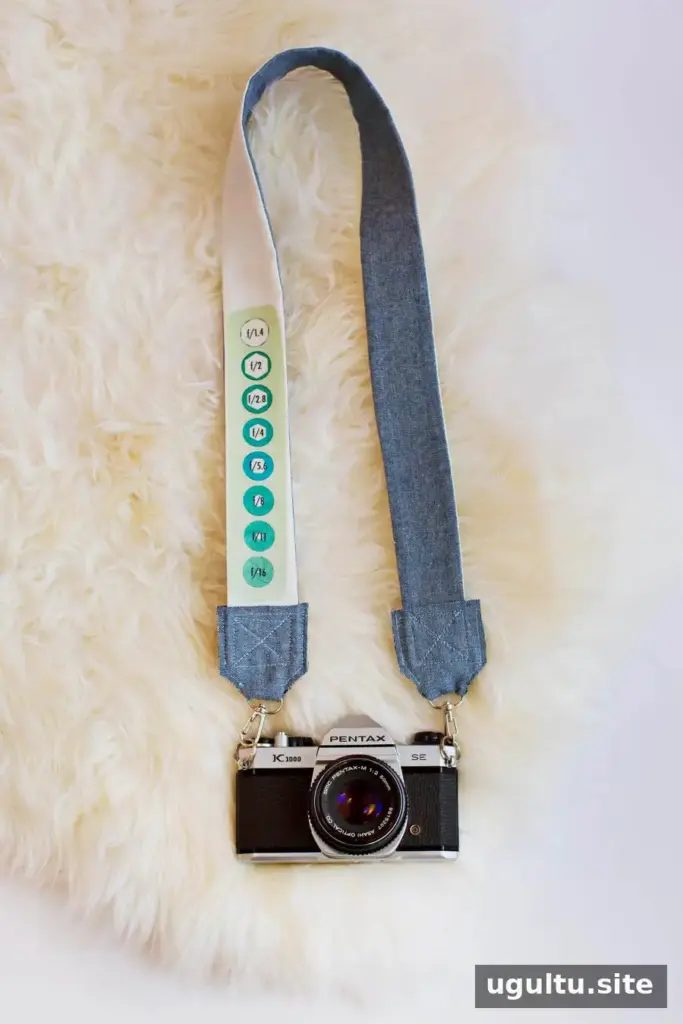
Make a DIY camera strap with a few basic supplies, a sewing machine, and the ability to sew a straight line. This three-step project lets you customize the strap with a printed design, photo, name, or camera-setting reference sheet. It is also reversible: use a decorative side when you want to show off your design, then turn it over for a simpler look.
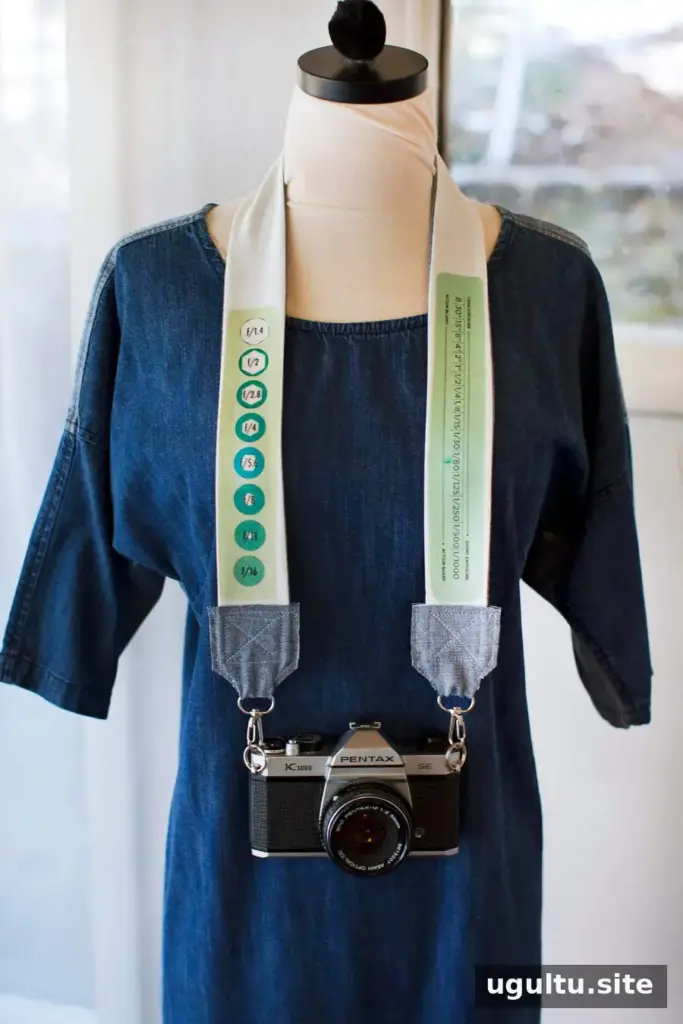
A camera strap can be both useful and personal. A small reference sheet can help you remember settings, while a favorite image or short phrase can make the finished accessory your own. If you choose to print a design, check that it is suitable for fabric transfer paper and follow the paper’s instructions for printing and ironing.
DIY Camera Strap Supplies
Gather the materials before you begin. Choosing sturdy fabric for the strap and reinforced end pieces helps create a more durable result.
- Sturdy fabric for the main strap: two pieces, each 35 × 2.5 inches
- Sturdy fabric for the end pieces, such as thick denim
- Two large clasps or swivel snap hooks to attach the strap to the camera
- Fabric transfer sheets
- An inkjet printer
- Fabric scissors and scissors for other materials
- A sewing machine
- An iron and ironing board
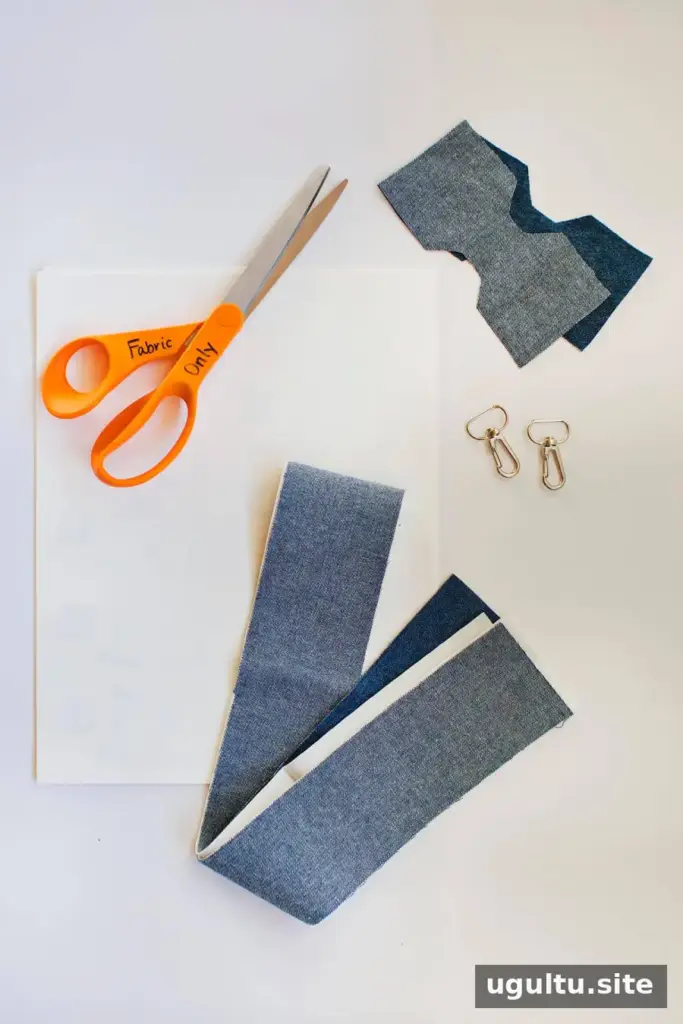
How to Make a DIY Camera Strap
Step 1: Sew the main strap
Cut the main strap fabric to size and stitch the pieces together. Turn the fabric tube inside out so the seam is concealed, then press it flat with an iron. Take care not to stretch or distort the fabric while turning and pressing. A straight, even seam helps the strap lie neatly.
A video tutorial can be useful if you are new to sewing a fabric tube or want to see how the pieces are handled during assembly.
Step 2: Attach the end pieces and hardware
Sew the end pieces onto the main strap with the clasps or swivel hooks in place. Use a sturdy material in this area; thick denim is one option, and thinner leather may also work if it can be sewn with your machine. Before using the strap, inspect the stitching around both attachments and make sure the hardware moves freely.
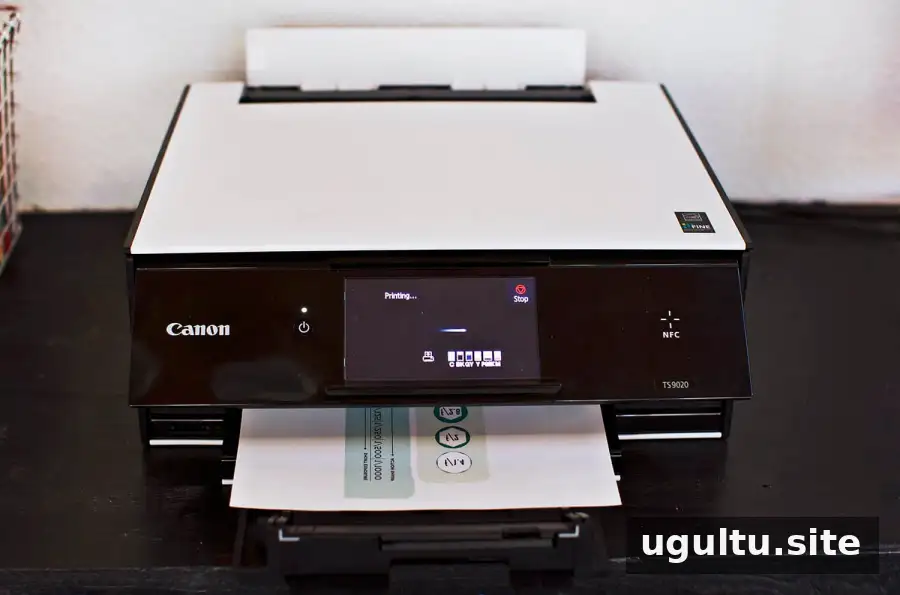
Step 3: Add a printed design
Print your chosen image or design onto fabric transfer paper, then cut it out and iron it onto the strap. Transfer papers can have different application requirements, so follow the product instructions for print settings, heat, and pressing time. Position the design before applying heat, since repositioning it afterward may be difficult.
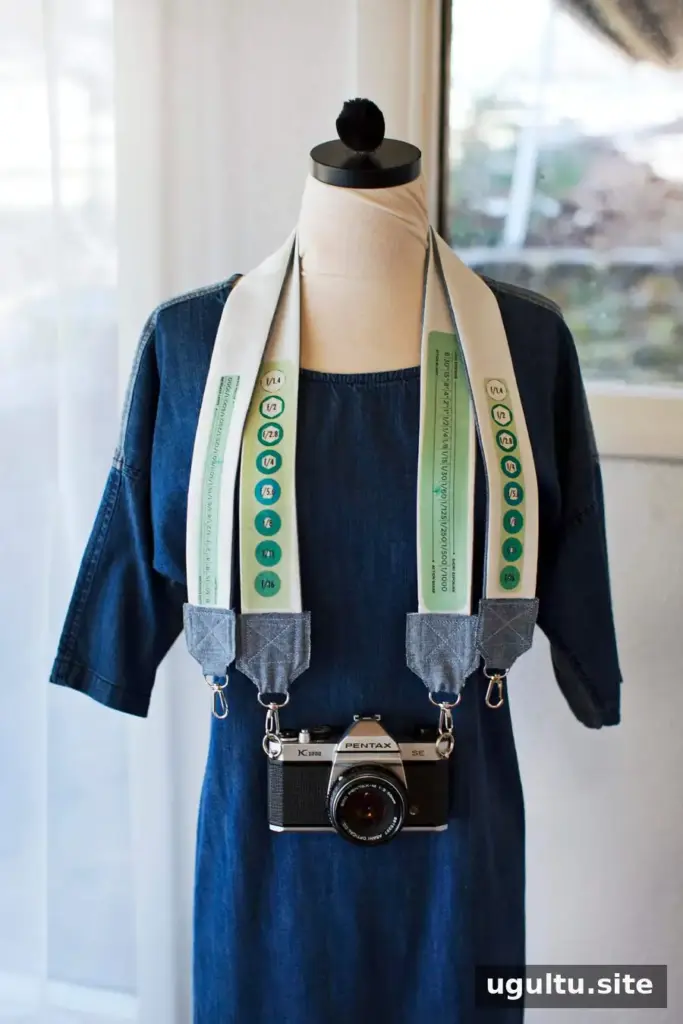
Plan the Design Before Attaching It
Decide how large you want the printed area to be before ironing it onto the fabric. A paper mock-up placed on the strap can help you judge the layout and avoid a design that feels too small or crowded. If you are testing a new construction method, make a practice version before adding the finished transfer.
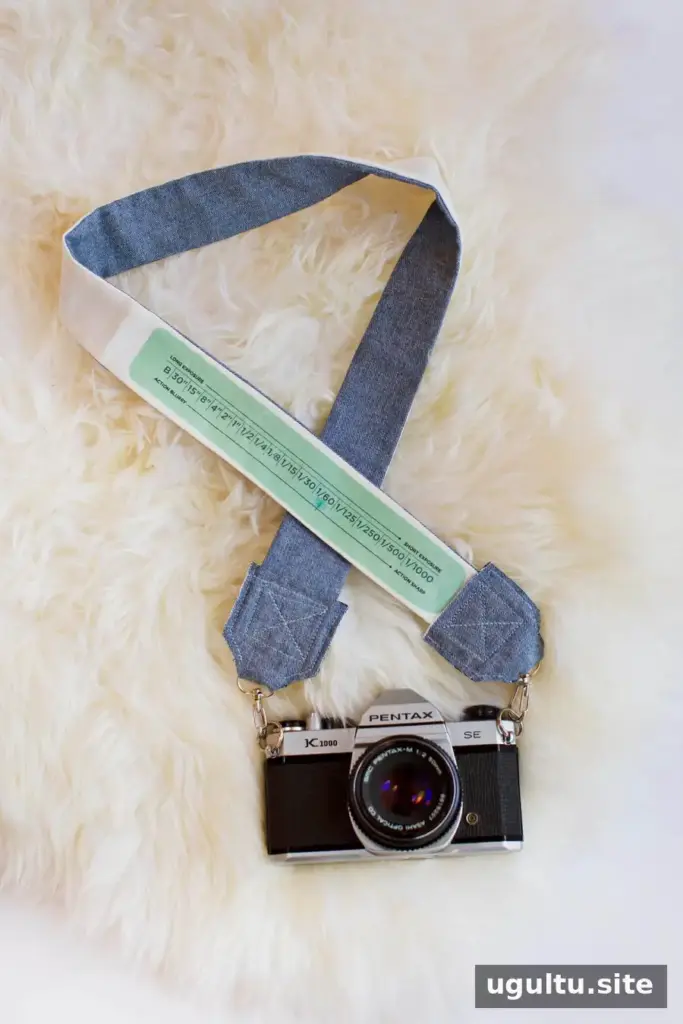
For a reversible effect, use denim or another plain fabric on the back. One side can display the printed design, while the other keeps the strap looking simple. This approach also gives you the option to switch between a personalized and understated style.
Final Tips
This DIY camera strap is an approachable sewing project that can be customized with a reference sheet, photograph, or other design. Use strong fabric at the hardware ends, check the seams before attaching the strap to a camera, and follow the transfer-paper directions carefully. With those details in mind, you can make a practical accessory that reflects your photography interests. —Emma