
 admin
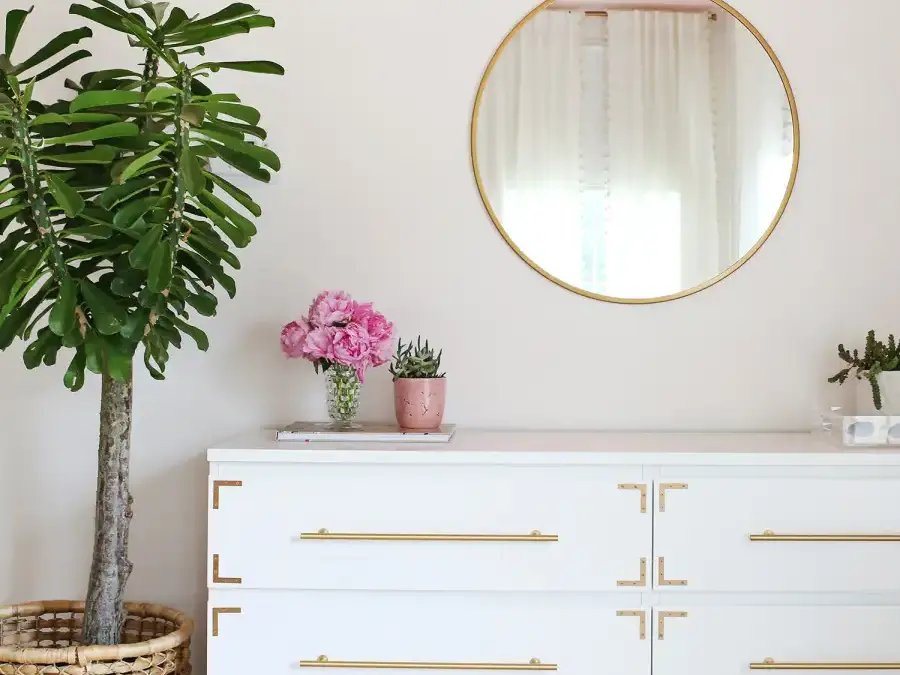
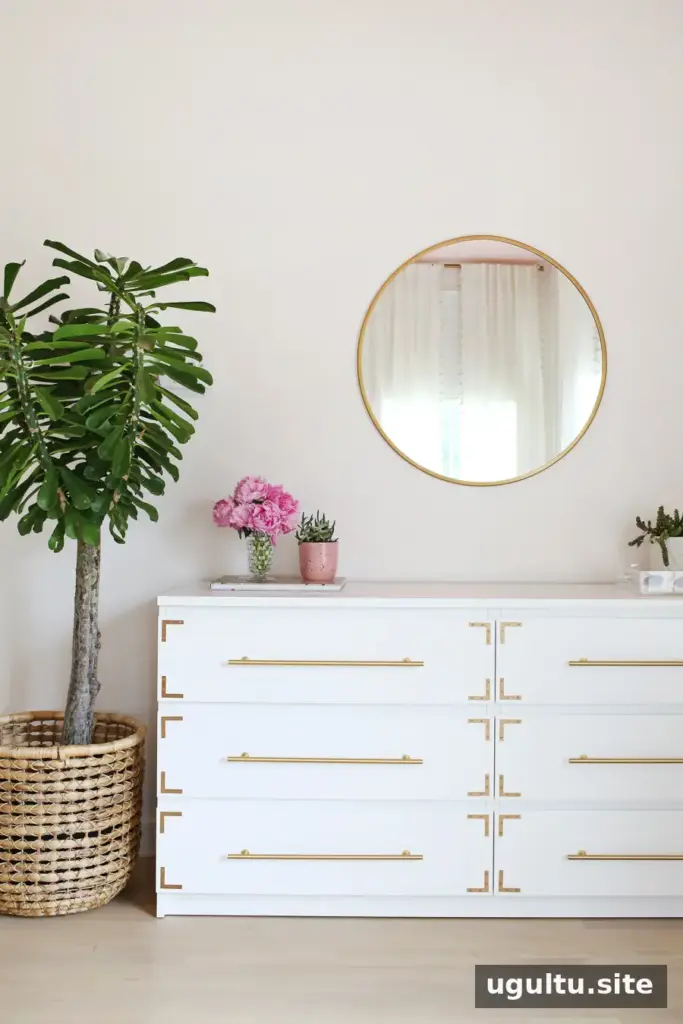
A DIY campaign dresser can bring classic style to a bedroom without the high price of a finished piece. A white dresser paired with gold-toned hardware creates a light, polished look, and a few carefully chosen additions can make a simple dresser feel custom.
Campaign-style furniture can cost more than $1,000, so updating an existing dresser is one way to work toward the look on a more flexible budget. The project below focuses on two changes: adding long bar pulls and decorative corner braces. Drawer organization ideas are included, too.
Supplies for a DIY Campaign Dresser
Choose hardware that suits the dresser’s proportions and finish. For this makeover, the hardware list is:
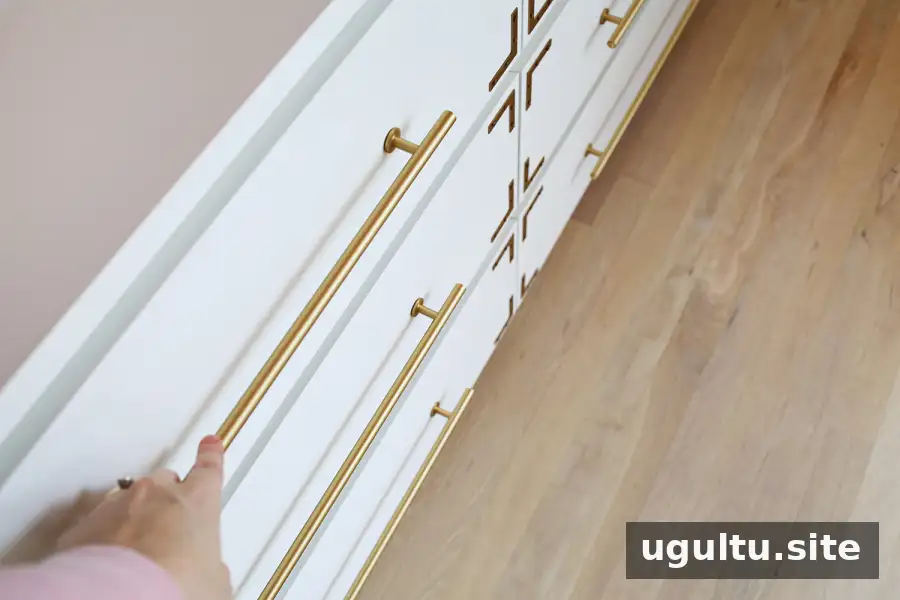
- Six 15-inch bar pulls
- Twenty-four 2-inch corner braces
- Spray paint for the decorative braces, if needed
- A drill and the appropriate drill bit for pilot holes
- A measuring tool and a pencil for marking placement
The bar pulls may cost more than the dresser itself, so include hardware in your budget before purchasing. Decorative braces can be painted to coordinate with the pulls. Because bar pulls are handled frequently, avoid spray-painting them; for a different finish, ask a professional about metal plating.
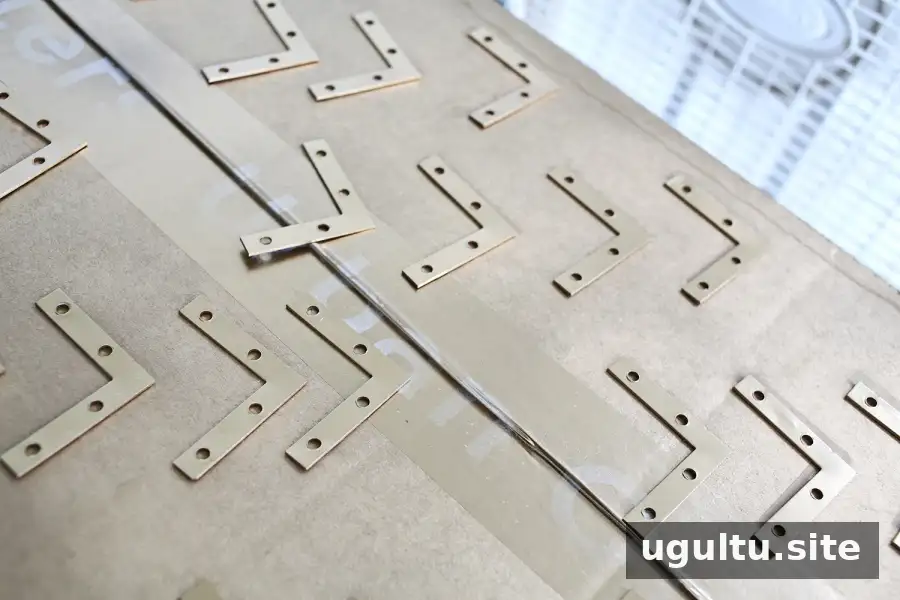
Before starting, check that the pulls and braces are suitable for the dresser and that their screw lengths will work with its drawer fronts. Lay out all 24 braces and six pulls so you can confirm the quantities and plan their placement.
Measure and Install the Hardware
Measure each drawer carefully and mark the hardware positions before drilling. Consistent placement helps the finished dresser look balanced. Drill pilot holes for the screws, following the hardware instructions, then attach the pulls and braces securely.
Safety tip: Anchor the dresser to the wall to reduce the risk of tip-over injuries. Follow the anchoring hardware instructions and use a fastening method appropriate for the wall.
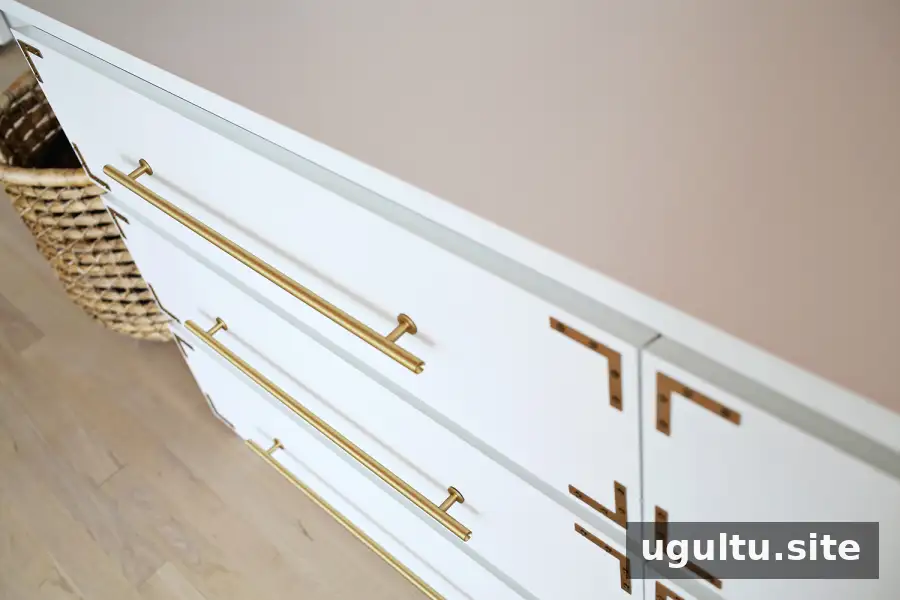
Small hardware changes can make a noticeable difference. Take your time measuring and marking; correcting a misplaced hole can be difficult, so check each mark before drilling.
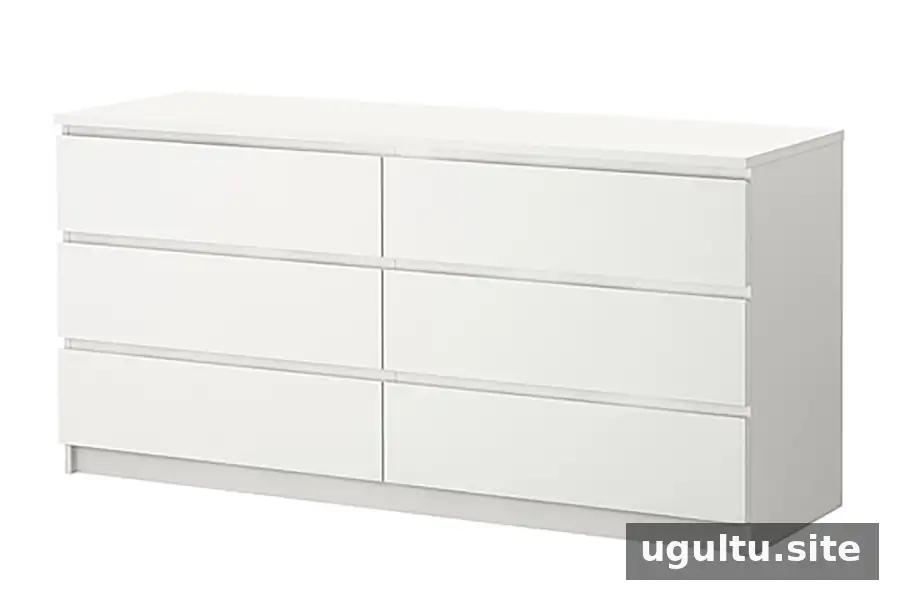
Here is the dresser before the update:
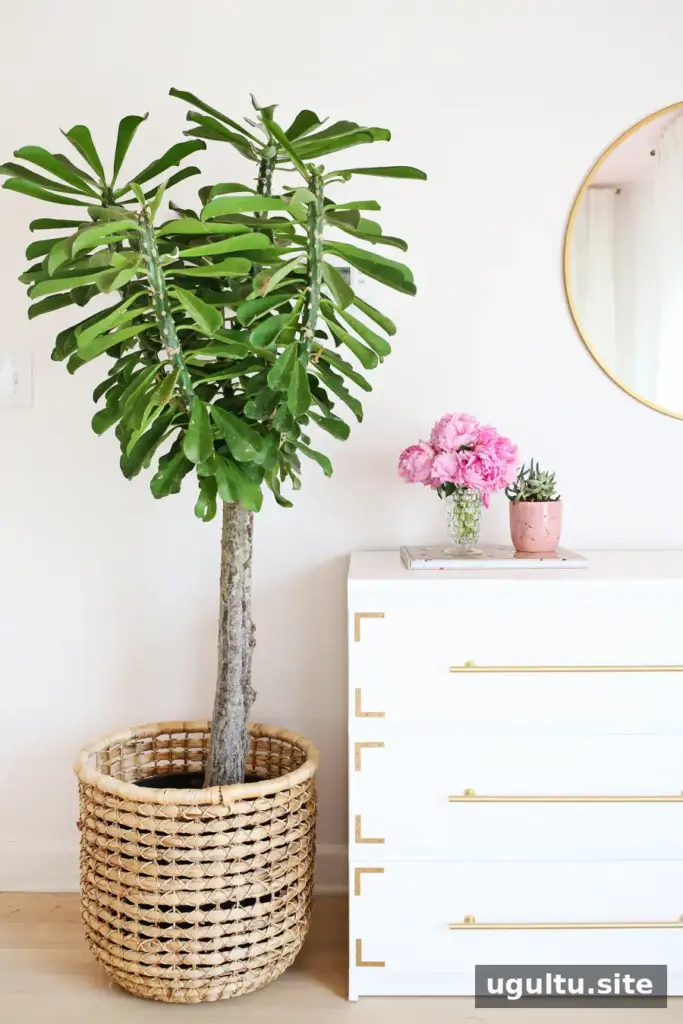
And here it is after the hardware was added:
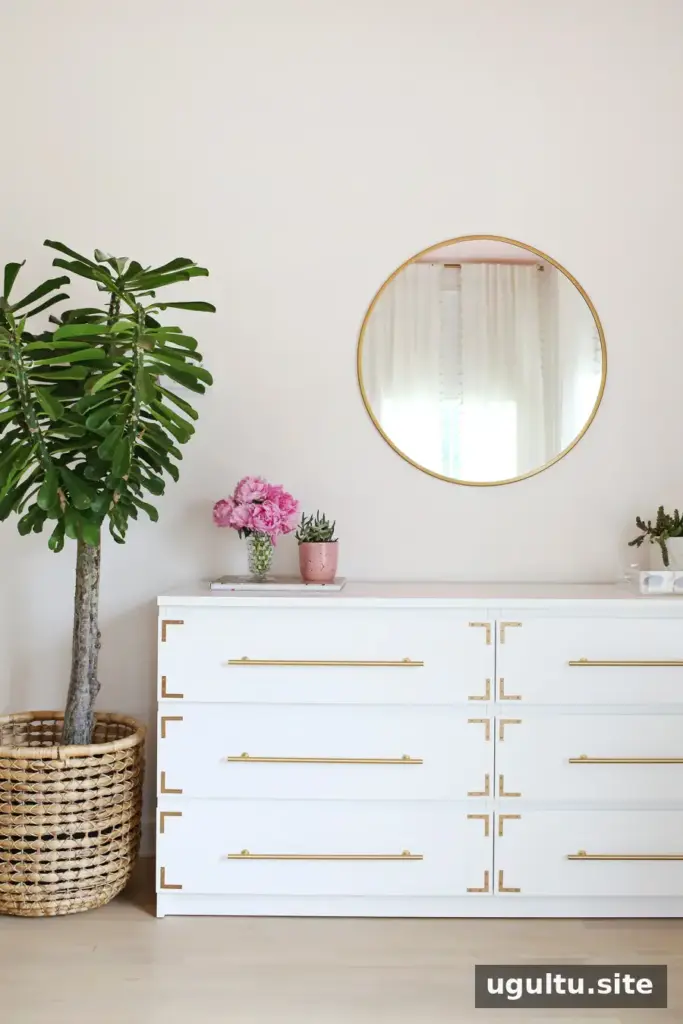
The white finish and gold details create a bright, airy look that works well in a bedroom.
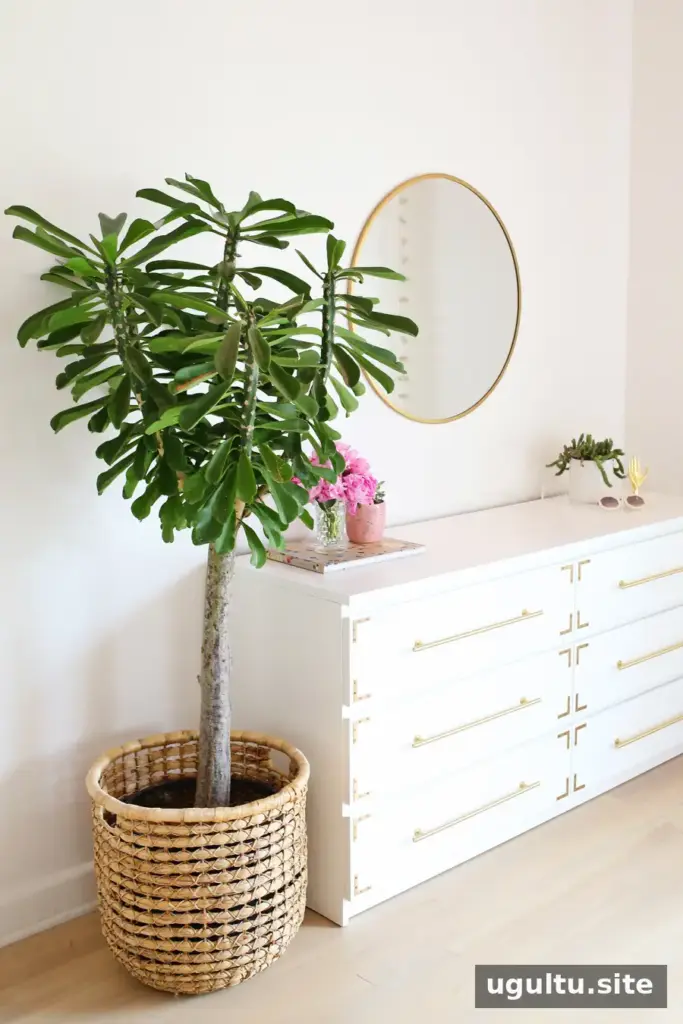
A side view shows how the added hardware gives the dresser more definition.
For another layer of customization, paint the dresser or line the outside of the drawers with wallpaper. If painting, prepare the surface according to the paint manufacturer’s directions and let it cure before putting items back.
Easy Drawer Organization Ideas
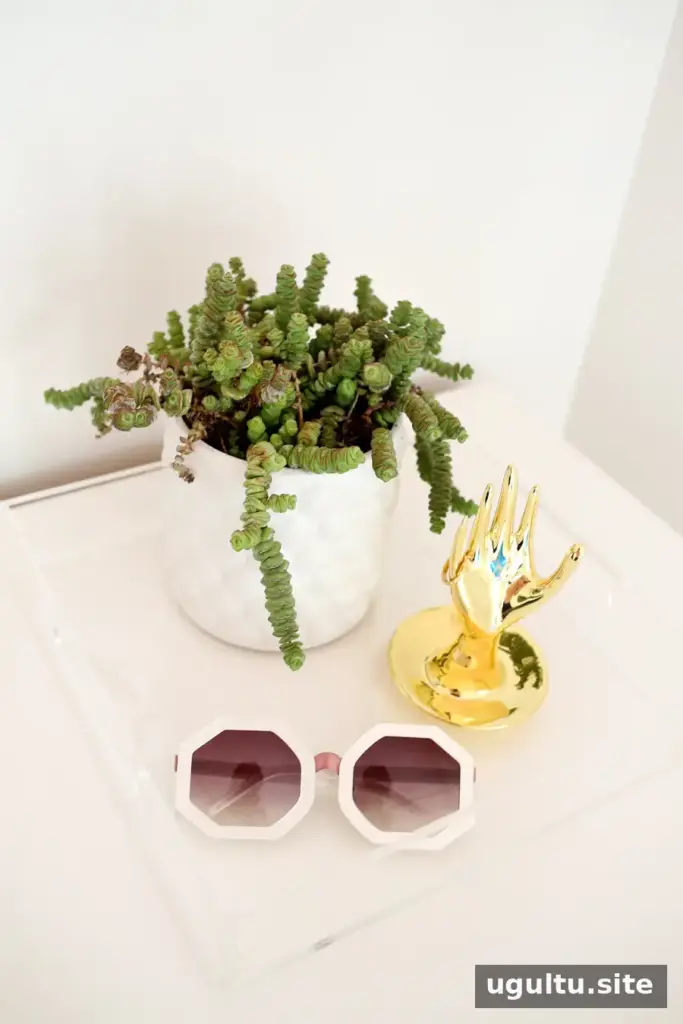
A refreshed dresser is also a good opportunity to make the drawers more useful. Start by lining the drawer bottoms with contact paper or wallpaper. Permanent adhesive is not essential: small pieces of double-sided tape can hold a liner in place while allowing it to be removed later.
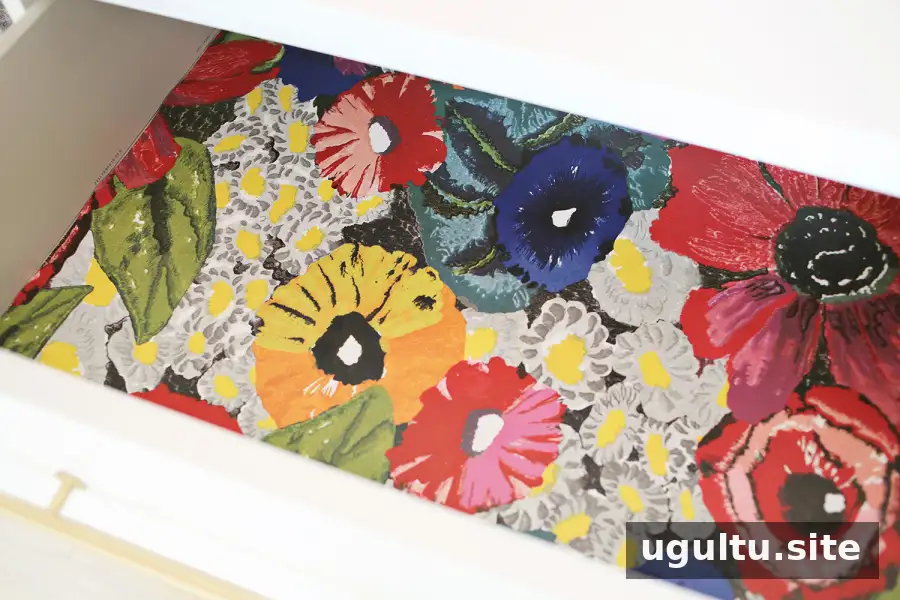
Measure each drawer before cutting the liner. A close fit helps prevent curled edges and makes it easier to remove the liner for cleaning.

Add containers to the top one or two drawers to separate smaller belongings. Leave lower drawers open if you prefer to store folded clothing in stacks. Baskets, acrylic organizers, or containers already on hand can all work; choose sizes that fit without crowding the drawer.
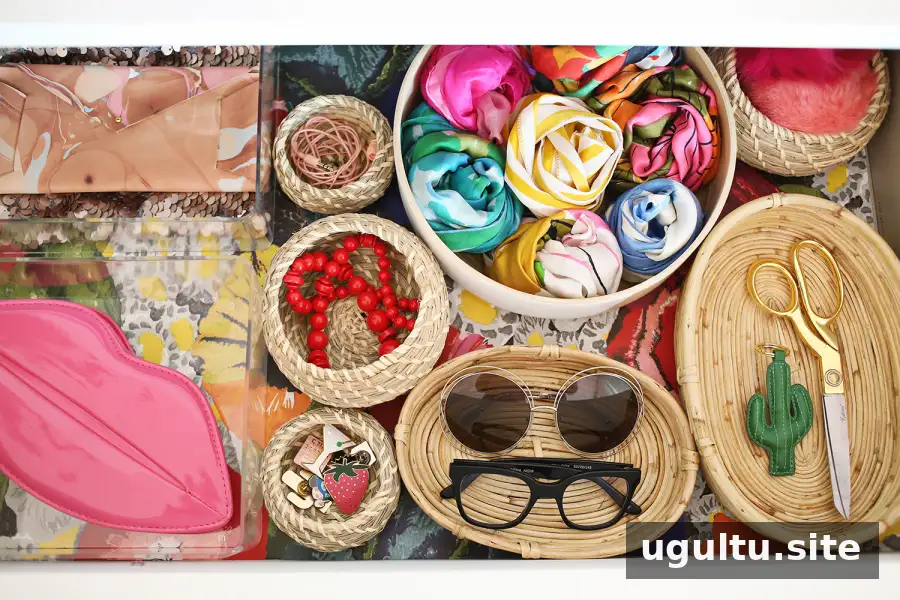
Use the organizers for items you reach for regularly, such as accessories. Keeping small essentials together makes them easier to find. A pair of scissors can also be handy for removing clothing tags or trimming loose threads.
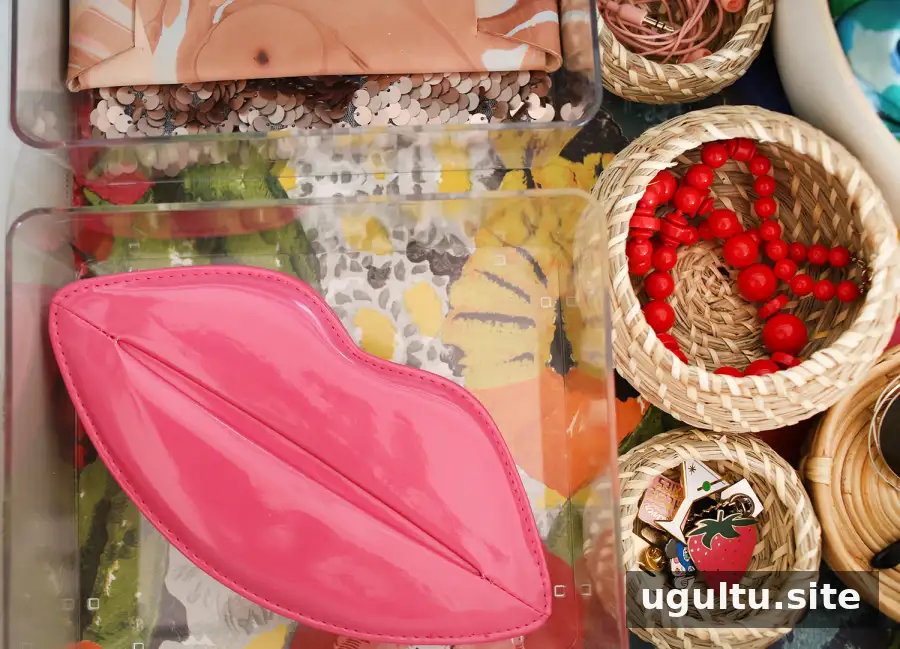
Mixing clear organizers with baskets adds variety while keeping items sorted. Group similar belongings together, and leave a little room so drawers open and close easily.

With measured hardware placement and practical drawer storage, a DIY campaign dresser can combine a classic appearance with everyday function. Plan the hardware and organization before starting, anchor the dresser safely, and adapt the finishes and containers to suit your space.


