
 admin
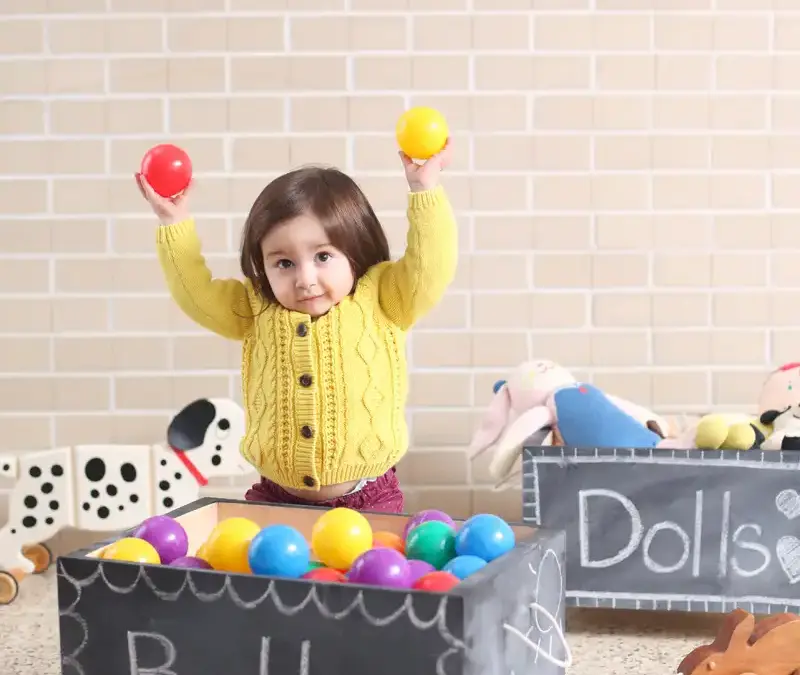
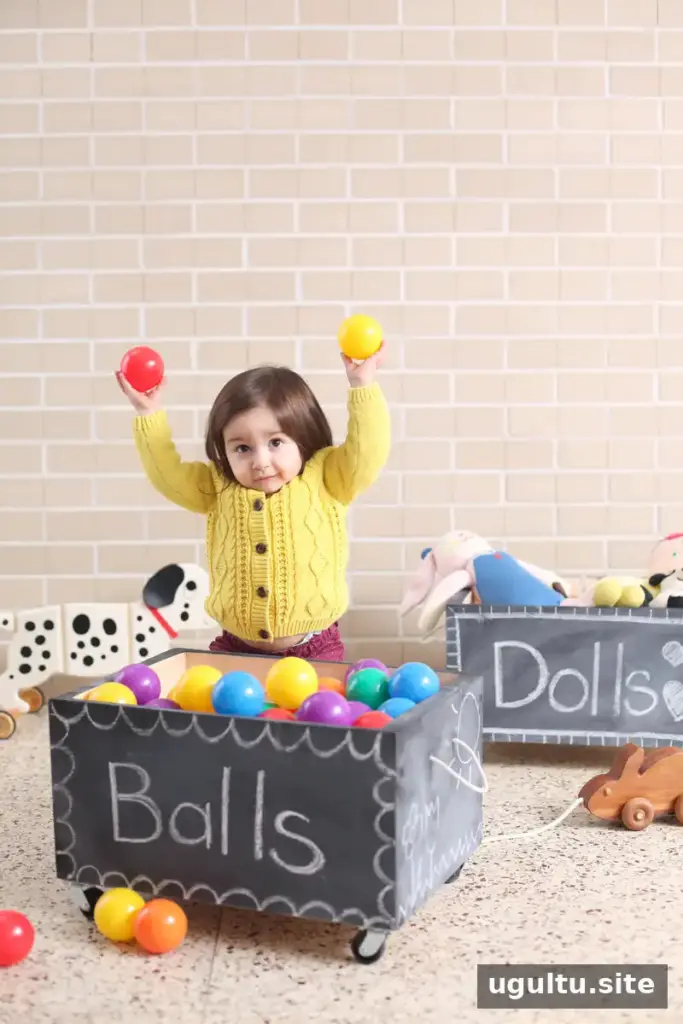
A DIY chalkboard toy box on wheels turns a simple wooden crate into movable storage that can be labeled, drawn on, and used in different rooms. Plywood panels create smooth surfaces for chalkboard paint, while casters make the finished box easier to move. The same design can also store shoes, sports equipment, or gardening supplies.
Plan the box’s size and contents before starting. Check that the crate is sturdy, and choose casters and fasteners that are suitable for its weight and intended use.
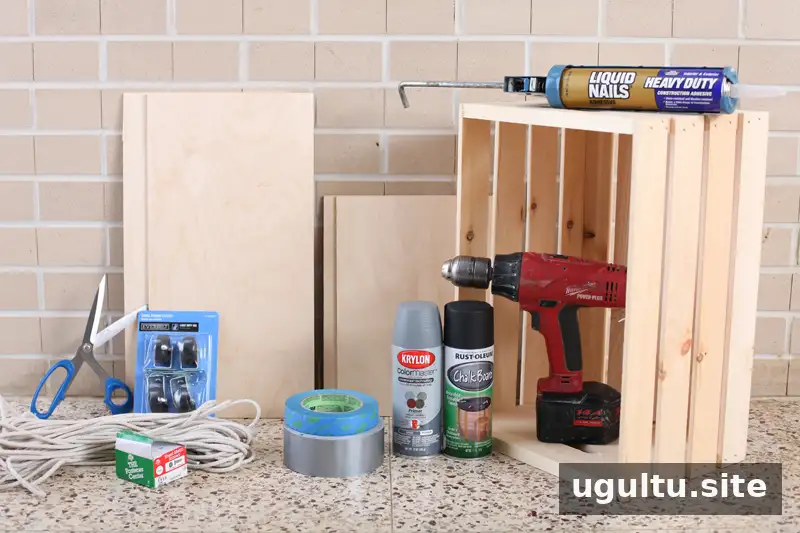
Materials and tools
- Wooden crate
- 1/4-inch plywood, cut to fit the crate’s sides
- Wood glue or construction adhesive
- Duct tape or wood clamps
- Four small casters and four machine screws
- Power drill and drill bits for the screws and rope
- Rope for handles
- Masking tape and masking paper or newspaper
- Dark spray primer and chalkboard spray paint
- Optional: wood filler and sandpaper
- Optional: wire brads and a hammer
Measure and cut the plywood
Measure the crate’s height and have the 1/4-inch plywood cut into a long strip of that height. Measure the actual plywood thickness, since nominal 1/4-inch sheets may differ. Cut two panels to the length of the crate’s long sides. For the short sides, measure each side’s width, add twice the plywood thickness, and cut two panels to that dimension. This extra width lets the short panels overlap the edges of the long panels.
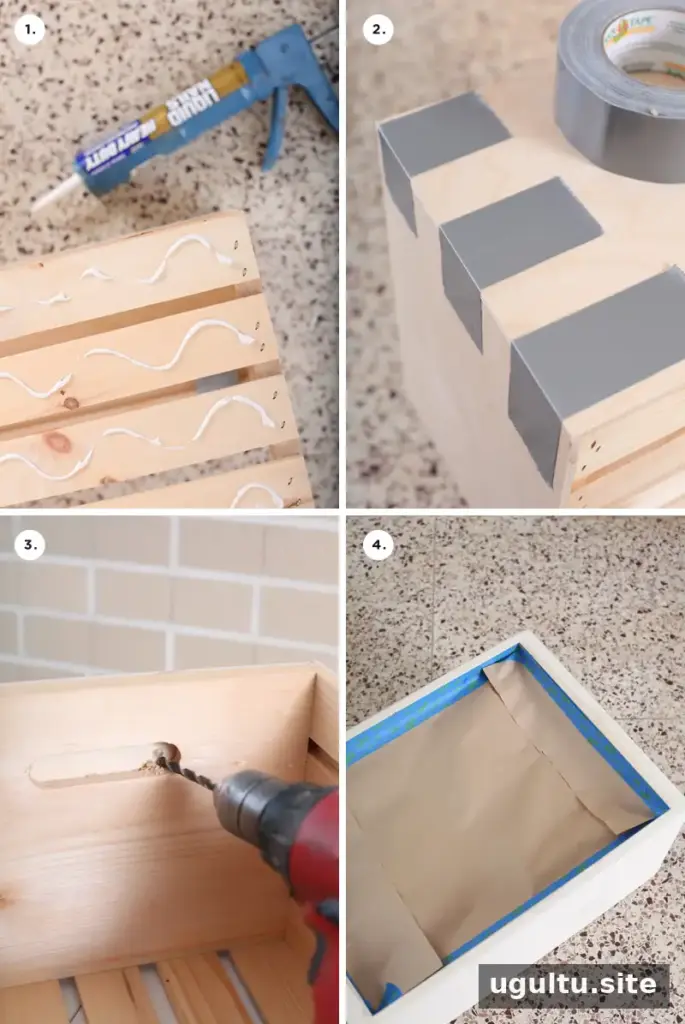
How to make a DIY chalkboard toy box on wheels
1. Attach the plywood panels
Apply wavy lines of adhesive to one outside face of the crate and position the matching plywood panel. Align its top edge with the top of the crate, where it will be most visible. Work on one side at a time. Attach the long-side panels first, then fit the short-side panels so they overlap the long panels’ edges.
2. Hold the panels while the adhesive dries
Secure the panels with wood clamps, or use duct tape if clamps are unavailable. Optional wire brads can help keep the plywood from shifting. Follow the adhesive’s drying instructions. If small gaps remain, fill them with wood filler or adhesive as appropriate, let the material dry, and sand the area smooth.
3. Make the rope-handle holes
From inside the crate, drill a hole at each end for the rope handles, using a bit sized to the rope. Smooth rough edges with sandpaper. Check that the holes are positioned safely and evenly before drilling.
4. Mask the crate
Apply masking tape along the inside top edge, then cover the interior with masking paper or newspaper. This helps protect the inside of the crate from overspray.
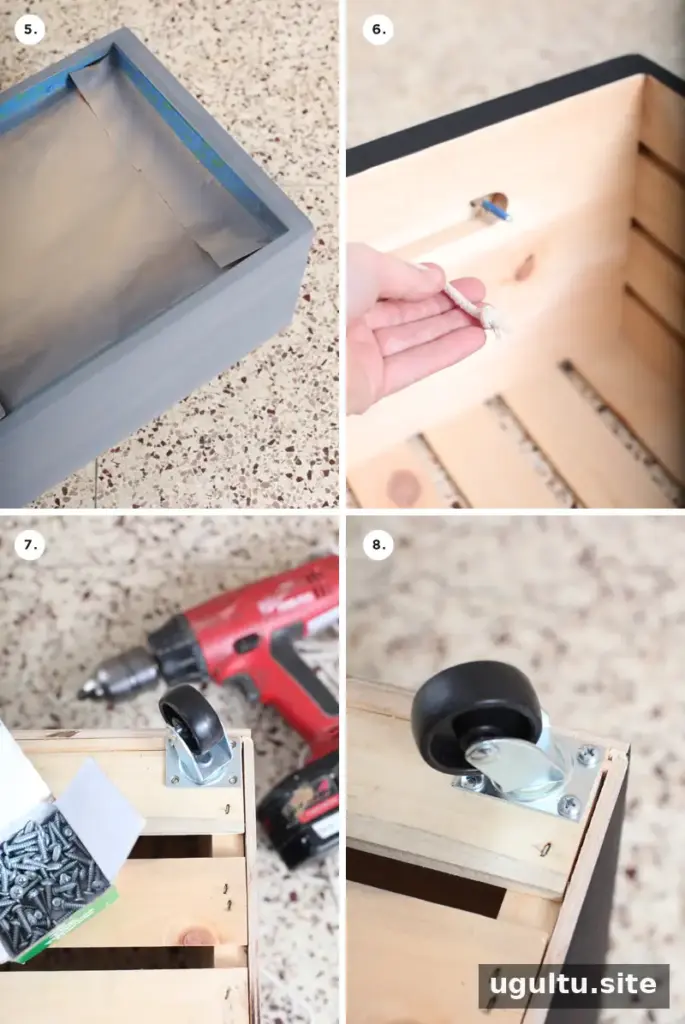
5. Apply primer and chalkboard paint
In a well-ventilated area, mask and protect nearby surfaces. Apply two coats of dark spray primer to the exposed sides and top, followed by two or three coats of chalkboard spray paint. Follow the product labels for application, drying time, and protective equipment. Remove the masking tape and paper after the final coat has been applied.
6. Add the rope handles
Cut two lengths of rope, about 12 inches each. Wrap masking tape around the ends to limit fraying, then thread the rope through the drilled holes. Remove the tape and tie secure knots inside the crate. Check that the handles are firmly attached before moving the box.
7. Install the casters
Turn the crate upside down and position one caster near each corner. Make sure the screw holes sit over solid wood. Drill pilot holes, clear away sawdust, and fasten the casters with machine screws. Three secure screw holes per caster may be sufficient for this design, but use the available mounting points and check that every caster is firmly attached.
Finish and use the box
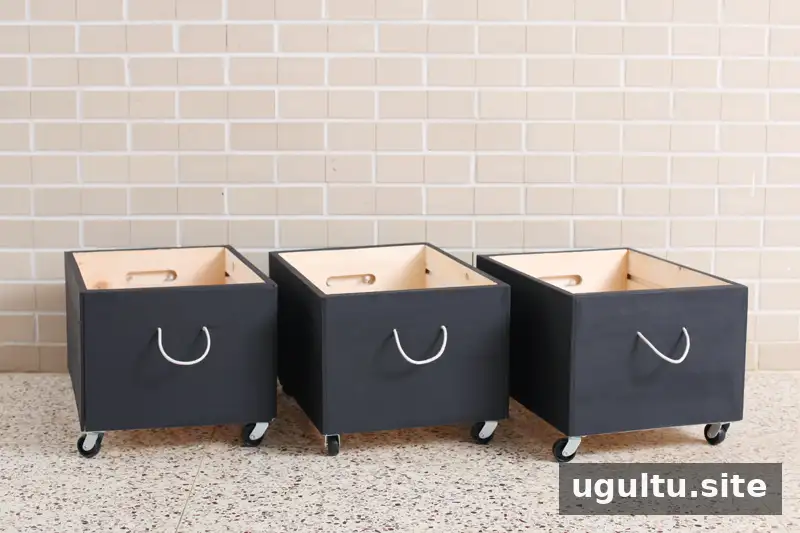
To prepare the chalkboard surface, rub chalk over it and wipe the surface clean. Then write a label or draw a design. This makes it easy to identify what belongs in each box, and the label can be changed as storage needs shift.
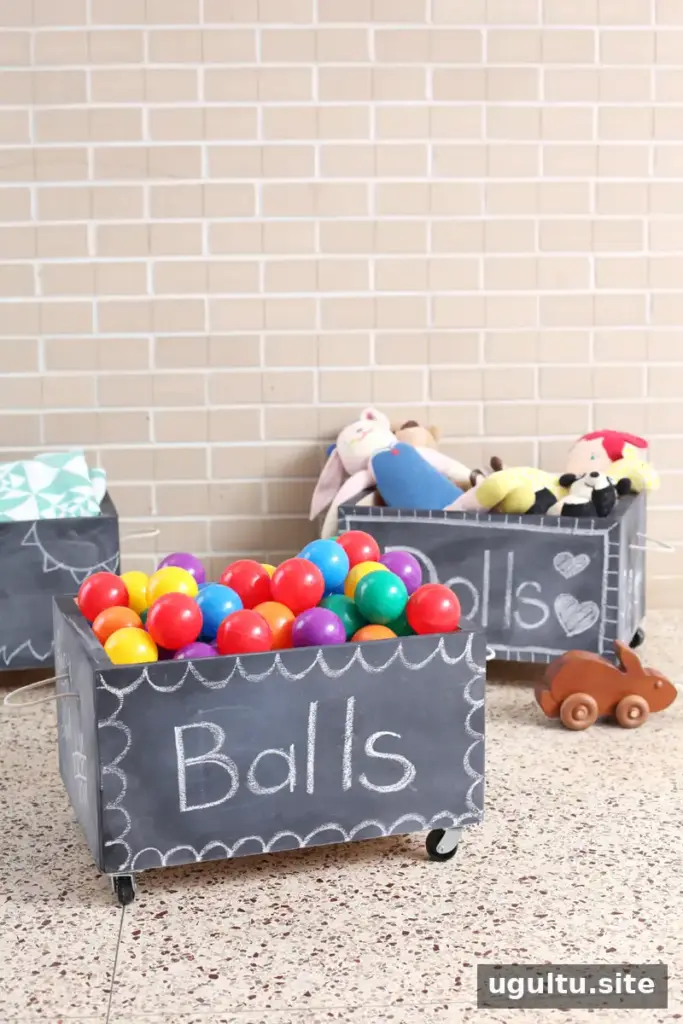
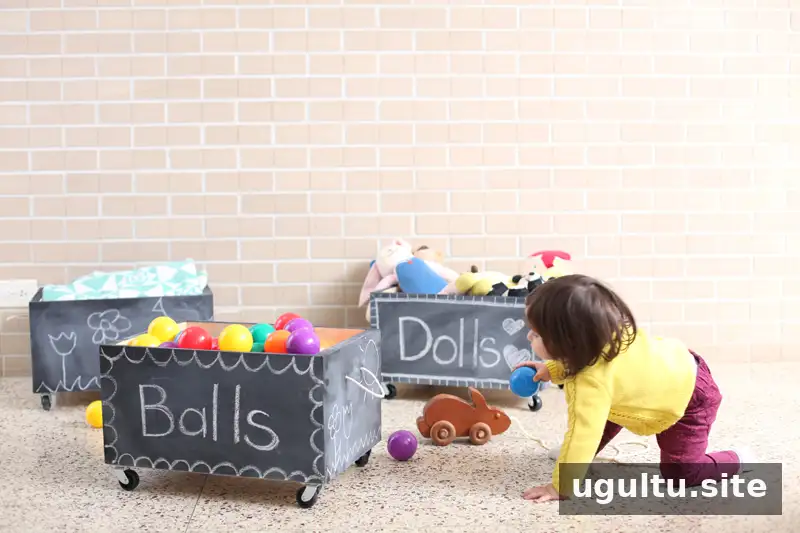
Before regular use, check the wheels, screws, rope knots, and painted surfaces. Keep the box’s load within the capacity of the crate and casters, and supervise young children around movable storage and rope handles. With those checks, a DIY chalkboard toy box on wheels can provide flexible storage for toys and many other household items.
—Mandi


