
 admin


A DIY choker necklace is a simple way to create an accessory that suits your style, whether you prefer a bold trim or a delicate ribbon. This project uses a few basic jewelry findings and lets you choose the ribbon’s color, texture, and pattern. The short chain at the back adds a little room for adjustment, while a clasp makes the necklace easy to put on and take off.
DIY Choker Necklace Supplies
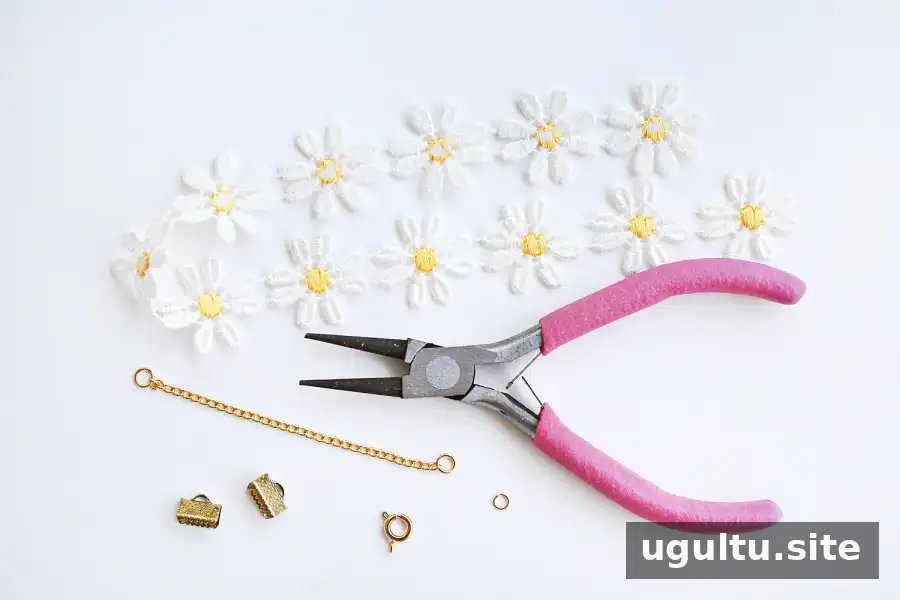
Gather these materials before you begin:
- Ribbon or trim of your choice
- One 2-inch chain length; add a jump ring to each end if the chain does not already have them
- One small 4 mm jump ring
- One clasp
- Two ribbon ends
- Round-nose jewelry pliers
Choose a ribbon or trim that feels comfortable against your neck. Before attaching the findings, hold it loosely around your neck to check the approximate fit. Leave enough room for comfortable wear, and remember that the chain provides some adjustment.
How to Make a Ribbon Choker
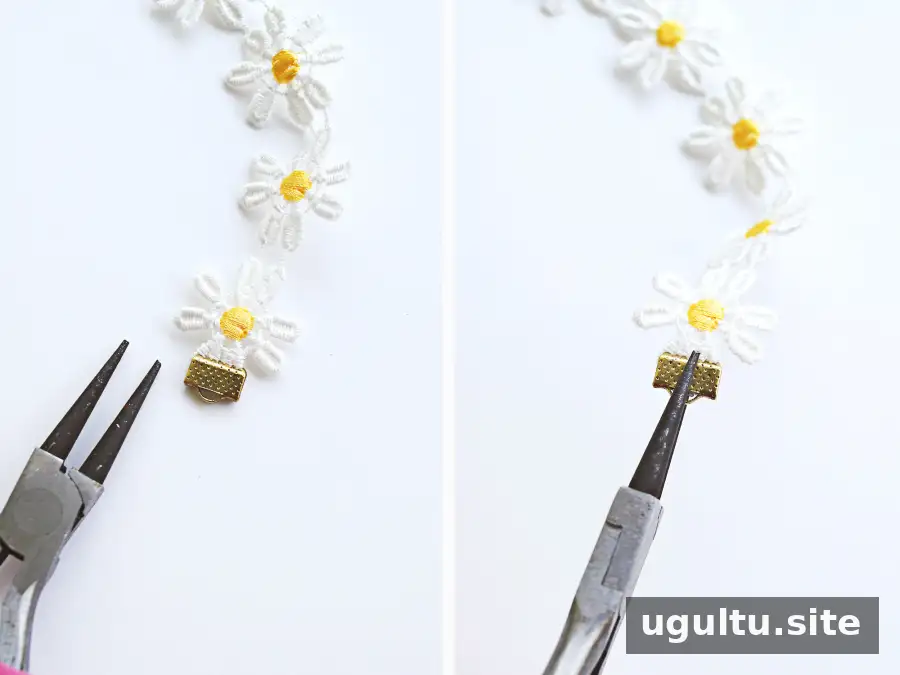
- Place a ribbon end over each end of the ribbon or trim. Use the pliers to clamp the ends securely in place. Make sure loose fibers or edges are tucked in so they are less likely to fray.
- Attach the 2-inch chain to one ribbon end. If the chain does not have a jump ring already attached, add one before connecting it.
- Use the 4 mm jump ring to connect the clasp to the other ribbon end.
- Check that both connections are secure and that the clasp can open and close before wearing the necklace.
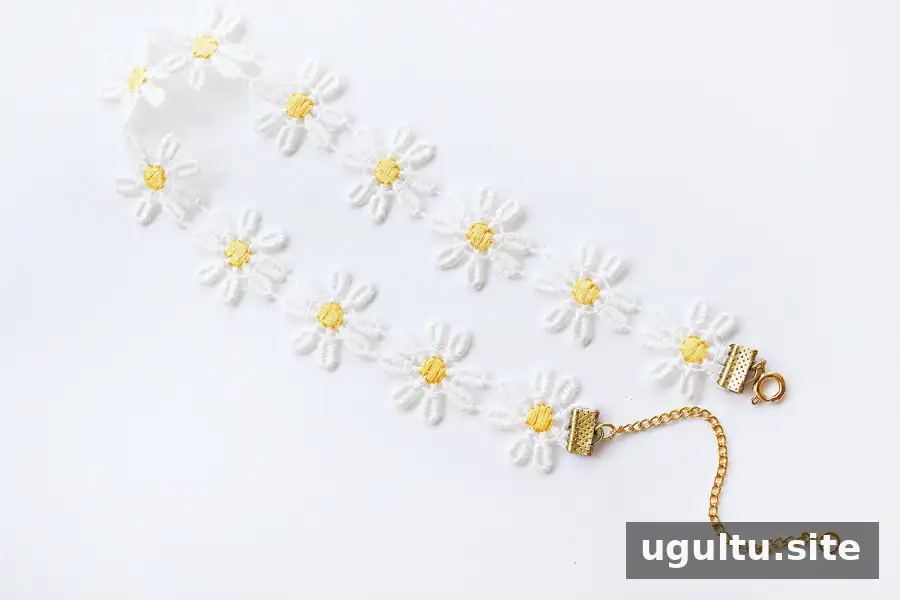
The finished choker should have ribbon or trim across the front, with the chain and clasp completing the back. If a connection feels loose, adjust it with the pliers before wearing the piece. Take care not to pull hard on the ribbon, since delicate materials can stretch or tear.
Customize Your Choker

The ribbon or trim is the main opportunity to make this design your own. A patterned ribbon creates a playful look, while a plain or textured option can feel more understated. You can also make several versions using different trims and coordinate them with different outfits. Keep the hardware consistent in size so the ribbon ends, chain, and clasp connect properly.
Final Tips for Your DIY Choker Necklace

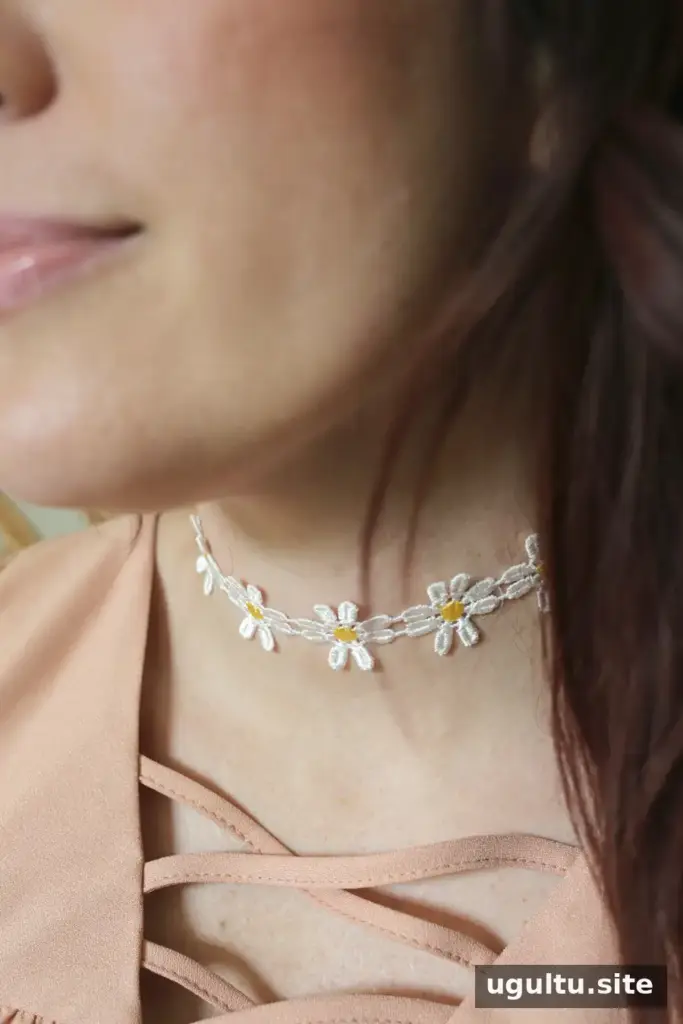
This DIY choker necklace is an approachable jewelry project, and the basic construction stays the same even when you change the ribbon. Check the fit and the strength of the connections before wearing it, and store the finished necklace so the chain does not tangle with other jewelry. Design credit: Elsie.


