
 admin

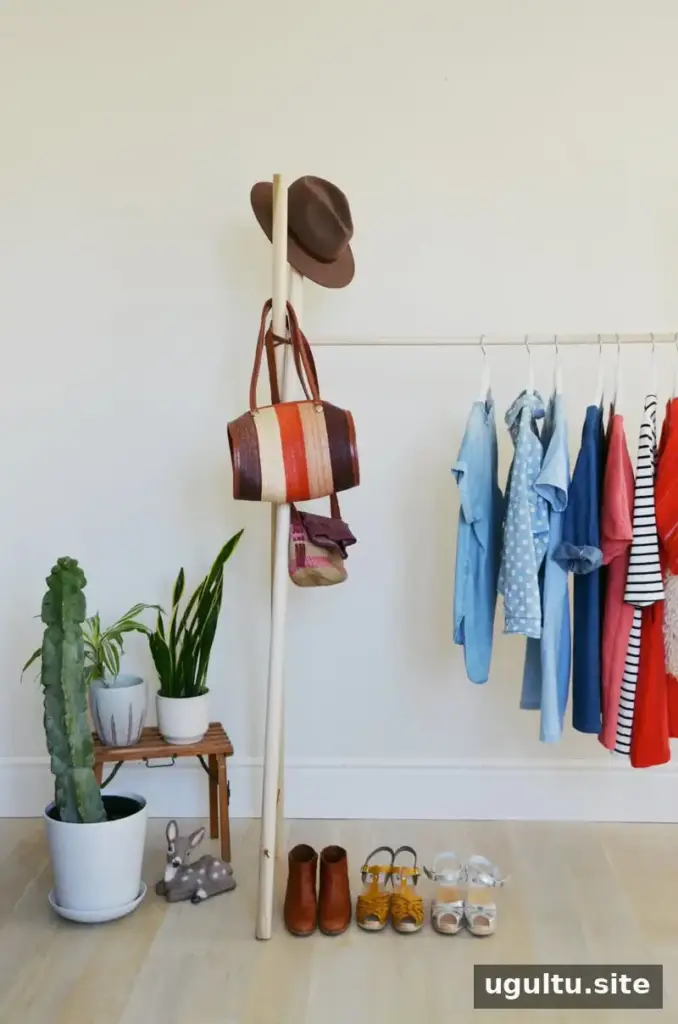
A DIY clothing rack offers a simple way to display seasonal outfits or keep a few favorite pieces within easy reach. This freestanding design uses wooden dowels and leather cord, and it can be taken apart for storage when you no longer need the extra hanging space.

Supplies for the DIY Clothing Rack
Gather the following materials and tools before starting. Check that the dowels are straight and that the drill bits match the specified sizes.
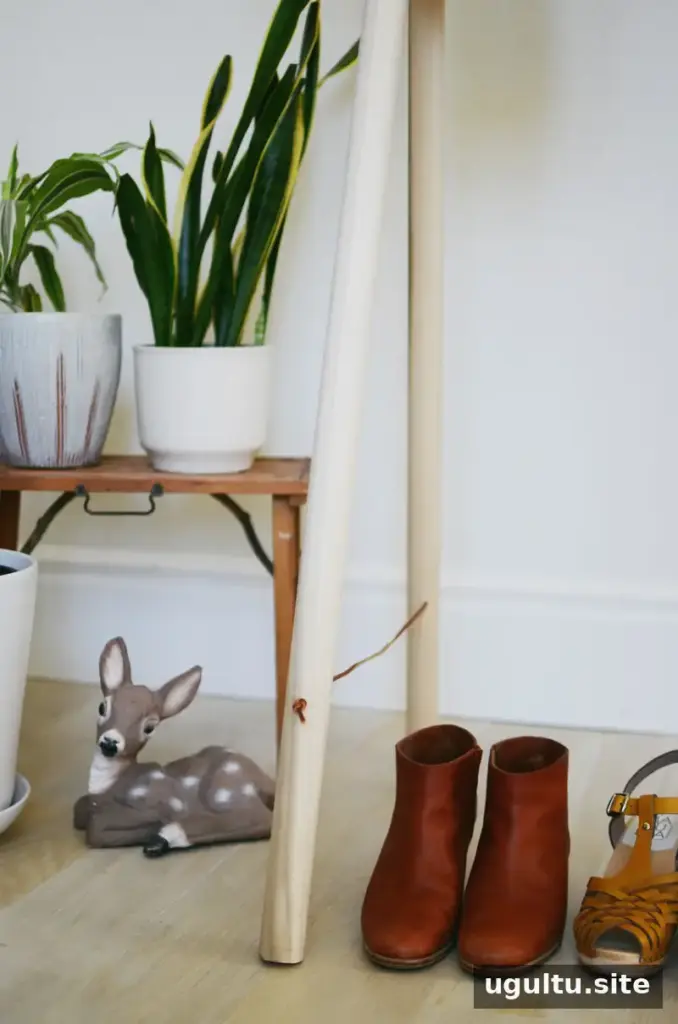
- Four 1 3/8″ x 72″ poplar dowels
- One 7/8″ x 48″ poplar dowel
- Measuring tape and pencil
- Drill
- 7/8″ drill bit and 5/32″ drill bit
- Two 23″ x 0.125″ leather cords
- Two 50″ x 0.125″ leather cords
- Wood glue (optional)
How to Make a DIY Clothing Rack
Step 1: Drill the top holes
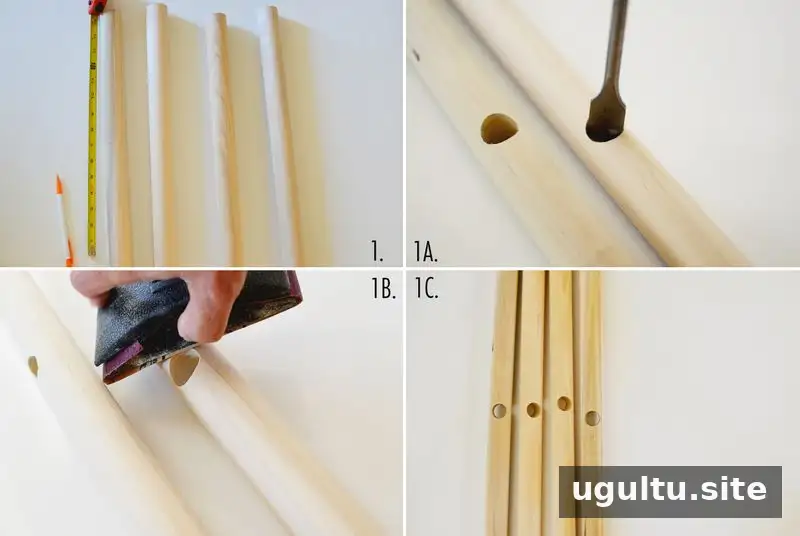
On each of the four 1 3/8″ x 72″ dowels, measure 15 1/2″ down from the top and mark the center of the hole. Use the 7/8″ drill bit to make a hole all the way through each dowel. Keep the drill straight: angled holes can leave the horizontal clothing bar uneven. Lightly sand around each opening to smooth any rough edges. For more control, secure the dowel before drilling and wear eye protection.
Step 2: Make the hinged leg pairs
Measure 8″ up from the bottom of each dowel and mark a point 90 degrees from the top hole. Drill all the way through each mark using the 5/32″ bit, keeping the holes straight. Lightly sand the openings.
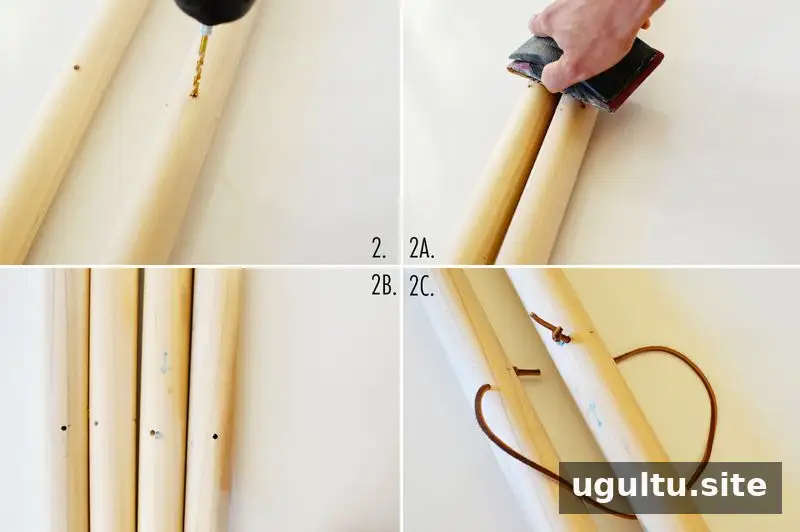
Pair two dowels to form one end of the rack. Thread one 23″ leather cord through their lower holes and knot the ends. The cord limits how far the legs can spread, helping keep the pair from sliding open and falling flat. Repeat with the other two dowels and the second 23″ cord.
Step 3: Assemble the crossbar
Slide the 7/8″ x 48″ dowel through the top holes of one leg pair, leaving about 1 1/2″ protruding. Then feed the other end through the top holes of the remaining pair. Open the rack until the lower leather cords on both sides are fully extended. Set it on a level surface and check that the legs sit evenly before adding the wrapping cord.
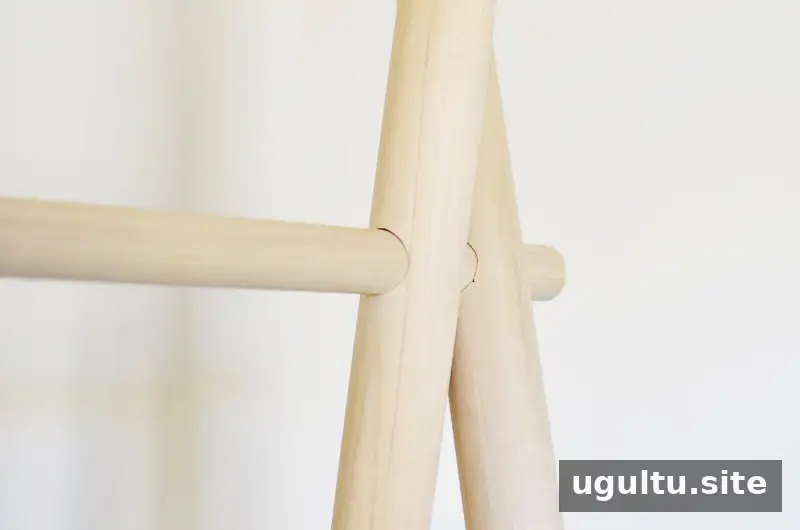
Step 4: Secure the top connections
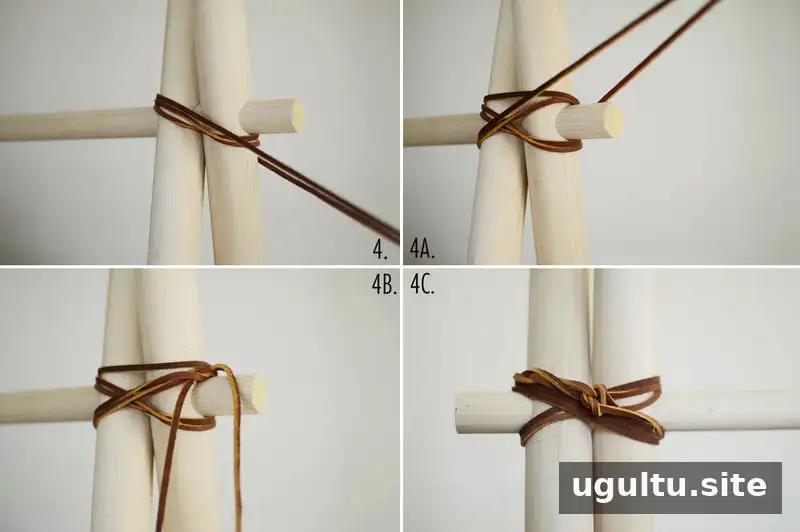
Center one 50″ leather cord around the point where the three dowels meet on one side. Wrap it diagonally twice, then wrap it twice in the opposite diagonal direction to form an “X.” Tie the ends in a double knot and tuck the tails under the wrapping. Repeat on the other side with the second 50″ cord. Alternatively, wood glue can help keep the horizontal dowel from slipping out, although gluing makes the rack less convenient to take apart.
Using and Storing the Rack
Without glue, the rack can be disassembled more easily and stored when it is not in use. This design is intended for displaying clothing and accessories, not as exercise equipment or a structure to hang from. Check that the joints and cords are secure, place the rack on a stable surface, and avoid overloading it.
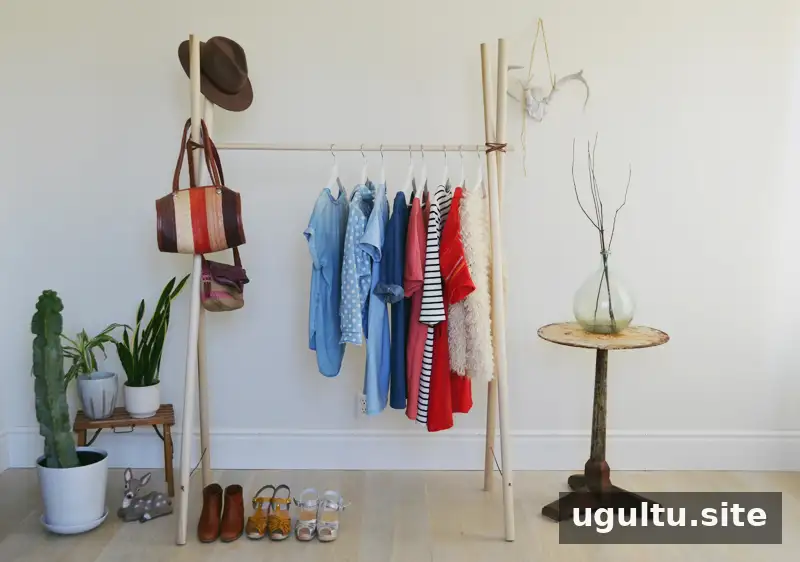
For a light display, eight clothing hangers were used; the rack may accommodate roughly double that number, or possibly triple depending on the items. Actual capacity can vary with garment weight, spacing, and how securely the stand is assembled, so add items gradually and stop if the rack shifts or bends. Purses and hats can also be hung from it, provided the total load remains manageable.
The dowel stand can serve other decorative purposes, too. For example, fabric draped over it can create simple theatre curtains or a backdrop for children’s performances. With careful assembly and sensible loading, a DIY clothing rack is a flexible option for display and occasional extra storage. Project instructions and styling by Rubyellen.


